MotoChello, Inc. MC-100 Users Guide Page 1
Overview
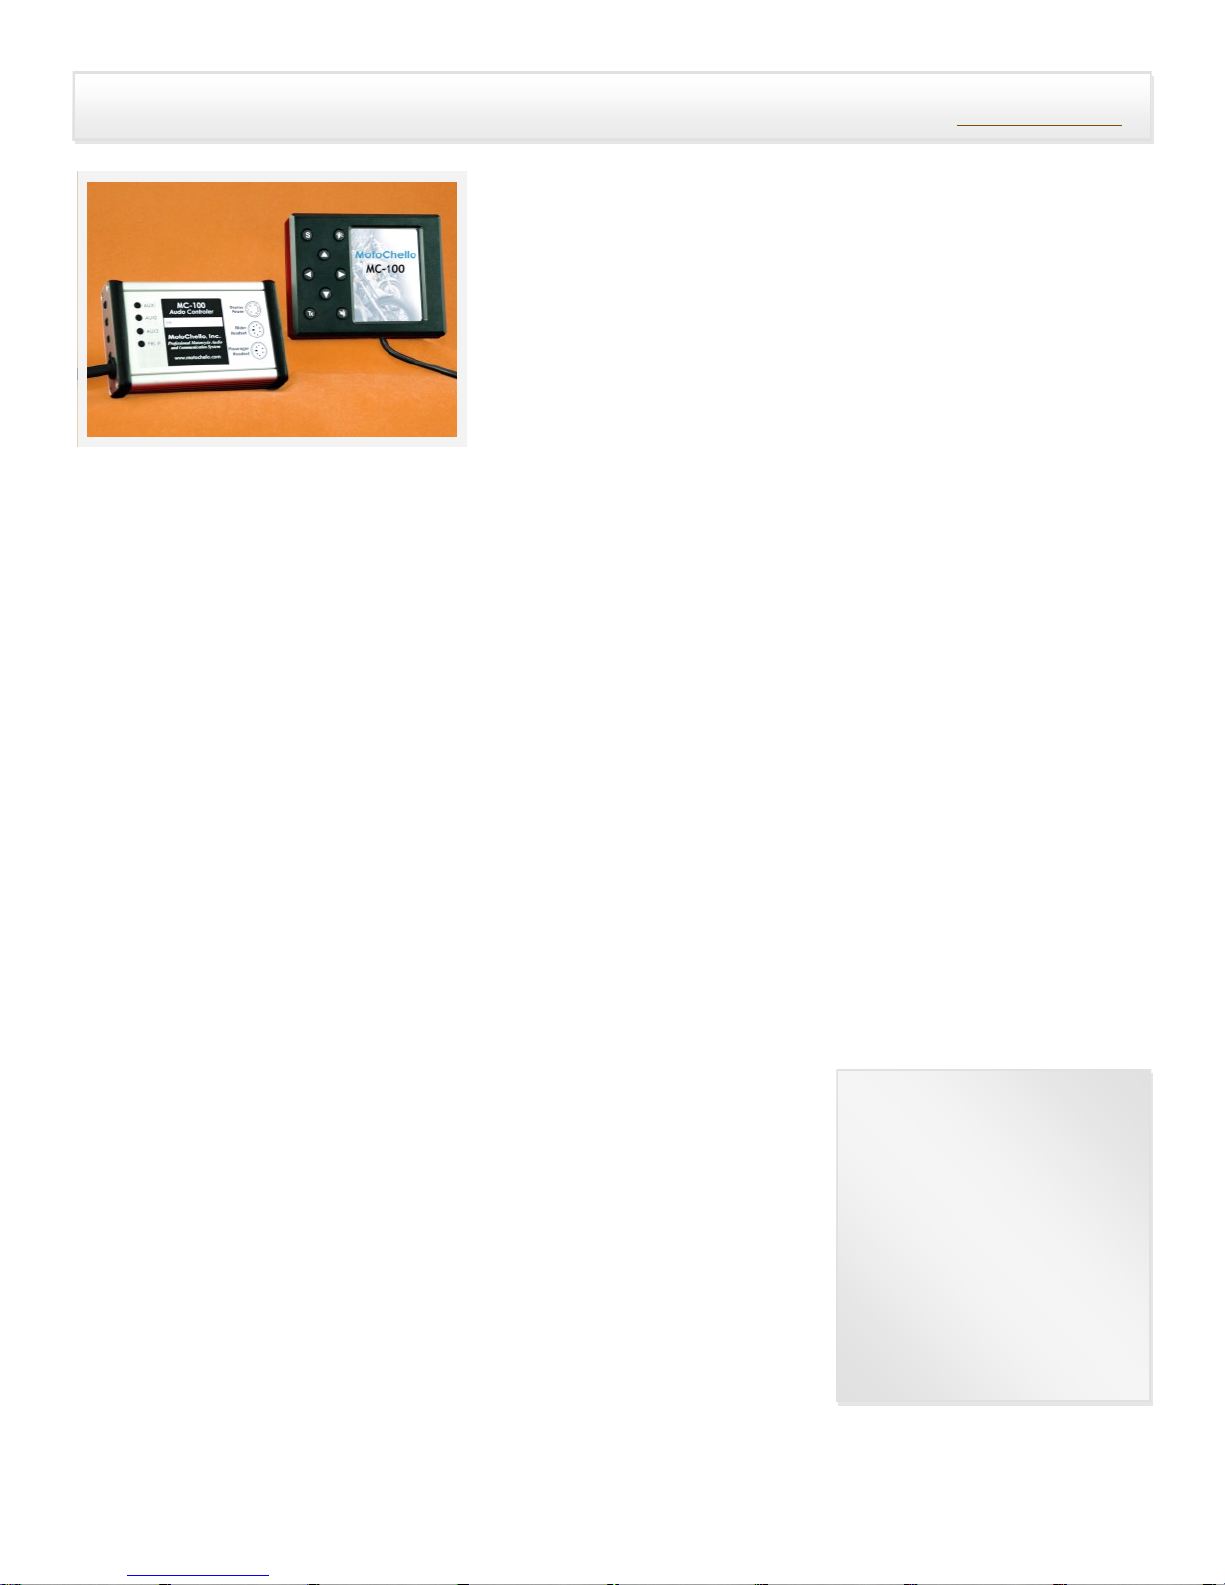
The MotoChello MC-100 is a fully integrated music and
communicaon system for your motorcycle. It provides the
same kind of premium audio you enjoy in your car along with
important features unique to riding. The communicaon and
music channels are separate and clear in all condions, a
dierence you will noce immediately.
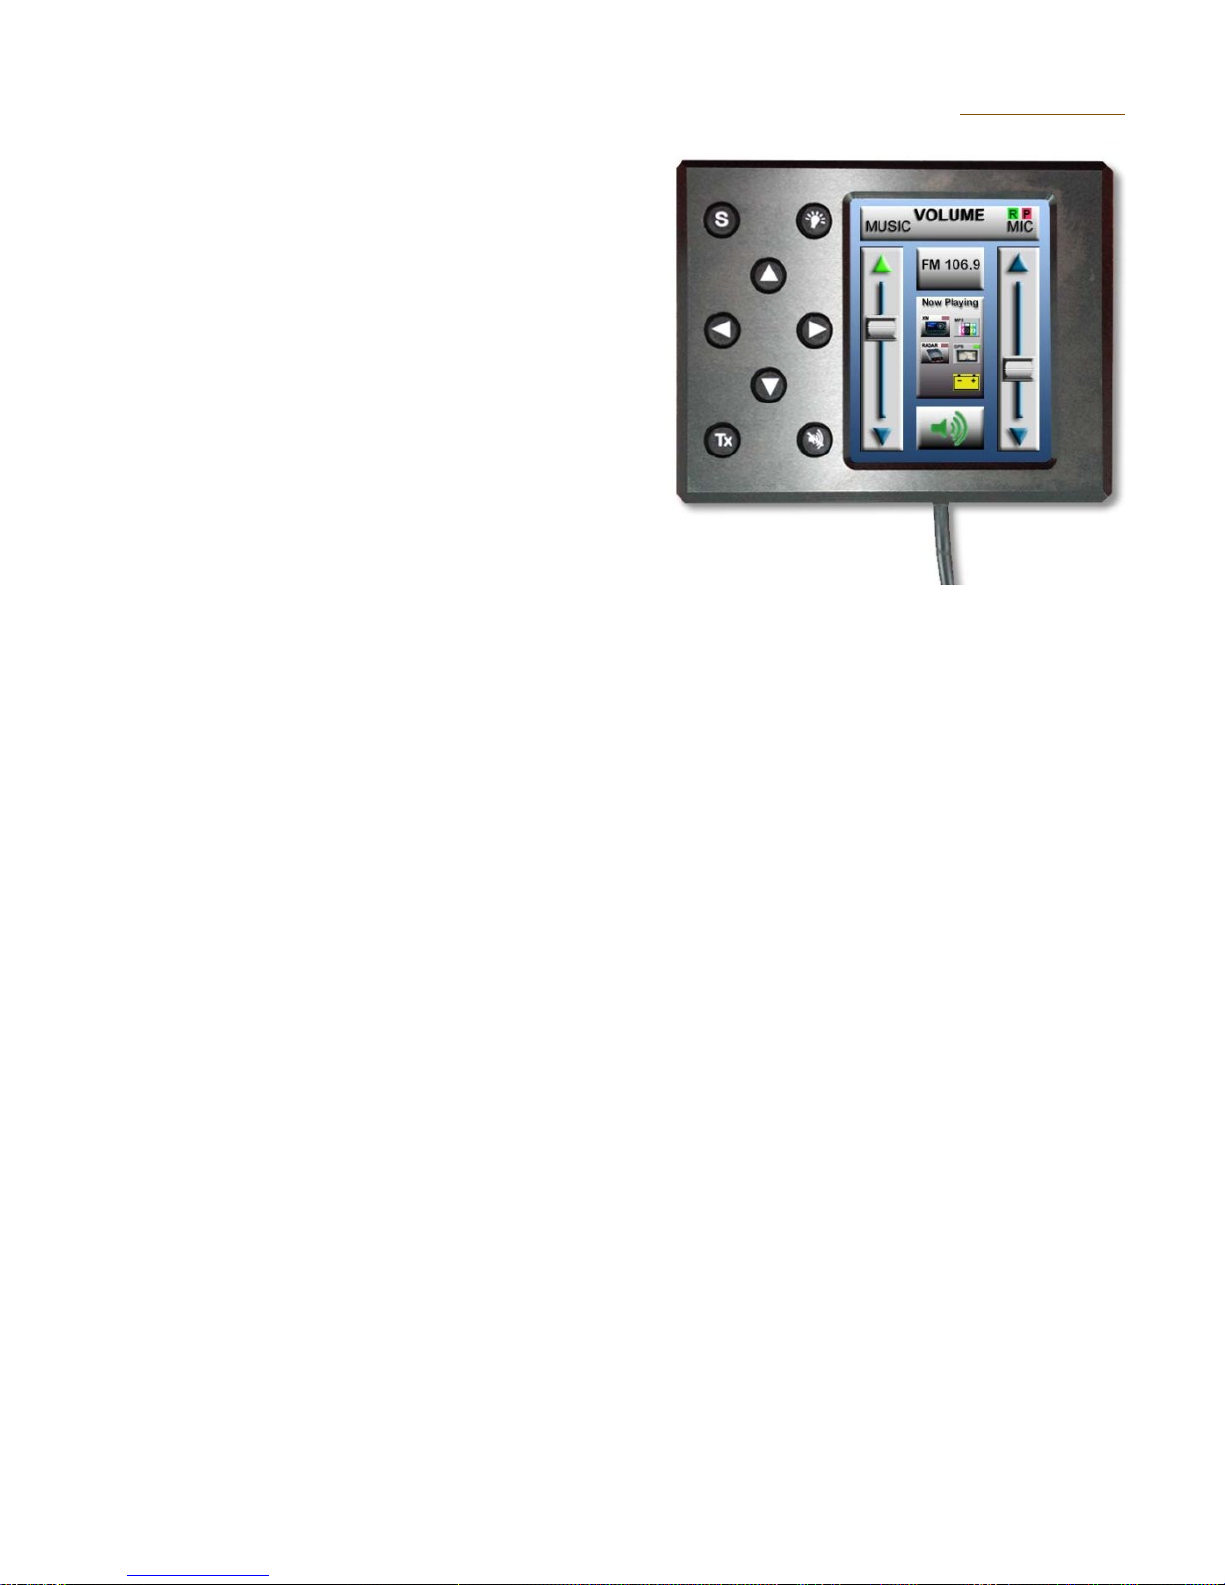
Navigang through the operaonal controls is simple and
consistent. Your MotoChello system is operated by using the
touch screen display that has been adjusted to allow for gloved hands, or with the illuminated buon panel
to the le of the screen. The Rider and Passenger installed helmet headsets and microphones aach to the
MotoChello system with quick release cables.
Once your preferences have been determined, (or you may use the default sengs), you can make quick
adjustments to music volume or conversaon levels, change FM or Weather band radio channels, search
for local channels, change audio sources and mute speakers or microphones. (When the headsets are
muted for music, you can sll converse with the intercom system).
When you have adjusted the system to your preferences, you can save your sengs as your own “defaults”
and restore to them at any me. You can also restore to the factory defaults as well.
There are Aux ports to connect up to 3 devices simultaneously as well as a port for an FRS radio. Audio
cables to connect them are included with the MC-100 system. Once connected, you can quickly select your
aached music sources from the main screen.
Typical audio sources may include an XM radio, portable CD player, MP3 player, a Garmin® Zūmo® ®
500/600 series GPS unit, radar detector or other device that connects with an audio cable. If your Garmin®®
GPS is equipped, you may use your Blue Tooth phone through the system or listen to music stored on the
GPS unit as well. It’s your opon.
Voice acvated, direconal microphones with unique ltering let you have
conversaons with your passenger while talking simultaneously and
converse with other riders (they will hear your voice, not your music). You
can hear to your GPS instrucons while listening to music or talking on
your blue tooth phone, or hear your radar detector, if connected to the
MC-100 system.
You can customize the music volume while talking and have it lower as
much, or as lile, as you choose. You have separate volume controls for
incoming and outgoing communicaons of your 2-way radio.
With the MotoChello system, there are plenty of opons to make your audio and communicaons sound
and operate just the way you want it.
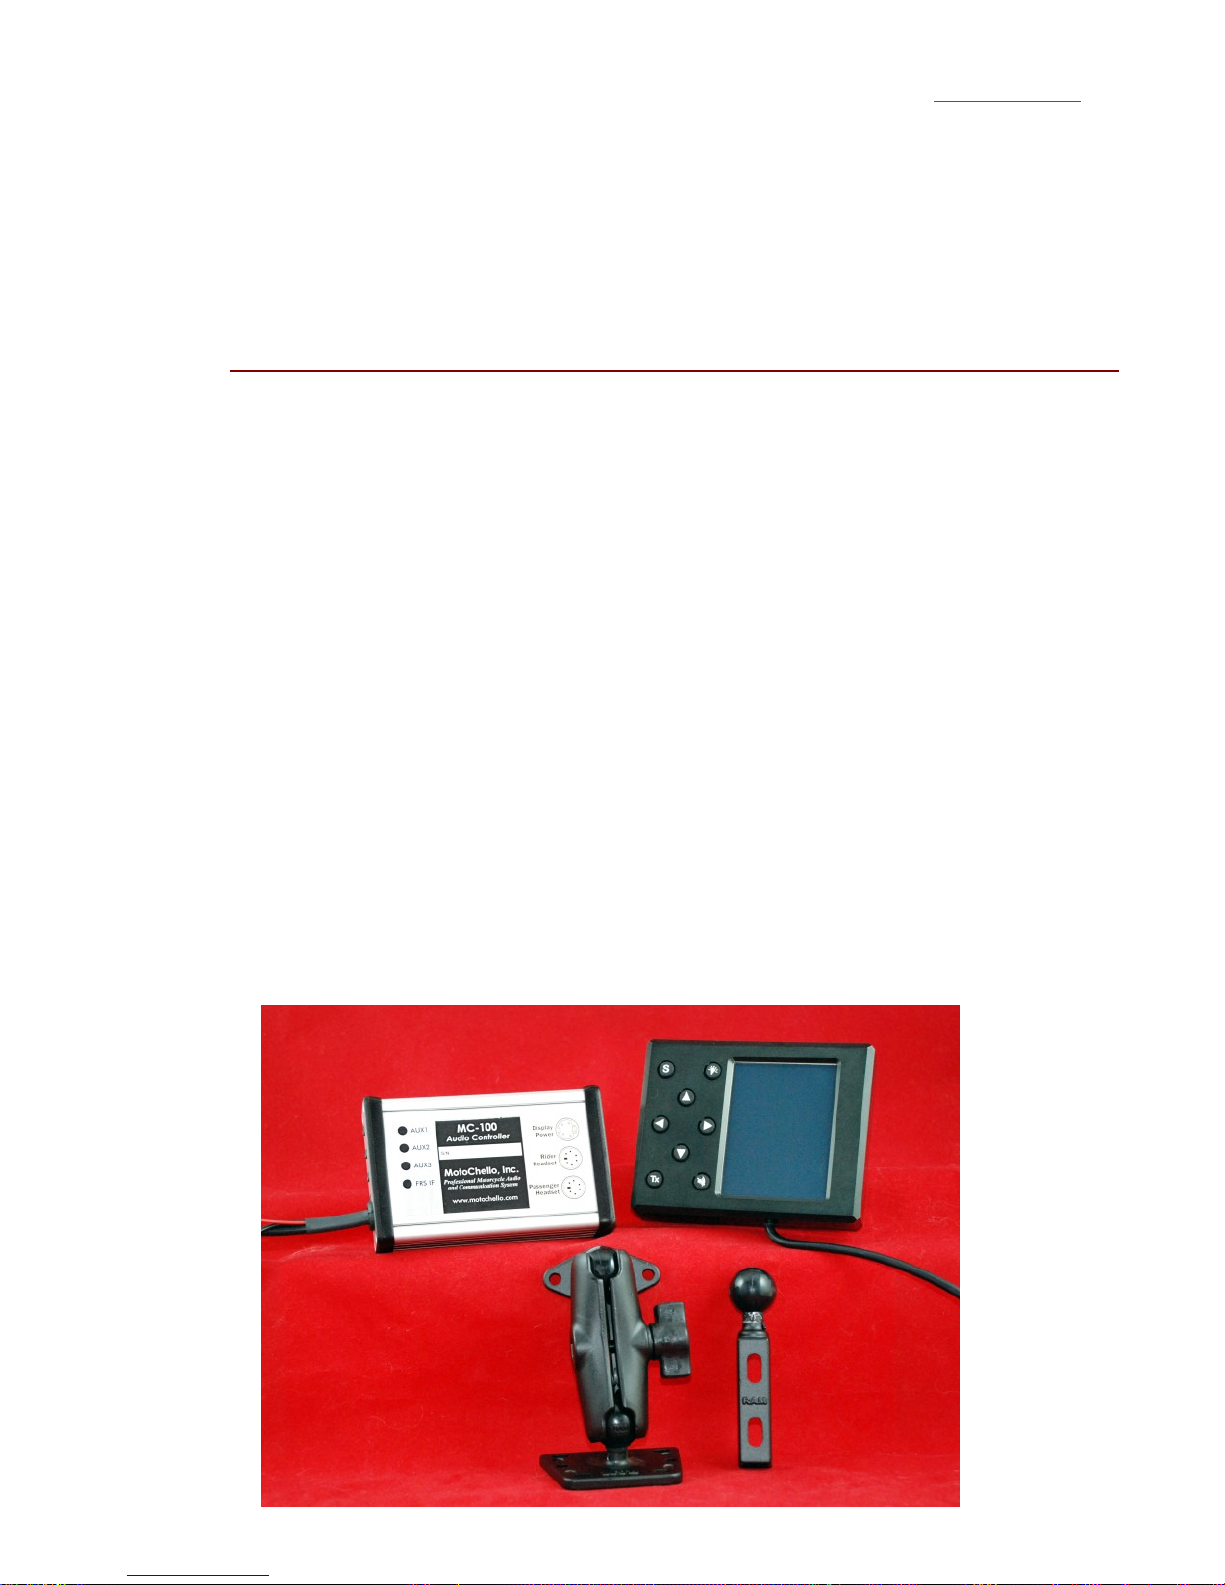
The MotoChello system
uses quick release cables
to attach your headsets
to the unit to give you
true high-fidelity stereo,
the preferred choice for
great sounding music
and communications.
back to contents