Motoped Pro User manual

Copyright 2015 Cyclepedia Press LLC

Motoped Pro Assembly Manual
Table Of Contents
Welcome .................................................. 2
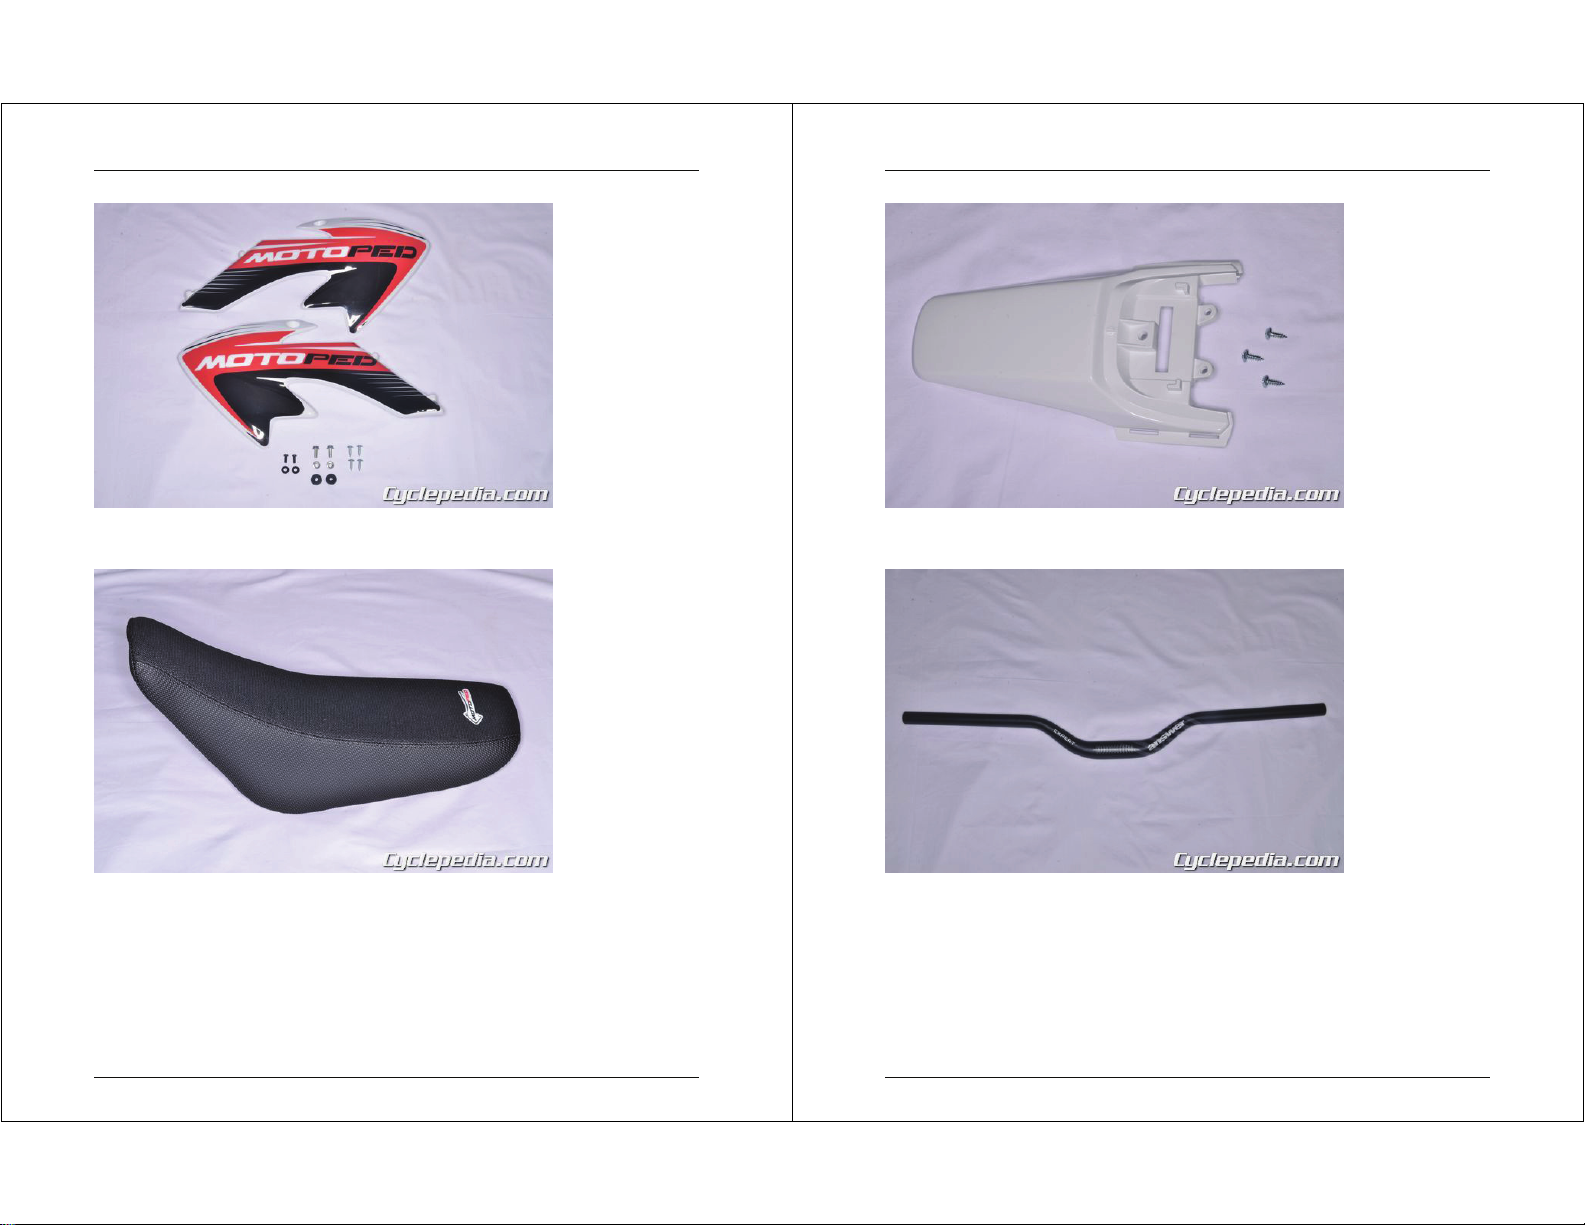
Component List ............................................. 4
Brakes ................................................... 25
Crankset ................................................. 44
Fork Installation ............................................ 77
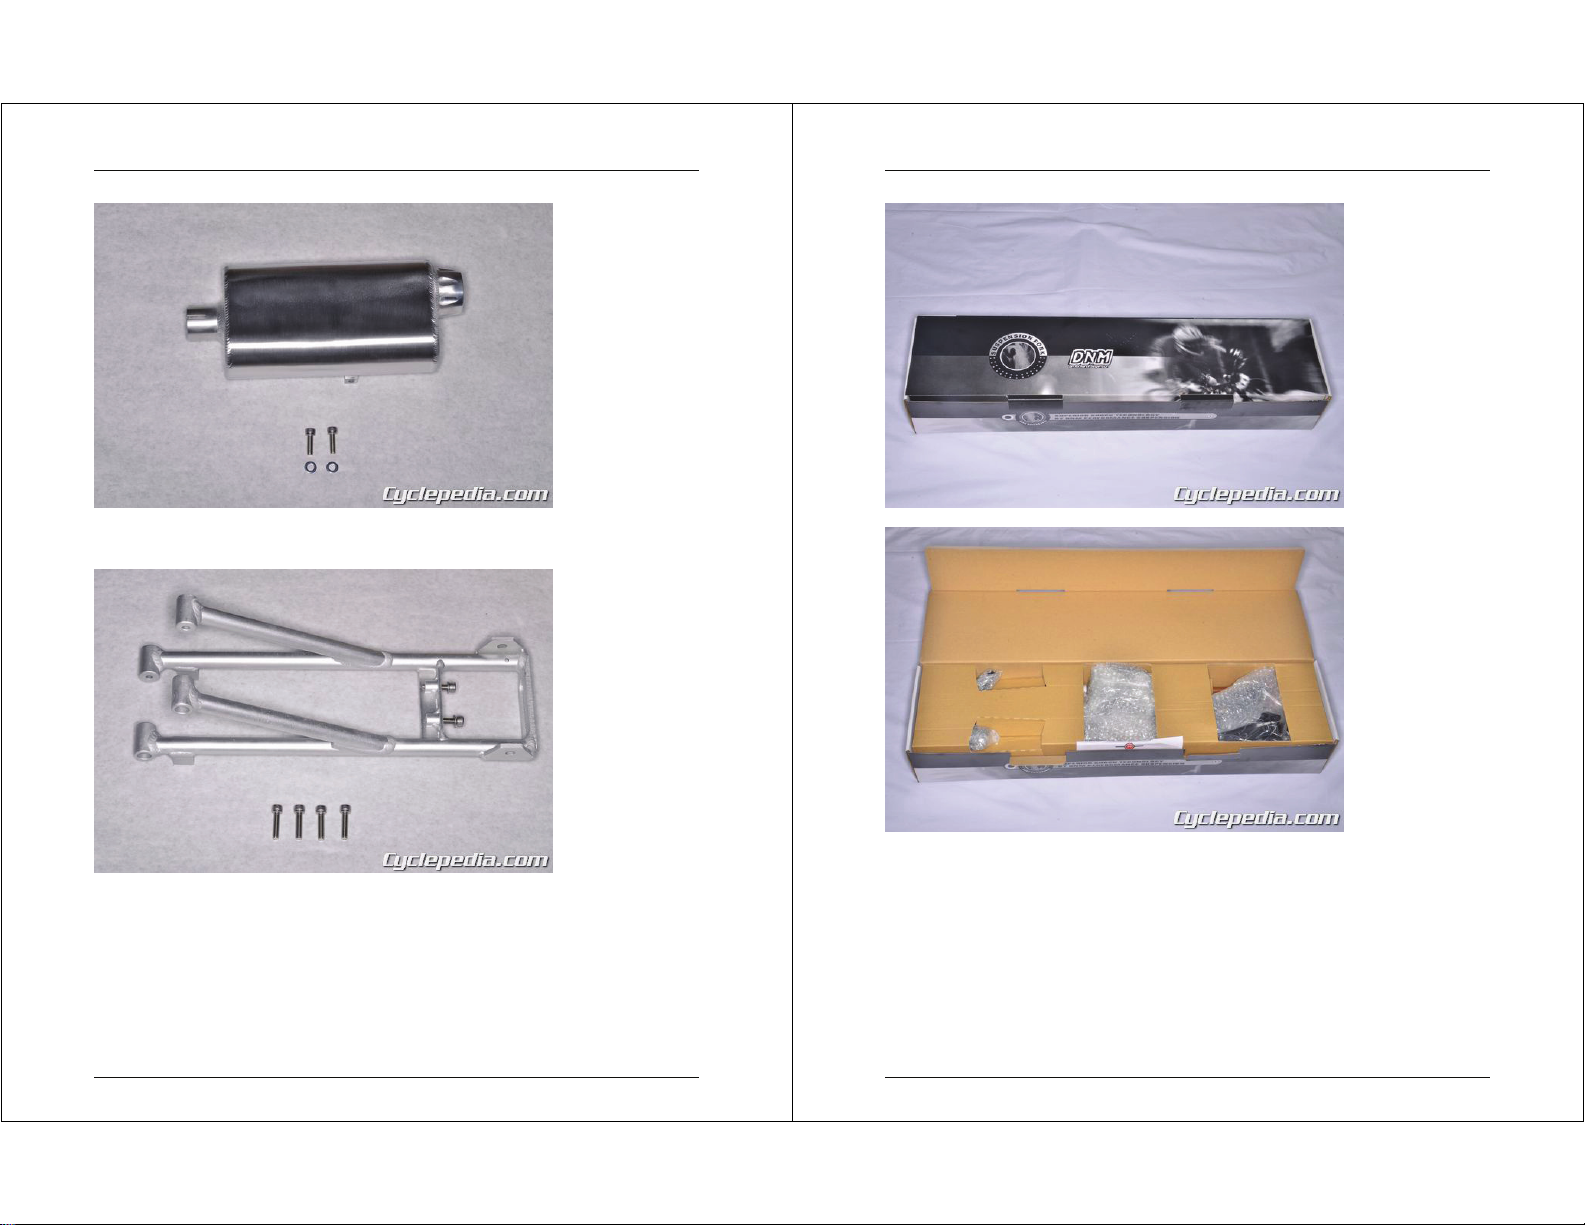
Frame Assembly ............................................ 86
Fuel Tank ................................................ 98
Handlebar ............................................... 104
Headset Installation ......................................... 107
Seat .................................................... 130
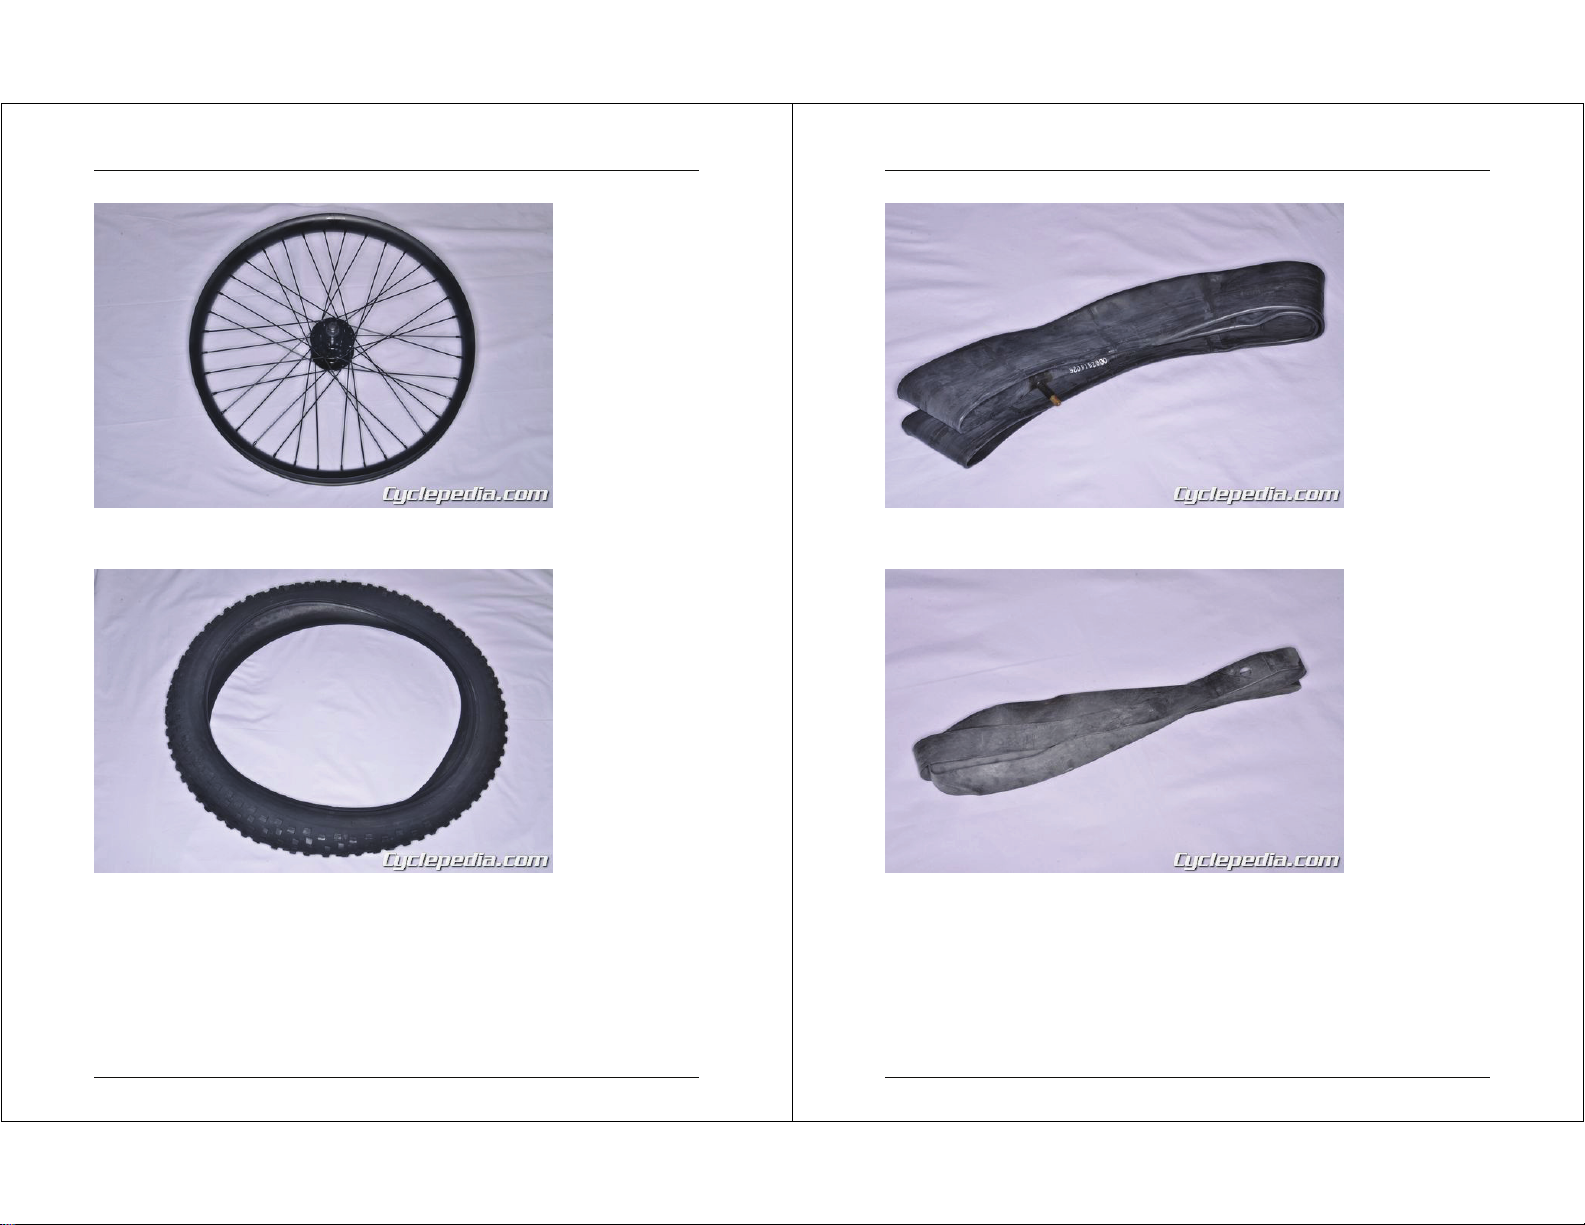
Wheels and Tires .......................................... 138
Carburetor ............................................... 154
Engine Components ........................................ 169
Engine Installation ......................................... 177
Exhaust System ........................................... 196
Ignition System ............................................ 201
Special Tools ............................................. 211
Torque Specifications ....................................... 222
1 / 222
Motoped Pro Assembly Manual
Welcome
Using this manual
This manual has been designed to assist trained mechanics in servicing the models listed
above. If you do not have the proper training or tools to perform a particular task it is best
if you seek out a service professional.
This manual was written using the latest information available at the time of publication.
Illustrations in this manual are shown to help you with the basics of performing the jobs
listed. The pictures in this manual may not depict the actual vehicle you’re working on,
however the procedures will be similar.
Inexperienced technicians without the correct tools and knowledge may not be able to
perform these jobs as intended. Caution needs to be taken for the vehicle and its operator
as serious injury can occur. Always read a procedure in its entirety before attempting any
repairs.
Cyclepedia Press LLC reserves all rights to this publication and does not permit the
reproduction or use of this publication, in full or in part, in any manner without our
express written permission. No trademark or patent liability is assumed with respect to the
use of the information contained in this manual.
2 / 222
Copyright 2015 Cyclepedia Press LLC

Motoped Pro Assembly Manual
While the instructions, photographs and illustrations in this manual have been reviewed
for accuracy it is up to the individual performing the procedures to use good judgement
when performing any procedures described. Every precaution has been taken in the
manufacture of this manual however the publisher assumes no responsibility for errors and
omissions. Furthermore, no liability or responsibility is assumed for damages to property
or injury to persons resulting from the use of the information contained in this guide. Use
of this information to perform service procedures is done entirely at your own risk.
Errors and Omissions
If you notice any errors in this guide please contact us immediately.
Cyclepedia Press LLC
http://www.cyclepedia.com/contact-us/
3 / 222
Motoped Pro Assembly Manual
Component List
Frame and External Components
Frame
Exhaust pipe
4 / 222
Copyright 2015 Cyclepedia Press LLC

Motoped Pro Assembly Manual
Side covers and hardware
Seat
5 / 222
Motoped Pro Assembly Manual
Rear fender and hardware
Handlebar
6 / 222
Copyright 2015 Cyclepedia Press LLC

Motoped Pro Assembly Manual
Extra grips
Fuel tank, mounts, and petcock
Wheels and Tires
7 / 222
Motoped Pro Assembly Manual
Remove the wheels from the wheel box.
Front wheel
8 / 222
Copyright 2015 Cyclepedia Press LLC

Motoped Pro Assembly Manual
Rear wheel
Tires
9 / 222
Motoped Pro Assembly Manual
Inner tubes
Rim strips
Headset Kit and Chain/Sprocket Kit Box
10 / 222
Copyright 2015 Cyclepedia Press LLC

Motoped Pro Assembly Manual
Open the headset kit and chain/sprocket kit box.
11 / 222
Motoped Pro Assembly Manual
Handlebar stem, star nut components, headset (steering bearings) components, chain
roller/tensioner and hardware
Chains and sprockets
12 / 222
Copyright 2015 Cyclepedia Press LLC

Motoped Pro Assembly Manual
Stem spacer
Brake Kit Box
13 / 222
Motoped Pro Assembly Manual
Open the brake kit box.
Brake discs
14 / 222
Copyright 2015 Cyclepedia Press LLC

Motoped Pro Assembly Manual
Front and rear hydraulic brake assemblies and mounting hardware
Bottom Bracket Box
15 / 222
Motoped Pro Assembly Manual
Bottom bracket, side plates, chain roller/tensioner, and hardware
Muffler Box
Open the muffler box.
16 / 222
Copyright 2015 Cyclepedia Press LLC

Motoped Pro Assembly Manual
Muffler and hardware
Sub-frame and hardware
Suspension Box
17 / 222
Motoped Pro Assembly Manual
Open the suspension box.
18 / 222
Copyright 2015 Cyclepedia Press LLC

Motoped Pro Assembly Manual
19 / 222
Motoped Pro Assembly Manual
Note the owner's manuals and documentation inside the suspension box.
Front fork and axle
20 / 222
Copyright 2015 Cyclepedia Press LLC

Motoped Pro Assembly Manual
Rear shock absorber
Crankset
21 / 222
Motoped Pro Assembly Manual
Throttle cable, throttle, and grips
Pedals
Swingarm
22 / 222
Copyright 2015 Cyclepedia Press LLC

Motoped Pro Assembly Manual
Swingarm and jackshaft.
23 / 222
Motoped Pro Assembly Manual
Rear axle tensioners
24 / 222
Copyright 2015 Cyclepedia Press LLC

Motoped Pro Assembly Manual
Brakes
SAFETY FIRST: Protective gloves and eyewear are recommended at this point.
Discs
Fit the brake disc onto the wheel hub.
25 / 222
Motoped Pro Assembly Manual
Make sure the disc direction of rotation is correct.
Install the brake disc mounting bolts (pre-applied thread locking agent).
Tighten the disc bolts to specification with a T25 Torx socket. Tighten the screws evenly
in a crisscross pattern.
Torque (N-m) Torque (ft-lbs.)
26 / 222
Copyright 2015 Cyclepedia Press LLC

Motoped Pro Assembly Manual
6.2 4.6
Brake Hose Routing
Install the front brake master cylinder to the left side of the handlebar, and the rear brake
master cylinder to the right side of the handlebar. Route the brake hoses as shown.
Front Brake Caliper
27 / 222
Motoped Pro Assembly Manual
Remove the brake pad separator plate. Do not squeeze the brake lever when the separator
plate or disc isn't between the pads.
Use the caliper alignment tool to separate the brake pads if needed.
28 / 222
Copyright 2015 Cyclepedia Press LLC

Motoped Pro Assembly Manual
Fit the front brake caliper and mounting bracket into place. Guide the disc between the
brake pads.
Install the bracket mounting bolts with the pre-applied thread locking agent. Tighten the
caliper mounting bracket bolts to specification with a 5 mm hex socket.
Torque (N-m) Torque (ft-lbs.)
12.43 9.17
29 / 222
Motoped Pro Assembly Manual
Route the brake hose up through its guides on the left fork leg.
30 / 222
Copyright 2015 Cyclepedia Press LLC

Motoped Pro Assembly Manual
Tighten the hose clamp securely with a 3 mm hex wrench to secure the hose.
Fit the master cylinder into place on the handlebar.
31 / 222
Motoped Pro Assembly Manual
Insert the master cylinder clamp bolts.
Tighten the clamp bolts evenly so the gap is equal on both sides of the clamp. Tighten the
master cylinder to specification with a 4 mm hex wrench
Torque (N-m) Torque (ft-lbs.)
3.37 2.5
32 / 222
Copyright 2015 Cyclepedia Press LLC

Motoped Pro Assembly Manual
Loosen the caliper mounting bolts with a 5 mm hex socket. Squeeze the brake lever and
align the caliper with the brake disc. While holding the brake lever, gently wiggle the
caliper to position it in its natural centered position over the disc. While squeezing the
lever, tighten the mounting bolts.
Release the lever, spin the wheel. Check that it spins freely and that the gaps, between the
pad and the disc, are equal. If the gaps are unequal, or if there is drag, readjust the caliper
position by loosening the mounting bolts and adjusting the caliper as needed. Note: A
piece of paper can be used as a background to help sight down the disc looking for equal
clearance between the pads and disc. See the Caliper Aliment tool section for more
information.
When the caliper is aligned correctly tighten the mounting bolts to specification with a 5
mm hex socket.
Torque (N-m) Torque (ft-lbs.)
12.43 9.17
Rear Brake Caliper
33 / 222
Motoped Pro Assembly Manual
Fit the rear brake caliper bracket into place.
Install the caliper bracket mounting bolts and snug them down with a 5 mm hex wrench.
34 / 222
Copyright 2015 Cyclepedia Press LLC

Motoped Pro Assembly Manual
Install the caliper spacers.
Remove the brake pad separator plate. Do not squeeze the brake lever when the separator
plate or disc isn't between the pads.
35 / 222
Motoped Pro Assembly Manual
Fit the rear brake caliper into place. Guide the disc between the brake pads.
Install the caliper mounting bolts and washers.
36 / 222
Copyright 2015 Cyclepedia Press LLC

Motoped Pro Assembly Manual
Loosen the caliper bracket mounting bolts and adjust the caliper front-to-rear position so
that the brake pad linings make good contact with the disc. Make sure the disc isn't
contacting the caliper body.
Tighten the caliper mounting bracket bolts to specification with a 5 mm hex socket.
Torque (N-m) Torque (ft-lbs.)
12.43 9.17
37 / 222
Motoped Pro Assembly Manual
Loosen the caliper mounting bolts with a 5 mm hex socket. Squeeze the brake lever and
align the caliper with the brake disc. While holding the brake lever, gently wiggle the
caliper to position it in its natural centered position over the disc. While squeezing the
lever, tighten the mounting bolts.
Release the lever, spin the wheel. Check that it spins freely and that the gaps, between the
pad and the disc, are equal. If the gaps are unequal, or if there is drag, readjust the caliper
position by loosening the mounting bolts and adjusting the caliper as needed. Note: A
piece of paper can be used as a background to help sight down the disc looking for equal
clearance between the pads and disc.
When the caliper is aligned correctly tighten the mounting bolts to specification with a 5
mm hex socket.
Torque (N-m) Torque (ft-lbs.)
12.43 9.17
38 / 222
Copyright 2015 Cyclepedia Press LLC
Other manuals for Pro
1
Table of contents
Other Motoped Bicycle manuals