MotorScrubber
Contents
Thank You For Purchasing 03
Application Details
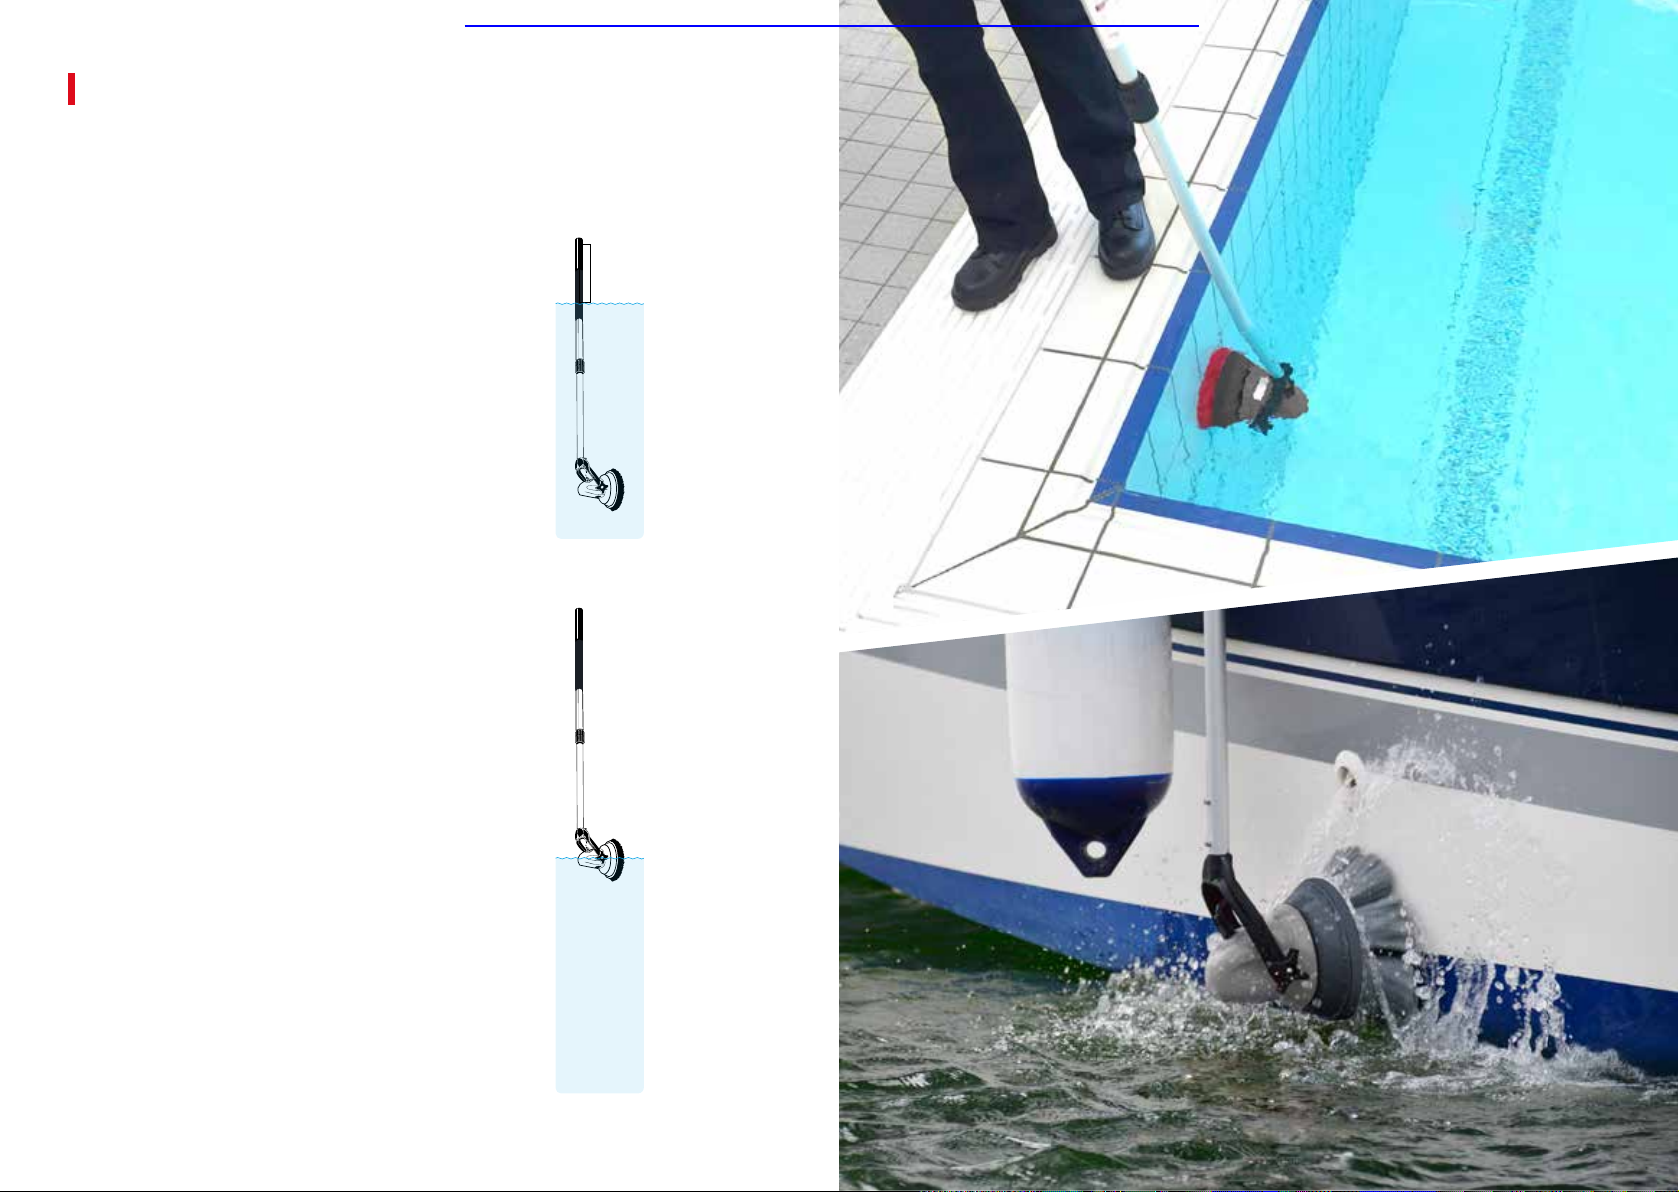
JET3 04
STORM 05
Know Your Equipment
JET3 06
STORM 07
Preparing Your Machines
Important Information 08
Electrical Connection 08
Battery & Charging Information 09
Water Connection 10
The Handle - Pump Switch 10
Preparing the Chemical 10
Prime the Pump 11
JET3
JET3 12
The Handle - Brush Switch 14
Handle Position 14
Adjusting the Flip Clip 15
Adjusting the JET3 Position 15
Cleaning the JET3 16
Changing a MotorScrubber Brush 17
Removing Dirty Slurry 17
Underwater Use 18
STORM
STORM 20
Disinfecting with STORM 22
Operational Instructions 23
Application Instructions 24
Personal Protective Equipment 25
Complete Parts Breakdown
JET3 26
STORM & Backpack 27
Certicate of Conformity 28
Warranty 29
Safety Instructions 30
Troubleshooting 31
02 03
When using electric
products, basic safety
precautions should
always be followed
to reduce the risk
of electric shock
and personal injury,
including the following:
• Consider your work
area environment.
When using the
MotorScrubber be
aware of overhead
electrical wires.
• MotoScrubber is
powered by DC
current only. Do not
attempt to operate
MotorScrubber with
AC current.
• Always ush out
chemical with clean
water after every use.
• Never pull the
MotorScrubber by
its cord or yank it to
disconnect it from the
battery.
• Keep the cord away
from heat, oil and sharp
edges.
• Keep your
MotorScrubber clean.
(For safer operation,
follow instructions for
attaching accessories.
Keep the upper handle
switch area dry, clean
and free from oil, grease
and water).
• Disconnect the
MotorScrubber when
not in use and when
attaching accessories.
• Inspect for damage
before using
MotorScrubber.
• When servicing, use
only genuine parts and
accessories.
MotorScrubber is a
power tool. As with any
power tool, always use
both hands to ensure
safe operation.
• Ensure you adopt the
correct posture when
using MotorScrubber.
Maintain a straight
back.
• Adjust the position
of the control handle
(see page 14) so your
arm is straight when
holding the handle.
Your back should be
straight at all times.
Save these instructions
for future reference.
Thank you for purchasing
your MotorScrubber
machine.
We hope you enjoy using your MotorScrubber
product, please feel free to leave comments and
feedback at motorscrubberclean.com/support.
PLEASE READ ALL INSTRUCTIONS
Page 12
Page 20
New & Reconditioned Equipment & Parts- www.southeasternequipment.net
New & Reconditioned Equipment - www.southeasternequipment.net