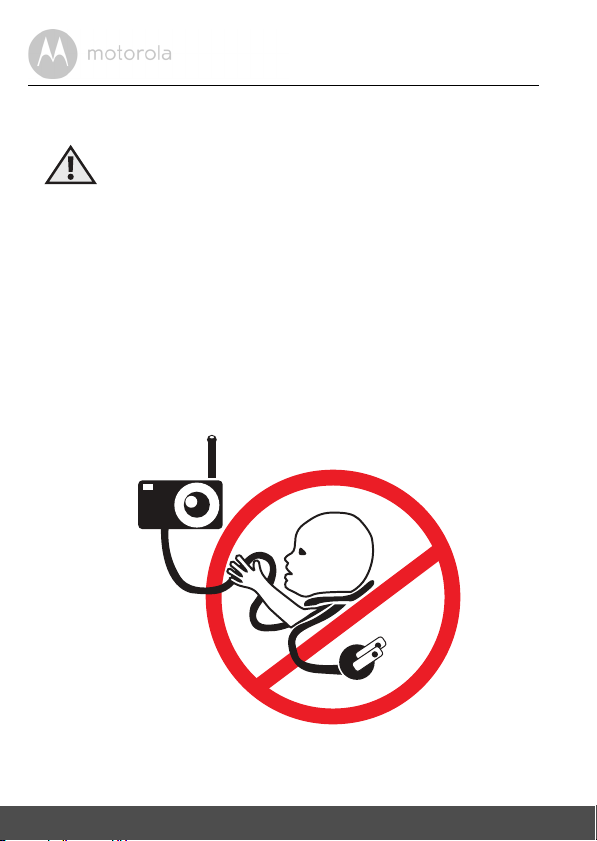
10 Getting Started
3. Once the baby and parent units are switched on, the display on the parent
unit will show the video captured by the baby unit.
4. If there is no connection or you are out of range, the video display will go
off and the symbol will flash on the LCD display, and the unit will beep
every 9 seconds. (If the unit is on scan the 1? symbol displays.)
Move the parent unit closer to the baby unit until the link is re-established.
5. Press and hold the PPOWER ON/OFF button, until the progress bar
scrolls fully across, to turn OFF the parent unit.
NOTE
The battery icon turns RED and flashes to indicate that the battery is low,
and it gives a beep every 16 seconds. The battery needs to be recharged.
battery pack takes about 16 hours to charge fully.
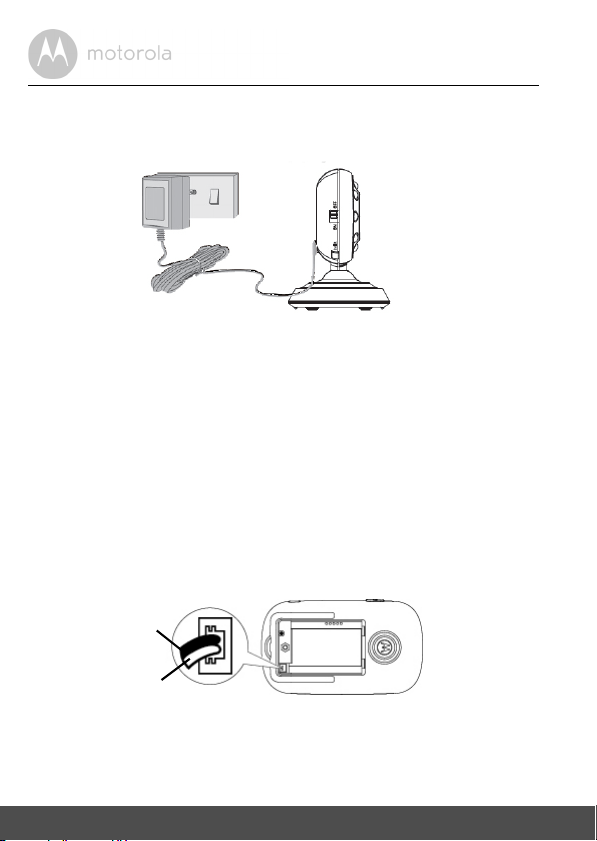
When charging
1. If the parent unit is turned OFF, when the adapter is plugged in, it displays a
"mains plug" icon briefly, then a large battery icon with internal segments
cycling for 60 seconds, before the display goes blank, but the unit
continues to charge. The Blue LED at top left corner lights up to indicate
the adapter is plugged in.
2. If the parent unit is turned ON, when the adapter is plugged in, the battery
icon in the screen's top right corner will show that the battery is charging by
cycling the internal segments. The segments stop cycling when the battery
is fully charge. The Blue LED at top left corner lights up to indicate the
adapter is plugged in.
2.4 Registration (Pairing)
The Baby Monitor camera is pre-registered to your Parent Unit. You do not need
to register it again unless the Baby Unit loses its link with the Parent Unit.
To re-register your Baby Unit, or register a new Baby Unit, follow the procedure
below:
1. Press the 1button of the parent unit and then press the -DOWN button
to select the ADD CAMERA icon , and press the 1button to confirm.
2. 1 / 2 / 3 / 4 will pop up, press the +UP button or -DOWN button to select
the desired Camera identification number and press the 1button to start