Limited Warranty
Introduction
Safety
Initial Setup
Operating Controls
Before You Ride
Basic Operation
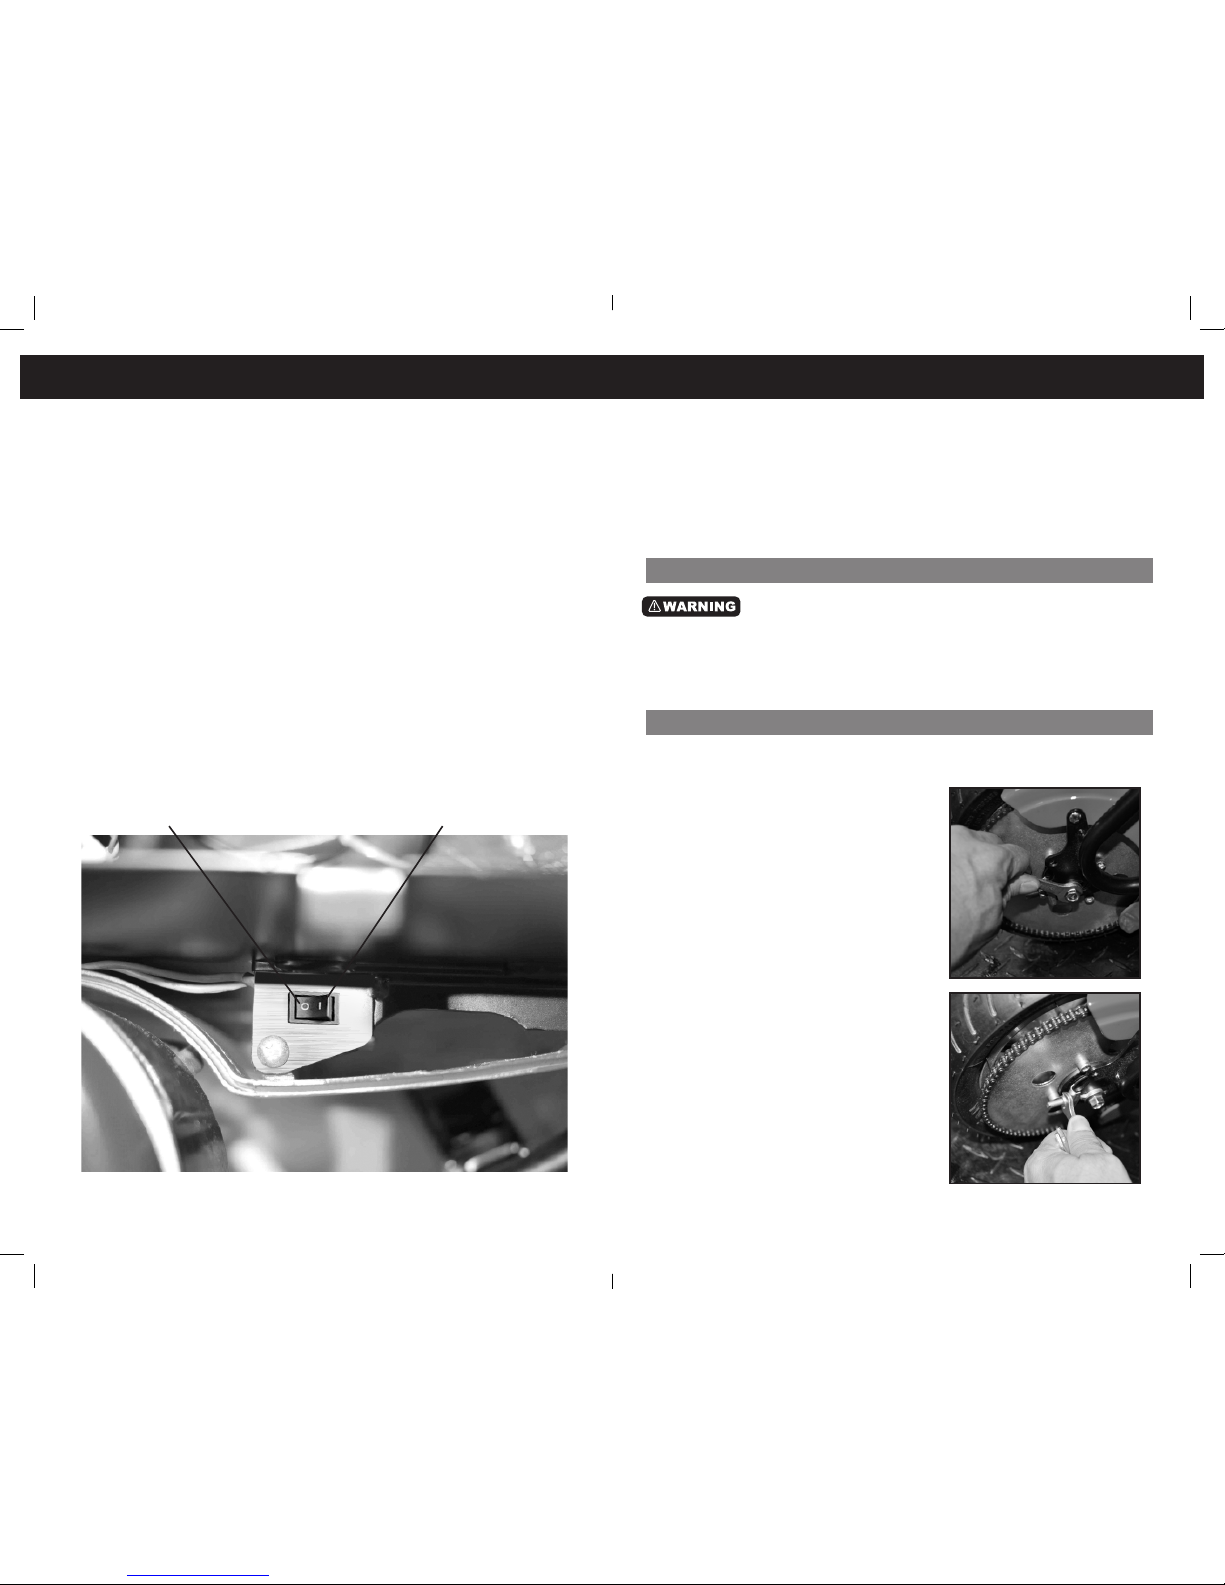
Slow Speed Safety Switch
Maintenance
Troubleshooting Guide
Register your MBxXSe
1
2
3 - 5
6 - 7
8 - 9
10 - 11
12 - 13
14
15 - 19
20 - 23
24 - 25
CONTENTS
PRODUCT WARRANTY
Motovox warrants to the rst buyer of the Product (“Buyer”) that on the date of purchase of the Product, as shown on Buyer’s sales
receipt (“Purchase Date”) from an approved retail partner, the Product shall be free from defects in material or workmanship subject
to and in accordance with the terms and conditions set forth herein. The duration of this Limited Warranty is ninety (90) days from
the Purchase Date (the“Warranty Period”). Motovox will correct, at its option, by repair or by furnishing replacement parts, any
parts determined in Motovox’s sole discretion to have a defect in material or workmanship of the Product reported to Motovox
during the Warranty Period, subject to the terms, conditions and limitations of this LimitedWarranty. At its option, Motovox may
require the Buyer to return to Motovox, at its address set forth below, at Buyer’s expense, the part claimed to be defective for Moto-
vox’s inspection. Motovox’s sole obligation under this LimitedWarranty is to repair and/or replace parts on the Product. If Motovox
determines that any claimed defect or problem reported by Buyer is not covered by this LimitedWarranty, Buyer shall pay Motovox
its then existing charge for any repair or replacement made by Motovox.
TO QUALIFY FOR WARRANTY SERVICE:
1. You must present a copy of the sales receipt from an approved retail partner within 90 days of purchase.
2. This product can not be used for rental or commercial use.
3. This product can not be used for competition.
LIMITATIONS OF LIABILITY
• This Limited Warranty is non-transferable after the Product’s initial sale.
• No unapproved modications can be made to the Product, its performance or otherwise, in order for this Limited Warranty to
remain in eect.
• No reimbursement is provided for towing, loss of time, loss of use, inconvenience, incidental or consequential damages.
• This Limited Warranty covers only parts and labor due to manufacturer defect. Damage due to misuse or neglect, use other than
as specied in the Owner’s Manual, or use under abnormal conditions are is not covered by this LimitedWarranty.
• Warranty is void if weather related water damage is determined. Owner is responsible for storage and protection from weather.
• Motovox makes no warranty with respect to products or trade accessories not made by Motovox, including, but not limited to,
motors, tires, wheels and batteries, such products or trade accessories, such items being subject to the original manufacturer’s
warranty, if any.
• This Limited Warranty does not cover minor surface blemishes, rips, tears, or other cosmetic damages due to normal use, or
other intentional or unintentional damage to the Product.
• This Limited Warranty will not cover any damage which results from the application of improper cleaners, solvents or chemicals
to the Product, water damage, smoke or soot, or from exposure to saltwater, sea breeze or salt.
• This Limited Warranty will not cover any damage which results from aging, such as fading of paint, deterioration of plated
surfaces, deterioration of rubber or plastics, or rusting.
• This Limited Warranty does not cover improper repair or misdiagnosis of problem.
OWNER’S WARRANTY RESPONSIBILITIES
As the vehicle owner, you are responsible for the performance of the required maintenance.You should maintain a record of all
maintenance performed your vehicle and retain all receipts covering maintenance on your vehicle. You may be denied a warranty
claim solely because of your failure to ensure the performance of all scheduled maintenance or lack of maintenance records or
receipts. As the vehicle owner, you should be aware that you may be denied your warranty coverage if your vehicle or a part has
failed due to abuse, neglect, improper maintenance, or unapproved modications.
For any issue regarding your Motovox product, call toll free 1-888-488-MOTO (6686)
1
TROUBLE
?DO NOT RETURN TO STORE contact us! 888-488-MOTO (6686) or email [email protected]