Motus Pure-Vu System User manual

Error
Low Medium
Cleansing Mode
High Warning System Test
This document is property of Motus GI Medical Technologies LTD, its contents are CONFIDENTIAL and shall not be disclosed, disseminated, copied or used,
without written permission. Pure-Vu® and Motus GI® are trademarks or registered trademarks of Motus GI Holdings, Inc. ©2018
Motus GI Holdings, Inc.
Address: 1301 E. Broward Blvd.
Suite 310
Fort Lauderdale, FL 33301
Tel: 954.541.8000
Fax: 954.541.8265
OBELIS S.A
Address: Bd. Général Wahis, 53,
1030 Brussels, Belgium
Tel: +32.2.732.59.54
Fax: +32.2.732.60.03
www.obelis.net
Motus GI Medical Technologies LTD.
Address: Keren Hayesod 22,
Tirat Carmel, ZIP 3902638, Israel
Tel: +972-73-2627757
Fax: +972-4-6214442
EC REP
Motus Pure-Vu®System
Instructions For Use
133592 Motus GI_IFU_Manual_2018_R5.indd 1 9/5/2018 4:54:30 PM

1.0 WARNINGS AND PRECAUTIONS ................................................................................................ 3
1.1. Symbols Used ................................................................................................................................... 4
2.0 INTENDED USE.............................................................................................................................................. 4
3.0 PRODUCT DESCRIPTION ............................................................................................................... 5
3.1. System Workstation ..................................................................................................................... 6
3.1.1. Workstation Components:........................................................................................... 7
3.1.2. Workstation Front Panel............................................................................................. 7
3.1.3. The Foot Pedal............................................................................................................... 8
3.2. Pure-Vu Oversleeve ..................................................................................................................... 9
3.2.1. The Oversleeve ............................................................................................................. 9
3.3. Accessories for Use with Pure-Vu............................................................................................. 9
4.0 SETUP AND INTERCONNECTIONS ............................................................................................. 9
4.1. Unpacking....................................................................................................................................... 9
4.1.1. Unpacking the Oversleeve and Workstation Connector ................................... 9
4.1.2. Unpacking the Workstation and Loading Fixture............................................... 9
4.2. Assembly of the Oversleeve on the Workstation............................................................... 10
4.2.1. Cleaning the Loading Fixture .................................................................................... 10
4.2.2. Oversleeve Assembly................................................................................................... 10
4.2.3. Attaching the Oversleeve to the Workstation ..................................................... 13
5.0 SYSTEM OPERATION ...................................................................................................................... 16
5.1. Pre-procedure Operations......................................................................................................... 16
5.2. Operating the Pure-Vu Workstation....................................................................................... 16
5.3. Disassembling the WS Connector and Oversleeve ............................................................ 17
5.4. Removing the Oversleeve from the Colonoscope.............................................................. 18
5.5. Discarding the Oversleeve and WS Connector ................................................................... 21
6.0 CLEANSING WORKSTATION AND FOOT PEDAL................................................................... 21
7.0 STORAGE AND TRANSPORTATION........................................................................................... 21
8.0 TROUBLESHOOTING....................................................................................................................... 22
9.0 TECHNICAL SPECIFICATIONS...................................................................................................... 23
9.1. Environmental Standards........................................................................................................... 23
9.2. Shipping and Storage.................................................................................................................. 23
9.3. Performance Limitations ............................................................................................................ 23
9.4. Mechanical Properties and Sizes ............................................................................................. 23
CONTENTS
133592 Motus GI_IFU_Manual_2018_R5.indd 2 9/5/2018 4:54:30 PM

3
MOTUS GI PURE-VU SYSTEM INSTRUCTIONS FOR USE
1. WARNINGS AND PRECAUTIONS
Please read this manual and follow its instructions carefully.
Warnings:
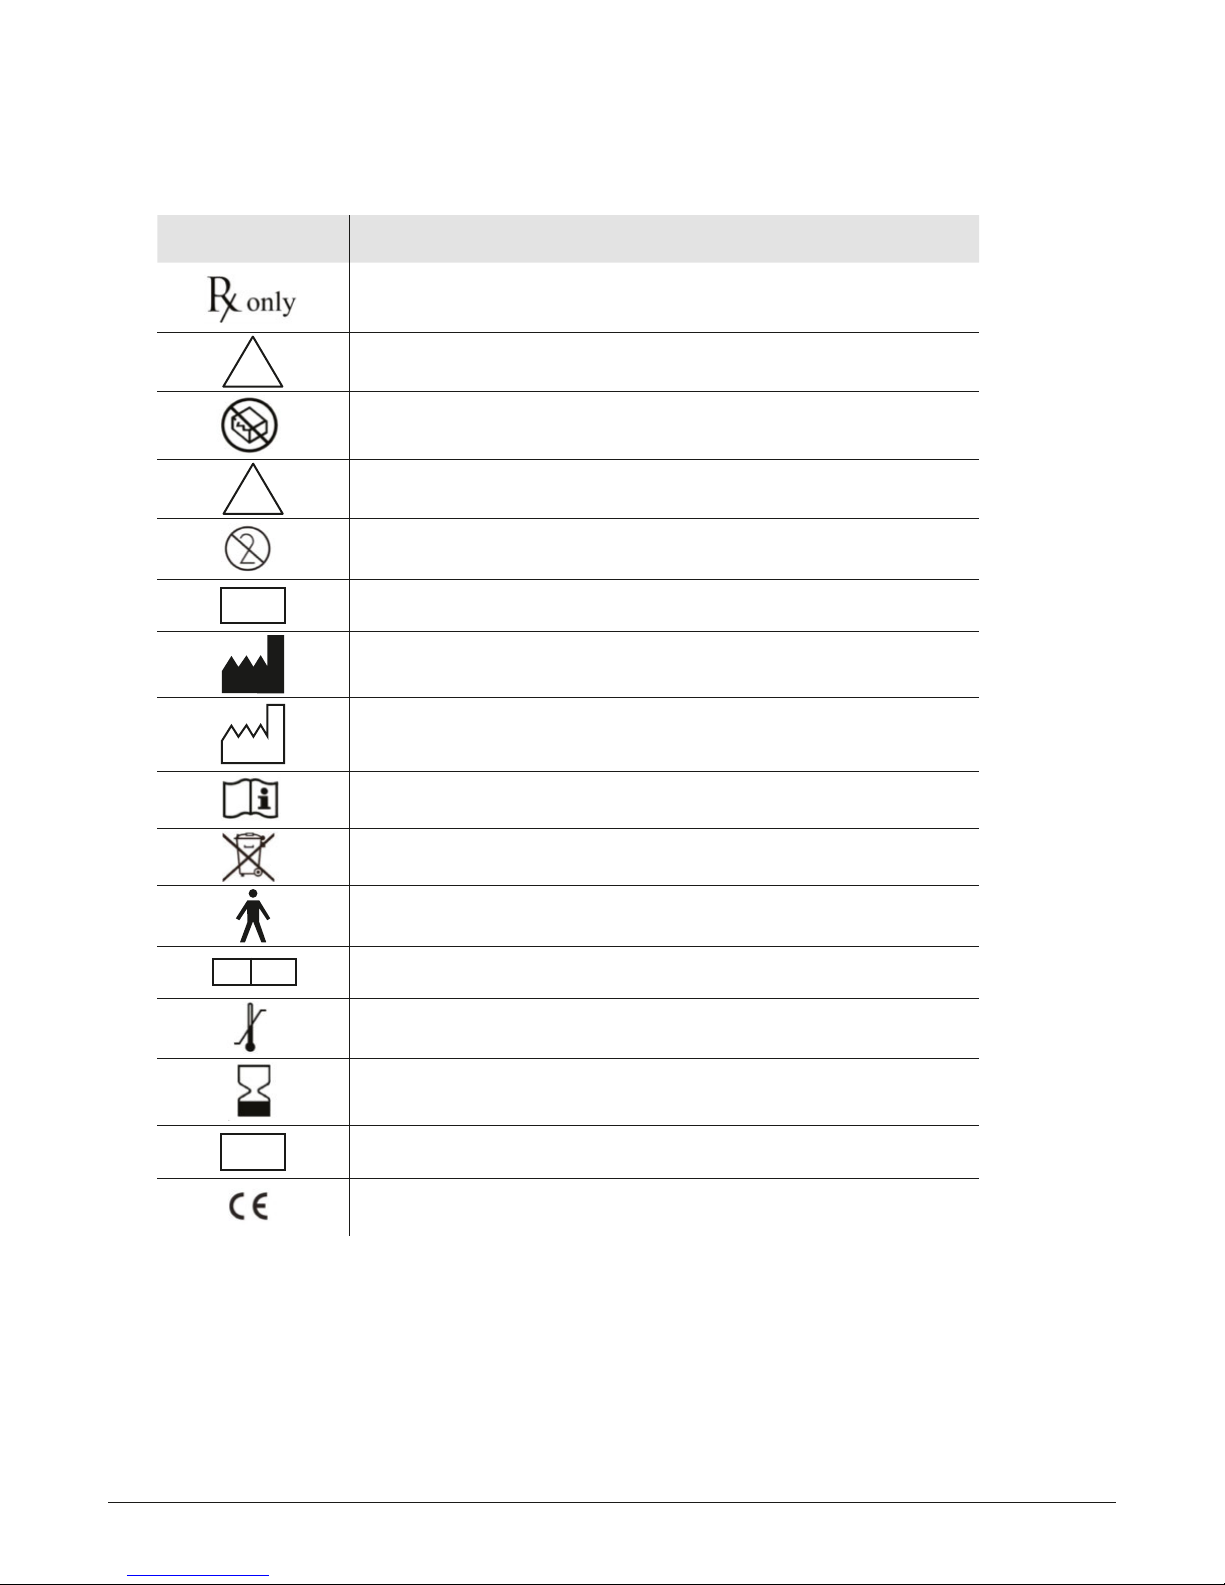
• FDA (USA) law restricts this device to sale by or on order of a physician.
• The Pure-Vu System should only be used according to the instruction and operating conditions
described in this manual. Failure to do so could result in compromised safety, equipment malfunction
or instrument damage.
• The Pure-Vu System should only be used under the supervision of a licensed physician. Do not use for
any purpose other than the intended application.
• The Pure-Vu System is to be used only by trained medical personnel.
• The Pure-Vu Oversleeve and WS Connector are provided clean and intended for single patient use. Do
not sterilize, clean or re-use the Oversleeve or WS Connector. Discard both devices properly after use.
• Confirm that the other devices used with The Pure-Vu System function properly and that these other
devices will not adversely aect the operation or safety of this equipment. If any component of the
endoscopic system is not functioning properly, the procedure should not be performed.
• The Pure-Vu System should only be used with approved medical devices, complying with IEC 60601-1.
• The Pure-Vu System must only be connected to a supply main with protective earth.
• Check and confirm that all cords or cables are connected correctly and securely.
• Continually monitor The Pure-Vu System and the patient for any signs of irregularity.
• The Pure-Vu System may cause radio interference or may disrupt the operation of nearby equipment.
• If the system does not function properly, turn the Workstation o, abort the procedure and follow the
instructions noted in section “Operating the Pure-Vu Workstation”.
• The Pure-Vu System should never be stored in areas where the unit could get wet or be exposed to
high temperature, humidity, direct sunlight, dust, salt, which could adversely aect the equipment.
• The Pure-Vu System should never be installed, used or transported in an inclined position nor should it
be subjected to impact.
• A minimum of 2 people are required to transport the Pure-Vu Workstation.
• The Pure-Vu Workstation should be maintained in a clean condition during storage and be ready for
subsequent use.
• Electrical safety checks shall be performed annually (or as required by institutional procedures). The
check must be performed only by Motus GI authorized technical personnel.
• The Oversleeve, WS Connector, Loading fixture, as well as the Workstation (WS), are intended to be
used only with Motus Pure-Vu System and its accessories.
• Avoid using the cleansing mode on the same area of tissue for an extended period of time.
• A new, single use waste receptacle should be used for each patient.
• A new, single use irrigation bag (IB) must be used for each patient.
Precautions:
• Use only new irrigation bag (IB).
• Advance cautiously when performing anal retroflex or/and entering the ileocecal valve.
• For optimal operation of the system, refrain from using the colonoscope suction and insuation
when The Pure-Vu System is activated.
• Care should be taken to avoid pinching the tubing during advancement through the colon and/or
when applying torque to the colonoscope.
• Only Motus GI personnel or a trained designee should service The Pure-Vu System.
133592 Motus GI_IFU_Manual_2018_R5.indd 3 9/5/2018 4:54:30 PM

4MOTUS GI PURE-VU SYSTEM INSTRUCTIONS FOR USE
1.1. Symbols Used
The Pure-Vu System has a safety warning and compliance label located at the rear of the WS. For a
definition of individual symbols, see table below:
SYMBOL DESCRIPTION
FDA (USA) law restricts this device to sale by or on order
of a physician
NON
STERILE
Non-sterile
Do not use if package is damaged
!Caution! Consult accompanying documents for
safety instructions
Do not re-use
LOT Batch code (adjacent to the lot symbol)
Manufacturer
Date of manufacture
Consult Instructions For Use, symbols are meant to support, not
replace, operating instructions
Must not be treated as unsorted municipal waste
Type BF equipment
EC REP Authorized representative in the European Community
Temperature limit
Use-by-date
SN Serial number
CE compliance symbol
2.0 INTENDED USE
The Pure-Vu System is intended to connect to standard colonoscopes to help facilitate
intraprocedural cleaning of a poorly prepared colon by irrigating or cleaning the colon and
evacuating the irrigation fluid (water), feces and other bodily fluids and matter, e.g. blood.
It is for use only by trained medical personnel located in hospitals, clinics and doctor offices.
133592 Motus GI_IFU_Manual_2018_R5.indd 4 9/5/2018 4:54:31 PM

5
MOTUS GI PURE-VU SYSTEM INSTRUCTIONS FOR USE
FIGURE 1: Pure-Vu Workstation – General Design & Components
Error
Low Medium
Cleansing Mode
High Warning System Test
3.0 PRODUCT DESCRIPTION
The Pure-Vu System enables colon cleansing during colonoscopy using a standard or slim colonoscope
with a length of 1630mm – 1710mm and a slim colonoscope outer diameter range of 11.7mm – 13.3mm
and a standard colonoscope outer diameter range of 12.8mm – 13.7mm. The Oversleeve, which fits over
the colonoscope and is connected to an external Workstation, generates fluid to break up feces. The
fecal matter & fluids are removed through the evacuation channels of the Oversleeve into an external
waste receptacle.
The Pure-Vu System consists of the following main components:
• The Oversleeve [O] is a disposable device that fits over the colonoscope and is connected to the
external Workstation., using the WS Connector [WSC].
• The Workstation [WS] is reusable and supplies an irrigation mixture of water/saline and gas, and
evacuates fecal material & fluids.
• WS Connector [WSC] is disposable and serves as an interface between the Oversleeve and the
Workstation.
• The loading fixture is reusable and aids in assembling the Oversleeve onto the colonoscope.
Below is a drawing showing the various components of the system and where they connect to each other.
1
[WS] Workstation
2
[IB] Irrigation Bag
3
[C] Colonoscope
4
[O] Oversleeve
5
[V] Evacuation Canisters
6
[FP] Foot Pedal
7
[C] Connector
1
2
34
5
7
6
133592 Motus GI_IFU_Manual_2018_R5.indd 5 9/5/2018 4:54:31 PM

6MOTUS GI PURE-VU SYSTEM INSTRUCTIONS FOR USE
3.1. System Workstation
The Workstation is intended to provide irrigating water or saline & gas, to evacuate fecal matter &
fluids out of the body during the colonoscopy procedure. Care should be taken when removing the
Workstation from the packaging so as not to damage any components.
1
[IT] Irrigation Tube
2
[IP] Irrigation Pump
3
[EL] Error Light
4
[LM] Cleansing Mode (LOW)
5
[MM] Cleansing Mode (MED)
6
[HM] Cleansing Mode (HIGH)
7
[WL] Warning Light
8
[ST] System Test
9
[EP1] Evacuation Pump 1
10
[ET1] Evacuation Tube 1
11
[EP2] Evacuation Pump 2
12
[PW] Power
13
[CLU] Lock and Unlock
14
[D] Drain
15
[WSC] Workstation Connector
16
[ET2] Evacuation Tube 2
17
[PC] Foot Pedal Connector
FIGURE 2: Pure-Vu Workstation
Error
Low Medium
Cleansing Mode
High Warning System Test
7
64 53
89
11
13
14
17
15
12
110
16
2
133592 Motus GI_IFU_Manual_2018_R5.indd 6 9/5/2018 4:54:31 PM

7
MOTUS GI PURE-VU SYSTEM INSTRUCTIONS FOR USE
3.1.1. Workstation Components:
The Workstation [WS] includes the following components:
• A monitoring & Control Unit that controls the delivery of irrigation fluids and gas into the colon, and
evacuation of fluids and feces from the colon.
• An external receptacle containing irrigation liquid (saline or water) which is connected to the
irrigation line (please note this is a consumable not supplied by Motus GI).
• An external waste receptacle for collecting the fecal material & fluids that are evacuated from the
colon through the evacuation line (please note this is a consumable not supplied by Motus GI).
• External foot pedals that activate the cleansing, evacuation and purging functions, and switch
between cleansing modes used by the physician.
3.1.2. The Workstation Front Panel:
The WS contains the following main components: On/O power button [PW], Irrigation pump (IP) that
pumps room temperature water or saline (not shown in this figure) and gas into the Pure-Vu Oversleeve
(not shown in this figure) via the irrigation tubing [IT]. The fecal material & fluids are removed from
the colon, using the evacuation pumps [EP1, EP2] via the evacuation tubing [ET1, ET2], into the waste
receptacle (not shown in this figure). The WS Connector [WSC] connects the Oversleeve to the
Workstation. The WS Connector slides into place in the front of the Workstation and has a lock/unlock
button [CLU] to lock and unlock the connector and a drain button [D] to drain the Oversleeve and
WSC lines. The cleansing/evacuation mode is controlled by the foot pedal (not shown in this figure)
which connects to the pedal connector [PC]. The Pure-Vu System undergoes a system test when
the System Test button [ST] is activated. The system test ensures The Pure-Vu System is functioning
properly prior to the start of the procedure. The system can be operated in three cleansing modes; low,
medium (default mode) and high. The mode selection is activated by using the cleansing mode selector
button [CMS] on the foot pedal. The selected mode is indicated by the cleansing mode lights [LM, MM,
HM] on the WS. The warning indication light [WL] will indicate an assembly related issue or when a
system malfunction occurs. This warning indication is both visual and audible. For warning indication
instructions see troubleshooting section. The error light (EL) will indicate when a non-recoverable
error occurs.
133592 Motus GI_IFU_Manual_2018_R5.indd 7 9/5/2018 4:54:31 PM

FIGURE 3: Pure-Vu Foot Pedal Unit
Manual Purging
[MP]
Cleansing Mode
Selector
[CMS]
Cleansing
[CP]
Evacuation
[EP]
8MOTUS GI PURE-VU SYSTEM INSTRUCTIONS FOR USE
3.1.3. The Foot Pedal Unit
The foot pedal allows the physician to choose each of the operating modes during the procedure. The
operating modes are as follows (Figure 3: Pure-Vu Foot Pedal Unit):
• Cleansing – simultaneous irrigation and evacuation, activated by the right foot pedal [CP].
• Evacuation only mode – activated by the left pedal [EP].
• Manual Purge – activated by the left button [MP].
• Cleansing Mode Selector – activated by the right button [CMS]. User can switch between three
cleansing modes; low, medium (default mode) and high.
133592 Motus GI_IFU_Manual_2018_R5.indd 8 9/5/2018 4:54:31 PM

9
MOTUS GI PURE-VU SYSTEM INSTRUCTIONS FOR USE
3.2. Pure-Vu Oversleeve
3.2.1. The Oversleeve
The Pure-Vu Oversleeve is a single use disposable, which fits over a standard or slim colonoscope. Once
attached to the colonoscope the maximum outer diameter is 21 mm. The device consists of multiple
irrigation and evacuation conduits as well as channels for the sensing capabilities of the system. The
Oversleeve has a smooth surface outer sleeve and an inner sleeve to provide the proper connection to
the colonoscope. At the proximal end of the Oversleeve is the insertion port for the colonoscope, which
also includes an inflation connector that is attached to an air compressor. The insertion port is loaded
into the loading fixture which aids insertion of the colonoscope into the Oversleeve. Proximal to the
insertion port are all of the Oversleeve’s conduits which branch o and attach to the WS Connector
[WSC]. The WS Connector [WSC] connects the Pure-Vu Oversleeve to the Workstation.
3.3. Accessories for Use with Pure-Vu
The following waste receptacle accessories have been validated be used with The Pure-Vu System.
MANUFACTURER REFERENCE CODE DESCRIPTION
Cardinal Health 65651-530 CRD disposable liner 3000cc
Cardinal Health 65652-531 Wall to outer edge canister (10 ¾ in.) 3000cc
Cardinal Health 65652-586 30 in. roll stand. 30 in. from floor to canister top.
4 side mounting locations for canister placements
Cardinal Health 65652-500 20 in. roll stand. 20 in. from floor to canister top.
4 side mounting locations for canister placements)
Cardinal Health 65652-570 Single canister roll stand. Mounted on four casters
for stability and mobility
4.0 SETUP AND INTERCONNECTIONS
4.1. Unpacking
4.1.1. Unpacking the Oversleeve and Workstation Connector
Prior to unpacking the Oversleeve and Workstation Connector units, verify that the packaging is
not compromised. If the packaging is open or damaged, DO NOT use the Oversleeve.
Verify package label and colonoscope model to ensure that the correct Oversleeve has been
selected for the compatible colonoscope.
During set up, ensure that no packaging material remains on the device and that the device does
not touch the floor or other undesired surfaces.
4.1.2. Unpacking the Workstation and Loading Fixture
Prior to unpacking the Workstation and Loading Fixture, verify that the packaging is not
compromised. If the packaging is open or damaged, DO NOT use.
During set-up ensure that no packaging material remains on the device and that the device does
not touch the floor or other undesired surfaces.
133592 Motus GI_IFU_Manual_2018_R5.indd 9 9/5/2018 4:54:32 PM

Proximal
Clamp Open
Distal End
Clamp
Plug
Clamp in
Locked Position
Fixture Channel
swung open from
storage position
Distal Channel
Cover Open
Clamp in
Unlocked Position
Umbilical
Tubing
Colonoscope
Handle Holder
Colonoscope
Handle Holder
A
B
Proximal
Clamp Closed
Inflation
Hub Luer
Scope Holder
Umbilical
Tubing Rack
F
A
AC
C
D
B
E
D
10 MOTUS GI PURE-VU SYSTEM INSTRUCTIONS FOR USE
FIGURE 4: Place the loading fixture on a flat surface and pull up on black levers to lock the suction cups in place (A). Open
distal channel cover (B), rack and colonoscope handle holders (C). Hang the umbilical tubing on the rack and open Proximal
clamp (D), distal channel cover (B) and distal end clamp (E). Place the Oversleeve (F) into the loading fixture channel with
the Oversleeve’s inflation hub luer connector facing up. Close and lock the Proximal clamp (D).
4.2. Assembly of the Oversleeve on the Workstation
4.2.1. Cleaning the Loading Fixture
The loading fixture including the compressor and associated tubing should be cleaned prior to attaching
the Pure-Vu Oversleeve to the colonoscope by thoroughly wiping down the device with a viricidal cloth
(Opti-cide, Cavicide or similar surface disinfectant of choice) that has an active ingredient of isopropyl
alcohol (17% - 21%).
4.2.2. Oversleeve Assembly
To load the Oversleeve onto the colonoscope complete the following steps:
133592 Motus GI_IFU_Manual_2018_R5.indd 10 9/5/2018 4:54:32 PM

Power
Switch
Locked
Locked
Open
A
B
C
D
A
A
A
Position before
insertion into
Oversleeve
Slim Sealing Plug
Standard Sealing Plug
Position after
insertion into
Oversleeve
Evacuation Ports
E
CD B
11
MOTUS GI PURE-VU SYSTEM INSTRUCTIONS FOR USE
FIGURE 5: Select either the standard or slim sealing plug based on the type of device being loaded. Prepare the
distal sealing plug (A) by first wetting it with isopropyl alcohol or water and then insert it into the distal end of
Oversleeve (B). Place distal end of Oversleeve with sealing plug into the clamp (C) making sure the evacuation
ports are facing down (E) and the interface between flexible distal head and the sealing plug is aligned directly
with the outer clamp. Close and lock the clamp (C). Close the distal channel cover (D).
FIGURE 6: Connect the control box air-line tubing (A) to the inflation hub (B) and turn ON the inflation control
box power. Then place the colonoscope connector (C) and control section on the loading fixture. Rotate the
colonoscope holders to lock. Ensure all of the colonoscope valves (D) are in place and secure.
4.2.2. Oversleeve Assembly (cont...)
133592 Motus GI_IFU_Manual_2018_R5.indd 11 9/5/2018 4:54:33 PM

A
C
D
B
12 MOTUS GI PURE-VU SYSTEM INSTRUCTIONS FOR USE
FIGURE 7: Prepare colonoscope by wetting its distal end with water and then insert the colonoscope tip into the
proximal end of the inflation hub (A); wait 2 seconds until the bottom green LED light (B) illuminates. Begin to gently
push the colonoscope into the Pure-Vu Oversleeve (C). Continue inserting the colonoscope until it reaches the distal
end and will not advance with a gentle push. Place the colonoscope control section onto the scope support bracket (D).
4.2.2. Oversleeve Assembly (cont...)
133592 Motus GI_IFU_Manual_2018_R5.indd 12 9/5/2018 4:54:33 PM

Error
Low Medium
Cleansing Mode
High Warning System Test
Head in
Open Position
A
B
C
E
C
H
F
C D
B
A
G
13
MOTUS GI PURE-VU SYSTEM INSTRUCTIONS FOR USE
FIGURE 8: Turn OFF the inflation control box power (A). Disconnect the air-line from the inflation hub (B). Unlock
the inflation and sealing clamps (C) and distal channel cover (D). Remove the sealing plug (E) and inspect the distal
end of the Pure-Vu/colonoscope interface, making sure the colonoscope is flush with the upper lip of the Pure-Vu
Oversleeve as shown (F). Remove the Pure-Vu Oversleeve (G) with colonoscope and umbilical tubing (H) from the
loading fixture. The Pure-Vu Oversleeve and colonoscope are now ready for assembly to the Pure-Vu Workstation
controller and colonoscope light source and video processor.
FIGURE 9: Connect the colonoscope to the light source and video processor according to manufacturer’s
recommended procedure. Turn on the Workstation by pressing the power button (A). Place the Workstation
connector on front of the Workstation and slide down into place (B). Push the Workstation connector lock button
(C).
4.2.2. Oversleeve Assembly (cont...)
4.2.3. Attaching the Oversleeve to the Workstation
133592 Motus GI_IFU_Manual_2018_R5.indd 13 9/5/2018 4:54:34 PM

Error
Low Medium
Cleansing Mode
High Warning System Test
C
B
A
Head in
Closed Position
Error
Low Medium
Cleansing Mode
High Warning System Test
B
A
C
D
Head in
Open Position
14 MOTUS GI PURE-VU SYSTEM INSTRUCTIONS FOR USE
FIGURE 10: Open all three pump heads (A) then place the irrigation tubing into the pump between marked blue
lines as shown (B). Place evacuation tubing with white markings (C) on top pump and evacuation tubing with red
markings on lower pump (D).
FIGURE 11: Close pump heads (A). Snap evacuation funnels into connector (B). Connect the luer fittings on the
umbilical tubing to the luer fittings (C) on the Workstation connector by matching the corresponding colors (Clear,
Blue and Red).
4.2.3. Attaching the Oversleeve to the Workstation (cont...)
133592 Motus GI_IFU_Manual_2018_R5.indd 14 9/5/2018 4:54:34 PM

Error
Low Medium
Cleansing Mode
High Warning System Test
A
B
C
D
Error
Low Medium
Cleansing Mode
High Warning System Test
B
A
15
MOTUS GI PURE-VU SYSTEM INSTRUCTIONS FOR USE
FIGURE 12: Connect the irrigation tubing to the irrigation bag (A). Then connect evacuation tubes to the waste
receptacles (B).
FIGURE 13: Confirm presence of green lights. Point the tip of the colonoscope (A) and Pure-Vu Oversleeve
(B) toward a container (C) and press the system test button (D) for 2 seconds to verify irrigation. The Pure-Vu
System is now ready to use.
4.2.3. Attaching the Oversleeve to the Workstation (cont...)
133592 Motus GI_IFU_Manual_2018_R5.indd 15 9/5/2018 4:54:35 PM

16 MOTUS GI PURE-VU SYSTEM INSTRUCTIONS FOR USE
5.0 SYSTEM OPERATION
5.1. Pre-procedure Operations
1. Use a new, single use irrigation bag (IB) and a new, single use waste receptacle.
2. Confirm that the irrigation bag (IB) is filled with at least 3 liters of room temperature saline or water.
3. Confirm that the waste receptacle and IB are replaced at the same time at the beginning of the
procedure, in order to avoid waste overflow.
4. Verify that the device is assembled correctly.
5. Check and confirm that all cords or cables are connected correctly and securely.
5.2. Operating the Pure-Vu Workstation
1. Turn on the Pure-Vu Workstation power button [PW].
2. Turn on the colonoscope processor and light source.
3. Verify visually and functionally that the colonoscope functions properly (i.e. clear image, irrigation,
insuation and suction).
4. Check The Pure-Vu System visually and functionally:
a. Place the tip of the colonoscope in a container that can receive irrigation jet for approximately
2 seconds.
b. Press the System Test button [ST] and verify irrigation.
5. In case of an unrecoverable failure (a red triangle will appear), take WSC out, turn the system o
[PW], disconnect and discard the Oversleeve. Assemble new Pure-Vu Oversleeve and repeat steps
outlined in sections 4 & 5.
6. After determining The Pure-Vu System is ready for use apply a water based gel (as used in standard
colonoscopy procedures) to distal 30cm of the Oversleeve.
7. Place and prepare the patient for the procedure as per standard colonoscopy procedures. It is
recommended that an absorbent pad be placed around/underneath the patient.
8. Begin to perform the colonoscopy as per facility guidelines. Use Pure-Vu System when cleansing is
required as per physician discretion.
9. Once the tip of the colonoscope is inserted, The Pure-Vu System can be operated as needed.
10. Activate the cleansing mode step by pressing on the right foot pedal. The cleansing mode selector
switch is located on the foot button. The default cleansing mode is medium (denoted by Medium
mode light), if a higher cleansing level is needed, press the foot button switch to the high mode
(denoted by High mode light and an audible signal). If a lower cleansing level is needed depress the
foot button switch to the low cleansing mode (denoted by Low mode light). The switching between
the modes is performed in a cyclic manner – Medium – High – Low - Medium.
11. If only evacuation is desired, press the left foot pedal to activate the evacuation function.
12. If the evacuation channels are blocked the purging pedal button can be pushed.
13. Upon completion of the colonoscopy remove the colonoscope, remove the WS Connector and
the Oversleeve from the Workstation (section 5.3), remove the Oversleeve from the colonoscope
(section 5.4) and discard Oversleeve and WS Connector per facility protocol (Sections 5.5).
133592 Motus GI_IFU_Manual_2018_R5.indd 16 9/5/2018 4:54:35 PM

Error
Low Medium
Cleansing Mode
High Warning System Test
B
B
C
A
D
B
Error
Low Medium
Cleansing Mode
High Warning System Test
A
C
B
D
17
MOTUS GI PURE-VU SYSTEM INSTRUCTIONS FOR USE
FIGURE 15: Cut the umbilical tubing (A) approximately 15 cm from the proximal end of the Oversleeve. Open
Workstation pumps (B) and remove all tubing (C) then discard the Workstation connector (D) and umbilical tubing
as per facility protocol.
FIGURE 14: After the procedure, fill a container with 200 cc of tap water (A). Point the tip of the colonoscope down
in the container and evacuate the 200 cc of tap water by depressing the evacuation pedal on the foot pedal unit (B).
Maintain scope position and disconnect the irrigation tubing (C). While pointing the tip down in the container, purge
the evacuation lines by depressing the drain button for 2 seconds (D). Wait until the drainage stops.
5.3. Disassembling the Workstation Connector and Oversleeve
133592 Motus GI_IFU_Manual_2018_R5.indd 17 9/5/2018 4:54:35 PM

D
D
E
C
A
B
18 MOTUS GI PURE-VU SYSTEM INSTRUCTIONS FOR USE
FIGURE 16:
5.4. Removing the Oversleeve from the Colonoscope
Accessories required for unloading Pure-Vu from the colonoscope:
60cc luer lock syringe, 3-way stopcock, Detergent, Hemostatic Clamp (minimum 5.5”)
Unloading procedure:
Place the endoscope (A) in the bottom of a basin (B) or sink in 2-3 soft coils (C) connect the stopcock
(D) to the luer lock syringe (E). Open the stopcock by turning the o valve facing towards the side
port of the stopcock and draw up 60 cc of a 4-part water, 2 part detergent solution (40 cc water, 20
cc detergent). Connect the stopcock and syringe assembly to the Oversleeve luer hub. Flush the 60 cc
volume of diluted detergent through the Oversleeve and look for the solution to exit the distal end.
133592 Motus GI_IFU_Manual_2018_R5.indd 18 9/5/2018 4:54:36 PM

19
MOTUS GI PURE-VU SYSTEM INSTRUCTIONS FOR USE
5.4. Removing the Oversleeve from the Colonoscope (cont...)
A
B
C
D
FIGURE 17:
Unloading procedure: (cont...)
Maintain pressure on the syringe plunger (A) and close the stopcock valve (B) by turning the o valve
towards the Oversleeve (C) to maintain pressure. Note: If fluid does not exit the Oversleeve, remove the
syringe from the stopcock, draw up an additional 60 cc of diluted detergent solution into the syringe,
attach the syringe to the stopcock and turn the o valve towards the side port of the stopcock and
repeat step 5.
Push the tip of the colonoscope back approximately 2 cm into the Oversleeve. Clamp (D) the Oversleeve
distal to the endoscope (do not clamp the endoscope). Turn the stopcock o valve toward the
Oversleeve, and draw up 60 cc of air. Turn the o valve to the side port position and infuse the air. Close
by turning the o valve towards the Oversleeve.
133592 Motus GI_IFU_Manual_2018_R5.indd 19 9/5/2018 4:54:36 PM

20 MOTUS GI PURE-VU SYSTEM INSTRUCTIONS FOR USE
5.4. Removing the Oversleeve from the Colonoscope (cont...)
B
A
FIGURE 18:
Unloading procedure: (cont...)
Proceed to separate the scope by grasping the Oversleeve approximately 2” distal of the hub (A), pulling
the Oversleeve and endoscope away from each other. (Note: If at any point, you see the Oversleeve
bunch up creating pinch points, simply grasp the Oversleeve on either side of the pinch point and pull
apart, then proceed to remove the Oversleeve by pulling the Oversleeve and endoscope away from
each other) (B).
Point the endoscope tip and Oversleeve hub downward just before the endoscope leaves the Oversleeve
to avoid spray. Discard per facility protocol.
133592 Motus GI_IFU_Manual_2018_R5.indd 20 9/5/2018 4:54:36 PM
Other manuals for Pure-Vu System
1
Table of contents
Other Motus Medical Equipment manuals
Popular Medical Equipment manuals by other brands

ev3
ev3 AXIUM PRIME Detachable Coil Instructions for use

GE
GE OEC 9800 Plus Quick reference guide

Chattanooga
Chattanooga Intelect 225P Operator's manual

HoMedics
HoMedics deep-sleep HDS-2000 Instruction manual and warranty

natus
natus Quantum 10-10 Instructions for use

Respironics
Respironics System One Heated Humidifier user manual