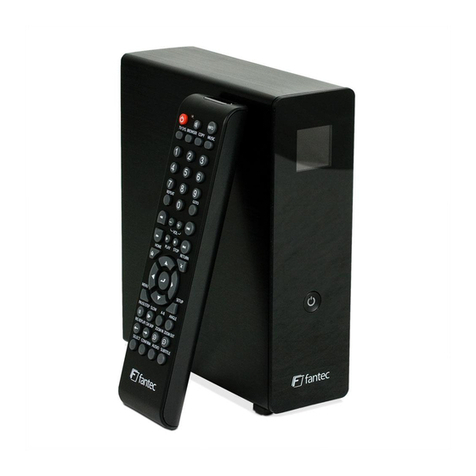
MP-Man QS-100 Assembly instructions

U
Us
se
er
r
M
Ma
an
nu
ua
al
l
G
Gu
ui
id
de
e
M
Mo
od
de
el
l
Q
QS
S-
-1
10
00
0
The Movie what you really wanted to watch
The Music which is your favorite
The Photos which has your happy memories
TV Drama which you would never miss
Relax yourself wherever and whenever so far
Ultimate Digital Multimedia Player “Movie Clip”

User Manual Guide Model: QS-
100
2
CONTENTS
1. Product Feature....................................................................................................................... 3
2. Safety Precautions .................................................................................................................. 4
3. Product Specification ............................................................................................................. 7
4. System Requirements (for PC) .............................................................................................. 8
5. Descriptions & Product Contents.......................................................................................... 9
5-1 QS-100 Description............................................................................................................ 9
5-2 Product Contents............................................................................................................. 10
6. Install HDD ............................................................................................................................. 11
7. Partitioning and Formatting Hard Disk ............................................................................... 12
7-1 Setting and Formatting on Windows 98/ME.................................................................. 12
7-2 Setting and Formatting on Windows 2000 / XP ............................................................ 16
7-3 Use on Linux (Available on Linux 2.4 or later).............................................................. 20
7-4 Use on Macintosh ............................................................................................................ 20
8. Connecting Video Cable ....................................................................................................... 21
9. Connecting Audio Cable....................................................................................................... 23
10. Remote Controller ............................................................................................................... 24
11. Setting the SETUP Menu..................................................................................................... 27
12. Special Menu Setting .......................................................................................................... 30
13. Additional Functions........................................................................................................... 32
14. Main Screen Configuration................................................................................................. 33
15. Playing Movie ...................................................................................................................... 35
16. Playing Music ...................................................................................................................... 37
16. Playing Image ...................................................................................................................... 38
17. Using Virtual DVD................................................................................................................ 39
18. Firmware Upgrade............................................................................................................... 40
18. Firmware Recovery Mode................................................................................................... 42
19. Troubleshooting .................................................................................................................. 43
User Manual Guide Model: QS-
100
3
1
1.
.
P
Pr
ro
od
du
uc
ct
t
F
Fe
ea
at
tu
ur
re
e
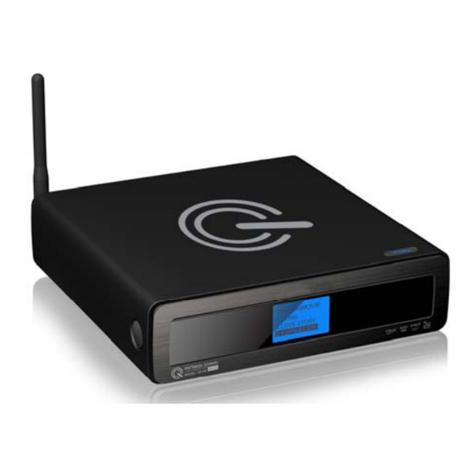
QS-100 is a new type of entertainment device with 3.5’’ hard disk mounted inside. You can play various
multimedia data including video, music and image files saved in a PC by connection this device to PC
with USB cable.
● Used as a high resolution multimedia player by connecting to TV
(Optimization of firmware allows the highest operation speed in its class on the market)
● Used as a USB2.0 high-capacity portable storage device by being Connected to PC (NTFS/FAT32)
● Support digital TV-compliant component 480p, 720p, 1080i progressive Scan
● Optical output for digital 5.1 channel sound
● Virtual DVD function of playing high-resolution DVD file as clear as Original
●Persistent support for firmware upgrade at homepage.

User Manual Guide Model: QS-
100
4
2
2.
.
S
Sa
af
fe
et
ty
y
P
Pr
re
ec
ca
au
ut
ti
io
on
ns
s
Please note the following precautions before use, Also, please pay special attention to additional
cautions marked [caution] in this User Guide
Proprietary Data
Proprietary contents such as software, sound sources and videos are protected under relevant laws
including the Copyright Act or Privacy Law using this product.
Codec support
This product does not support all the codec to play media files. Please confirm the kind of codec
supported. Also, even in case of supported codec, media files are not played as normal or are not in
normal operation depending on the characteristics of file or user environment.
Data Storage
Please keep data saved in this product in a separate safe place. We are not liable for any loss or damage
of stored data.
Use in Vehicle
Please use designated power adapter sold separately for use in a vehicle. As operation of this product may
distract your attention, do NOT use this product while driving. If this product is used when the engine is
stopped, it may not be operated as normal due to voltage difference and may lead to electric discharge of
the vehicle.
Impact
DO NOT impact or drop this product, which can lead to malfunction
Foreign Objects
Never push any metals such as coins and hair pins or flammable objects of any kind into this product,
which could result in circuitry malfunction or a fire,
Self-Service Prohibition
Do not break up, re-assemble or remodel this product by yourself, otherwise warranty would be in vain

User Manual Guide Model: QS-
100
5
Loading
Do Not put heavy object on this product, this can result in damage to this product or person injury.
Water and Moisture
Do not let this product contact with water or liquids. If conductive liquids like water leaked into this products,
Immediately disconnect power and turn it off as that could result in a fire hazard or electric shock
Chemical Agents
Do Not use chemical agents or detergents, this could damage the surface of this product.
Heat
Do Not expose this device to heat or sunlight. Also, do not keep or leave it in high temperature for a long
time.
Magnets and Magnetic Force
Do not put this device near ant apparatus generating strong magnetic force this could lead to malfunction
or deletion of data inside.
Eye/Ear Protection
Watching TV for a long time or tuning the TV volume louder may cause vision or hearing damage
Fire
If abnormal phenomenon such as smoke or order is detected whie using this product, immediately turn the
power off, remove power adapter and ask for servicing.
Our Reach Of Children
Do not let infants or babies touch or suck this device and do not place it within the reach of babies or
children, there is a danger of personal injury
Power Supply Maintenance
Do not put a lot of power plugs at the same time and make certain that power is inserted tight.
Do not turn the power off while using and never forget to get rid of power adapter after use

User Manual Guide Model: QS-
100
6
Any part of this user guide can not be copied in any form or by any means (including electrical copy,
mechanical copy, copy by copy machine, disk copy, ect.), reproduced or saved, introduced or
transmitted into search system without the written permission of Zioncom Technology Ltd.
Except rights expressly granted to the user by Zioncom Technology Ltd upon the use of this product,
supplying this document does not permit any license in relation to patent right, trademark right
copyright or other property rights
Microsoft Windows 98,window 98SE,Windows ME, Window 2000,Windows XP are registered
trademarks of Microsoft Corporation.
Zioncom Technology Ltd may modify the standard of hardware and software or other components in the
package to enhance the functionality of this product without prior agreement of individual users.

User Manual Guide Model: QS-
100
7
3
3.
.
P
Pr
ro
od
du
uc
ct
t
S
Sp
pe
ec
ci
if
fi
ic
ca
at
ti
io
on
n
Specification
MPEG 1,2,4(MPG, MPEG, AVI, DAT, VOB, IFO, ISO)
Movie
Divx, Xvid (except GMC, Qpel optitions)
Music MP3, WMA, WAV, Ogg, Vorbis
Supported File Formats
Photo JPEG
Video Output S-video, Composite, HD Component (480p,720p,1080i)
Audio output 2CH Analog, 5.1CH Optical (AC3, DTS).
Interface USB2.0 (Device), USB1.1 Compatible
OS Windows 98 SE/Me/2000/XP or later, Linux, Macintosh
File system FAT32,NTFS
Dimensions 191x142.5x49(mm)
Weight 0.96kg
Temperature 0~60
Power Source
12V 3A AC/DC Adapter.(12V, 3A, or 12V, 2.5A )
Free Voltage(AC 100~240V,50~60Hz)

User Manual Guide Model: QS-
100
8
4
4.
.
S
Sy
ys
st
te
em
m
R
Re
eq
qu
ui
ir
re
em
me
en
nt
ts
s
(
(f
fo
or
r
P
PC
C)
)
-USB 2.0/USB1.1 Interface (USB 2.0 recommended)
PC Requirement for
USB Connection
-Operating System
Windows 98SE/ME/2000/XP,
Linux 2.4 or later, Mac OS 9.1 or later

User Manual Guide Model: QS-
100
9
5
5.
.
D
De
es
sc
cr
ri
ip
pt
ti
io
on
ns
s
&
&
P
Pr
ro
od
du
uc
ct
t
C
Co
on
nt
te
en
nt
ts
s
5-1 QS-100 Description

User Manual Guide Model: QS-
100
10
1 Power - Turns QS100 on and off
2 LED DISPLAY -Shows the player exactly working status
3 Remote Control Sensor - Aim remote controller to this sensor
4 Cooling Fan
- Cools down HDD.
- Dusty cooling fan causes noises.
- Please clean this area often.
5 Digital optical
- Output for 5.1 channel sound for home theatre amps or
receiver which supports optical input.
- Connect digital optical cable to this output jack
6 Audio R / L
- Right audio output of 2 channel audio
- Connect red audio cable to this output jack.
- Left audio output of 2 channel audio.
- Connect white audio cable to this output jack.
7 Coaxial - Coaxial Cable Output of digital audio
8 S-Video - Connect S-Video cable to this output jack.
9 USB port - USB 2.0 port is used to connect to a PC.
10 Component Video Y - Connect green component cable to this output jack.
11 Component Video Pb /Cb - Connect blue component cable to this output jack.
12 Component Video Pr/Cr - Connect red component cable to this output jack.
13 Composite Video - Standard video output. Connect yellow video cable to
this output jack.
14 Power Connection jack - Connect provided 12V adaptor or optional car cigar adaptor to
this jack.
5-2 Product Contents
QS100 Remote Controller Battery(AAA*2) A/V Cable
USB Cable Power Adapter Power Cable User Guide

User Manual Guide Model: QS-
100
11
6
6.
.
I
In
ns
st
ta
al
ll
l
H
HD
DD
D
●Follow following step-by-step instruction to install a HDD, It is not as hard as you think, just follow
the steps slowly.
1. Unscrew the screws on both side of QS100
Use a screwdriver to unscrew the screw.
2. Open the topper cover
As showed in the picture, after doing step1,
you can open the topper cover of QS100 easily.
3. Inside picture after open
Picture shown is inside of QS100 after
open the topper cover.
4. Picture after HDD is connected
Gently place the HDD into the QS100 as shown
in the picture.
5. Screw the HDD holding screws
After HDD is placed in the QS100 properly,
screw the HDD holding screws as shown in the picture
6. Close the topper cover
When you close the topper cover, again, use a
screwdriver to screw the screws back in.

User Manual Guide Model: QS-
100
12
7
7.
.
P
Pa
ar
rt
ti
it
ti
io
on
ni
in
ng
g
a
an
nd
d
F
Fo
or
rm
ma
at
tt
ti
in
ng
g
H
Ha
ar
rd
d
D
Di
is
sk
k
7-1 Setting and Formatting on Windows 98/ME
1. Install exclusive driver and then connect
QS100 to PC using USB cable
2. Select Window [Start>Program>MS-DOS]
to open and MS-DOS window.
3. Type fdisk command in MS-Dos window
and press the [Enter] key.
4. Say yes to enable large disk capacity by
typing “Y” and then press the [Enter] key.
Non-formatted hard disks are not detected by PC. If the hard disk is not formatted, please take the
following steps to format it. Newly purchased hard disks are not normally formatted
Caution
In Windows 98SE, install and exclusive driver before proceeding to partition and
formatting. In windows ME/2000/XP, there is no need to install exclusive driver

User Manual Guide Model: QS-
100
13
5. Among fdisk options, select options
5[change current fixed disk drive].
6. Type the hard disk number fro partitioning in
[Enter Fixed Disk Number] and press the
[Enter] key
7. Select [1.creat DOS partition or Logical DOS
Drive] in fdisk options by typing “1” and then
press the enter key
8. Select [1.Creat Primary DOS Partition] in
‘Create DOS Partition or Logical DOS Drive’
by typing “1” and then press the enter key.

User Manual Guide Model: QS-
100
14
9. Wait for integrity check to be complete
as below
10. After integrity check, say yes to the message
‘Do you wish to use the maximum available
Size for a primary DOS partition and make the
Partition active( Y/N)?
By typing “Y” and press the enter key
11. Type in [capacity or % you want] and press the
enter key. If you want to use one disk
without partitioning. Type 100%.
12. Integrity check is started again. After it is
completed, A message saying Primary Dos
Partition was created, drive letter was modified
or added is displayed.
Then, press [ESC] to return to fdisk options
13. In fdisk option screen, press [ESC].
Then a message is displayed, saying that
your must restart your system.
Press [ESC] again.

User Manual Guide Model: QS-
100
15
14. At hen C:\WINDOWS> prompt, type exit
and then press[ENER] to return to window
screen.
15. Disconnect QS100 from PC and then connect
it again to PC.
16. Drive letter s created in [My Computer] of
Windows Explorer.
Right-click the created drive letter and select
[Format].
17. When formatting is completed , you can use
QB100 as an external hard disk drive by connecting
it to Computer.(I change it based on my comprehension)
Caution
For some hard disks, power supply from USB port is not enough for operation, in this
case, connect a separate power supply using the adapter supplied in the package. Then,
no problem will be experienced in operating the device connected to a PC.
For recently released PCs, there is a USB port installed on the front side of the PC for
users’ convenience. However, this expanded USB port sometimes fail to recognize
devices sending and receiving data in high speed such as external hard disk. In this case,
use the USB port in the rear side of the PC

User Manual Guide Model: QS-
100
16
7-2 Setting and Formatting on Windows 2000 / XP
1. Connect QS100 to a PC using a USB cable
2. Select [Start> Control Panel>management
Tool>Computer Management] and then
[Disk Management] under Computer Management
menu.
3. Click [Next] to continue when write Signature
and Disk Upgrade Wizard appears
4. Select the disks you want to write a disk signature to
and Click [Next] to continue
5. When Write Signature and Disk Upgrade Wizard
is completed, Click [Finish]
6. Right-click an [Unallocated] drive in Drive Management
and select [New Partition] from the menu that appears.
7. When the New partition Wizard is shown,
Click [Next] to continue
Non-formatted hard disks are not detected by PC. If the hard disk is not formatted, please take the
following steps to format it. Newly purchased hard disks are not normally formatted

User Manual Guide Model: QS-
100
17
8. Select [Primary Partition(P)] and Click [Next]
to continue
9. Enter the desired partition size in [Partition size in MB]
and Click [Next] to continue.
10. When the [driver letter] is assigned, Click [Next]
11. In the format partition windows, select
[format this partition with the following settings] and
FAT32, and then check [Perform a quick format] box.
Click [Next] to continue.
12. When [Completing the New Partition Wizard]
appears, Click [Finish]

User Manual Guide Model: QS-
100
18
13. A new NTFS partition was created.
14. Right-click an [Unallocated] drive in Drive
Management and select [New Partition] from
the menu that appears.
15. When the New partition wizard is shown
Click [Next] to continue.
16. Select [Primary Partition(p) and Click [Next]
to continue.
17. Leave the value for [Partition size in MB]
as if appears and Click [Next] to continue.
(The partition size shown is the remaining
hard disk size unallocated.)
18. When the [drive letter] is assigned,
Click [Next]

User Manual Guide Model: QS-
100
19
19. In the format partition windows select
[Format this partition with the following settings]
and NTFS, and then check [Perform a quick format]
box, Click [Next] to continue.
20. When [Completing the New Partition Wizard]
appears, Click [Finish].
Caution
Drives formatted with NTFS file system are detected on windows 2000/XP,
but not detected on Windows 98/ME.
Do not select to use [Compressing Files and Folder] option.
If the specification file system is FAT32 on windows 2000/XP, it is not possible
to have one drive letter on large hard disk over 32GB. In order to have one partition,
please perform partitioning and formatting on windows 98/ME.
Also, select [Primary Partition] to have multiple partitions on large hard disk over 40GB.
If [Extended Partition] is selected, drives may not be detected.

User Manual Guide Model: QS-
100
20
7-3 Use on Linux (Available on Linux 2.4 or later)
[Auto Mount]
After booting , log in as a root user. Connect this product and turn the power on .Confirm whether this
product's partition is detected using the partition tool, fdisk.
Make a mount pointer, for example, QS100, in folder mount ( / mnt)and edit / etc / fstab /
to add the following:
/ dev / sda1 / mnt / QS100 vfat nosuto, user 0 0 -> for HDD formatted with FAT32
/ dev / sda1 / mnt / QS100 ntfs nosuto, user 0 0 -> for HDD formatted with NTFS
You can use after log in again.
[Manual Mount]
Create mount pointer in the same way as above and then mount this product by typing as follows:
Mount -t vfat / dev / sda / mnt / QS100 -> for HDD formatted with FAT32
Mount -t ntfs / dev / sda / mnt / QS100 -> for HDD formatted with NTFS
[How to Stop Using QS-100]
You can unmount QS-100 in Device Manager.
7-4 Use on Macintosh
As this product is automatically detected on Macintosh O/S 9.X or later, there is no need extra drivers.
When stop using this product on Macintosh, discard the corresponding Desktop icon into Trash Bin and
disconnected this product from USB port..
Note
A. it is assumed that QS-100 is detected as sda in the example above .Drive name
may subject to change depending on user environment .Please type the name of
drive detected by USB Mass Storage.
Table of contents
Other MP-Man Media Player manuals

MP-Man
MP-Man BT18cSP User manual

MP-Man
MP-Man MPC24 User manual

MP-Man
MP-Man MPC24 User manual

MP-Man
MP-Man BTC299 User manual

MP-Man
MP-Man WATCH ME User manual

MP-Man
MP-Man BTC399 User manual

MP-Man
MP-Man MP217SP User manual

MP-Man
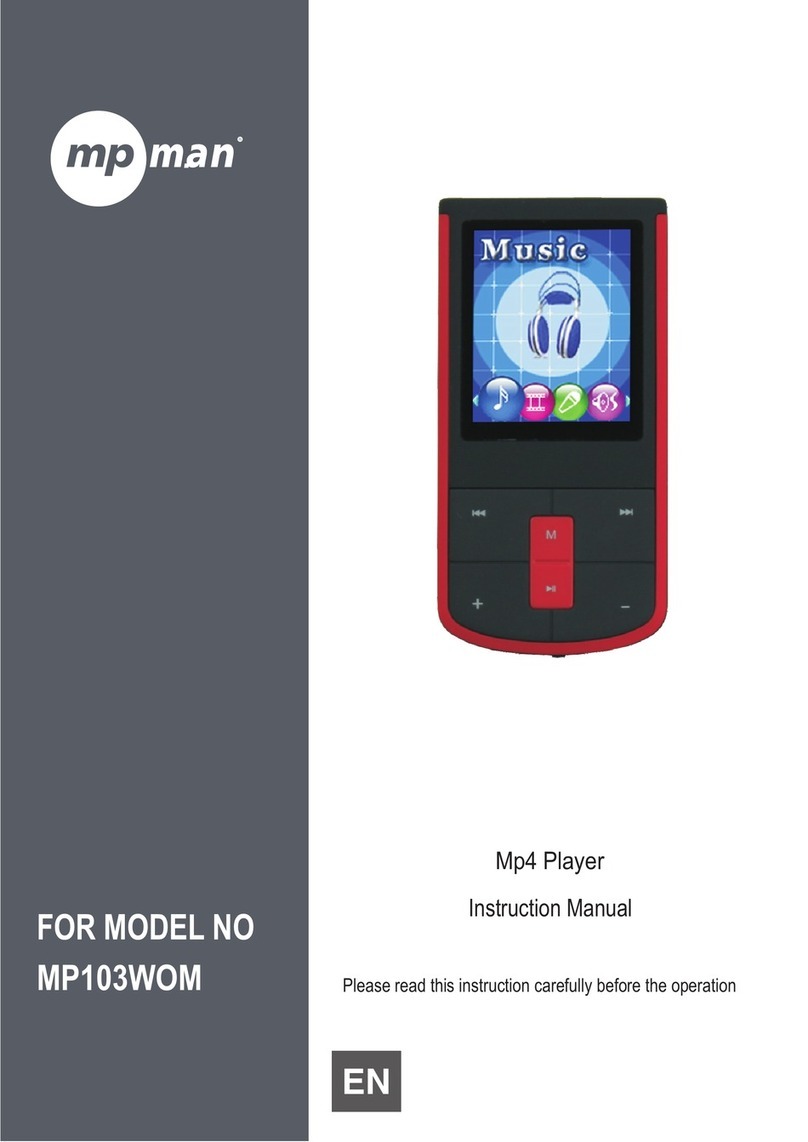
MP-Man MP103WOM User manual

MP-Man
MP-Man Mp259 User manual

MP-Man
MP-Man TK200 User manual

MP-Man
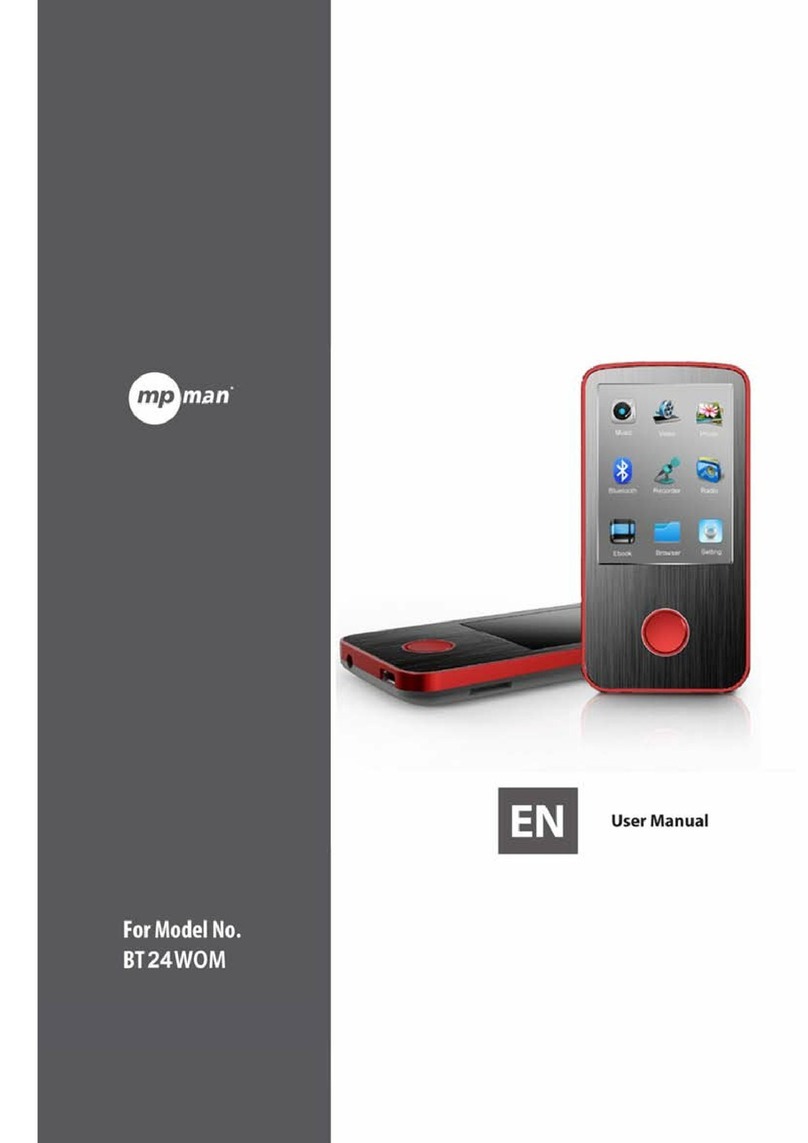
MP-Man BT24WOM User manual

MP-Man
MP-Man TS 430 User manual

MP-Man
MP-Man MP126 User manual

MP-Man
MP-Man TK20 FM User manual

MP-Man
MP-Man BTC244 User manual

MP-Man
MP-Man MP259 User manual

MP-Man
MP-Man BT 18 User manual

MP-Man
MP-Man MPHF2 User manual

MP-Man
MP-Man MPH100 User manual

MP-Man
MP-Man RUNNER User manual