manuals.online logo
Brands
  1. Home
  2. •
  3. Brands
  4. •
  5. Mr12volt
  6. •
  7. Automobile Accessories
  8. •
  9. Mr12volt P600 Series User manual

Mr12volt P600 Series User manual

Mr12volt P600 Series
For Audi
MMI 2G Basic/High
Model No: P600-LP1605AU
1. Introduction
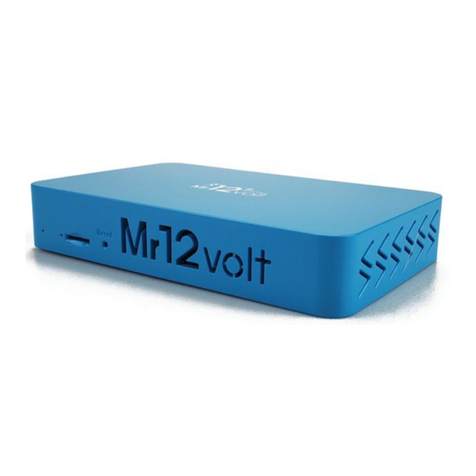
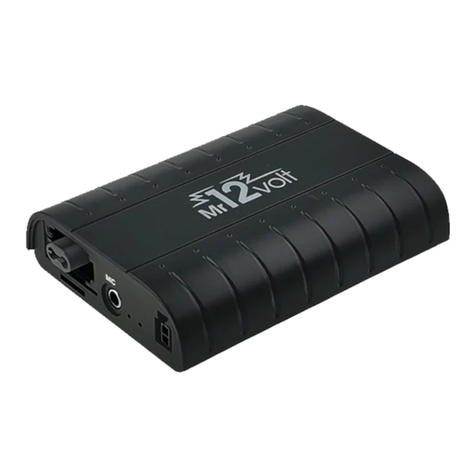
The MR12VOLT P600 Series lets you connect Bluetooth
devices, USB flash drive, Micro SD card and AUX In devices
to your original car radio, providing Hi-Fi quality music
playback and simple menu based control through your
radio. The Bluetooth also provides you A2DP music
streaming and hands free functions which integrates to
your original steering wheel buttons.
Package content :
•Main Module
•3way Optical cable (M.O.S.T.)
•Power Lead
•3.5mm Jack to Jack cable
•Microphone (270cm)
2. Programming & Qualifier
⚫No Coding required for Audi MMI 2G, it works With
and Without 6 CD changer.
⚫Phone book list does not work on MMI 2G Basic
(Monochrome display)
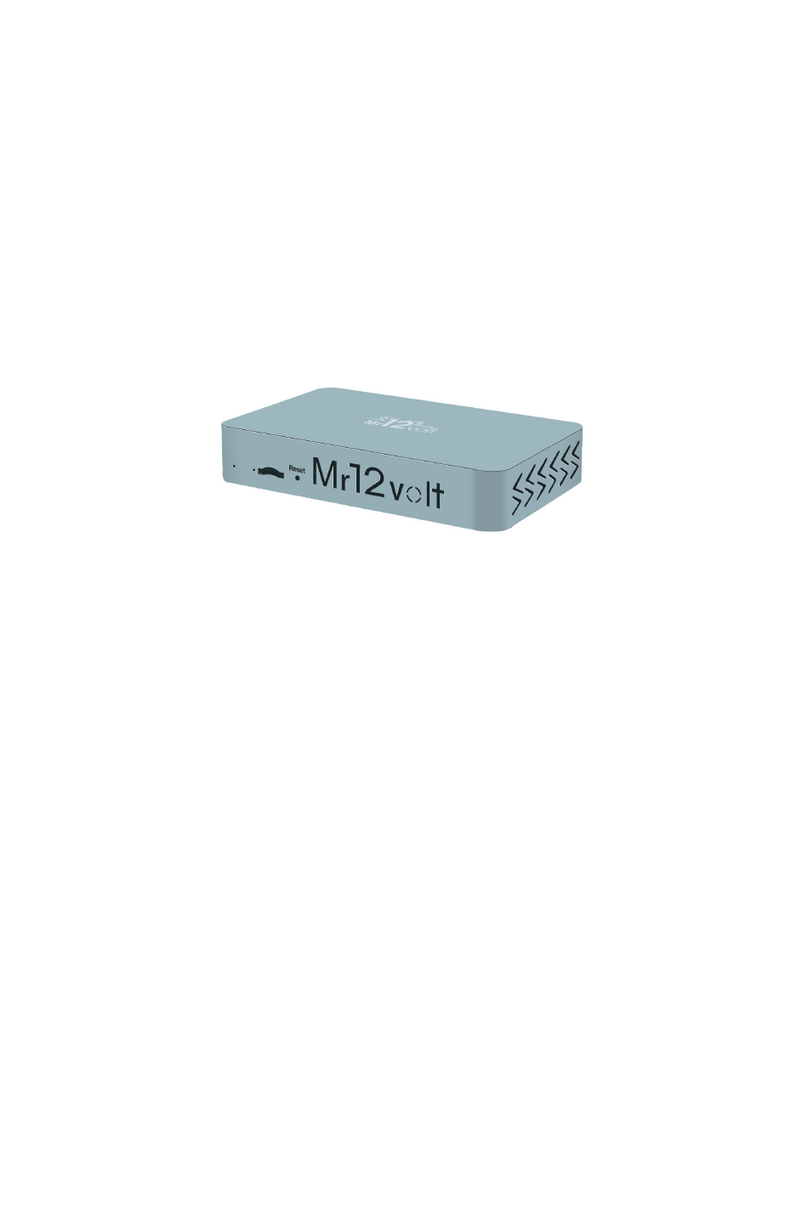
Main Module Overview
3. Installation
⚫Important note: When you connect the power
harness please make sure that you supply Mr12Volt
device with +12V non-switched constant power.
⚫Please make sure that during installation, you don’t
disconnect other devices of the optical ring, (for
example the amplifier of the car).
For MMI 2G High
Factory 6 CD changer can be installed and used in
conjunction with P600
⚫3 way split F.O. cable is used to install and bridge
behind any of the Audi MMI devices through the
M.O.S.T fiber (Remove any of them out, preferably
the 6 CD changer which is easier for access and
removal, install Mr12volt P600 behind and make a
bridge connection using the split F.O. cable in the
package) see fig.02
Fig. 02 Split F.O. cable
⚫Getting the power source : Connect Red wire lead to
12+ Constant power from car wiring harness and
Black wire lead to ground.
⚫At your own choice you can wire up microphone at
your desire position, it is recommended to wire
through “A” Pillar and to the top of windscreen.
For MMI 2G Basic
The Factory 6 CD changer must be disconnected
from the M.O.S.T system.
⚫Mr12volt P600 emulates CD changer function,
installation is simple and direct. Simply remove the
original 6CD Changer connector and connect directly
to Mr12volt P600 device instead. The split F.O. cable
is not used in this case.
⚫If your mmi is without the Cd changer, 3 Way split
F.O. cable is used to install and bridge behind any of
the Audi MMI devices within the M.O.S.T ring
(Remove any of them out, install P600 behind and
make a bridge connection using the split F.O. cable
in the package)
⚫Getting the power source : Connect Red wire lead to
12+ Constant power from car wiring harness and
Black wire lead to ground.
⚫At your own choice you can wire up microphone at
your desire position, it is recommended to wire
through “A” Pillar and to the top of windscreen.
4. DIP Switch Settings
⚫The 4th dip switch is used to bypass P600 hands free
and retain factory car hands free functions
DIP 4
Use P600 BT hands free
OFF
Bypass P600 BT hands free
ON
DIP 1
DIP 2
DIP 3
Default Vol.
OFF
OFF
OFF
- 2db
ON
OFF
OFF
- 4db
OFF
ON
OFF
- 6db
ON
ON
OFF
+ 1db
OFF
OFF
ON
+ 2db
ON
OFF
ON
+ 3db
OFF
ON
ON
+ 4db
ON
ON
ON
6. Disclaimer
If your car’s electrical system begins to behave in an
unpredictable way please immediately disconnect the
MR12VOLT device physically and have it checked by your
installer or an automotive electronics professional.
MR12VOLT and its authorized distributors and retailers
are not liable for any incidental consequential or indirect
damages or loss and do not assume liability for any
diagnostic fees.
The use of handheld devices while driving may be subject
to government regulation. Please ensure that your use of
the MR12VOLT device is complied with applicable traffic
laws. MR12VOLT does not assume liability for any events
resulting from the illegal or irresponsible useof handheld
devices during the driving. MR12VOLT reserves the right to
modify its products or specifications without prior notice.
General Operation Guide
Mr12volt P600 operates in CDC mode, connect a music
source to it and switch to CDC mode and it will play right
away.
1. Switching functions within P600
In CDC mode, by pressing “Disc 6” , you can toggle
functions between BT/USB/AUX in/SD。
2. Pairing with the Bluetooth
The pairing procedure is simple. Go to your phone’s
Bluetooth setup screen and search for new Bluetooth
devices. In the new Bluetooth device list select “Car Kit”
and the pairing is done.
⚫Make “ media audio” is enabled in the Bluetooth
setting or it will not play A2DP music
⚫When streaming music on phone for the first time,
make sure volume on the phone is turned on, as
phone media volume are usually set default at 0
when first connected with Bluetooth ,
3. USB and Micro SD flash disk
preparation
The disks must be FAT32 formatted, and should not exceed
32GB in size. If you are not familiar with how to format the
disks, please search for “USB FAT32 formatting” on
www.google.com
4. Music files and folder
preparation
P600 is capable of playing .MP3 and .WMA format
music.
Mr12volt P600 is capable of playing .MP3 and .WMA format
music. As it emulates CD changer function, the first 5
folders being stored in your memory flash disk that contain
music files will be displayed as Disc 1 to Disc 5 in your
radio.
If there are music files in the root directory, then the root
directory will be treated as Disc1. The order of songs are
dependent on the music files’ created time in each folder.
(The first saved file will be seen as song #1 and so on)
⚫For MMI 2G Basic, first 5 folders(USB1-USB5) will
display as CD1 to CD5
⚫For MMI 2G High, original CD changer will display as
CD1 to CD6 and P600 will display as CD7 to CD11
(USB7-USB11)
5. Phone Calls
Making and answering phone calls is no difference from
using the original Bluetooth module. You can simply use
the “Call”, “End Call” buttons, and the number pads on the
radio or steering wheel to perform phone call operations.
When a phone call is ended the device will automatically
switch back to last played position.
Other manuals for P600 Series

2

This manual suits for next models

1

Other Mr12volt Automobile Accessories manuals

Mr12volt P2000-CICMD Instruction manual

Mr12volt

Mr12volt P2000-CICMD Instruction manual

Mr12volt CarPlay P2000-NTG30MM Instruction manual

Mr12volt

Mr12volt CarPlay P2000-NTG30MM Instruction manual

Mr12volt P600 Series User manual

Mr12volt

Mr12volt P600 Series User manual

Mr12volt P2000-3GGMD Instruction manual

Mr12volt

Mr12volt P2000-3GGMD Instruction manual

Mr12volt CarPlay P2000-NTG45MM Instruction manual

Mr12volt

Mr12volt CarPlay P2000-NTG45MM Instruction manual

Mr12volt CarPlay P2000-NTG35MM Instruction manual

Mr12volt

Mr12volt CarPlay P2000-NTG35MM Instruction manual

Mr12volt P2000-3G8MD Instruction manual

Mr12volt

Mr12volt P2000-3G8MD Instruction manual

Mr12volt P600 Series User manual

Mr12volt

Mr12volt P600 Series User manual

Mr12volt P2000-PCM30MD Instruction manual

Mr12volt

Mr12volt P2000-PCM30MD Instruction manual

Popular Automobile Accessories manuals by other brands

Swagman 64671 XTC2 Tilt instruction sheet

Swagman

Swagman 64671 XTC2 Tilt instruction sheet

Toyota T100' user manual

Toyota

Toyota T100' user manual

Hamron 016040 operating instructions

Hamron

Hamron 016040 operating instructions

Dakota Digital HDX-54C-PU Instrument Installation

Dakota Digital

Dakota Digital HDX-54C-PU Instrument Installation

bosal 024941 Mounting instruction

bosal

bosal 024941 Mounting instruction

Pioneer 12.301086-04 installation manual

Pioneer

Pioneer 12.301086-04 installation manual

Mont Blanc MB RoofBar AMC 5121 quick start guide

Mont Blanc

Mont Blanc MB RoofBar AMC 5121 quick start guide

Top Auto BRK600 user manual

Top Auto

Top Auto BRK600 user manual

Audi 4KE.071.151 installation instructions

Audi

Audi 4KE.071.151 installation instructions

Mennekes AMTRON Compact 3.7 C2 OPERATING AND INSTALLATION Manual

Mennekes

Mennekes AMTRON Compact 3.7 C2 OPERATING AND INSTALLATION Manual

RACLET SAFARI Erection guidelines

RACLET

RACLET SAFARI Erection guidelines

AMP Research BedStep2 installation instructions

AMP Research

AMP Research BedStep2 installation instructions

Whispbar K949W Fitting instructions

Whispbar

Whispbar K949W Fitting instructions

Elektrobedarf K-B16T2K manual

Elektrobedarf

Elektrobedarf K-B16T2K manual

IDA Plug 'N' Go 4 instructions

IDA

IDA Plug 'N' Go 4 instructions

Rola GTX REMOVABLE Series Fitting instructions

Rola

Rola GTX REMOVABLE Series Fitting instructions

Menabo ANTARES Fitting instructions

Menabo

Menabo ANTARES Fitting instructions

GReddy BRS-503 instruction manual

GReddy

GReddy BRS-503 instruction manual

manuals.online logo
manuals.online logoBrands
  • About & Mission
  • Contact us
  • Privacy Policy
  • Terms and Conditions

Copyright 2025 Manuals.Online. All Rights Reserved.