IMPORTANT
NOTICE
If
you
have
any
questions
regarding
wire
routing
in
avehicle,
please
contact
MTX
Technical
Support
at
1-800-225-5689.
When
connecting power
and
ground
wires
ensure
that
the
red
power wire
is
fused
at
the
point
where it
is
connected
to
the
vehicle's
battery.
Failure
to
do
so
can
result
in
damage
to
the
vehicle if a
short circuit
develops
between
the
vehicle connection point
and
the
product.
PRODUCT
INFORMATION
Model#--------------------------------------------------------
Serial
#
-------------------------------------------------------
Dealer's
Name
----------------------------------------------------
Date
of
Purchase
-------------------------------------------------
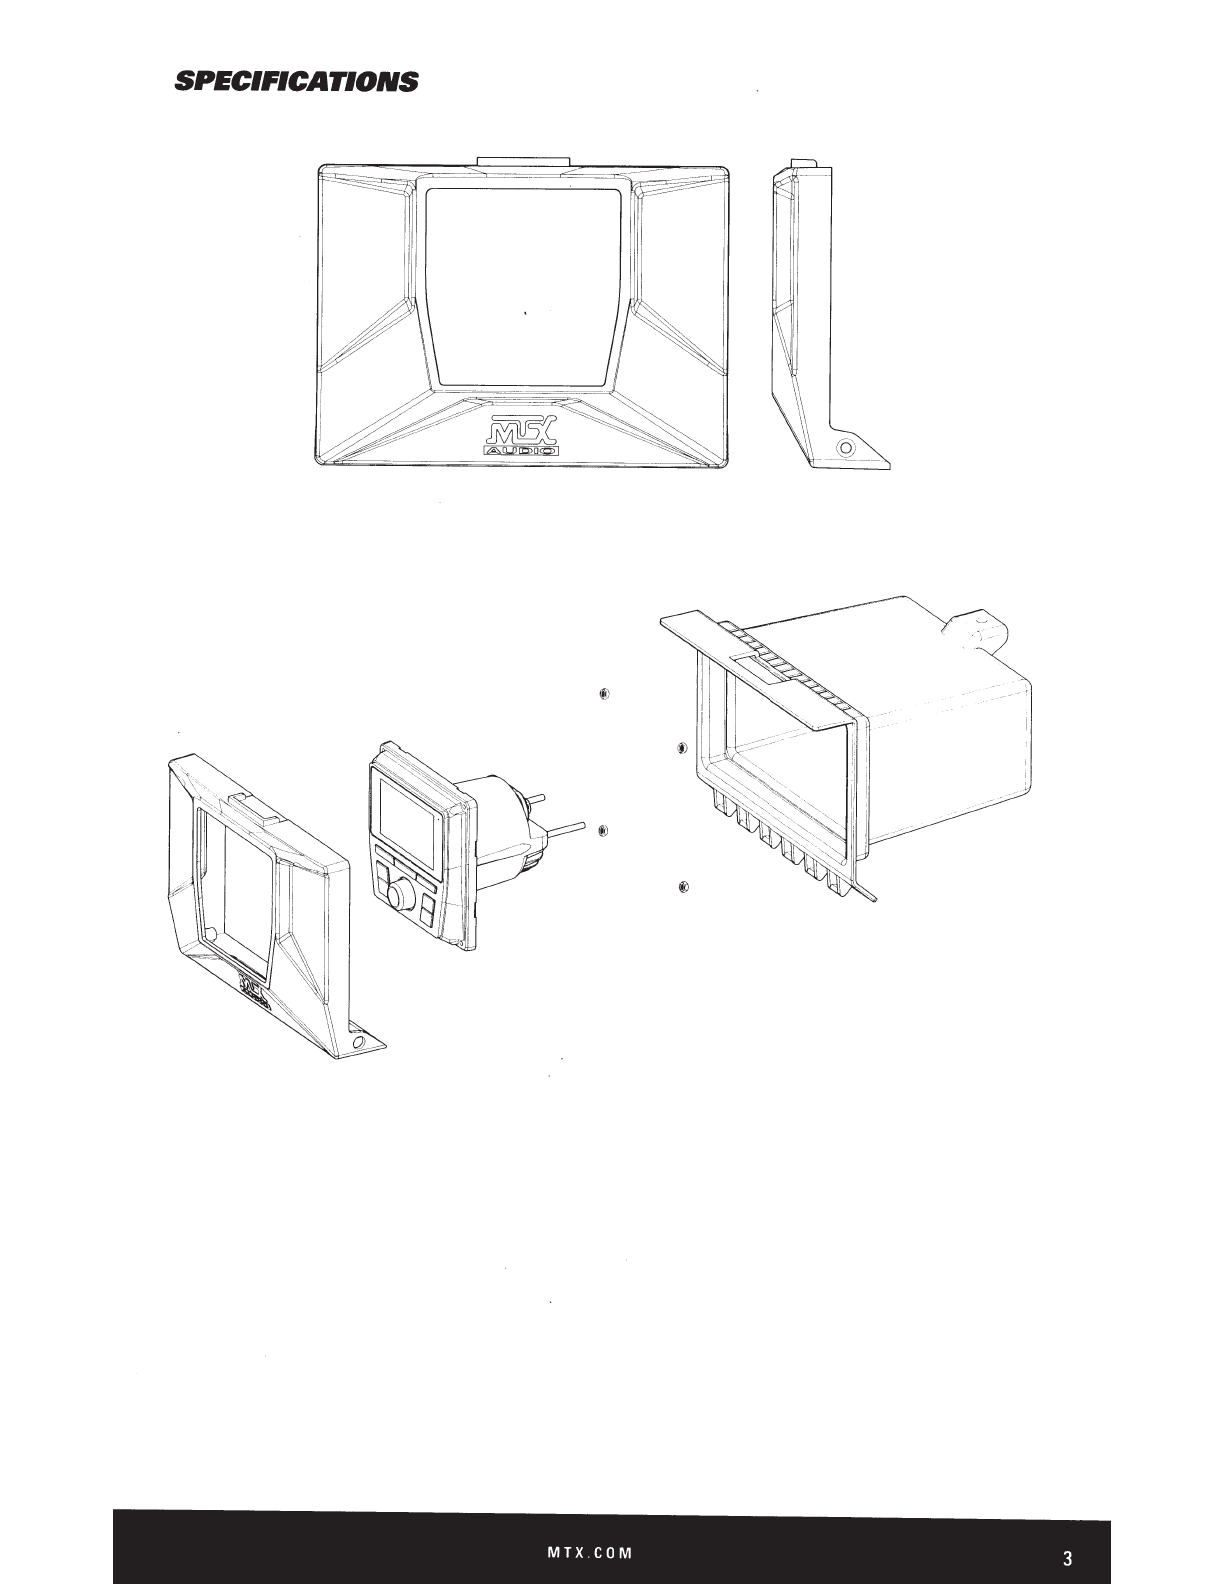
IN
THE
BOX
•
Dash
Kit
•
Allen
Wrench
•
(2)
Shoulder
Head
Bolts
•
(2)
Speed
Clips
•
(4)
Mounting
Nuts
INSTALLATION
TOOLS
The
following
is
alist
of
suggested
tools
needed
for installation:
• Torx-
T40
•
5.5mm
Nut
Driver
or
Socket
Wrench
•
Pry
Tool
or
Small
Flat
Blade
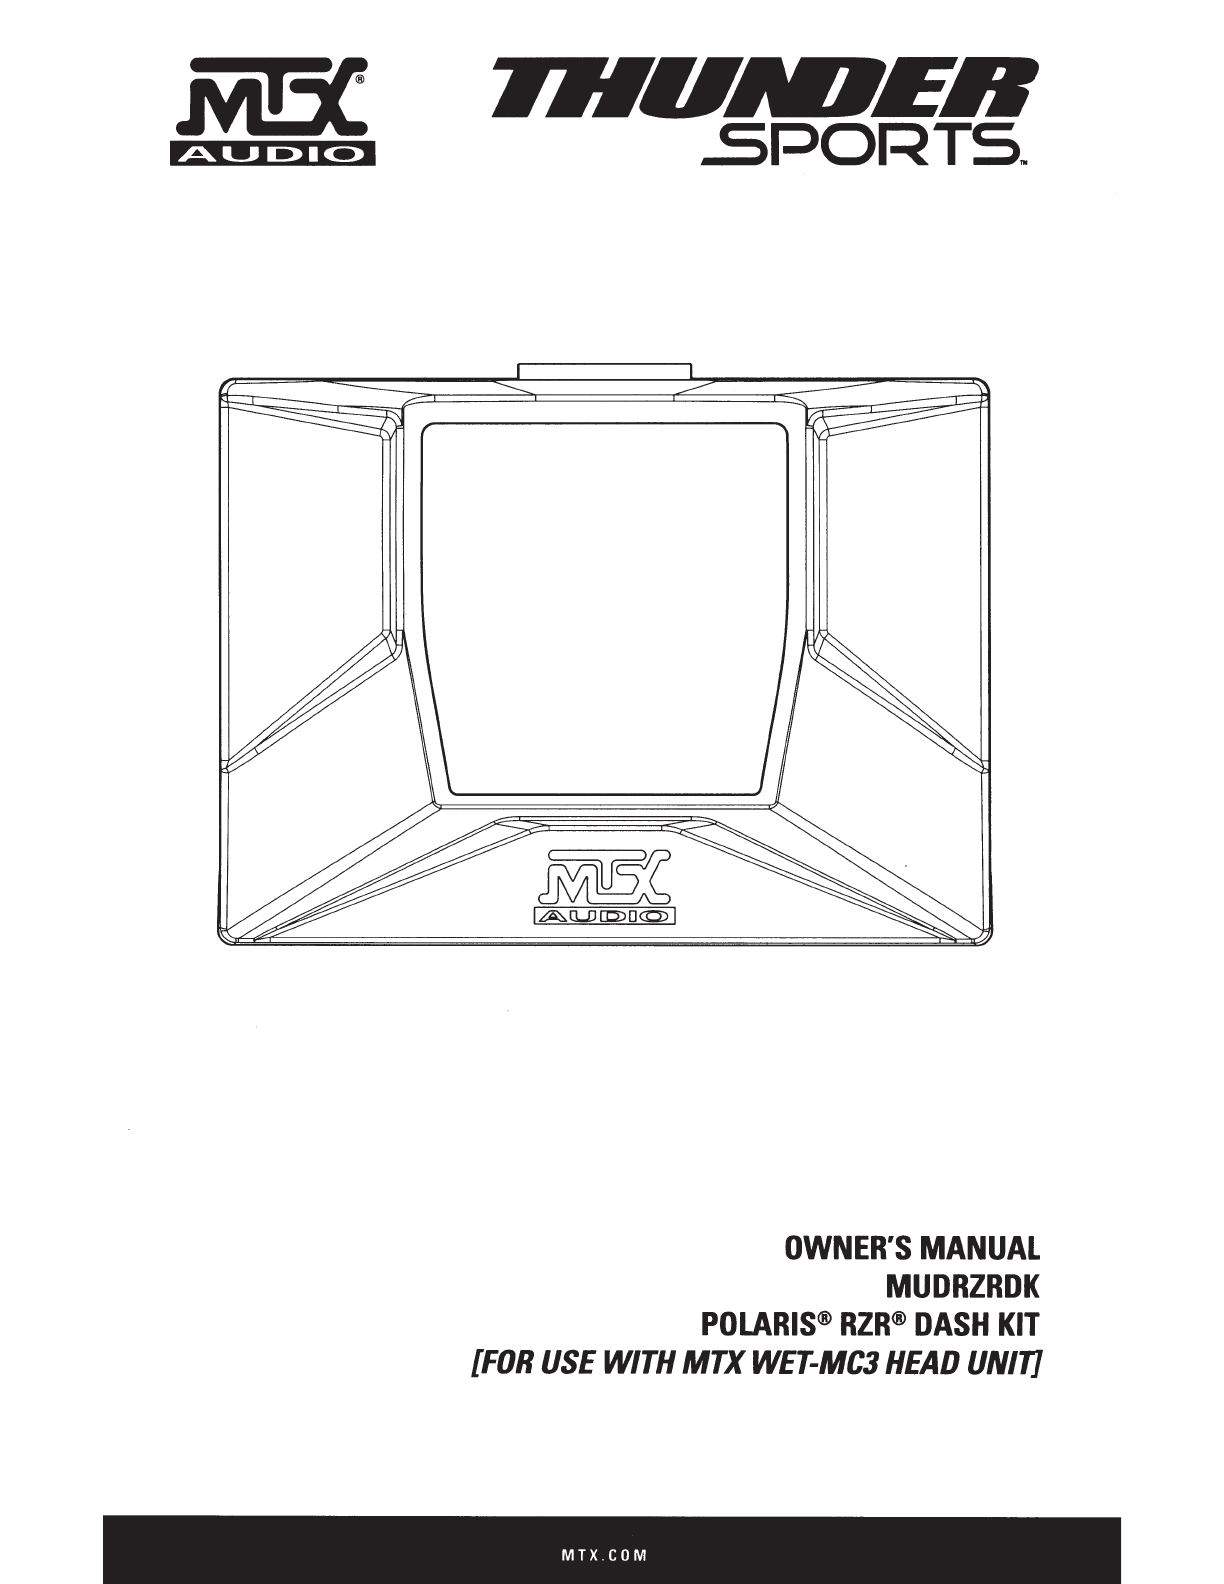
INTRODUCTION
Thank
you
for
purchasing
this
Polaris®
RZR®
Dash
Kit
designed
for
the
MTX
Audio
WET-MC3
Bluetooth all-weather
head
unit.
This
easy
to
install
dash
kit
is
the
perfect
OEM
fit solution for your
Polaris®
RZR®.
Congratulations
and
enjoy
the
ultimate
audio
experience with
MTX!
FITS
THE
FOLLOWING
VEHICLES
•
RZR®
XP
I
XP4
1000
(2014
and
up)
•
RZR®
XP
I
XP4
Turbo
(2016
and
up)
•
RZR®
XP
I
XP4
900
(2015
and
up.
Must
purchase
storage
pocket
from
Polaris®
for a
2014
and
up
RZR®
XP
I
XP41000
to
utilize this
dash
kit
on
the
2015
and
up
RZR®
XP
I
XP4
900
models.)
MTX.COM