manuals.online logo
Brands
  1. Home
  2. •
  3. Brands
  4. •
  5. multicomp pro
  6. •
  7. Multimeter
  8. •
  9. multicomp pro MP730835 User manual

multicomp pro MP730835 User manual

Page <1> V1.024/08/21
Newark.com/multicomp-pro
Farnell.com/multicomp-pro
Element14.com/multicomp-pro
Smart Digital Multimeter
User Manual
Part Number: MP730835
Page <2> V1.024/08/21
Newark.com/multicomp-pro
Farnell.com/multicomp-pro
Element14.com/multicomp-pro
1. Overview
MP730835 is a smart digital multimeter, it can automatically identify the function and range to improve the operation
e󰀩ciency. EBTN screen enables user to get a clear reading even working in dark environments. This product conforms to CE
safety standard, which ensures users’ safety when operating in CAT Ill 600V environment. Its unique appearance and
compact design makes it a great tool for home and DIY applications.
2. Features
1) Automatically detect power level at start up, green light means normal while red light and buzzer beep means power level
is low.
2) Automatically identify input signals (resistance, DC/AC voltage and current).
3) On any function mode, connect the probe to the ‘mNsocket to switch to current measurement.
4) NCV senses electric eld strength and display results via LED, green light means weak electric eld, red light means
strong electric eld.
5) On LIVE mode, distinguish between neutral and live wire via light colour and buzzer.
6) Maximum voltage is 600V, with over voltage/current alarms.
7) Large capacitance measurement (4mF).
8) EBTN display
Please carefully read “Safety Instructions” and “Attention” sections In this manual.
3. Accessories
Open the box and check whether the meter and the following items are missing or damaged:
1) User manual--------1 piece
2) Probes--------1 pair
4. Safety instructions
Please pay attention to “Attention” notices below. Warning means it may pose hazard to users, and may damage the meter
or device. This multimeter meet with EN61010-2-030/61010-2-033, EN61326-1 safety standard of electromagnetic radiation
protection, and meet with safety standard of double insulation, over-voltage CAT Ill 600V, pollution level 2. If user do not
operate according to the instructions,the protection provided by the meter may be impaired.
1) Before use,please check the meter and probe to make sure there is no any damage or abnormity. If the meter or probe is
signicantly damaged, or if you think the meter cannot function properly, please do not use the meter.
2) Do not use the meter if the rear housing or battery housing is not covered up, otherwise it might pose a shock hazard.
3) When using the meter, your ngers must be placed behind the nger guard ring of the probe, do not touch exposed wire,
connectors,terminals, circuit.
4) When measuring, never change the range setting to avoid damage to the meter!
5) Do not apply voltage over 600V between any meter terminal and earth ground to prevent electric shock and damage to the
meter.
6) Be cautious when the measured voltage is higher than 60V (DC) or 30Vrms (AC).
7) Only measure the voltage/current that are within the specied limit. Disconnect with all power source and fully discharge
the capacitor power before measuring resistor, diode or circuit, otherwise the measurement accuracy might be a󰀨ected.
8) When the “ “symbol appears on the LCD, please replace the batteries in time to ensure the measurement accuracy. Take
out the batteries if the meter is not in use for a long time.
9) Do not change the internal circuit of the meter to avoid damage to the meter and user!
10) Do not use or store the meter in high temperature, high humidity, ammable, explosive environment or In strong electro-
magnetic eld.
11) Clean the meter casing with a damp cloth and mild detergent. Do not use abrasives or solvents.

Page <3> V1.024/08/21
Newark.com/multicomp-pro
Farnell.com/multicomp-pro
Element14.com/multicomp-pro
5. Electric symbols
Symbol Description
Direct current
Alternating current
Both direct and alternating current
Equipment protected throughout by DOUBLE INSULATION or REINFORCED INSULATION
Caution, possibility of electric shock
Warning or Caution
Application around and removal from UNINSULATED HAZARDOUS LIVE conductors is permitted
Comply with European Union standards
It is applicable to test and measure circuits connected directly to utilization points (socket outlets and
similar points) of the low-voltage MAINS installation.
It is applicable to test and measure circuits connected to the distribution part of the building’s low-voltage
MAINS installation.
6. General features
LCD display : 4099
Polarity display : Auto positive/negative polarity
Overload display : “OL” or “-OL”
Drop proof : one meter
Power supply : 2 AAA 1.5V batteries
Dimension : 130mm × 65mm × 2Bmm
Weight : About 137g (including batteries)
Altitude : 2000 meters
Operating temperature and humidity : 0°C to 30°C (≤80%RH), 30°C to 40°C (≤75%RH), 40°C to 50°C (≤45%RH)
Storage temperature and humidity : -20°C to +60°C (≤SQ%RH)
EMC : RF eld (1V/m): Overall accuracy= specied accuracy±5% range. RF eld (>1V/m):
No specied calculation.
7. External structure
1) LCD display area. display measurement data and Function symbols.
2) Function keys, select and switch measurement Function & mode.
3) Range switch, select Function scale.
4) “V Ω” measurement signal input terminal.
5) “mA/A” measurement signal input terminal.
6) Input Common Terminal (COM).
8. Key Function
1) NCV/LIVE key
a) Short press NCV/LIVE key to switch between NCV and LIVE.
b) Long press or press MODE key once to exit NCV or LIVE mode.
2) Power/Mode key
a) Short press once to manually select range.
b) Long press for about 2s to turn on/o󰀨 meter.
3) HOLD key
a) Short press once to enter hold mode, press again to exit this mode.
Page <4> V1.024/08/21
Newark.com/multicomp-pro
Farnell.com/multicomp-pro
Element14.com/multicomp-pro
9 Measurement instruction
1. AC/DC voltage
1) Plug the red probe into “VΩ” socket, plug the black probe into “COM” socket.
2) Select AC/DC voltage measurement scale or intelligent range scale, connect the probe to the power source.
3) The screen displays the measurement result.
Attention:
• The voltage must not be higher than AC 600V. Voltage over 600V may damage the meter.
• Avoid electric shock when measuring high voltage.
• When voltage ≥30V, LCD display high-voltage symbol “ “
When voltage ≥600V, alarm goes o󰀨 and the high-voltage symbol “ “ ashes.
2. Resistance
1) Plug the red probe into “VΩ” socket, plug the black probe into “COM” socket.
2) Select “Ω” measurement scale or intelligent range scale, connect the probe to the resistance terminals in parallel.
3) The screen displays the measurement result.
Attention:
• If resistance circuit is open or the resistance value is higher than the maximum range, LCD will display “OL”.
• Before measuring resistance, turn o󰀨 all power sources of the measured circuit, and fully discharge the power of capacitor.
• If the resistance value is 0.5 on short circuit state,check if the probe connection is loose.
• Do not input AC/DC voltage over 30V for safety.
3.Continuity detection
1) Plug the red probe into “VΩ” socket, plug the black probe into “COM” socket.
2) Scan intelligent identication state can be set, if users want to switch to manual mode, select “ “ range scale and connect
the probe to the terminals of circuit load in parallel. If the resistance is < 300, the buzzer beeps continuously, which means
the circuit is conducting the resistance ≥500, the buzzer won’t beep.
Attention:
• Before measuring continuity, turn o󰀨 all power sources of the measured circuit, and fully discharge the power of capacitor.
• Do not input AC/DC voltage over 30V for safety.
4. Diode
1) Plug the red probe into “VΩ” socket, plug the black probe into “COM” socket. The polarity of red probe is ”+”, the polarity of
black probe is ”-”.
2) Select ” “ range scale, it displays direct PN junction voltage. For silicone PN junction,the normal value is about 500mV to
800mV.
3) The screen displays the measurement result.
Attention:
• If diode circuit is open or the probe is connected inversely, LCD will display “OL”.
• Before measuring diode, turn o󰀨 all power sources of the measured circuit, and fully discharge the power of capacitor.
• Do not input AC/DC voltage over 30V for safety.
5. Capacitance
1) Plug the red probe into “VΩ” socket, plug the black probe into “COM” socket.
2) Select ” “ scale and connect the probe to the capacitance terminals, read tested result from display screen.
Page <5> V1.024/08/21
Newark.com/multicomp-pro
Farnell.com/multicomp-pro
Element14.com/multicomp-pro
Attention:
• If the capacitance is short-circuit or the capacitance value exceed the maximum range, LCD will display “OL”.
• For capacitance over 4001-µF, it need some times to stabilize the reading for accuracy.
• To ensure measurement accuracy,the capacitance power shall be fully discharged. High-voltage capacitance may damage
the meter.
6. AC/DC current
1) Plug the red probe into “mA/A” socket, auto identify DC/AC current scale.
2) Plug the red probe into ‘mA/A” socket, plug the black probe into “COM”, connect the power source or circuit in series.
3) Read tested result from display screen.
Attention:
• Turn o󰀨 the power source of the circuit before connecting the meter to the circuit, carefully check the input terminals and
the position of range switch.
• For the “mA/A” input socket if the input is overload or the operation is incorrect,the built-in fuse will break, replace with a
new fuse.
• When testing current scale, do not connect the probe to any circuit in parallel.
• When the measured current is greater than 5A, the measurement should be less than 10s, the measured interval should
be more than 5 minutes.
7. NCV (Figure 2)
Electric eld detection: When the NCV sensing end gets close to the charged electric eld, such as the socket or the insulated
wire, the LCD displays “.”or “-”·, the buzzer beeps, green LED icker. As the electric eld strength increases, the LCD display
more”---·”, the buzzer beeps more frequently and the red LED icker more frequently.
Attention:
• The NCV sensing end should get close to the electric eld, otherwise the measurement sensitivity will be a󰀨ected.
• Check if the conductor of electric eld is insulated when electric eld voltage is ≥V AC.
7. NCV (Figure 2)
Electric eld detection: When the NCV sensing end gets close to the charged electric eld, such as the socket or the insulated
wire, the LCD displays “-” or”.-·,the buzzer beeps, green LED icker. As the electric eld strength Increases, the LCD display
more”.---.·the buzzer beeps more frequently and the red LED icker more frequently.
Attention:
• The NCV sensing end should get close to the electric eld, otherwise the measurement sensitivity will be a󰀨ected.
• Check if the conductor of electric eld is insulated when electric eld voltage is ≥100V AC.
Page <6> V1.024/08/21
Newark.com/multicomp-pro
Farnell.com/multicomp-pro
Element14.com/multicomp-pro
8. Live wire (Figure 3)
1) Switch function range to LIVE scale.
2) Plug the red probe Into “VΩ” socket, unplug the black probe from the socket (suspended),use the red probe to touch the
socket or exposed wire to distinguish live wire and neutral wire.
3) If neutral wire or uncharged object is detected, “- - - -” keep unchanged.
4) When it sense a live wire with a AC voltage over 70V,the LCD display “LIVE” and sound-light LED indication appears.
Attention:
• When measuring LIVE Function,please unplug the black probe from COM terminal to avoid that COM input terminal
interferes the accuracy of distinguishing the neutral/live wire.
• If there is high voltage/current,the meter may provide an inaccurate measurement result. An accurate measurement result
is based on the LCD display and beep frequency.
10. Technical Index
Accuracy: ±(% reading + digit number), periodical calibration is one year. Temperature and humidity: 23°C ±5°C ≤%80RH.
Temperature coe󰀩cient: On the condition of 18°C to 28°C, environment temperature uctuation is within ±1°C. When the
temperature is < 18°C or > 28°C, add a temperature coe󰀩cient error: 0.1 × (specied accuracy)/ °C.
(1) DC voltage
Range Resolution Accuracy Overload protection
4.000V 0.001V
± (0.5%+3) 600 Vrms
40.00V 0.01V
400.0V 0.1V
600V 1V
• Input impedance≥toMO.
• The identied minimum voltage is about 0.5V.
• Accuracy scope: 1% to 100% range (manual mode).
(2) AC voltage
Range Resolution Accuracy Overload protection
4.000V 0.001V ±(1.0%+5)
600 Vrms
40.00V 0.01V
±(0.8%+3)400.0V 0.1V
600V 1V
Page <7> V1.024/08/21
Newark.com/multicomp-pro
Farnell.com/multicomp-pro
Element14.com/multicomp-pro
(3) AC current
Range Resolution Accuracy Overload protection
999.9mA 0.1mA ± (1.2%+3) Fused
9.999A 0.001A
• The identied minimum current is about 2mA.
• Virtual value of sine wave, AC frequency response is 40Hz to 400Hz.
• Accuracy scope: 5% to 100% range (manual mode).
• AC crest factor or AC crest factor of non-sinusoidal wave add an error based on bellows:
1) If crest factor is 1 to 2, add 3%.
2) If crest factor is 2 to 2.5, add 5%.
3) If crest factor is 2.5 to 3, add 7%.
(4) DC current
Range Resolution Accuracy Overload protection
999.9mA 0.1mA ± (1.0%+3) Fused
9.999A 0.001A
• The identied minimum current is about 1mA.
• Accuracy scope: 5% to 100% range.
(5) Continuity test
Range Resolution Accuracy Overload protection
400.00 0.10 ≤300, buzzer beeps. ≥50Ω, buzzer not
beep, the open-circuit voltage is about 2.0V. 600 Vrms
(6) Resistance
Range Resolution Accuracy Overload protection
400.0Ω 0.1Ω ± (1. 0%+2)
600Vrms
4.000kΩ 0.001kΩ
± (0. 8%+2)40.00kΩ 0.01kΩ
400.0kΩ 0.1kΩ
4.000MΩ 0.001MΩ ± (1. 5%+3)
40.00MΩ 0.01MΩ ± (2. 0%+5)
• Accuracy scope: 1% to 100% range.
• 4000 range: Measured value= measurement display value- probe short circuit value.
• The open-circuit voltage is about 0.5V.
(7) Diode test
Range Resolution Accuracy Overload protection
4.000V 0.001V
The open-circuit voltage is about 3.9V, the
forward voltage drop value of PN junction can
be measured. The forward voltage of silicone
PN junction is about 0.5-0.BV or around 1.2V.
600 Vrms
Page <8> V1.024/08/21
Newark.com/multicomp-pro
Farnell.com/multicomp-pro
Element14.com/multicomp-pro
(8) Capacitance
Range Resolution Accuracy Overload protection
4.000nF 0.001nF ±(4.0%+10)
600Vrms
40.00nF 0.01nF
400.0nF 0.1nF
± (4.0%+5)
4.000uF 0.001uF
40.00uF 0.01uF
400.0uF 0.1uF
4000uF 1µF ± (10%)
Note: On open-circuit state, there may be remnant readings (not greater than 10 digits) for the capacitance measurement
scale, that is, the measurement reading value minus this value.
(9) NCV
Range Accuracy
NCV
1) If the voltage is higher than 50V when touching the lead sensor, the LCD
will display “-”, green light is up, sound-light indication.
2) If the voltage is higher 120V when touching the lead sensor, the LCD will
display “---”, red light is up, sound-light indication.
Note: Di󰀨erent socket designs or di󰀨erent insulated thicknesses of electric
supply wire may a󰀨ect the measurement result.
Green light indication LCD display “-” or·--”, green light icker, buzzer beeps.
Red light indication LCD display “---” or “----”, red light icker, buzzer beeps.
(10) LIVE
Range Live wire measurement Accuracy
LIVE
Trigger voltage of socket or
exposed wire;?;70V AC
(50Hz/60Hz).
1) If not detected, “----” and “AC” symbol Is displayed.
2) If neutral wire is detected, “----” keeps unchanged.
3) When “Live wire” of electric supply is detected,”LIVE and
“,” is displayed on LCD, the beep frequency and LED
ickering frequency will change based on the sensing strength.
Red light indication “LIVE” ickers and buzzer beeps.
11. Maintenance and repair (Figure 4a)
Attention: Please make sure the probe is away from the meter before opening the bottom cover.
1. If the meter is not in use, please turn it o󰀨 to avoid battery consumption.
2. Maintenance
a. The meter must be maintained or repaired by professionals or specied repair centers.
b. Clean the cover by dry cloth on a regular basis. Do not use any grinders or solvents.
3. Replace batteries or fuse (Figure 4a and Figure 4b).The meter uses 2 pieces of AAA 1.5 V batteries, please install or
replace batteries according to the sequence bellow:
a. When the meter is turned o󰀨, please make sure the measured probe is away from the meter.
b. Make sure the meter backside Is upward, unscrewing, opening the cover, taking out batteries, new batteries must be
installed according to the polarity.
c. Installing new batteries, cover batteries and screw the cover.
d. Unscrew the rear cover to replace a new fuse (10A/600V ceramic fuse,φ 6×25mm).
Page <9> V1.024/08/21
Newark.com/multicomp-pro
Farnell.com/multicomp-pro
Element14.com/multicomp-pro
Important Notice : This data sheet and its contents (the “Information”) belong to the members of the AVNET group of companies (the “Group”) or are licensed to it. No licence is granted for
the use of it other than for information purposes in connection with the products to which it relates. No licence of any intellectual property rights is granted. The Information is subject to change
without notice and replaces all data sheets previously supplied. The Information supplied is believed to be accurate but the Group assumes no responsibility for its accuracy or completeness,
any error in or omission from it or for any use made of it. Users of this data sheet should check for themselves the Information and the suitability of the products for their purpose and not make
any assumptions based on information included or omitted. Liability for loss or damage resulting from any reliance on the Information or use of it (including liability resulting from negligence or
where the Group was aware of the possibility of such loss or damage arising) is excluded. This will not operate to limit or restrict the Group’s liability for death or personal injury resulting from its
negligence. Multicomp Pro is the registered trademark of Premier Farnell Limited 2019.
INFORMATION ON WASTE DISPOSAL FOR CONSUMERS OF ELECTRICAL & ELECTRONIC EQUIPMENT
When this product has reached the end of its life it must be treated as Waste Electrical & Electronics Equipment (WEEE). Any
WEEE marked products must not be mixed with general household waste, but kept separate for the treatment, recovery and
recycling of the materials used. Contact your local authority for details of recycling schemes in your area.

Other multicomp pro Multimeter manuals

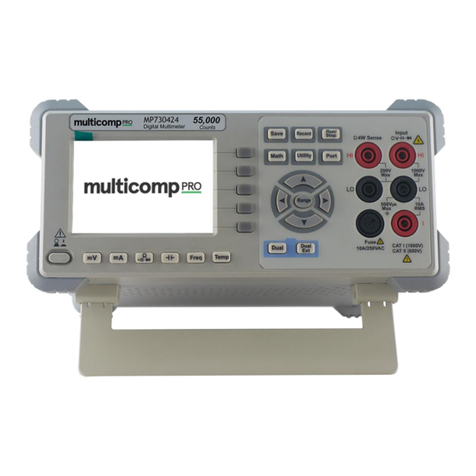
multicomp pro MP730424 User manual

multicomp pro

multicomp pro MP730424 User manual

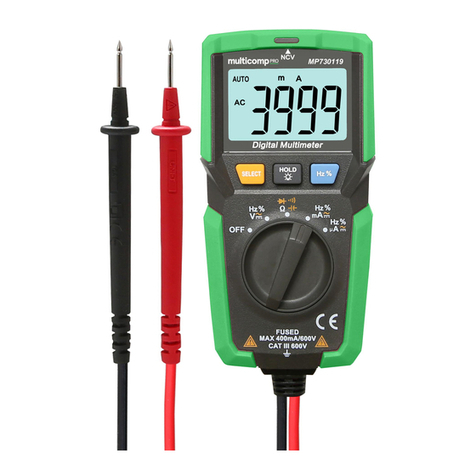
multicomp pro MP730119 User manual

multicomp pro

multicomp pro MP730119 User manual

multicomp pro MP730624 User manual

multicomp pro

multicomp pro MP730624 User manual

multicomp pro MP731065 User manual

multicomp pro

multicomp pro MP731065 User manual

multicomp pro MP730007 User manual

multicomp pro

multicomp pro MP730007 User manual

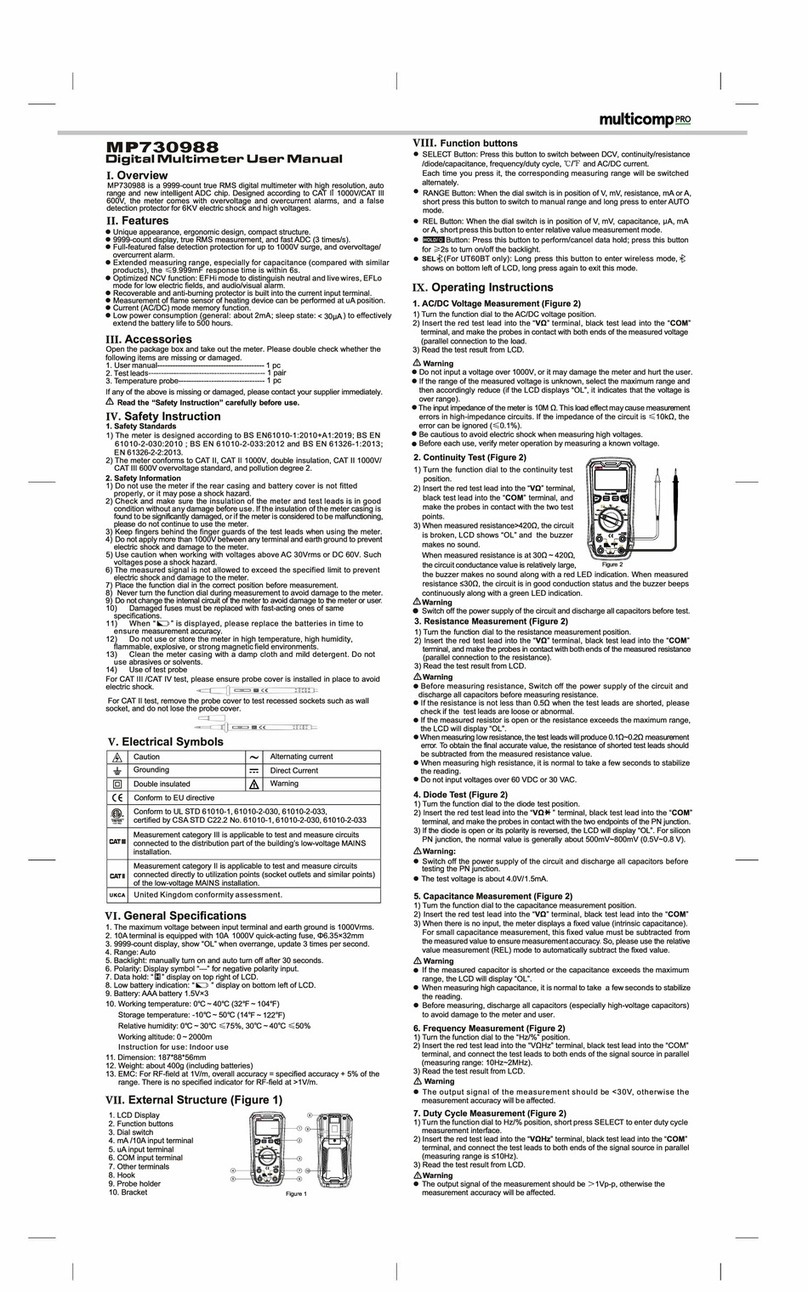
multicomp pro MP730988 User manual

multicomp pro

multicomp pro MP730988 User manual

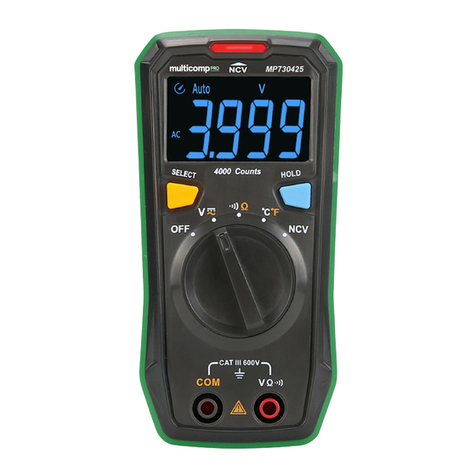
multicomp pro MP730425 User manual

multicomp pro

multicomp pro MP730425 User manual

multicomp pro MP730651 User manual

multicomp pro

multicomp pro MP730651 User manual

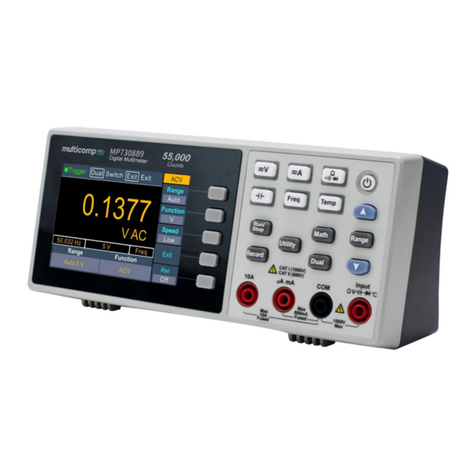
multicomp pro MP730889 User manual

multicomp pro

multicomp pro MP730889 User manual

multicomp pro MP730026 User manual

multicomp pro

multicomp pro MP730026 User manual

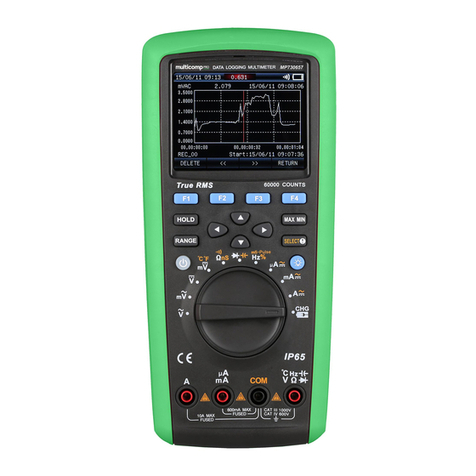
multicomp pro MP730657 User manual

multicomp pro

multicomp pro MP730657 User manual

multicomp pro MP730001 User manual

multicomp pro

multicomp pro MP730001 User manual

Popular Multimeter manuals by other brands

Tenma 72-3097 manual

Tenma

Tenma 72-3097 manual

PANCONTROL PAN 185 manual

PANCONTROL

PANCONTROL PAN 185 manual

EXFO Optical Explorer user guide

EXFO

EXFO Optical Explorer user guide

Siemens SENTRON 7KT1681 manual

Siemens

Siemens SENTRON 7KT1681 manual

Rebel MIE-RB10B user manual

Rebel

Rebel MIE-RB10B user manual

BASETech 2139577 operating instructions

BASETech

BASETech 2139577 operating instructions

Owon XDM1041 quick guide

Owon

Owon XDM1041 quick guide

Unit UT8806E Service manual

Unit

Unit UT8806E Service manual

Fluke 345 user manual

Fluke

Fluke 345 user manual

VOLTCRAFT VC610BT operating instructions

VOLTCRAFT

VOLTCRAFT VC610BT operating instructions

PTW NOMEX L981815 user manual

PTW

PTW NOMEX L981815 user manual

Elenco Electronics M-2671 Operator's instruction manual

Elenco Electronics

Elenco Electronics M-2671 Operator's instruction manual

Amprobe ACDC-100 TRMS user manual

Amprobe

Amprobe ACDC-100 TRMS user manual

3B SCIENTIFIC PHYSICS AM51 instruction sheet

3B SCIENTIFIC PHYSICS

3B SCIENTIFIC PHYSICS AM51 instruction sheet

Keysight Technologies Truevolt 34461A Service note

Keysight Technologies

Keysight Technologies Truevolt 34461A Service note

Jefferson JEFDMM300V user guide

Jefferson

Jefferson JEFDMM300V user guide

Rigol DM3061 user guide

Rigol

Rigol DM3061 user guide

Hanna HI 96711 instruction manual

Hanna

Hanna HI 96711 instruction manual

manuals.online logo
manuals.online logoBrands
  • About & Mission
  • Contact us
  • Privacy Policy
  • Terms and Conditions

Copyright 2025 Manuals.Online. All Rights Reserved.