manuals.online logo
Brands
  1. Home
  2. •
  3. Brands
  4. •
  5. Muratec
  6. •
  7. All In One Printer
  8. •
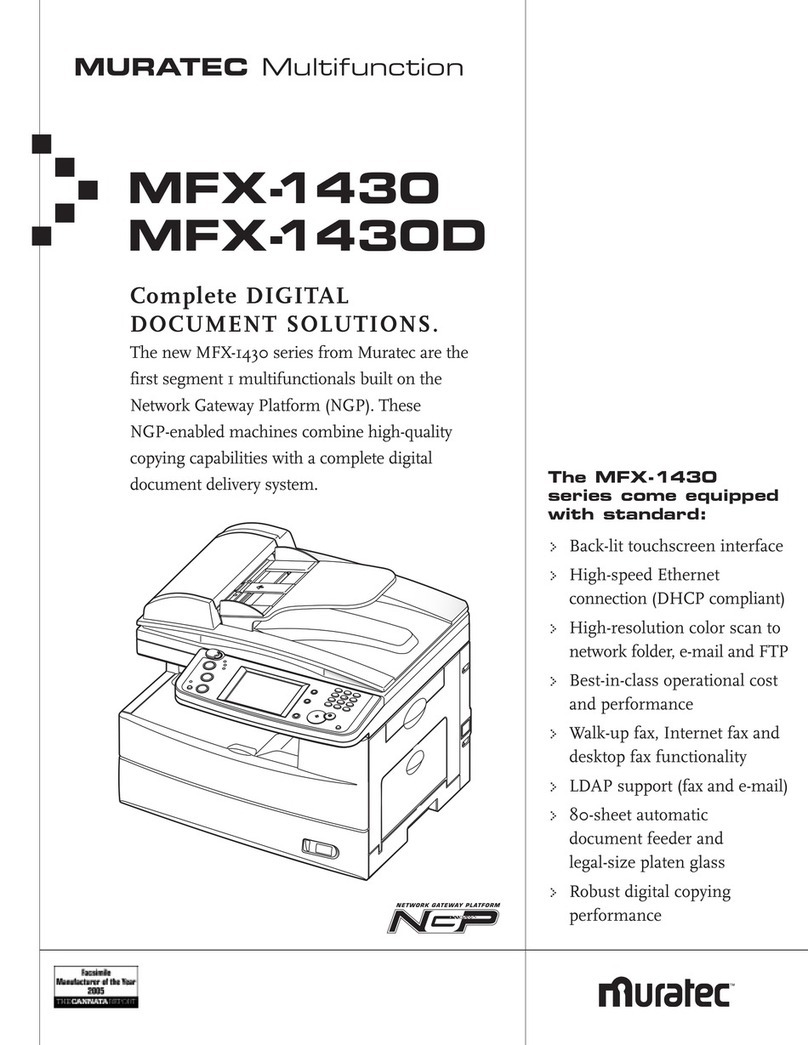
  9. Muratec MFX-1430 Operator's manual

Muratec MFX-1430 Operator's manual

Other manuals for MFX-1430

6

This manual suits for next models

1

Other Muratec All In One Printer manuals

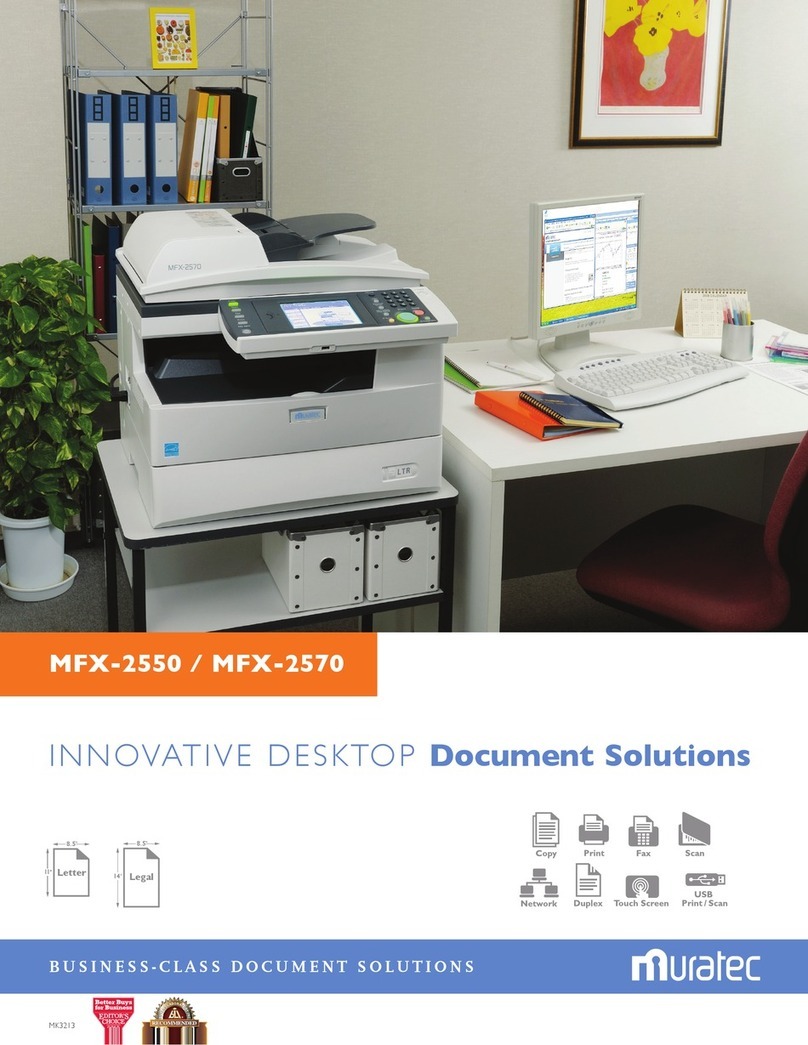
Muratec MFX-2570 User manual

Muratec

Muratec MFX-2570 User manual

Muratec F-315 Installation and operation manual

Muratec

Muratec F-315 Installation and operation manual

Muratec MFX-1700 Owner's manual

Muratec

Muratec MFX-1700 Owner's manual

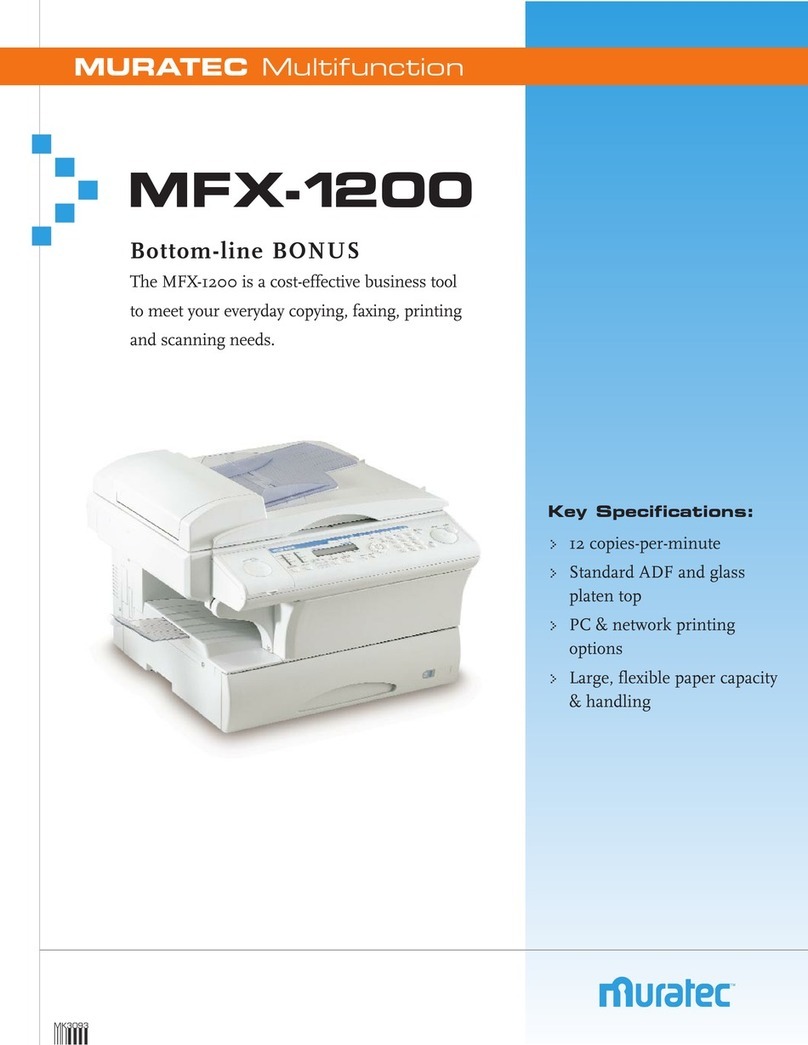
Muratec MFX-1200 User manual

Muratec

Muratec MFX-1200 User manual

Muratec OFFICEBRIDGE EXPANSION KIT (OB450) User manual

Muratec

Muratec OFFICEBRIDGE EXPANSION KIT (OB450) User manual

Muratec MFX-2350 D User manual

Muratec

Muratec MFX-2350 D User manual

Muratec MFX-C2280 Installation guide

Muratec

Muratec MFX-C2280 Installation guide

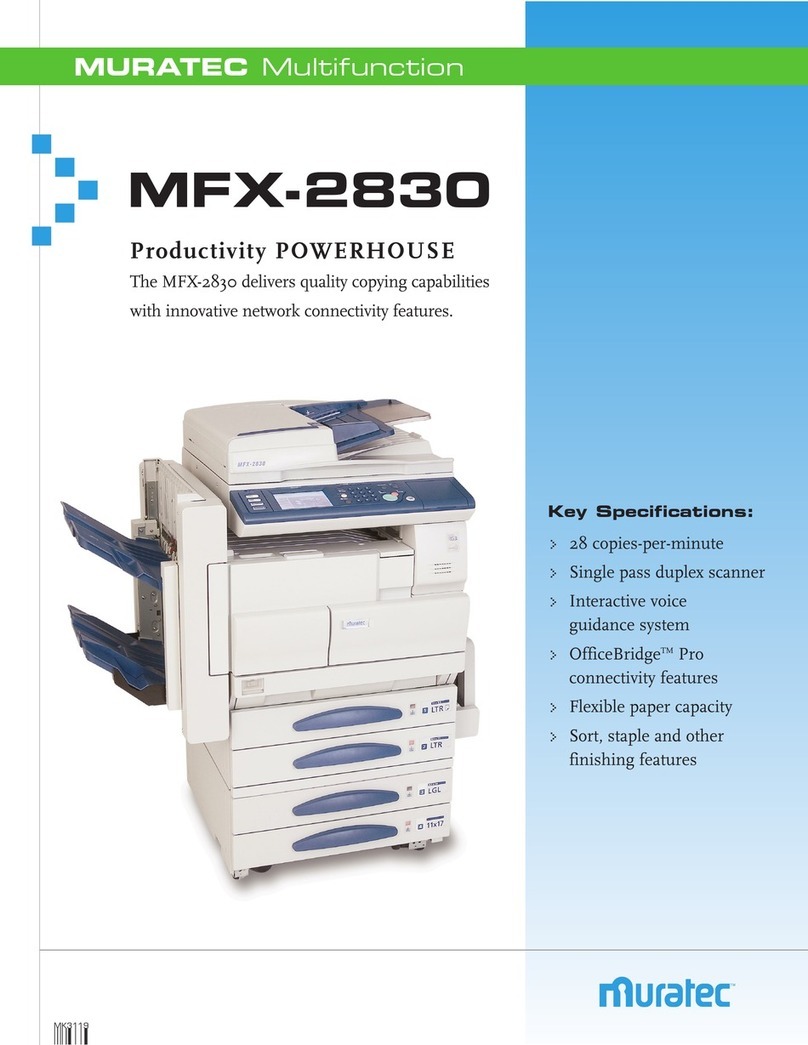
Muratec MFX-2830 Operator's manual

Muratec

Muratec MFX-2830 Operator's manual

Muratec MFX-2850 User manual

Muratec

Muratec MFX-2850 User manual

Muratec MFX-2830 User manual

Muratec

Muratec MFX-2830 User manual

Muratec F-114 Series User manual

Muratec

Muratec F-114 Series User manual

Muratec FAX SCANNER User manual

Muratec

Muratec FAX SCANNER User manual

Muratec MFX-1450 User manual

Muratec

Muratec MFX-1450 User manual

Muratec F-300 User manual

Muratec

Muratec F-300 User manual

Muratec F-68P User manual

Muratec

Muratec F-68P User manual

Muratec MFX-1350 User manual

Muratec

Muratec MFX-1350 User manual

Muratec F-560 Quick guide

Muratec

Muratec F-560 Quick guide

Muratec MFX-C3400 User manual

Muratec

Muratec MFX-C3400 User manual

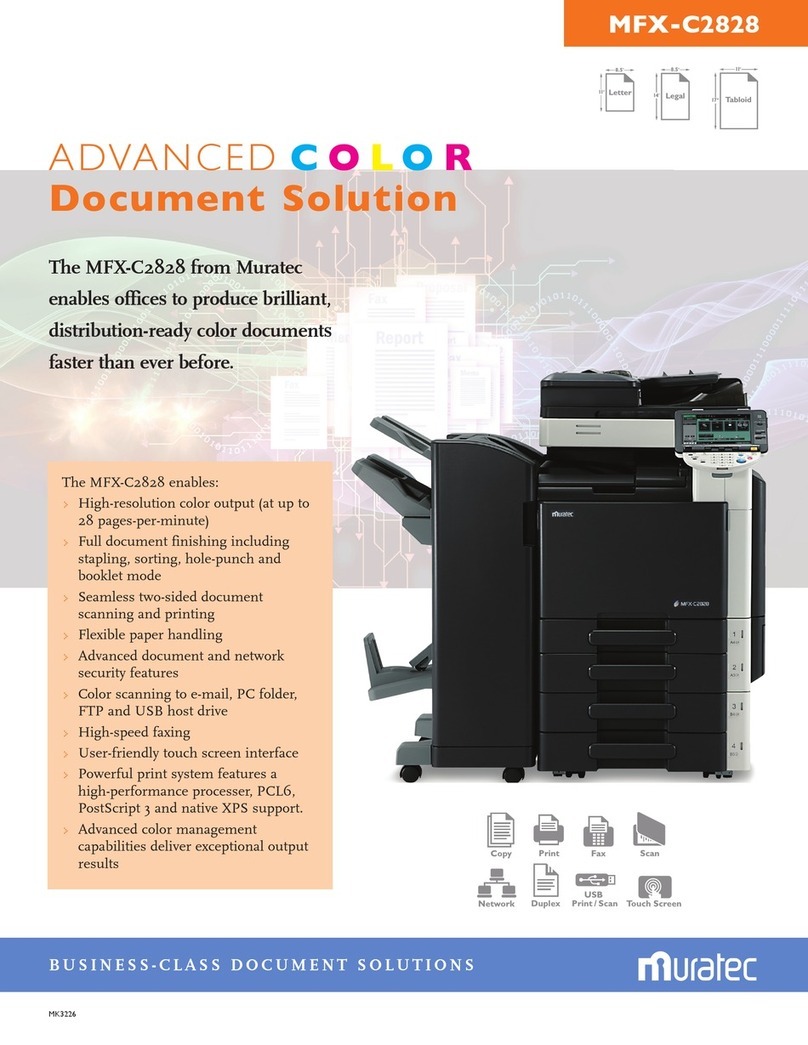
Muratec MFX-C2828 User manual

Muratec

Muratec MFX-C2828 User manual

Muratec MFX-2550 Guide User manual

Muratec

Muratec MFX-2550 Guide User manual

Muratec MFX-1430 Manual

Muratec

Muratec MFX-1430 Manual

Muratec MFX-C3035 User manual

Muratec

Muratec MFX-C3035 User manual

Muratec MFX-1430 User manual

Muratec

Muratec MFX-1430 User manual

Muratec F-520 User manual

Muratec

Muratec F-520 User manual

Popular All In One Printer manuals by other brands

Brother MFC-J220 Basic user's guide

Brother

Brother MFC-J220 Basic user's guide

Brother MFC-8510DN Basic user's guide

Brother

Brother MFC-8510DN Basic user's guide

Ricoh Aficio FX200 Service training

Ricoh

Ricoh Aficio FX200 Service training

Olivetti d-Copia 16W Operation manual

Olivetti

Olivetti d-Copia 16W Operation manual

Konica Minolta bizhub C3850FS user guide

Konica Minolta

Konica Minolta bizhub C3850FS user guide

Konica Minolta bizhub 758 manual

Konica Minolta

Konica Minolta bizhub 758 manual

Lexmark MX310 Series Service manual

Lexmark

Lexmark MX310 Series Service manual

Ricoh Aficio 3224C operating instructions

Ricoh

Ricoh Aficio 3224C operating instructions

Sagem MF 3625 user manual

Sagem

Sagem MF 3625 user manual

Epson Epson Stylus NX530 quick guide

Epson

Epson Epson Stylus NX530 quick guide

Brother MFC9800 - MFC 9800 B/W Laser owner's manual

Brother

Brother MFC9800 - MFC 9800 B/W Laser owner's manual

Konica Minolta 7033 instruction manual

Konica Minolta

Konica Minolta 7033 instruction manual

Ricoh Aficio MP 161F operating instructions

Ricoh

Ricoh Aficio MP 161F operating instructions

Epson WorkForce WF-2510 Basic guide

Epson

Epson WorkForce WF-2510 Basic guide

Epson Stylus Scan 2000 Product information guide

Epson

Epson Stylus Scan 2000 Product information guide

Epson PictureMate Snap PM 240 Start here

Epson

Epson PictureMate Snap PM 240 Start here

Brother MFC-J430w user guide

Brother

Brother MFC-J430w user guide

Konica Minolta BIZHUB 558 Quick reference guide

Konica Minolta

Konica Minolta BIZHUB 558 Quick reference guide

manuals.online logo
manuals.online logoBrands
  • About & Mission
  • Contact us
  • Privacy Policy
  • Terms and Conditions

Copyright 2025 Manuals.Online. All Rights Reserved.

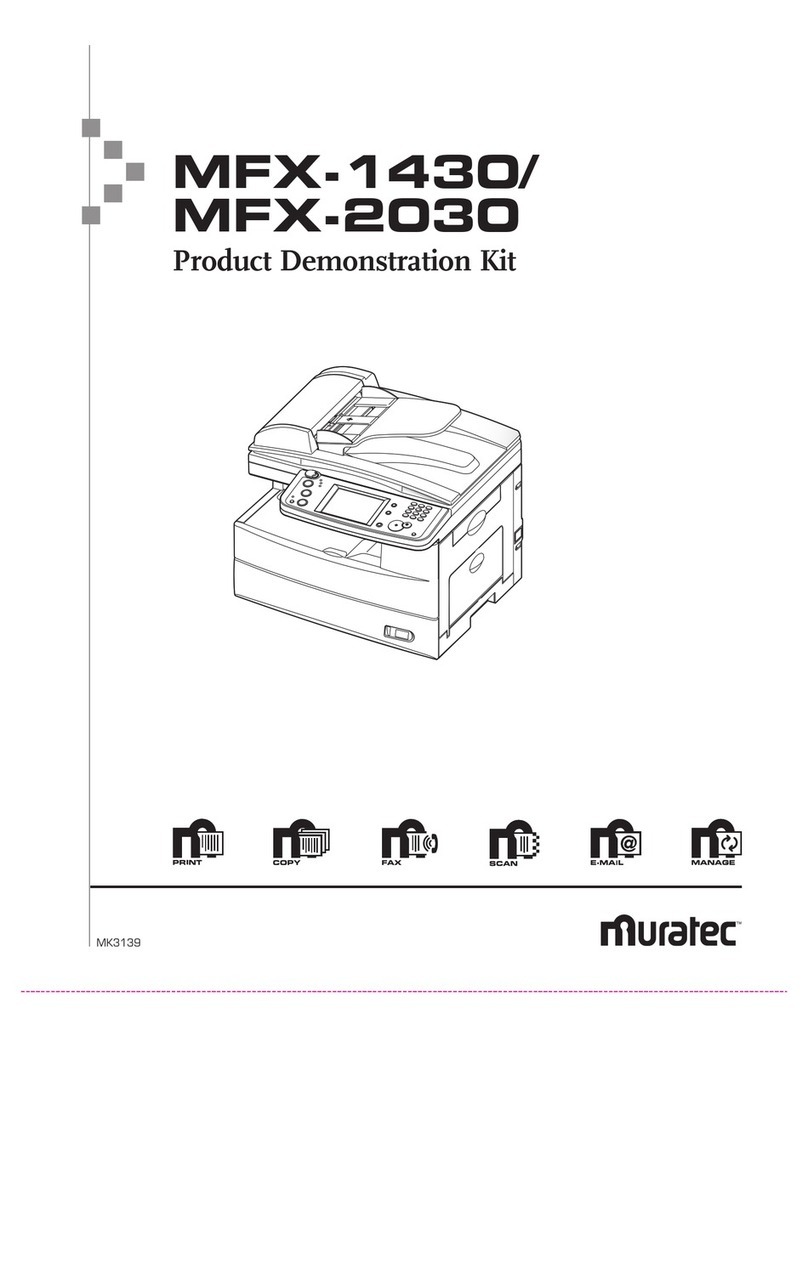
MFX-1430/
MFX-2030
Quick Demo Guide
This Quick Demo Guide demonstrates popular
functions of the MFX-1430/MFX-2030. The ‘*’
symbol denotes features specific to the MFX-
1430D and MFX-2030. Press [Reset] to return to
a default screen once you have finished
programming a function or to simply start over.
Select [Start] to initiate the job in all cases.
Visit and log-in to the Muratec Web Center
at www.muratec.com/webcenter for
additional information.
>
Additional features/notes
>
Muratec America, Inc.
3301 East Plano Parkway, Suite 100, Plano, Texas 75074
(469) 429-3300 • www.muratec.com MK3140
e. You can now search through the network folders.
Note: You may be required to enter a Username and Password
to access the folder
f. Select the file you want to attach.
g. Select [Enter], [Enter].
17. Group Registration
(Contact must be registered in the address book prior to group
registration)
a. Select [Setting], [Group], [Add].
b. Enter the group name, select [Enter].
c. Select [Group Members], [Enter].
d. Select the contacts you want to add to this group.
e. Select [Enter].
18. Set Number of Rings and
Dialing Pause
a. Select [Setting], [Fax Settings], [Other Settings], [Next].
b. Select [Number of Rings], enter your desired number and select
[Enter].
c. Select [Dialing Pause], enter the pause time and select [Enter].
19. Use the [Index] to Locate a Contact
a. Select [Index] from either the Fax default screen or the E-mail
default screen.
b. You can now search for contacts by group name, numerically or
alphabetically.
20. Select the Default Copy and
Fax Cassettes
a. Select [Setting], [Paper Setting], [Select Print Cassette].
b. Select the cassette you want to edit.
c. Select whether to use the cassette for fax reception, copying,
both or none.
21. Check the Print and Scan Counters
a. Select [Setting], [Counter].
b. Select [Print Total] or [Scan Total].
c. The number of pages used for each function will be displayed.
22. Card Copy Mode
a. Open the platen cover and set the card or check-sized object
on the glass.
b. Select [Card Copy].
c. Select [Card], [Enter]. The machine will scan the first side and
then prompt you to scan the next document.
d. Flip the card over and select [Yes].
e. The machine will scan the second side and then print the
document.
>
>
>
>
>
>
1. Perform an LDAP
Directory Search
(Simple Search)
a. From the Fax default or [e-mail] section of the Scan default
screen, select [Search].
b. Type in the search name, select [Enter].
Note: A Simple Search will search the LDAP directory and also
the one-touch/address book directory.
2.
Scan to E-mail
(Send a hardcopy document to an e-mail inbox)
a. Place document(s) in the ADF.
b. From the Scan default screen select [e-mail].
c. Select [Mail Address] to manually enter the e-mail address.
Note: There are several ways to choose your e-mail location.
You can manually type in an e-mail address using the key pad on
the screen, search the address book, perform an LDAP
directory search, search e-mail history or Re-mail.
d. Once you have selected/entered the e-mail address(s) select
[Start].
3. Scan to File
a. From the Scan default screen, select [Folder]
b. Select [Browse].
Note: The browsing icon will be displayed while machine
searches all accessible networks/workstations
c. Select the desired network.
d. Select the desired workstation.
e. If username and password are required for login, select
[Username], otherwise skip to step [i].
f. Type in the username, select [Enter].
g. Select [Password], type in the password, select [Enter].
h. Select the desired folder, select [Enter].
i. Select [Start].
4. Make a Duplex Copy*
a. Place documents in the ADF.
b. From the Copy default screen, select [Others], [DuplexCopy].
c. Select the duplex copy option. We’ll do a 1:2.
d. Select [Enter], then [Enter] again.
e. Select [Start].
Note: Select [Reset] to return to the default duplex copy settings
5. Program a Macro Key
(For this demonstration we will program a 4-1 combine)
a. From any standby mode select [Others].
b. Select [Macro Program].
c. Select [Enter/Edit].
d. Select the key you want to register.
e. Select [Yes].
Note: The machine will beep while you are programming the
function
f. From the Copy default screen select [Others].
g. Select [Combine], [4-in-1].
h. Select [Enter], [Enter].
i. Hit the [Start] button, select [Yes].
j. Name the function key.
k. Select [Enter].
6. Set up an LDAP Directory
a. Select [Setting].
b. Select [Management], [Network settings], [LDAP server
settings], [LDAP server].
c. Select the key you want to register.
d. Register the [Name], [IP Address], etc.
7. Enter the Initial Network Settings
(DHCP & Manual)
a. Select [Setting], [Management], [Network Settings].
b. Select [TCP/IP].
c. Select [DHCP].
d. To manually enter network settings, turn DHCP to [OFF].
e. Register the IP address, subnet mask, DNS settings, etc.
f. Once the settings have been registered please turn the machine
[Off], then back [On] to activate the settings.
Note: DHCP is set to [On] as the default. If the user is running
DHCP running on their server, the network settings information
will automatically be assigned.
8. Change/Edit a Default “Soft Key”
a. Select [Setting], [Management], [Soft Key].
b. Select the standby mode which contains the soft key you wish
to change.
c. For this demonstration we will choose [Fax].
d. Select the soft key you want to change/replace.
e. Select the function you want to assign to the soft key.
f. For this demo, select [Tx Report].
g. Select [Enter], [Reset].
9. Register an Address Book Location
(Each key can hold a fax number, e-mail address and group
number)
a. From the Fax default screen select [Add/Edit].
b. Select the address book number to register.
c. Type in your contact’s name, select [Enter].
d. Select [Fax], type in the fax number, [Enter].
e. Select [E-mail], type in the address, [Enter].
10. Broadcast to E-mail and/or
Fax Locations
(A broadcast can contain up to 330 locations)
a. From the Fax default screen, select [Broadcast].
b. Select the destination(s). You may enter locations manually,
select locations from the address book or select a call group.
c. After the locations have been entered select [Start].
11. Add a Coverpage to the Fax
Transmission
a. From the Fax default screen, select [Others].
b. Toggle the [Cover Page] button to [On].
c. Select [Enter].
12. Customize a Coverpage
a. Select [Setting], [Fax Setting], [Cover Page].
b. Enter a short message using the QWERTY keypad.
c. After you have entered your message select [Enter].
13
.Register a Department Code
a. Select [Setting], [Management], [Next], [Depart. Management],
[Enter/Edit].
b. Select the department code you want to register.
c. Enter the department code using the arrow keys. Select [Enter].
d. Select [Department Name] and type in the department name.
(Up to 20 characters.)
e. Select [Enter]. The code is now assigned to that department.
14
.Register a Folder Shortcut
a. Select [Setting], [Scanner Settings], [Folder Shortcut], [Add/Edit].
b. Select an empty location.
c. Select [Shortcut Name]
d. Type in the name and select [Enter].
e. Select [Link] to display all accessible networks.
Note: To manually enter a folder location, select [Keypad], type in
the full link and select [Enter]
f. Browse the network until you find the folder you want to register
and select [Enter].
g. If a user name and password are required for server log-in,
press [Username]. Otherwise skip to step K.
h. Type in the user name and select [Enter].
i. Select [Password].
j. Type in the password and select [Enter].
Note: The password will be displayed using asterisks
k. Select [Enter].
15. Register an FTP Shortcut
(To register the shortcut, you must first register an FTP link).
a. After you have set up an FTP link, go to the “Host” page.
b. Select [Shortcut Name].
c. Type in the name, select [Enter].
d. Select an empty location using the arrows or numeric keys.
e. Select [Yes].
16. Add an Attachment to an
E-mail Transmission
a. From the Scan default screen select [E-Mail].
b. Select [Folder] or [FTP] depending on where the attachment is
located.
c. Select [Others], [Attachment] to display all accessible networks.
d. Select the network that contains your desired file.
>
>
>
>
>
>
>
>
>
>
>
>
>
>
>
>
Continued