PC CAMERA
CONNECTING TO PC/TRANSFERRING FILES
ERASING AN IMAGE
8
9
10
BASIC PLAYBACK
Still Image
Video
7
PRINTING IMAGES (PictBridge)
11
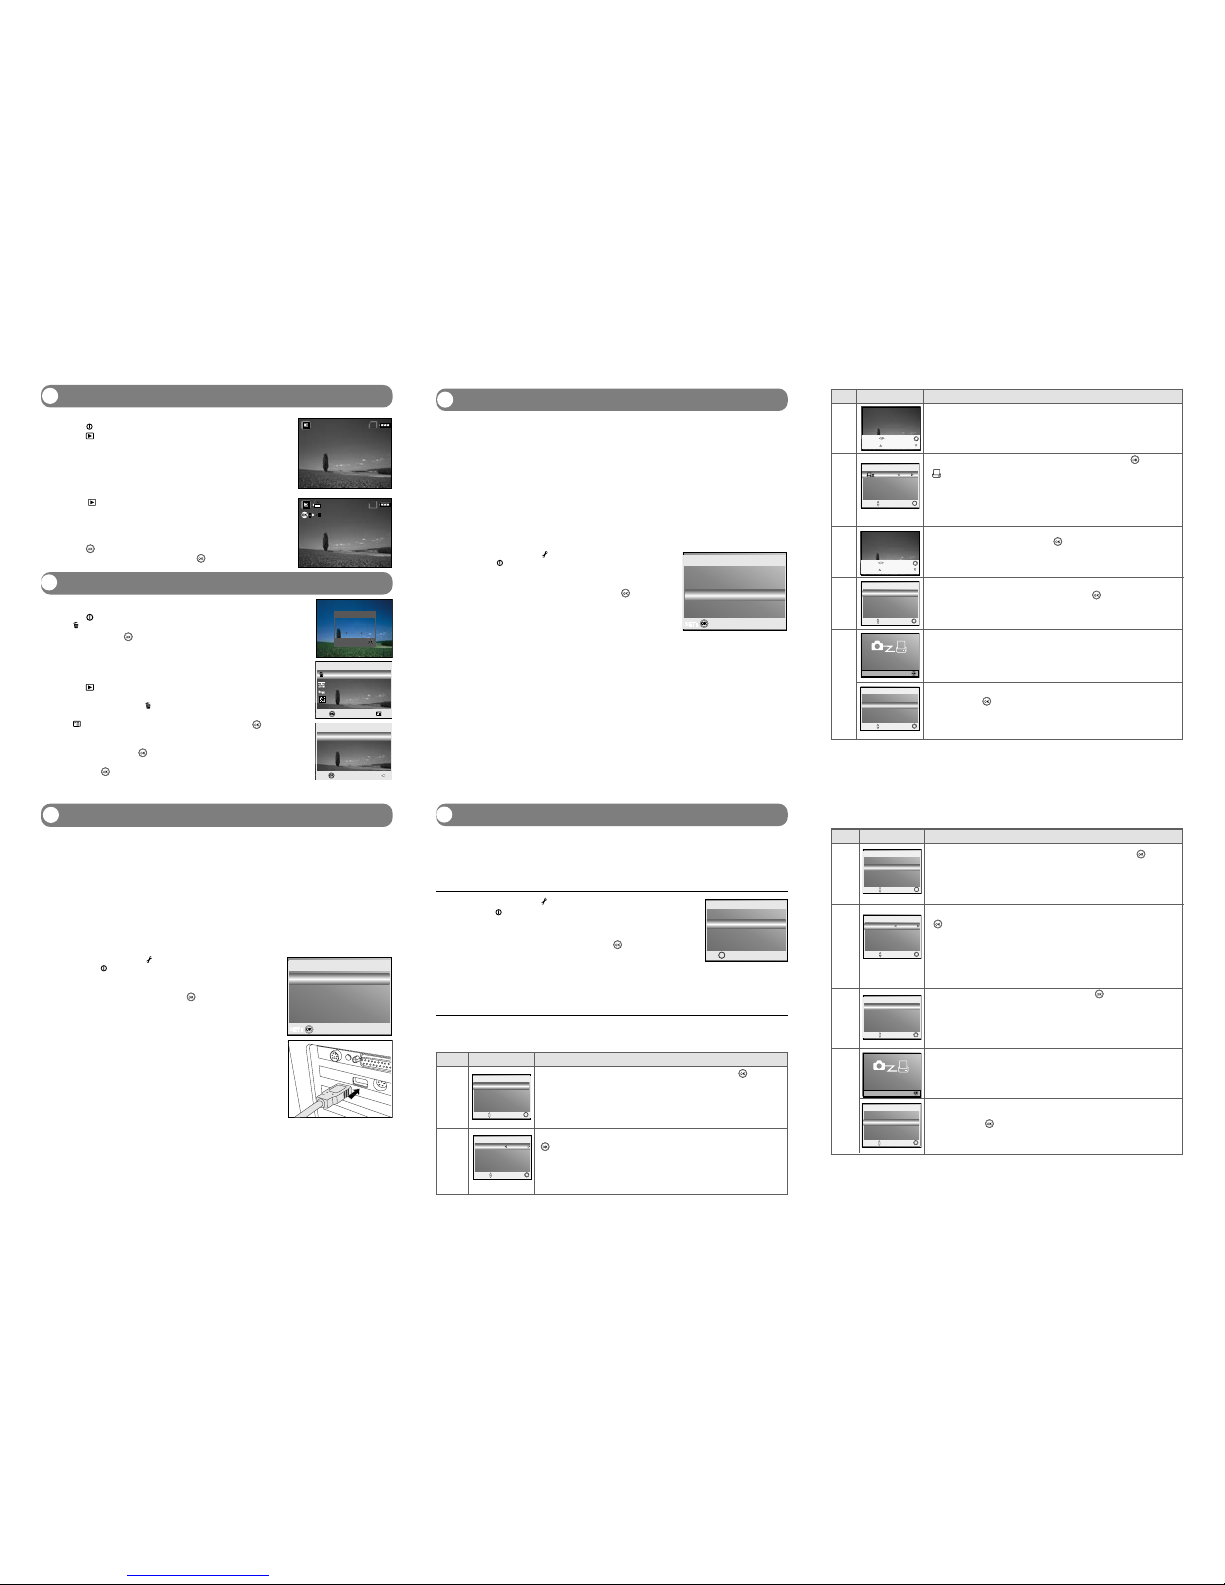
1. Press the button to turn on the camera.
2. Press the (Playback) button.
The last recorded image appears on the LCD monitor.
3. Use Wor Xto select the desired images.
To view the previous image, press the Wbutton.
To view the next image, press the Xbutton.
1. Press the (Playback) button.
2. Use Wor Xto go through the images until the video clip you want
to play back is displayed.
To view the previous image, press the Wbutton.
To view the next image, press the Xbutton.
3. Press the button to start playing back the video clips.
To pause or resume video playback, press the button again.
SD
100-0001
SIZE
EV.
01. 04. '04
1280X960
+1.5
05:22
1
SD
100-0001
SIZE
EV.
01. 04. '04
1280X960
+1.5
05:22
1
To delete the latest single image/video clip
1. Press the button to turn on the power.
2. Press . When the delete message appears, use Sor Tto select
[YES], then press the button to delete the last image or video
clip.
If you wish to cancel the deletion, select [NO].
To delete image/video clip by preference
1. Press the (Playback) button.
The last recorded image appears on the LCD monitor, which can also
be deleted directly by pressing .
2. Use Wor Xto select the image you want to delete.
3. Press , then use Sor Tto select [DELETE] and press the
button.
4. Use Sor Tto select [THIS IMAGE] or [ALL IMAGES] by your
preference, then press the button.
5. When the delete message appears, use Sor Tto select [YES],
then press the button to confirm the deletion.
If you wish to cancel the deletion, select [NO].
DELETE
SET : RETURN :
THIS IMAGE
ALL IMAGES
PLAYBACK
DELETE
SLIDE SHOW
PROTECT
QUALITY CHANGE
1 / 7
SET : EXIT :
Step 2: Connect the digital camera to your computer
1. Rotate the mode dial to and turn your camera on by
pressing the button.
2. Press Xto select the [CUSTOM] menu, then use Tto select
[USB].
3. Use Tto select [PC], then press the button.
4. Connect one end of the USB cable to an available USB port
on your computer.
5. There will be a new “Removable Disk” icon detected in “My
Computer”, in which contains your recorded images or video
clips.
Step 3: Download images or video clips
Open the “removable disk” and double click on the DCIM / DSCIM folder to open it to find more folders.
Your images are inside these folder(s). Select the desired still images or video clips and then choose
“Copy” from the “Edit” menu. Open the destination location (folder) and choose “Paste” from the “Edit”
menu. You may also drag and drop image files from the digital camera to a desired location.
Step 1 : Install the USB driver
The USB driver on the supplied CD is exclusively for Windows 98 and 98SE. Windows 2000/ME/XP users
need not install the USB driver.
1. Insert the enclosed CD into your CD-ROM drive.
2. When the welcome screen appears, click “INSTALL USB DRIVER “. Follow the on-screen instructions
to complete the installation.
3. After the USB driver has been installed, restart your computer.
Step 1: Install the PC camera driver
The PC-camera driver included in the CD is exclusively for Windows. The PC camera function is not
supported for Mac platforms.
1. Insert the enclosed CD into your CD-ROM drive.
2. When the welcome screen appears, click “ DRIVER For PC CAM ”. Follow the on-screen instructions
to complete the installation.
3. After the driver installation is completed, restart your computer.
Step 2: Connect the digital camera to your computer
1. Rotate the mode dial to and turn your camera on by
pressing the button.
2. Press Xto select the [CUSTOM] menu, then use Tto select
[USB].
3. Use Sor Tto select [PC CAM.], then press the button.
4. Connect one end of the USB cable to an available USB port
on your computer.
5. Position the digital camera steadily on top of your computer
monitor or use a tripod.
When using this digital camera as a PC camera, it is necessary to install the battery into the digital camera.
Step 3: Run your application software (i.e. Windows NetMeeting)
To use Windows NetMeeting for videoconferencing:
1. Go to Start ÆÆ
ÆÆ
ÆPrograms ÆÆ
ÆÆ
ÆAccessories ÆÆ
ÆÆ
ÆCommunications ÆÆ
ÆÆ
ÆNetMeeting to launch the
NetMeeting program.
2. Click the Start Video button to view live video.
3. Click the Place Call button.
4. Type the e-mail address or the network address of the computer that you are calling.
5. Click Call. The person that you are calling must also have Windows NetMeeting running and be
willing accept your call to start the video conference.
The video resolution for videoconferencing applications is generally 320 x 240.
For more information about the operation of video conference application software, refer to its respective
help documentation.
Your digital camera can act as a PC camera, which allows you to video conference with business
associates, or have a real-time conversation with friends or family.
Even if you do not have a computer, you can connect the camera directly to a printer that supports
PictBridge to perform image selection and printing using the camera monitor screen and controls. DPOF
support also lets you specify which images you want to print and how many copies of each should be
printed.
Connecting the camera to the printer
1. Rotate the mode dial to and turn your camera on by
pressing the button.
2. Press Xto select the [CUSTOM] menu, then use Tto select
[USB].
3. Use Sor Tto select [PRINT], then press the button.
4. Connect your camera and the printer via a supplied USB
cable.
The screen turns off automatically and the setting screen
will appear on the monitor after seconds of time.
Printing images
When the camera is properly connected to a PictBridge compliant printer, the [PRINT MODE SELECT]
screen is displayed on the monitor. Use Sor Tto select the print mode.
In [PRINT] Mode: Lets you print the specified image with PictBridge.
Step Figure Procedure
1
Use Sor Tto select the [PRINT] mode, then press the button.
* The [PRINT PAPER] screen is displayed.
Step Procedure
Figure
3
4
5
Use Sor Tto access in the selection of paper setting, then press the
button to confirm.
[SIZE]: You may select the desired item depending on
the type of printer being used.
[BORDERLESS]: You may select the desired item depending
on the type of printer being used.
2
Use Wor Xto select the image you want to print, then press Tto
proceed more detailed settings.
* The [PRINT INFO] screen is displayed.
Use Sor Tto select by your preference, then press the button.
[
] : Specifies the number of prints. You can select the number
up to 10.
[DATE]: If you select WITH, images are printed with the date.
[FILE NAME]: If you select WITH, images are printed with the file name.
[CANCEL]: To cancel the print settings, use Sor Tto select [CANCEL].
After the step 4 finished, you can still use Wor Xto change the image
by your preference, then press the button to print.
This starts printing and displays the message “TRANSFERRING” on
the monitor screen.The message will disappear after the printing finished.
* To cancel printing:
Pressing the button during print data transfer displays the screen
for selecting whether to [CONTINUE] or [CANCEL] printing.
7
6
Use Sor Tto select [PRINT], then press the button to confirm.
* The TRANSFERRING screen is displayed.
In [PRINT ORDER] Mode: This function only lets you print the specified image based on the
previous DPOF settings.
Step Figure Procedure
Use Sor Tto select the [PRINT ORDER] mode, then press the button.
* The [PRINT PAPER] screen is displayed.
1
4
2
3
Use Sor Tto access in the selection of paper setting, then press the
button to print.
[SIZE]: You may select the desired item depending on
the type of printer being used.
[BORDERLESS]: You may select the desired item depending on
the type of printer being used.
Use Sor Tto select [PRINT], then press the button to confirm.
* The TRANSFERRING screen is displayed.
This starts printing and displays the message “TRANSFERRING” on
the monitor screen. The message will disappear after the printing
finished.
* To cancel printing:
Pressing the button during print data transfer displays the screen
for selecting whether to [CONTINUE] or [CANCEL] printing.
PRINT
PRINT ORDER
PRINT MODE SELECT
SELECT: SET:
OK
PRINT
PC
PC CAM.
USB
SET:
OK
2 / 3
SELECT :
CANCEL :
PRINT :
OK
MORE :
10
DATE
PRINT INFO
SELECT: SET:
OK
FILE NAME
CANCEL
WITH
WITH
SELECT :
CANCEL :
PRINT :
OK
MORE :
STANDARD
SIZE
BORDERLESS STANDARD
PRINT PAPER
SELECT: SET: OK
CONTINUE
PRINT
SELECT: SET:
OK
CANCEL
PRINT
CANCEL
PRINT
SELECT: SET: OK
PRINT
PRINT ORDER
PRINT MODE SELECT
SELECT: SET:
OK
STANDARD
SIZE
BORDERLESS STANDARD
PRINT PAPER
SELECT: SET: OK
PRINT
CANCEL
PRINT
SELECT: SET: OK
CANCEL
PRINT
SELECT: SET:
OK
CONTINUE


