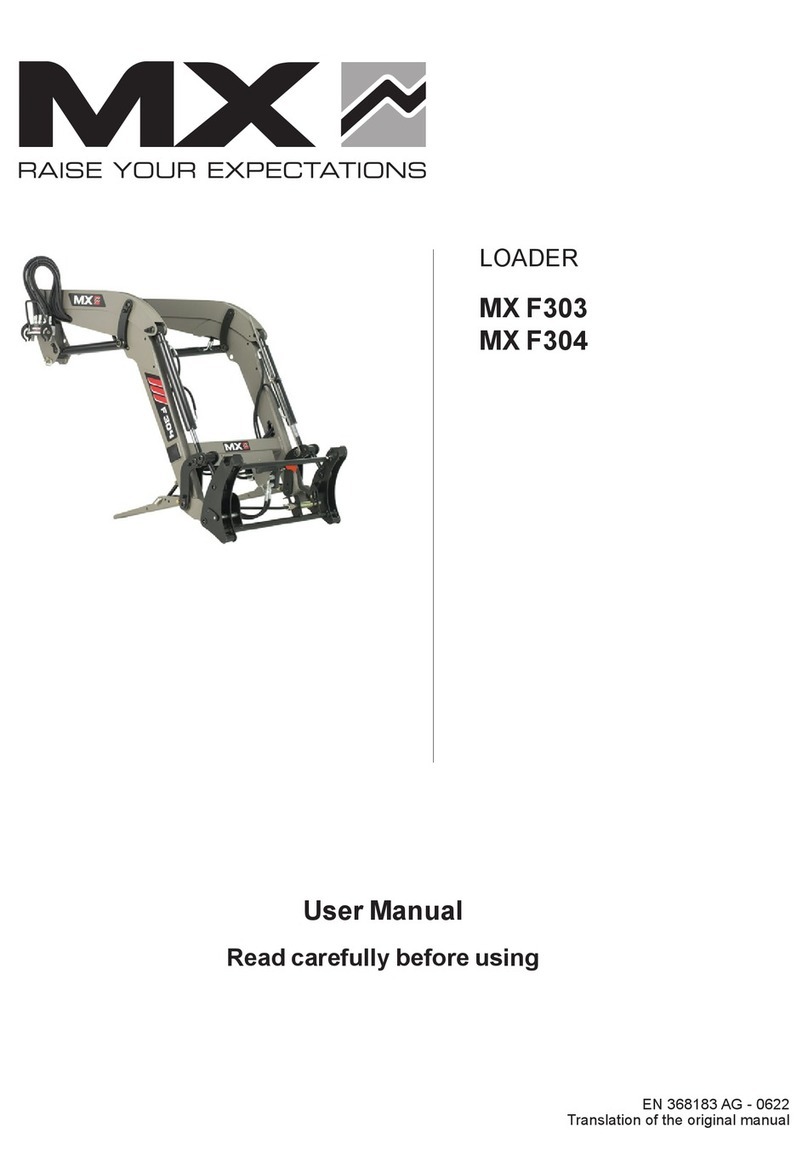
MX T406 User manual

Translation of the original manual
User Manual
Read carefully before using
LOADER
MX T406 / T406+
MX T408 / T408+
MX T410 / T410+
MX T412 / T412+
MX T414
MX T417
MX T418
EN 366579 AK - 0622


Dear user,
We thank you for placing your trust in us and hope that you will nd your MX loader satisfactory in every way.
By taking a few minutes to read this manual, you will be able to obtain the best results from your MX loader to the full,
prolong its service life and ensure safe operation.
This loader user manual is a very important document, so please keep it for future reference as required. Make it
available to any other users and hand it over it to any new owner should your MX loader be sold on.
The illustrations and technical data shown in this document might not exactly correspond to your loader, though operating
conditions will nevertheless remain the same.
The loader should be handed over to the user by the dealer.
The demonstration of the equipment to be delivered should include:
— The safety instructions.
— Hitching and unhitching the loader.
— Hitching and unhitching the implements.
— Full use of the controls.
Should one of these four requirements be omitted, it is your responsibility to contact your dealership
immediately.
You can access the original manuals in English on the www.m-x.eu website:
Click on the English version of the site, then on "Documentation/User Manuals".
MX is a trademark of M-extend France SAS, SIREN 639 200 260, RCS Rennes, 19 Rue de Rennes, BP 83 221 - 35 690
Acigné, France.
Contact only for England, Scotland and Wales :
MX (Handling Equipment) UK Ltd
Hyssop Close
Hawks Green
Cannock
Staordshire
WS11 7XB
Tel: 01543 462787
Email: [email protected]


CONTENTS
1. SAFETY RULES 9
1.1 PPE Table (Personal Protective Equipment) 10
1.2 Loader usage limits on a tractor with a roll cage with 2 uprights 10
1.3 Non-compliance with instructions for safety and use 11
2. SAFETY STICKERS 12
3. IDENTIFICATION PLATE 13
4. COUNTERWEIGHT 14
5. CONTROL 15
5.1 Control using the tractor's control valves 15
5.2 Control with the MX control valve 15
5.3 Control with MX PROPILOT control valve 15
5.4 Control with MX FLEXPILOT control valve 17
5.5 Control with MX e-PILOT S control valves 18
6. LOADER UNHITCHING 19
7. LOADER HITCHING 24
7.1 Two-step hitching 26
8. IMPLEMENT UNHITCHING 28
8.1 Implement carrier with manual unlocking 28
8.2 FAST-LOCK implement carrier 29
8.3 SPEED-LINK 2 implement carrier 30
9. IMPLEMENT HITCHING 31
9.1 Implement carrier frame with manual locking 31
9.2 FAST-LOCK implement carrier 32
9.3 SPEED-LINK 2 implement carrier 32
10. MODELS OF IMPLEMENT CARRIER FRAMES 33
10.1 MX implement carrier frame 33
10.2 EURO implement carrier frame 33
10.3 MX/EURO implement carrier frame 33
10.4 EURO/SMS implement carrier frame 34
10.5 MX/Faucheux-Blanc implement carrier frame 34
10.6 EURO/Sigma 4 implement carrier frame 34
10.7 MX/Euro/TENIAS implement carrier frame 35
11. LEVEL INDICATOR 35
12. FAST-LOCK SYSTEM 36
13. SPEED-LINK 2 SYSTEM 37
14. PCH SYSTEM 38
14.1 “Bucket” position 38
14.2 “Pallet” position 38
15. SHOCK ELIMINATOR SYSTEM 39
16. BUCKET OPERATION RESTRICTOR 40
16.1 On/O 40

16.2 Adjustment 40
17. AUTO-LEVEL SYSTEM 41
17.1 Implement position adjustment 41
17.2 Automatic implement position reset 41
18. AUTO-UNLOAD SYSTEM 42
19. SAFETY WHEN LIFTING AND DUMPING 42
19.1 Extract from the Front Loaders standard EN12525 + A2 2010: 42
19.2 Use of the lifting and dumping safety device 43
20. MAINTENANCE 44
21. DIRECTIONS FOR USE 46
22. RECYCLING MX PRODUCTS 47
23. SAFETY LIFT RAM STOP ON LOADER 48
23.1 SAFETY STICKERS 48
24. TECHNICAL SPECIFICATIONS 49


The loader is a complex machine.
The operator must read this manual
before using the loader for the rst time.
Familiarise yourself with:
— The safety instructions.
— Hitching and unhitching the loader.
— Hitching and unhitching the implements.
— Full use of the controls.

9Subject to modication
1. Safety rules
— PPE (Personal Protective Equipment) must be worn (please refer to the "PPE table").
— Seat belts must be worn by the driver and passengers.
— Before each use, the operator must check that the loader is correctly hitched and that the implement is correctly locked
(test by pressing hard to the ground).
— Only control the loader from the cab. Keep controlling until movements stop.
— The loader controls must be locked when travelling by road (refer to the controls user manual).
— When approaching a junction, release the controls then raise the loader to at least 2 m above the ground to avoid
endangering other road users. After passing the junction, return the loader to its initial position and lock the controls
again.
— When driving on the road, do not mask the tractor’s side lights and signalling lights.
— Do not leave the cab without stopping all control movements (control lever locked).
— Never leave the tractor with the loader lifted. After using the loader, park the tractor with the loader lowered to the
ground.
— All persons must be kept away from the area in which the loader is moving while it is in operation. When lifting
operations require the presence of a person near to the load, the MX loader must be tted with a safety device (see the
"SAFETY WHILE LIFTING AND DUMPING" chapter).
— Before use, the operator should be sure that the loader-tractor unit and the implement-loader unit are compatible. They
should refer to the MX price list in eect with their dealer.
— The operator must use an implement designed and recommended by MX for the work to be carried out.
— Carrying or lifting persons using the loader is forbidden.
— Ensure tractor stability by using a suitable counterweight (see the "COUNTERWEIGHT" chapter).
— Restrict all movements with the load lifted, as the tractor may become unbalanced.
— The maximum front axle loading specied by the tractor manufacturer must not be exceeded.
— In order to limit stresses on the front axle and steering ram, and to limit tyre wear, move forwards or backwards when
steering.
— The maximum loading on the front tyres specied by the tyre manufacturer must not be exceeded.
— Check tyre pressures regularly.
— Check periodically to ensure that the safety pins and bolts are in place. Do not replace them with any other items, such
as: nails, wire, etc.
— For full use of the MX loader, the tractor must be tted with a structure to protect against falling objects. If this is not the
case, there are limits on the use of the MX loader (see the "LOADER USE LIMITS" section). CAUTION: the protective
tting must be in active position while working. If the tractor is tted with a roll cage only, the loader must be equipped
with a parallelogram.
— Watch out for overhead electricity and telephone lines, guttering, framework, etc. when moving with the loader in raised
position.
— In compliance with standard EN 12525 + A2 2010, the controls for operating the loader and implements must be of the
"sustained action" type, except for the oating position for lifting, which can be held in place by a notching system.
— Any fault diagnosis and/or removal of parts must be carried out by a professional who shall start by guaranteeing that
the work will be carried out safely for him and his environment, notably in the case of work on a lifted loader.
— For all operations on the machine, pay attention to the risks of crushing or pinching, especially with moving parts.
— For all interventions at height on the machine, use stable and secured means. Stop the tractor engine if the loader is

10 Subject to modication
hitched to the tractor.
— Keep the tractor-loader clean to avoid the risk of re. Ensure that airborne particles (straw, grass, wood shavings, etc.)
do not accumulate in areas which reach high temperatures. Inspect and clean areas where various materials can
accumulate, especially around the engine and the exhaust area.
■
1.1 PPE Table (Personal Protective Equipment)
Symbol Meaning Example of risk
Hand protection equipment must be worn. Cuts, trapped ngers when unlocking the
implement on the loader.
Ear protection must be worn. Bucket shake with cab-less tractor.
Eye protection must be worn. Spatter when high-pressure cleaning.
Helmet must be worn. Impacts to the head with the loader during
maintenance on the tractor.
Body protection equipment must be worn. Spatter when high-pressure cleaning.
Foot protection must be worn. Crushed feet when setting up the parking stands.
■
1.2 Loader usage limits on a tractor with a roll cage with 2 uprights
Additional information for a tractor tted with a roll cage with 2 uprights.
1.2.1 Warning
If the tractor is not tted with a structure protecting against falling loads, the driver is exposed to constant risk when
handling loads.
If the tractor is tted with a roll cage only, the loader must be equipped with a parallelogram.
Reminder: only implements recommended by the MX loader manufacturer may be used.
■

11 Subject to modication
1.2.2 Usage precautions
For safe work, the following usage precautions must be observed:
— Use the implement designed for the work to be carried out.
— Adjust the indicator rod according to the implement used.
— Ensure the stability and hold of the load in the implement.
— The maximum loading level of the implement must not exceed the lowest side for bulk loads, and not exceed the height
of the backplate for unit loads (see Fig. 1).
— Move the tractor-loader unit carefully.
— Travel with the load at ground level and at moderate speed.
— During a lifting operation and when moving, keep your eyes on the load from when the implement's pivot point (A)
passes the horizontal of the loader's pivot point (B) (see Fig. 2). If necessary, correct the position of the implement so
that the load is never directed towards the driver (see Fig. 3).
(A)
(B)
(A)
(B)
OK
Bulk load Unit load Pallet type
■
1.3 Non-compliance with instructions for safety and use
— MX products are designed to be used at the maximum hydraulic pressure indicated by the manufacturer for the tractor's
specications. Use of excess pressure will result in additional strain and will therefore invalidate the MX equipment
warranty.
— Never make any changes to the hose connections.
— Breaking lead seals will void any liability on the part of MX for all its equipment.
— Any assembly of the MX loader which ignores the recommendations of the MX price list in force at the purchase date
cancels the MX guarantee for the whole supply.
— Any modication to any item supplied by MX (implements, loader, frame, etc.), or installation or use of an implement or
component not recommended by MX on the MX loader, will render the MX guarantee on all supplied items null and void.
— Use only genuine MX spare parts. Do not carry out any modications yourself or have anyone else do so on your MX
loader and its implements (mechanical, electrical, hydraulic or pneumatic specications) without seeking prior approval
in writing from MX. Failure to comply with these rules may make your MX loader hazardous. In the event of damage or
injury, MX shall not be held responsible in any way.
— Warranty cover will cease immediately in the event of failure to observe the standards and instructions for use and
maintenance of the MX loader as stipulated in the user manual. MX shall not be held responsible for accidents that
might result from actions contrary to these restrictions.
■

12 Subject to modication
2. Safety stickers
Safety stickers are axed to loaders. Ensure that these stickers are
clean and legible;
replace them if they become damaged.
Symbol Meaning
Familiarise yourself with the safety instructions in the user manual before using or working on the
loader. Follow the loader hitching and unhitching procedure given in the user manual.
Use the anchoring points when handling the loader.
Handling above people is prohibited. Use of the loader and implements for purposes other than the
material handling for which they were designed is prohibited.
■

13 Subject to modication
3. Identication plate
The identication plate is located inside the loader's right arm.
The serial number and loader model shown on this plate must
be quoted in any request for spare parts information or technical
assistance.
■

14 Subject to modication
4. Counterweight
The stability of the tractor-loader unit can only be ensured with
a counterweight installed on the rear of the tractor. This should
ensure that 20% of the gross weight (tractor, loader, implement,
maximum load and counterweight) bears on the rear axle of the
tractor for optimum working safety.
The formula below is used to calculate the counterweight (M)
(standard EN12525 + A2 2010).
— G: Load on the rear axle, with no counterweight, with empty
implement (kg).
— G1: Load on the front axle, without counterweight, with empty
implement (kg).
— b: Distance from front axle to the implement's centre of gravity
(mm).
— I1: Distance from the linkage arm pin to the rear axle (mm).
— I2: Wheelbase (mm).
— N: Usable load of the loader for implement pivot point (A)
horizontal with the loader pivot point (B) (kg).
— P: G + G1 (kg).
— M: Counterweight (kg).
■
5 N b + I2 (P + N - 5 G)
5 (I1 + I2) I2
M >

15 Subject to modication
5. Control
Reminder: Never leave the tractor with the loader lifted.
Every control valve with spool generates an internal leak required for proper operation.
5.1 Control using the tractor's control valves
Refer to the user manual for the tractor.
■
5.1.1 Front/rear control selector (optional)
From the tractor's original joystick, the user in the cab controls
either the MX loader or the rear couplings.
■
5.2 Control with the MX control valve
■
5.2.1 Handle setting *
To ensure comfortable control of the loader, the handle's position
can be adjusted.
* on Propilot and Flexpilot controls only.
■
5.3 Control with MX PROPILOT control valve
■

16 Subject to modication
5.3.1 Safety
To prevent any accidental movement of the loader, the PROPILOT
monolever can be locked.
Move the unlocking lever (1).
— (A): unlocked position.
— (B): locked position.
■
1
A
B
5.3.2 Movements
1st function: along the “Y” axis
— Forward = loader lowering
(Double-action hydraulic ram operation).
— Forwards after notching = oating position
(Single-action hydraulic ram operation).
— Backwards = loader raised.
2nd function: along the “X” axis
— To the left = implement crowding.
— To the right = implement dumping.
■
Y
X
YX
3rd function: along the "X" axis
— Button (1) + crowding or dumping movement.
4th function: along the "X" axis
— Button (2) + crowding or dumping movement.
FAST-LOCK
Automatic hitching/unhitching of the implement.
— Button (1) + (4) + crowding or dumping movement.
SPEED-LINK 2
Automatic hitching/unhitching of the implement with hydraulic and
electric functions.
— Button (1) + (4) + crowding or dumping movement.
NOTE: Button (3) not used.
Button (4) only available with FAST-LOCK or SPEED-LINK 2.
■
1
2
3
4

17 Subject to modication
5.4 Control with MX FLEXPILOT control valve
■
5.4.1 Safety
To prevent any accidental movement of the loader, the FLEXPILOT
monolever can be locked.
Turn the isolating thumbwheel (1):
— (A): unlocked position.
— (B): locked position.
■
1
AB
5.4.2 Movements
1st function: along the “Y” axis
— Forward = loader lowering
(Double-action hydraulic ram operation).
— Forwards after notching = oating position
(Single-action hydraulic ram operation).
— Backwards = loader raised.
2nd function: along the “X” axis
— To the left = implement crowding.
— To the right = implement dumping.
■
Y
X
YX

18 Subject to modication
3rd function: along the "X" axis
— Button (1) + crowding or dumping movement.
4th function: along the "X" axis
— Button (2) + crowding or dumping movement.
FAST-LOCK
Automatic hitching/unhitching of the implement.
— Button (1) + (4) + crowding or dumping movement.
SPEED-LINK 2
Automatic hitching/unhitching of the implement with hydraulic and
electric functions.
— Button (1) + (4) + crowding or dumping movement.
AUTO-LEVEL System
Implement position reset.
— Button (3).
NOTE: Button (4) operational only with FAST-LOCK or SPEED-
LINK 2.
■
1
2
3
4
5.5 Control with MX e-PILOT S control valves
See separate instructions for e-PILOT S.
■

19 Subject to modication
6. Loader unhitching
This operation must be carried out by the driver, who must exit the cab and ensure all
manoeuvres are prohibited while working on the loader.
Watch the unhitching/hitching video at www.m-x.eu
The loader must always be connected to an implement of
at least 100 kg in order to unhitch it.
— Choose a level and solid surface.
— Lower the loader in double-action mode until the front axle is
slightly raised, with the implement at on the ground.
— Then activate the notched oating position. Return to neutral.
With the lifting rams fully lled, exposure to the sun will restrict
any unwanted movement in the loader and ensure proper
hitching.
— Apply the hand brake. Stop the engine.
— Get down from the tractor.
■
— On the left side, pull the unlocking handle sharply downwards.
IMPORTANT: The locking indicator is in the red zone.
■
— Lower the left and right parking stands.
■

20 Subject to modication
Setting the parking stands on rst use
■
1. Position the implement at on the ground.
■
2. Lower the parking stand.
■
3. Remove the rod stop (1) and position the parking stand on the
ground.
■
1
This manual suits for next models
7
Table of contents
Other MX Tractor Accessories manuals
Popular Tractor Accessories manuals by other brands

First Products
First Products AERA-vator AE40L Operator's manual & parts list

RadTech
RadTech LS Tractor LW3150 Operator and parts manual

Lipco
Lipco UF 70 TRANSLATION OF ORIGINAL INSTRUCTIONS

Femco
Femco WEATHERBRAKE 2186 instructions

Nordic Plow
Nordic Plow ZERO TURN 49 MOUNTING KIT Mounting instructions

brent
brent THE GRAIN TRAIN 740 Operator's Manual/Parts Catalog