page 3
WARNING: To avoid injury ensure that your child is kept away when unfolding and folding this
product.
WARNING: Do not let your child play with this product.
WARNING: Never leave your child unattended.
WARNING: Ensure that all the locking devices are engaged before use.
WARNING: Always use the restraint system. Always use the crotch strap in combination with the
waist belt.
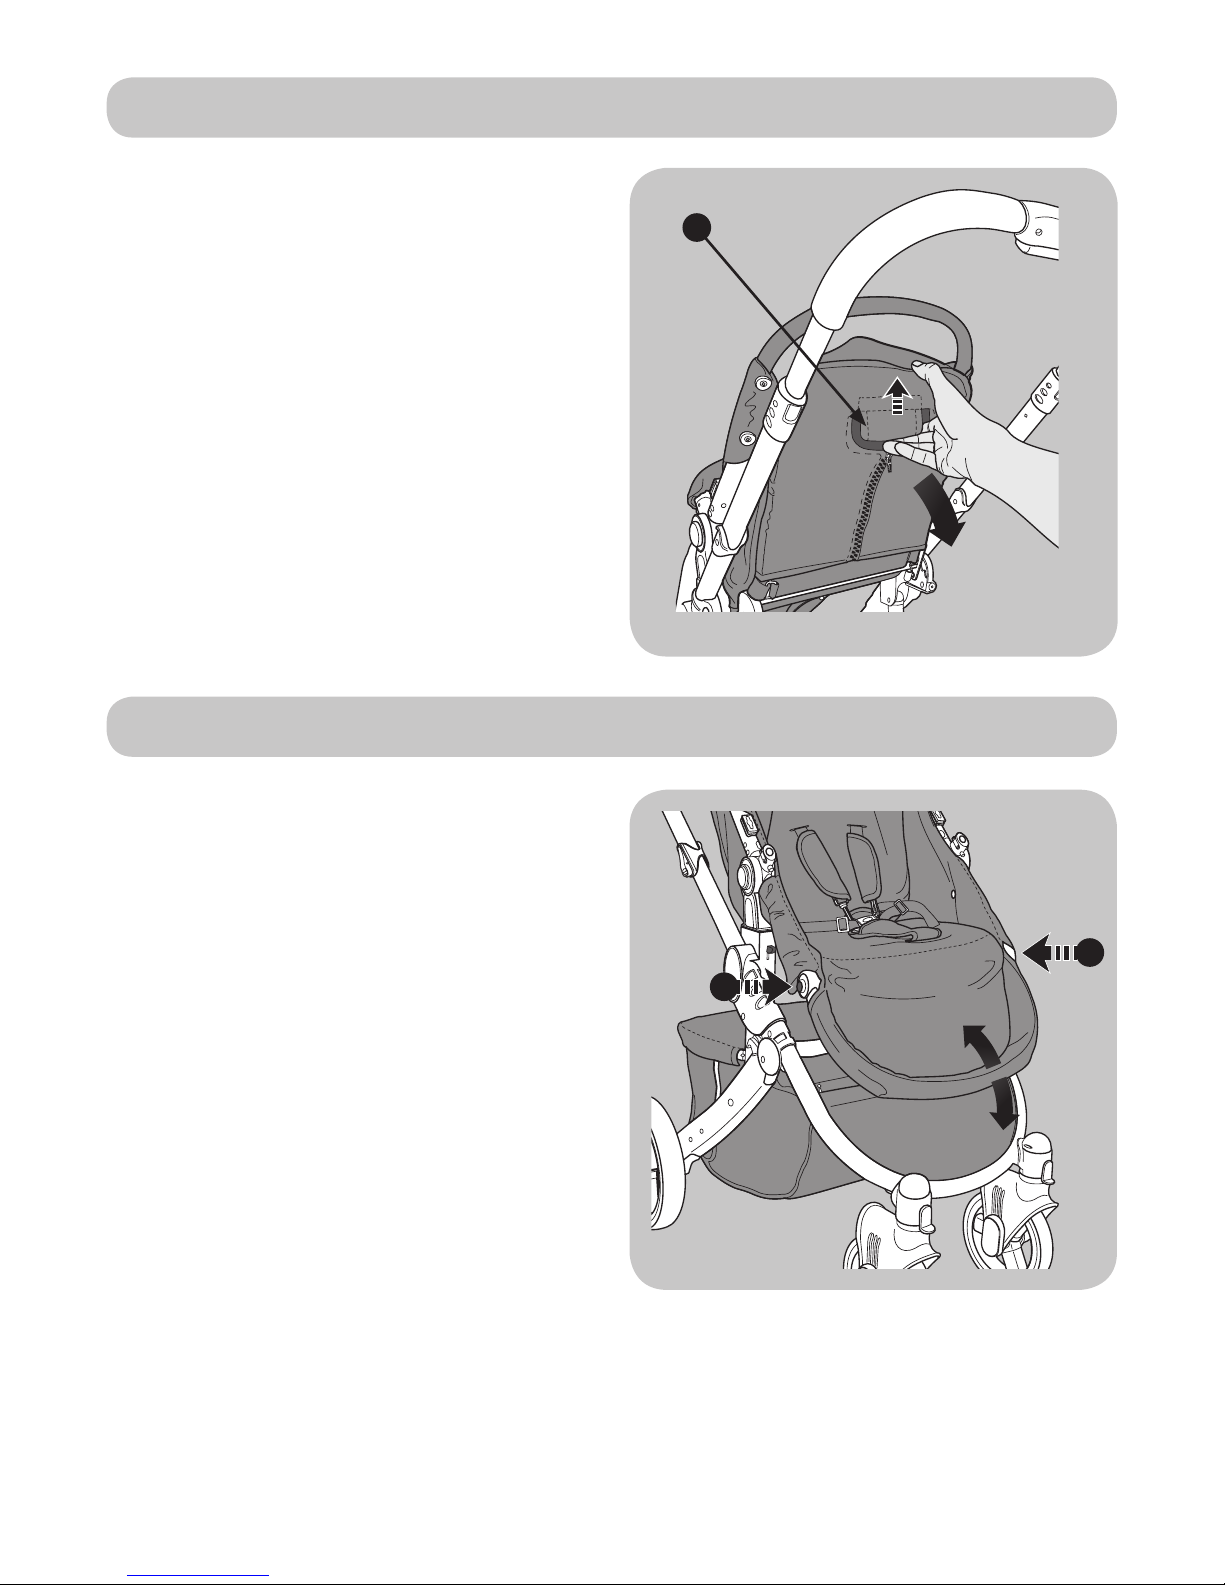
WARNING: Parcels, accessories and other items (e.g. hand bags, shopping bags, etc) that are
placed on the handles, back of the backrest or sides of the pushchair will affect the stability of
the pushchair.
WARNING: Do not lift and carry the pushchair with a child in it.
WARNING: Do not use pushchair on steep slopes, stairs, escalators, beaches, mud, etc.
WARNING: Check that the pushchair body or seat unit attachment devices are correctly
engaged before use.
WARNING: Do not allow your child to climb unassisted into or out of the pushchair.
WARNING: Ensure that children are clear of moving parts before making adjustments.
WARNING: Never leave raincovers, hoods and aprons on indoors or in hot weather as your child
might overheat.
WARNING: Do not use replacement parts or accessories other than those approved by the
manufacturer as others may render the product unsafe.
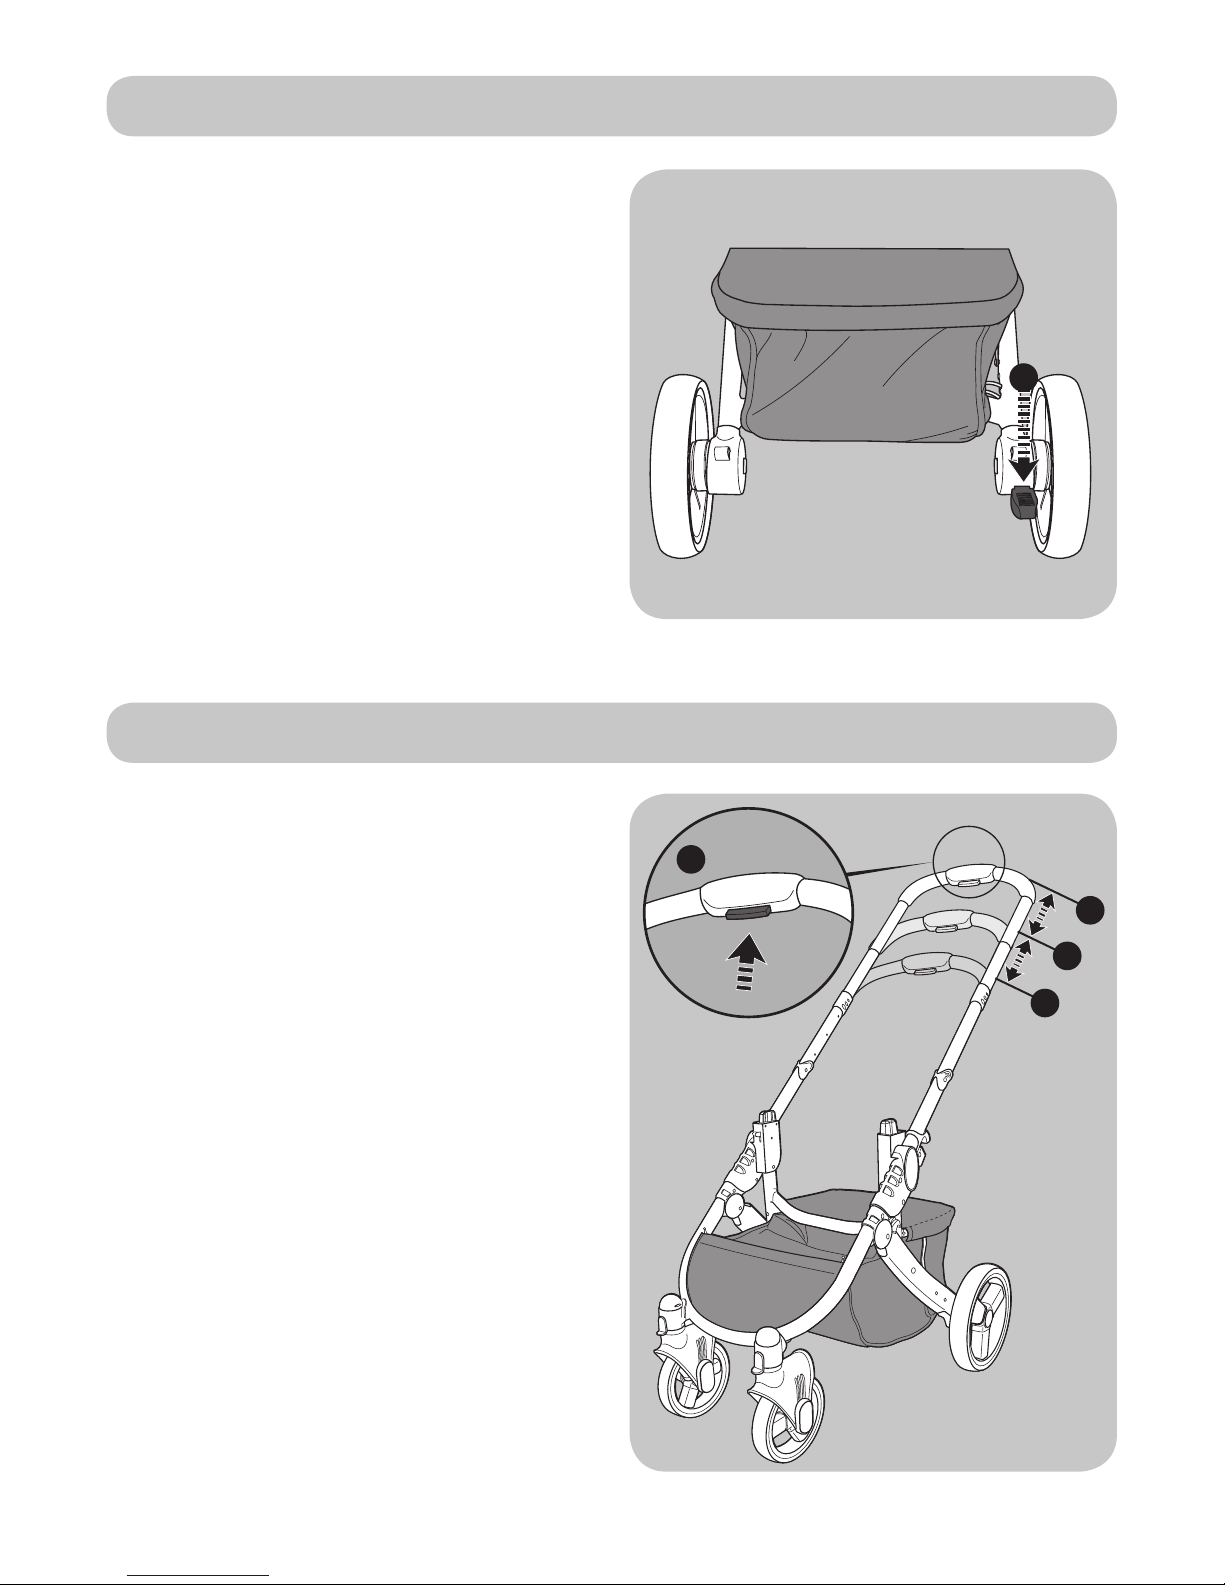
WARNING: Do not load the basket with a weight in excess of 2kg.
WARNING: Always apply the brakes when the pushchair is stationary, and when placing and
removing children.
WARNING: Taking children up or down stairs, escalators, steps, steep slopes and muddy/
rough terrain could be dangerous and should not be attempted. Remove your child from the
pushchair for easy carrying to negotiate such hazards, or simply avoid them.
WARNING: Never assume a driver can see you or your child.
WARNING: If your pushchair is to be used by someone who is unfamiliar with it, e.g.
grandparents, then show them how it works before letting them use it.
WARNING: This pushchair is not suitable for running or skating.
WARNING: Hold onto your pushchair when close to moving vehicles and trains as the draught
from the vehicles may move the pushchair even with the brakes on.
WARNING: This product is suitable for children from birth up to 15kg.
WARNING: This product is designed to carry only one child at a time.
WARNING: Always use the seat unit in the most reclined position for new born babies.
WARNING: The use of a car seat in conjunction with the chassis does not replace a cot or a bed.
Should your child need to sleep, then it should be placed in a suitable pram body, cot or bed.
This product complies with BS EN 1888:2012
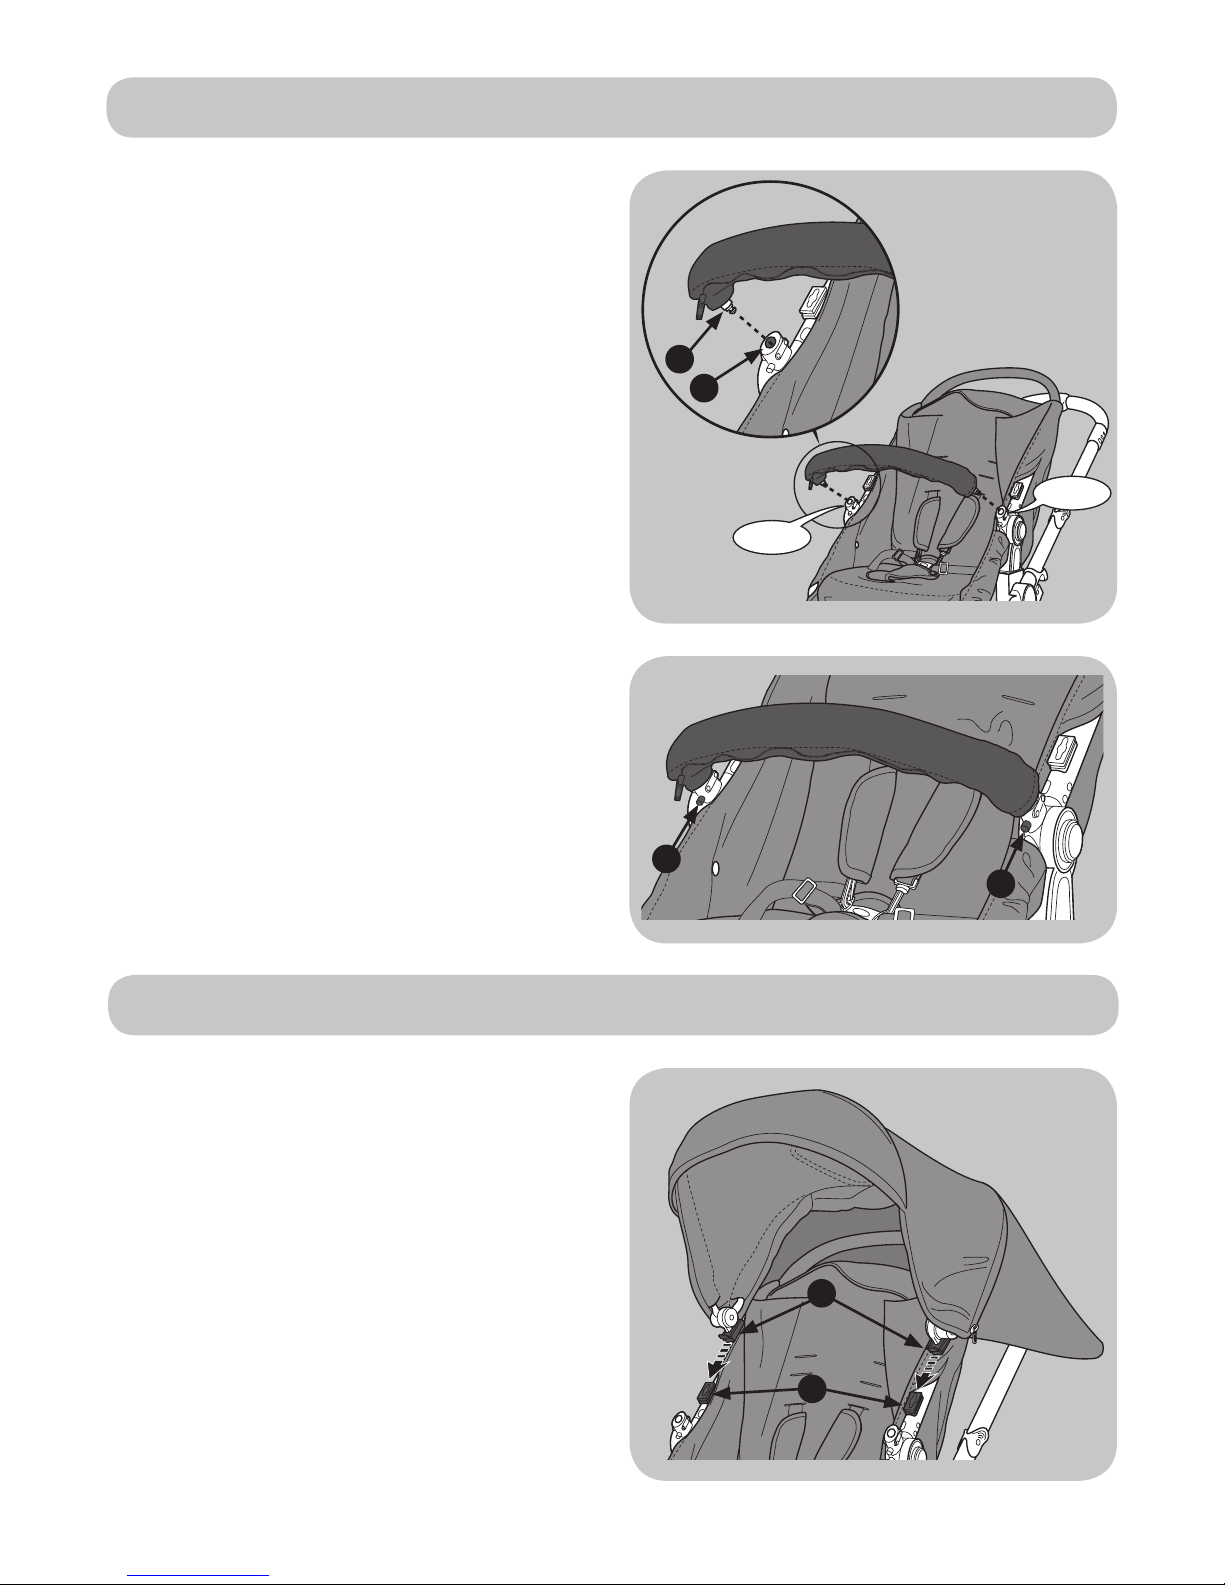
Safety instructions
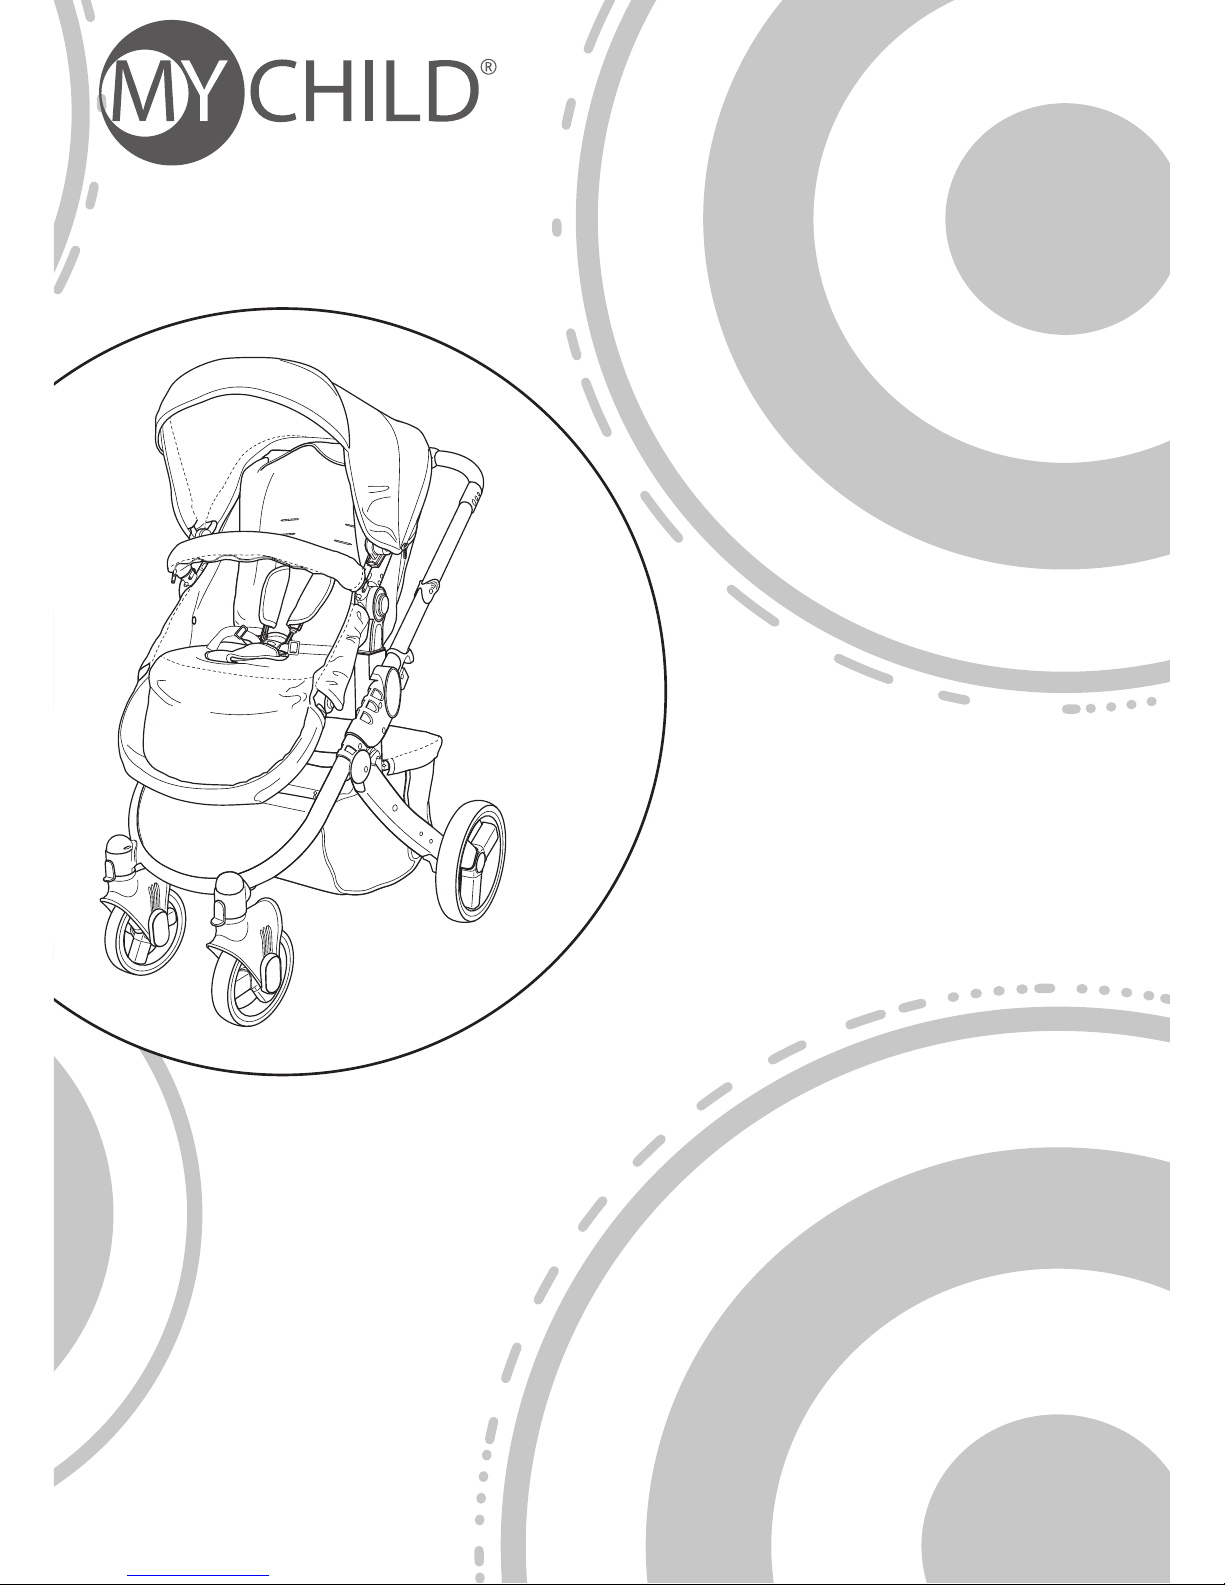
Welcome
Thank you for purchasing the MyChild Magnet Reversible Pushchair.
Please read the instructions and warnings carefully before use to ensure safe and satisfactory
operation of this product.
Your child’s safety is your responsibility. If you have a query with this product or require
replacement parts, please contact the MyChild Helpline on 0161 335 2508.
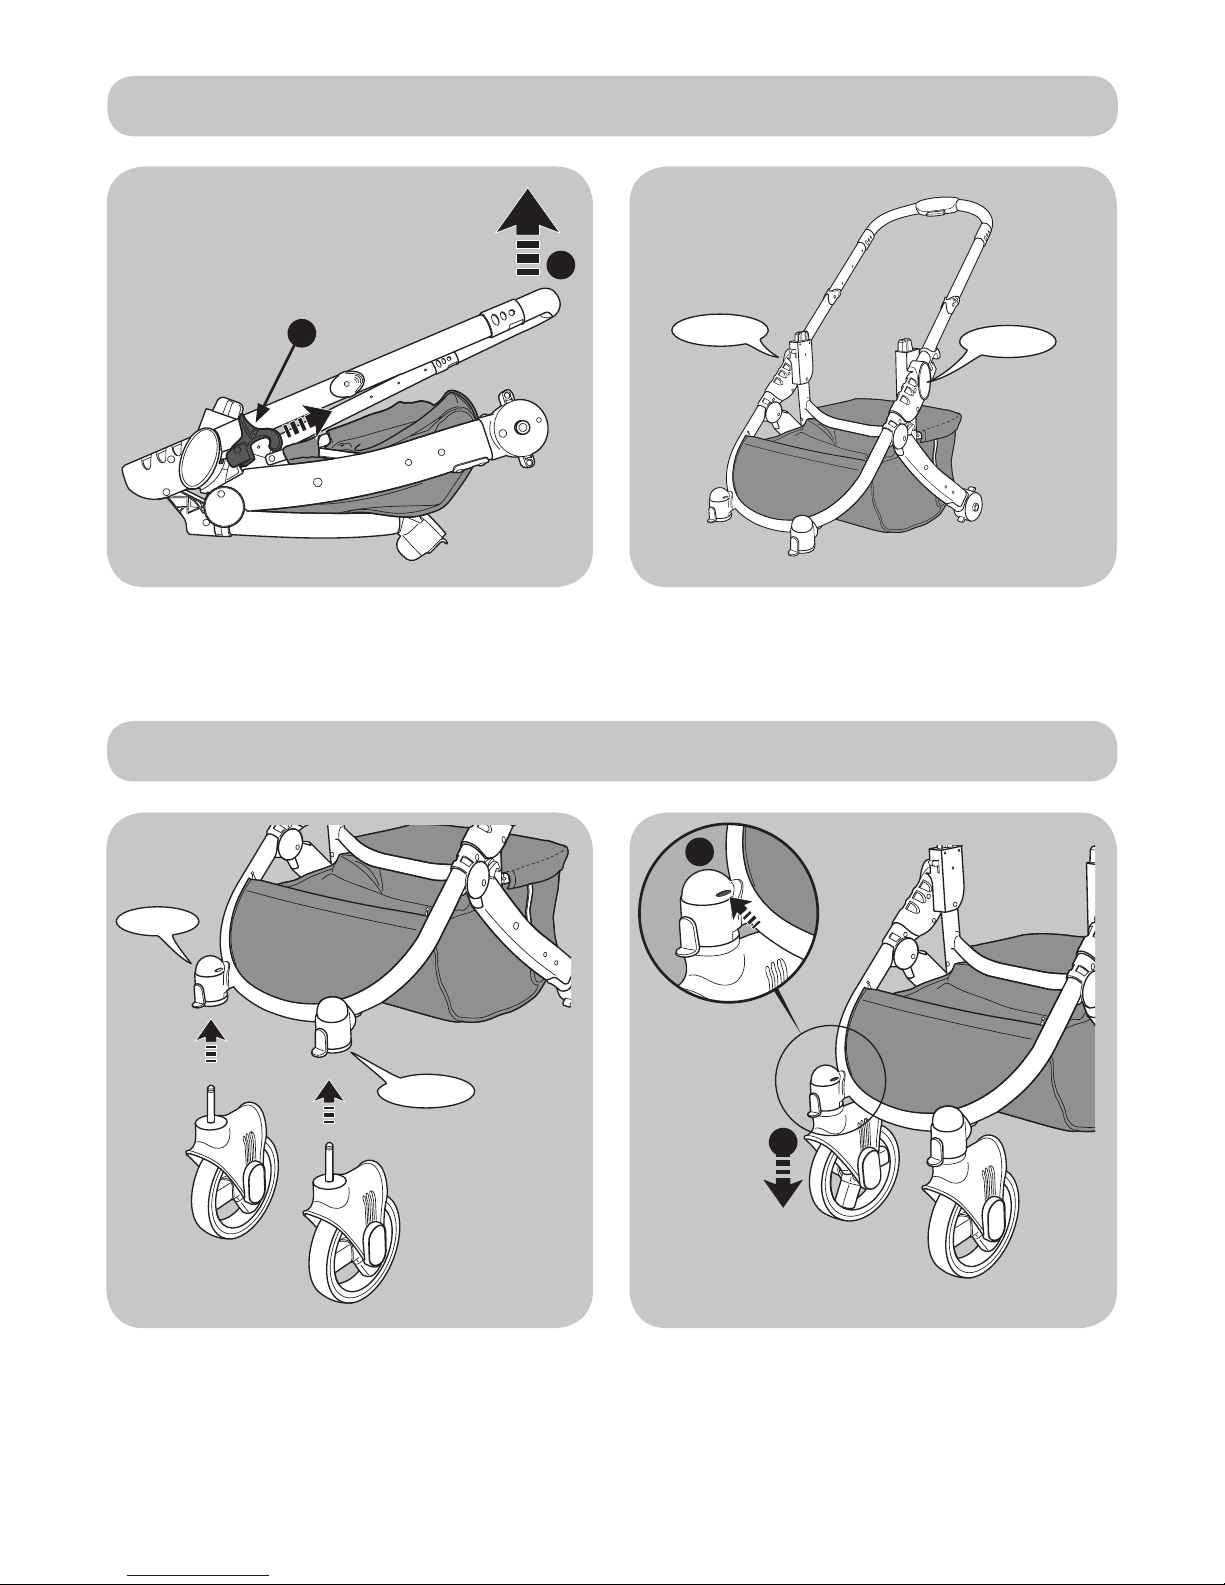
Lay out the parts on a soft level surface and compare to the part/fixings checklist below. Do not
discard any packaging until you are sure that you have all the parts.
WARNING! Assembly by an adult. Keep away from children until fully assembled. Keep children
clear during assembly as pack contains small parts which may present a choking hazard.