Important Control Solution Test information
•Use only the myglucohealth
TM
Control Solution.
•Check the expiration date on Control Solution vial. DO NOT USE if
expired.
•myglucohealth
TM
Control Solution should be stored at room
temperature below 30℃. Do not refrigerate.
•It is recommended that meter, control solution, and test strips come to room
temperature 23~25℃before testing.
•Shake the Control Solution, and wipe off the vial tip and reseal tightly after
each use.
•Use only for three months after first opening. Record the discard date on the
Control Solution vial.
•Discard after three months.
< caution >
The Control Solution range printed on the Test Strip vial is for the
myglucohealth
TM
Control Solution only.
It is used to test the meter and test strip performance. It is not a recom-
mended range for your blood glucose level.
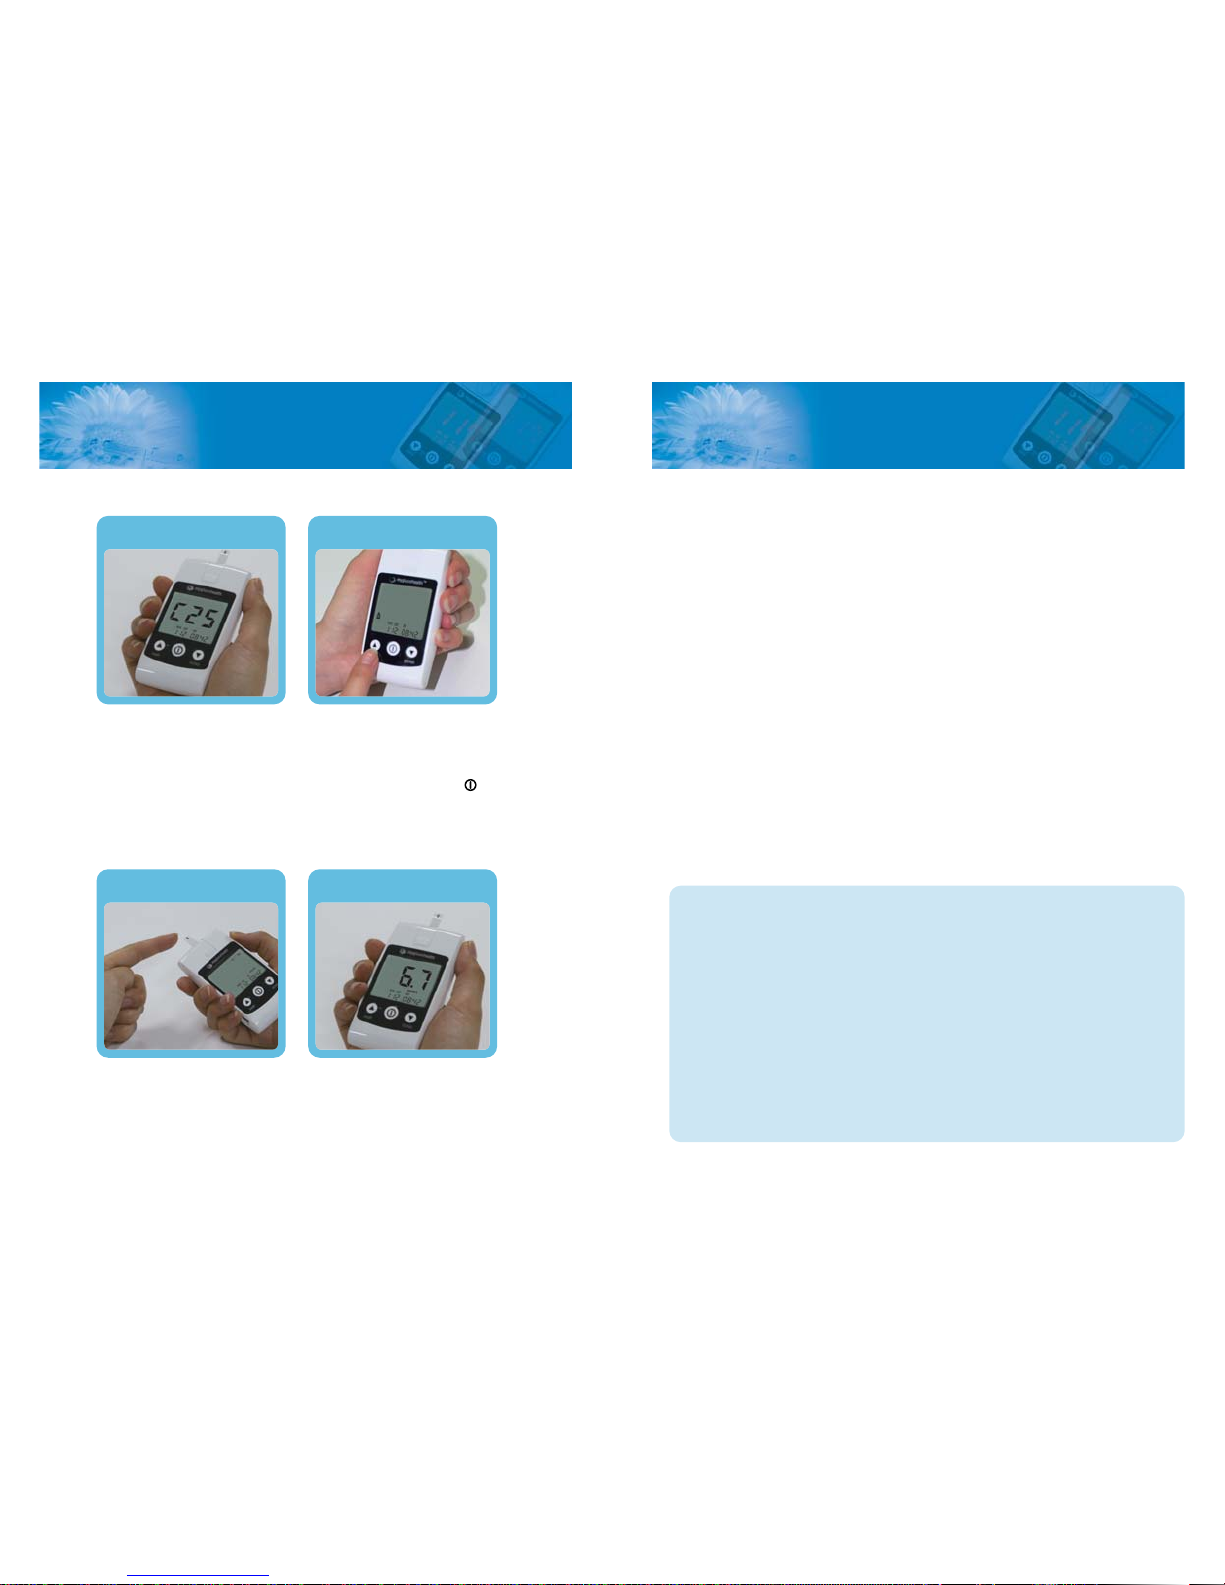
Checking the system with the
myglucohealth
TM
Control Solution
Checking the system with the
myglucohealth
TM
Control Solution
Note : The myglucohealth
TM
Control Solutions are sold separately. The low, normal,
high level control solution can be obtained through your local distributer.
Refer to the myglucohealth
TM
Control Solution package for additional information.
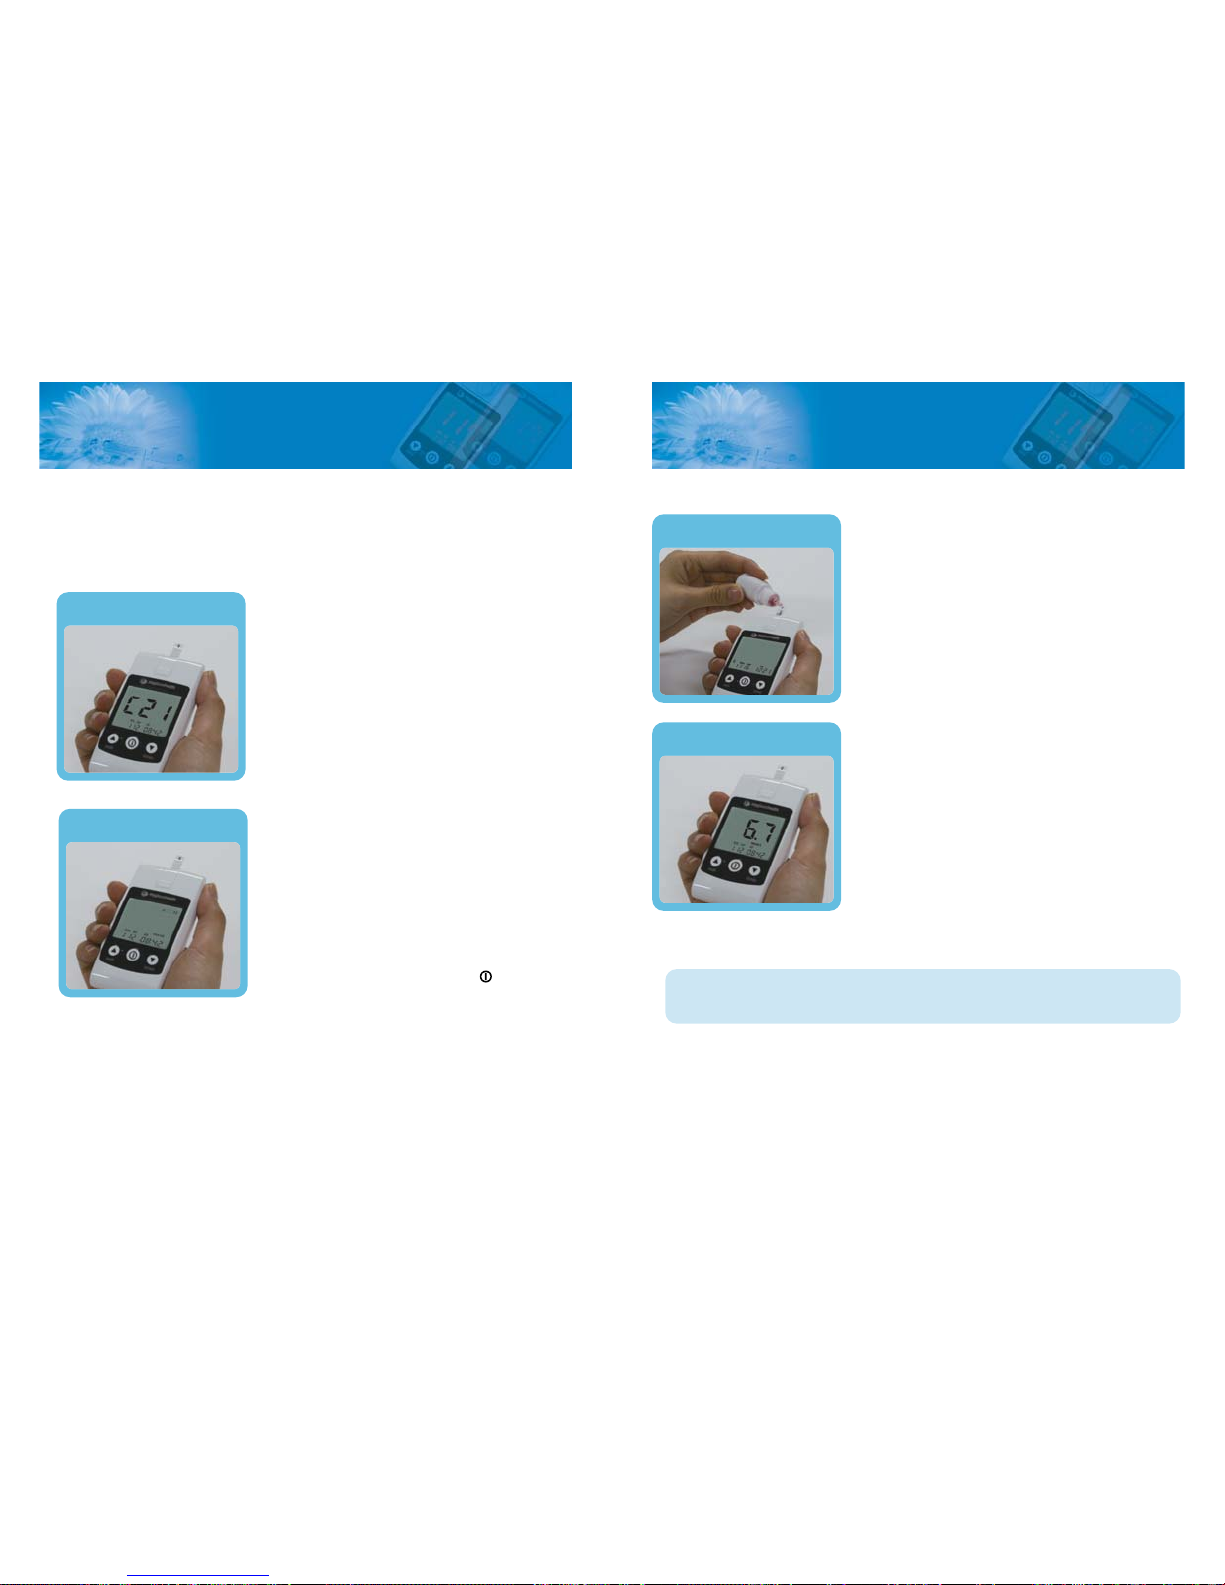
The myglucohealth
TM
Control Solution is used to check that the Meter and the Test
strips are working together as a system and that you are performing the test correctly. It is
very important that the control solution is used routinely to make sure that you receive
accurate results.
The myglucohealth
TM
Control Solution contains a measured amount of glucose that
reacts with the myglucohealth
TM
Control Solution Test Strips. Compare your control
solution test results with the expected range printed on the strip vial label.
The myglucohealth
TM
Control Solution should be used to:
•Practice the test procedure.
•Make sure your meter and test strips are working together properly.
•Ensure you are performing the test correctly.
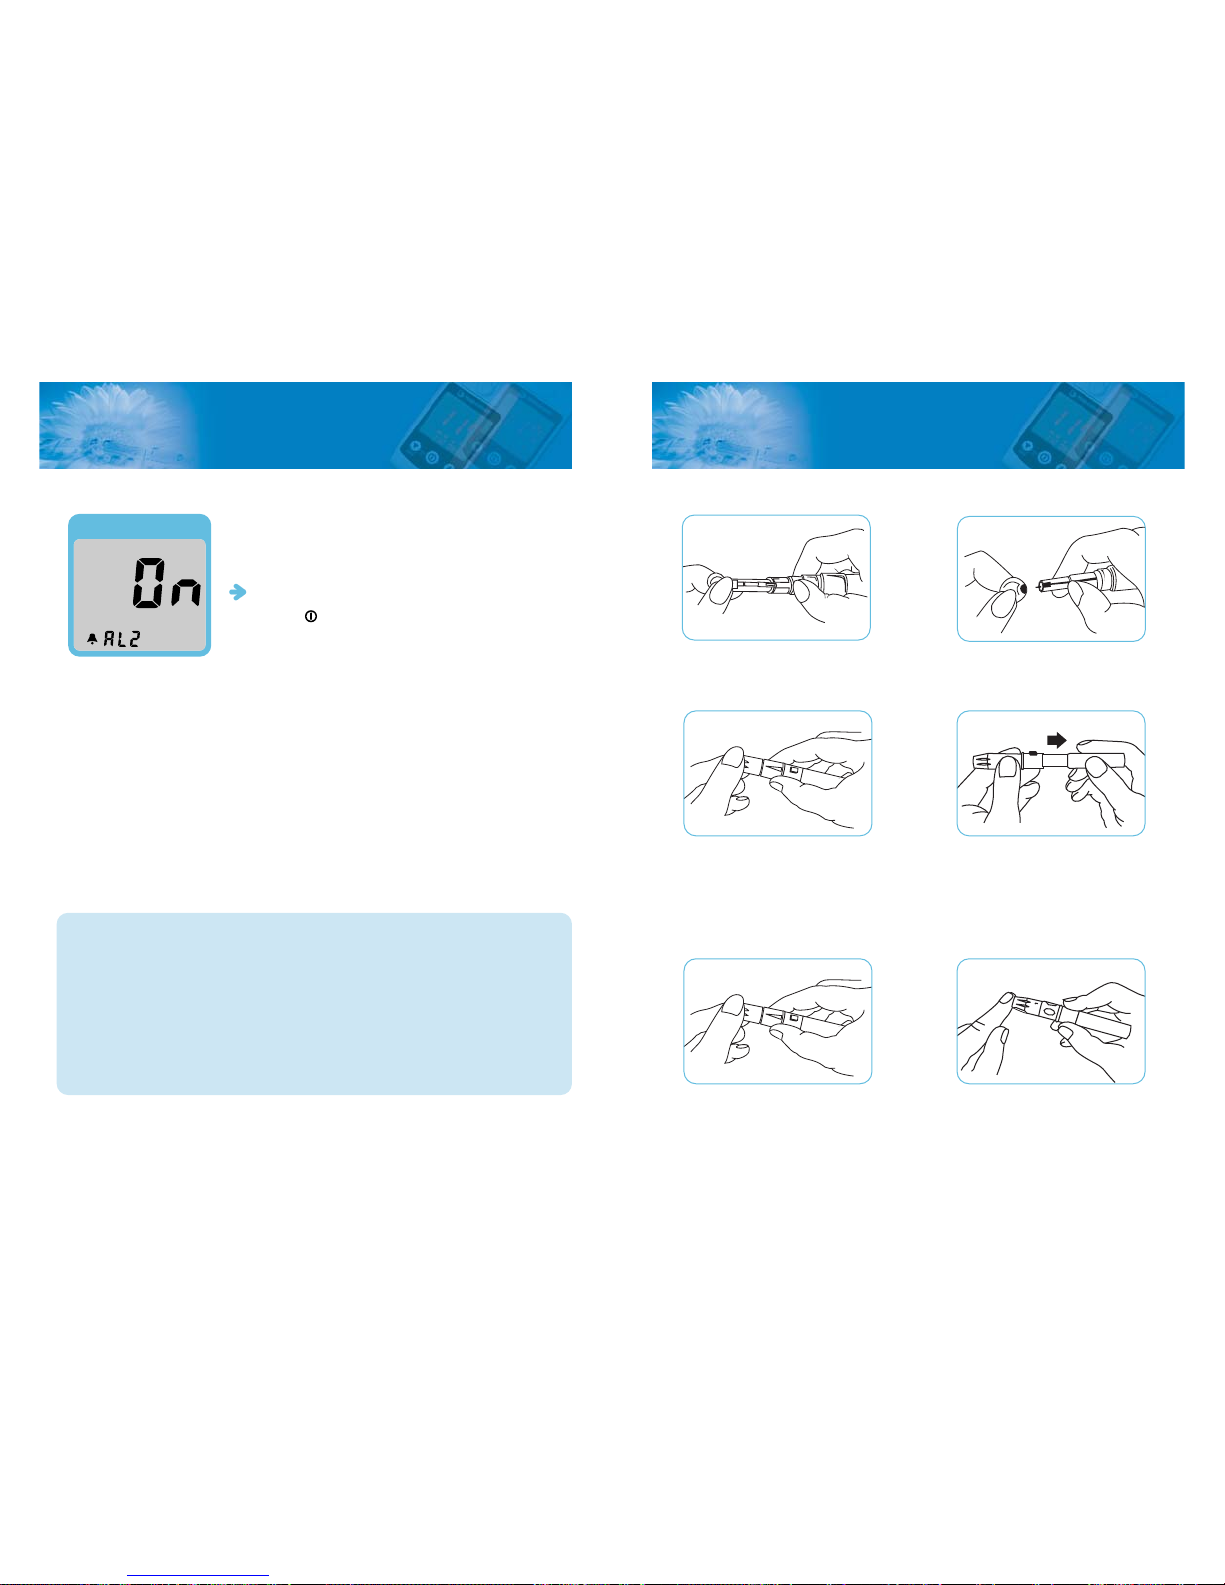
Before you use the myglucohealth
TM
Meter to test your blood for the first time, practice
the procedure using the control solution. When you can do three tests in a row that are
within the expected range, you are ready to test your blood.
When to do a control solution test:
•When a new vial of test strips is opened.
•Any suspicion that the meter or the strip is not working properly.
•When your blood glucose test results are not consistent with your symptoms, or
if you think they are not accurate.
•If you drop the meter
•Use routinely to obtain accurate results.
The control solution test is similar to a blood test except that you use the
myglucohealth
TM
Control Solution instead of a drop of blood
12
myglucohealth
TM
Blood Glucose Monitoring System myglucohealth
TM
Blood Glucose Monitoring System
13