8
Glass Cleaning
After having cleaned it thoroughly with the spa-
tula, we recommend cleaning the print surface
(glass) smooth with a damp cloth or a paper tis-
sue without using any detergents and abrasives.
Print Speed and Quality
Printing of a small simple model takes a few
minutes or hours, but in bigger and more com-
plex objects, the printing time is calculated in
days and model prints of 5 days nonstop are
of no exception. Quadron printers are tailored
to have no problem printing the projects over
several days and nights without breaks. You can
inuence the print time with several factors by
increasing the layer; not more than 0.5 mm is re-
commended.
This will, of course, demonstrate itself in a visual
model appearance; individual layers will be more
visible and the model will not be so detailed. If,
however, you prefer a detail at the expense of
time, select 0.10 mm. The print time becomes
approximately doubled, but the model will be
much more detailed. The print speed itself is in
CURA program. There, you can set the detailed
speed in mm/s for individual print items (prin-
ting of borders, llers, etc.). Again, the higher the
speed, the lower resulting quality of the model.
You can also change the speed during printing
directly on the printer. The LCD display contains
the print speed information, too. By rotating the
button in the menu clockwise, you can increase
the print speed up to 200%.
Watch how the accelerated print is reected in
the model appearance and adjust the speed,
if necessary. If you increase the print speed, al-
ways check whether the object manages to cool
down, especially when printing the small ob-
jects. Turning the main button counterclockwise
will slow down the print; slowing is important up
to 30% of the standard speed.
Keep in mind that if printing on the printer using
a computer via a USB, it must be connected to the
printer for the entire printing period, and must
not go into sleep, hibernation, or shutdown.
Interruption of the connection with the compu-
ter will cause interruption of the print without
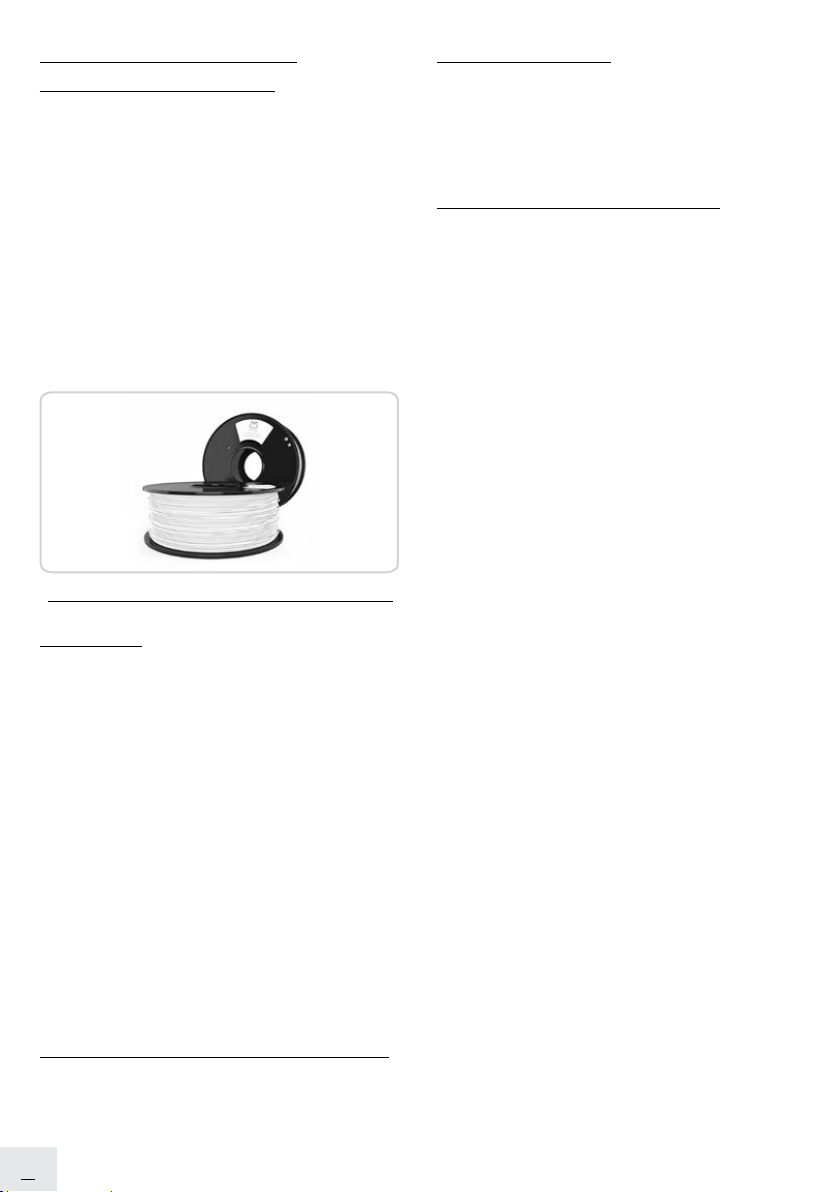
Materials: PLA, PETG,
CARBON, FLEX, PVA
Filament is supplied on a spool containing the
the manufacturer's basic information, the type
of material (PETG, PLA, CARBON, FLEXI, etc.) and
the thickness of the print string. Two types of -
bers are used for 3D printing as a standard: 1.75
and 2.85 mm. The material thickness of 2.85 mm
is commonly called 3 mm. This Quadron printer
only supports material with a diameter of 1.75
mm. Please, before introducing ber into the
print head, check whether it is the right type.
Do not try to introduce a wider string; it could
damage the print head.
Figure 8: Print lament
Printing
Never leave the printer pre-heated for a long
time without launching the model printing.
If the printer is heated, the material in the print
head degrades over time, causing the nozzle
to clog. Follow the printing of rst layers to check
how the lament attaches to the pad (5-10 mi-
nutes). Press the main button to go to the main
menu, nd the "Print form SD" option, click on
it and select the “Model name.g.code" model.
The printer starts printing that model. Keep in
mind that the le name in .gcode may contain
no diacritics; otherwise, the le will not appear
on the SD card on the printer. During printing,
do not remove the SD card from the device.
If you do so while printing, the printer automa-
tically stops.
Peeling the Model o the Pad
After printing, pour fresh water under the model
and, after 15 minutes, peel it o with a spatula
that is included in the pack.