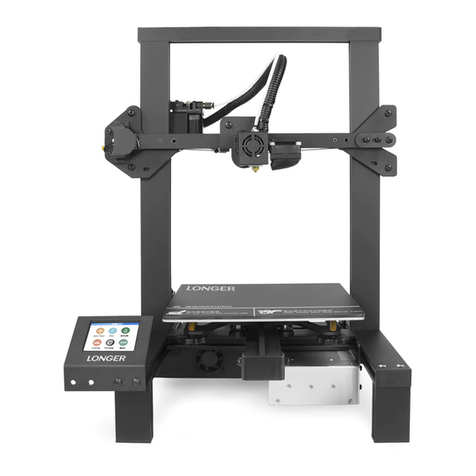
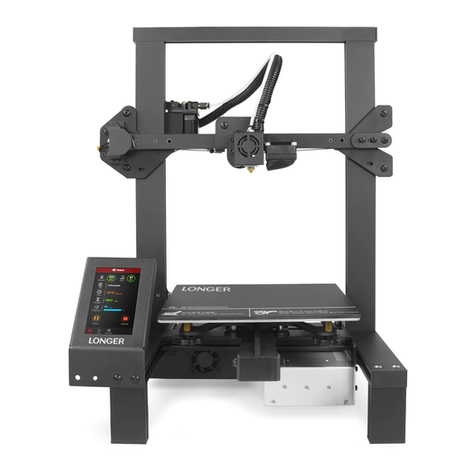
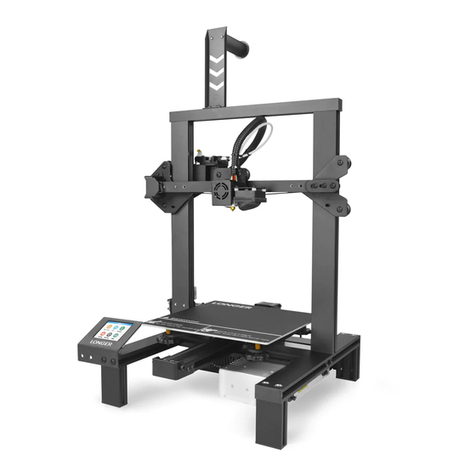
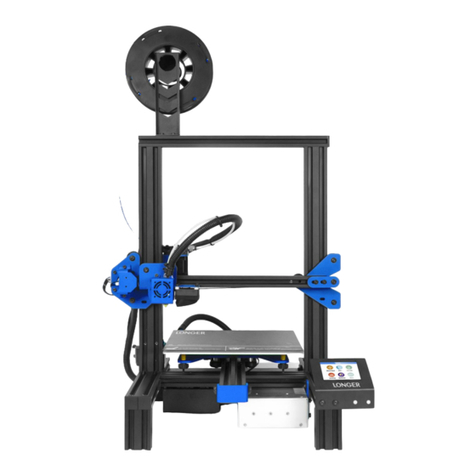
LONGER LK4 X User manual

www.longer3d.com s[email protected]
I
LONGER LK4 X 3D Printer User Manual V1.0
Thank you for choosing our products.
Please read this manual carefully before use for more detailed operation
Welcome to join our FB Group to share: Longer 3D Official Group
*Copyright © Shenzhen Longer 3D Technology Co., Ltd. All Rights Reserved

www.longer3d.com s[email protected]
II
Table of Contents
Safety precautions ......................................................................................................... 1
1. Product information ...................................................................................................3
1.1. Printer parameters ........................................................................................ 3
1.2. Packing list ..................................................................................................... 4
1.3. Printer overview ............................................................................................ 5
2. Printer assembly ........................................................................................................ 7
2.1. Unpacking the parts ...................................................................................... 7
2.2. Install frame and base ................................................................................... 8
2.3. Install holders of filament and sensor ........................................................... 9
2.4. Install auto level sensor and touch screen .................................................. 10
2.5. Connect the cables ...................................................................................... 11
2.6. Check the X and Y axis ................................................................................. 12
2.7. Leveling ........................................................................................................13
3. Machine operation ...................................................................................................15
3.1. Machine control interface description ........................................................ 15
3.2. Home interface ............................................................................................ 16
3.3. Move interface .............................................................................................17
3.4. Tune interface ..............................................................................................18
3.5. Filament interface ........................................................................................19
3.6. Leveling interface .........................................................................................20
3.7. File interface ................................................................................................ 22
3.8. Print interface .............................................................................................. 23
4. Installation and use of Cura software ...................................................................... 24
4.1. Software installation ....................................................................................24
Add the LK4 X 3D printer to Cura....................................................................... 25
4.3. Import the model ........................................................................................ 26
4.4. Slicing parameters....................................................................................... 27
4.5. Slice and save Gcode files ............................................................................28
4.6. Slice and preview .........................................................................................29
4.7. Print online .................................................................................................. 29
5. FAQ manual ..............................................................................................................32
5.1. How to update the firmware? ..................................................................... 32
5.2. How to solve a clogged nozzle? ...................................................................32
5.3. What to do if the hot bed can not be leveled?........................................... 33
5.4. How to solve filament does not adhered to the hot bed? .......................... 35
5.5. what to do if the printer can not be printed online? .................................. 36
www.longer3d.com s[email protected]
1
Safety precautions
1) The temperature of the nozzle parts can reach 250 °C during the
operation of the machine. To ensure your safety, it is forbidden to touch
the model and nozzle directly with your hand while the printer is printing
or cooling.
2) During the operation of the machine, it is forbidden to reach into the
machine to prevent pinching.
3) The working voltage is 110~220V AC voltage 50HZ AC. The three-pin
socket must be grounded. Do not use other power sources to avoid
damage to components or fire, electric shock and other accidents.
Note: Before powering on, please check whether the input voltage value
of the switching power supply meets the voltage standard of the country
or region.
4) When the machine is working continuously for ≥ 96 hours, it ia
advised to stop for 1-3 hours.
5) The filaments are not used after unpacking or for a long period of time
after the print model is completed. The filaments should be taken out of
the printer and sealed to prevent the filaments from being exposed to
the air for a long time, causing moisture and affecting the print quality.
To use this printer, it is recommended to use the filaments provided by

www.longer3d.com s[email protected]
2
the LONGER for getting better printing quality. Some poor quality
filaments of other brands are easy to cause clogging the printer nozzle
and irreversible damage to the hot end, the extrusion motor and the
extrusion gear. We will not guarantee the printer due to the use other
brand filaments.
6) It is advised the working temperature and humidity requirement is
10°C~30°C, 20%~50% respectively, otherwise the printer will unable to
achieve the best print results.

www.longer3d.com s[email protected]
3
1. Product information
1.1. Printer parameters
Model
LK4 X
Printing Tech
FDM
Printing size
220*220*250mm
Printing speed
Up to 120mm/s
Hot bed Temp.
Up to 100°C
Nozzle Temp.
Up to 250°C
Auto leveling
Optional
Extrusion
Method
Direct drive
extruder
Hot bed
PEI flexible steel
Touch screen
4.3 inch color
Filament detector
YES
Resume printing
YES
Filament diameter
1.75mm
Nozzle diameter
0.4mm
Accuracy
±0.1mm
Layer thickness
0.1-0.4mm
Connection method
TF card or USB
Operating system
Windows, MAC, Linux
File format
STL, GCode, OBJ, etc.
Slice software
Cura,Simplify3D, etc.
No. of nozzles
1
Rated power
280W
Printer dimension
495*480*620mm
Net weight
7.63kg
Package dimension
530*540*255mm
Gross weight
9.88kg
Temperature
10-30°C
Humidity
20-50%
Support filaments
TPU, PLA, ABS, PETG, wood, copper filaments
Power supply
100-120V AC, 200-240V AC, 50-60Hz input, 24V DC 15A output

www.longer3d.com s[email protected]
4
1.2. Packing list
Frame
Base
Filament Sensor Holder
Touch screen
Filament
holder
Auto level
sensor
Auto level sensor holder
Test filament
SD card & card
reader
Power cord
Wrench
Allen wrench
Sealing strip
Cable ties
Spatula
M5X25 screw
M5X16 screw
M3X12 screw
M5X06 screw
M3X06 screw

www.longer3d.com s[email protected]
5
⑬
⑮
⑭
1.3. Printer overview
⑪
⑫
1 Filament sensor holder
2 Filament holder
3 Extruder
4 X axis
5 Auto level sensor
6 X belt tensioner
7 Hot end
8 Hot bed
9 Touch screen
10 Hand twist nut
11 Photoelectric switch
12 Power supply
13 Filament sensor
14 Z axis lead screw
15 Y axis belt tensioner
Extruder motor
Heat sink
Heat block
Nozzle
Silicone cover
Extruder handle
Extruder handle is used to adjust the gap between the feed gears, if the

www.longer3d.com s[email protected]
6
gap is too large, the filament cannot be fed. When loading the filament
for the first time, press the handle to let the filament pass through the
extruder to the nozzle, and rotate the handle to adjust the gear gap until
the filament can be fed smoothly. But the clearance does not need to be
too low, otherwise the gear may flatten the filaments and make feeding
difficult, especially for flexible materials, such as TPU.
4010 blower fan
4010 axial fan

www.longer3d.com s[email protected]
7
2. Printer assembly
2.1. Unpacking the parts
Open the package, take out the accessories and the whole cotton, erect
the frame and rotate it, then take the cotton through the gantry to get
the cotton out. Finally, take out the frame and the base. Please refer to
the video in SD for detailed operation.

www.longer3d.com s[email protected]
8
2.2. Install frame and base
Put the frame profile into the slot of the base, and then tighten 4 M5X25
screws to fix the gantry and the base. During installation, pay attention
to the sharp corners of the profile to avoid injury.

www.longer3d.com s[email protected]
9
2.3. Install holders of filament and sensor
Use M3x12 screws to fix the filament sensor holder, and use M5x16
screws to fix the filament holder.
Filament Sensor Holder
Filament holder
2 PCS M5X16 screw
2 PCS M3X12 screw
M5X16
M3X12

www.longer3d.com s[email protected]
10
2.4. Install auto level sensor and touch screen
The auto level sensor is optional for different version; please plug in the
auto-leveling cable before installing and cable terminals facing inward.
Use M3x06 screws to fix the auto level sensor holder, and use M5x06
screws to fix the touch screen.
Auto level sensor holder
Auto level sensor
Touch screen
4 PCS M3X06
2 PCS M5X06
M3X06
M5X06

www.longer3d.com s[email protected]
11
2.5. Connect the cables
All cables must be connected and inserted with power off, and filament
sensor cable needs to be fixed within the outside groove of the profile by
the sealing strip.
X and Z motor
cable
Photoelectric
switch cable
Hot bed cable
Filament
sensor cable
Touch screen
cable
Power cable

www.longer3d.com s[email protected]
12
2.6. Check the X and Y axis
Cut the white cable ties that fix the extruder and the hot bed. Shake the
print head and hot bed, if it wobbles, tighten the wheel by rotating the
eccentric nut with open-end wrench until it does not wobble and moves
smoothly.

www.longer3d.com s[email protected]
13
2.7. Leveling
Before leveling, please make sure that the nozzle is clean and no residual
filaments.
1) Manual leveling
First adjust the platform to a lower position. Click Leveling, and then click
the five points in turn to level. Turn the hand nut clockwise will increase
the gap between the nozzle and the heated bed; turn the hand nut
counterclockwise will reduce the gap. Put a piece of paper about 0.1mm
between nozzle and hot bed, adjust the Z height by rotating the hand
twist nut, it is ok when feel slight drag resistance.

www.longer3d.com s[email protected]
14
2) Automatic leveling
Before auto-leveling, it is recommended to manually level the print bed
first. Click LEVELING, select Automatic, put a piece of paper with a
thickness of 0.1mm between the nozzle and the hot bed, fine-adjust the
Z height manually, the nozzle height is ok when feel slight drag resistance
when pull the paper, then click NEXT, the printer will automatically level
the hot bed.

www.longer3d.com[email protected]
15
3. Machine operation
3.1. Machine control interface description
Primary
interface
Secondary
interface
Function control
Explain
Home
Move
X, Y
Move and home the X, Y axis
Z
Move and home the Z axis
E
Load and unload the filaments
Distance
Moving distance
Disable
Unlock the motor
Enable
Lock motor
File
File selection and
display
Open
Start printing
Tune
Nozzle Temp.
Increase\decrease
Adjust the nozzle Temp.
Cool
Stop heating and cool the nozzle
Step (℃)
Temp. adjust step size
Heatbed Temp.
Increase\decrease
Adjust the hotbed Temp.
Cool
Stop heating and cool the hotbed
Step(℃)
Temp. adjust step size
Fan speed
Increase\decrease
Adjust fan speed
Stop fan
The fan stops rotating
Step
Step speed of the fan speed
Feed rate
Increase\lower
Adjust print speed
Restore
Restore default setting
Step
Print speed step size
Tune
Nozzle flow rate
Increase\decrease
Adjust the nozzle flow

www.longer3d.com s[email protected]
16
3.2. Home interface
Home
Tune
Restore
Restore default setting
Step
Nozzle flow step size
z-offset
Fine-tune the distance from the nozzle to the hot bed
Filament
Nozzle temp
Display the temperature of nozzle
Heatbed temp
Display the temperature of hot bed
Filament type
Select the filament to preheat nozzle and hot bed
Cool
Stop heating and cool the nozzle or hot bed
Filamentchange
Feeding/returning length control
Load\Unload
Feeding/returning control
Leveling
Manual
Leveling the hot bed manually
Automatic
Leveling the hot bed by 3D touch or BL touch
About
About the firmware version of printer motherboard and touch screen,
machine model, used time, etc.

www.longer3d.com s[email protected]
17
3.3. Move interface
Move the X
axis to the left
Move the Y
axis forward
Move the Y axis
backward
Moving distance
per step
Unload the filament
Move up the Z
axis
Dispaly Z aix
coordinate
Home the X
and Y axis
Move down
the Z axis
Home the Z
axis
Dispaly E aix
coordinate
Load the filament
Lock the motor
Unlock the motor
Dispaly X and Y aix
coordinate

www.longer3d.com s[email protected]
18
3.4. Tune interface
Adjust the nozzle temp
Adjust the fan speed
Adjust the nozzle flow
Adjust the hot bed temp
Adjust the printing
Adjust the nozzle gap
Table of contents
Other LONGER 3D Printer manuals

LONGER
LONGER LK4 User manual

LONGER
LONGER LK2 User manual

LONGER
LONGER Cube2 User manual

LONGER
LONGER Orange10 User manual

LONGER
LONGER LK4 Pro User manual

LONGER
LONGER LK1 User manual

LONGER
LONGER LK4 User manual

LONGER
LONGER Orange30 User manual

LONGER
LONGER LK4 Pro User manual

LONGER
LONGER Orange120 User manual