ULTRAPENX2™ PTBT5 Operation Manual
Dissolved Oxygen (DO) and Temperature Pen for use with your Mobile Device Running the PTBTX2™ App
PTBT5OM-X2 01-20 1
INTRODUCTION
Thank you for purchasing the Myron L® Company ULTRAPENX2 ™ PTBT5 Dissolved Oxygen (DO) Pen. This instrument
is designed to be extremely accurate, fast, and simple to use in diverse water quality applications. Advanced features
include:
• Real time readings.
• Proprietary sensor design and microprocessor-based circuitry that measures DO with an accuracy of up to ± 2%.
• Temperature compensation algorithm that dynamically corrects for changes in membrane / sample temperature.
• Adjustment for Altitude and sample Salinity.
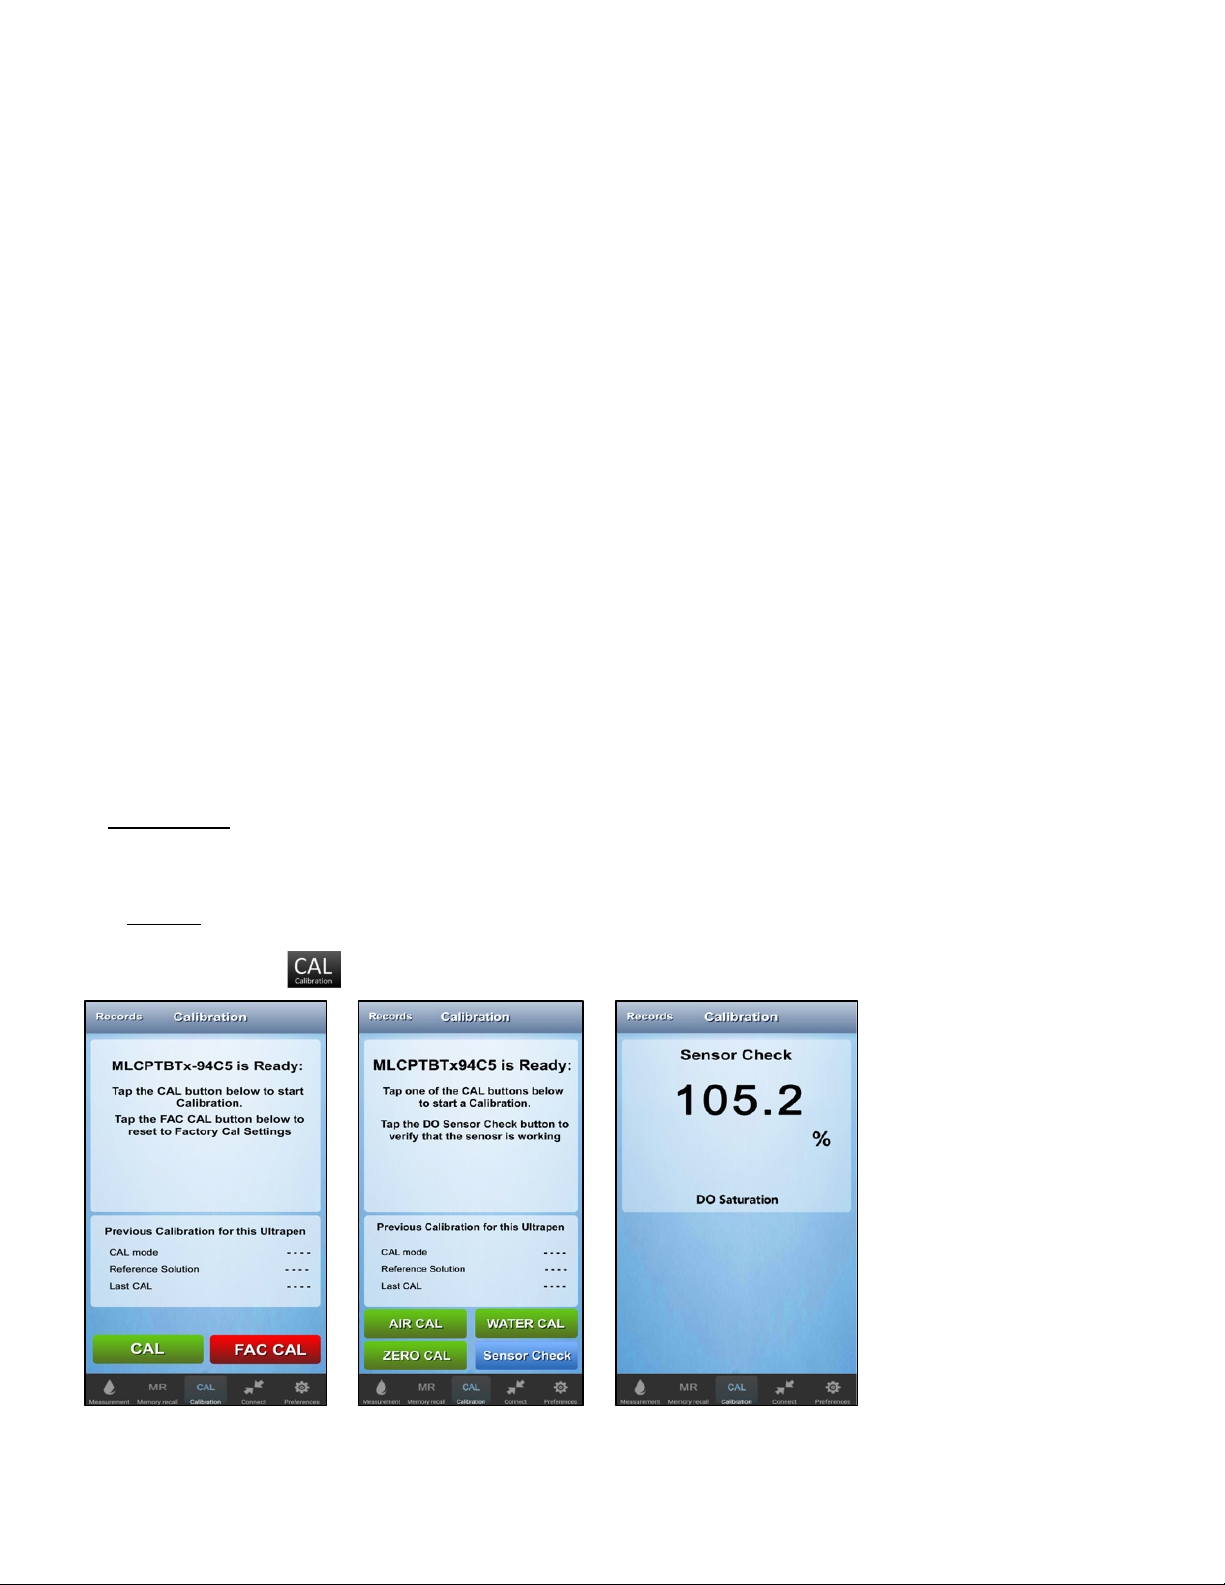
• Three calibration methods, AIR (Water Saturated Air), WATER (Air Saturated Water), and ZERO (0 ppm DO).
• A rugged, reliable design with an aircraft aluminum body.
• Waterproof housing.
• Replacement membranes contained in easy to install, screw-on caps.
• Enabled.
FEATURES
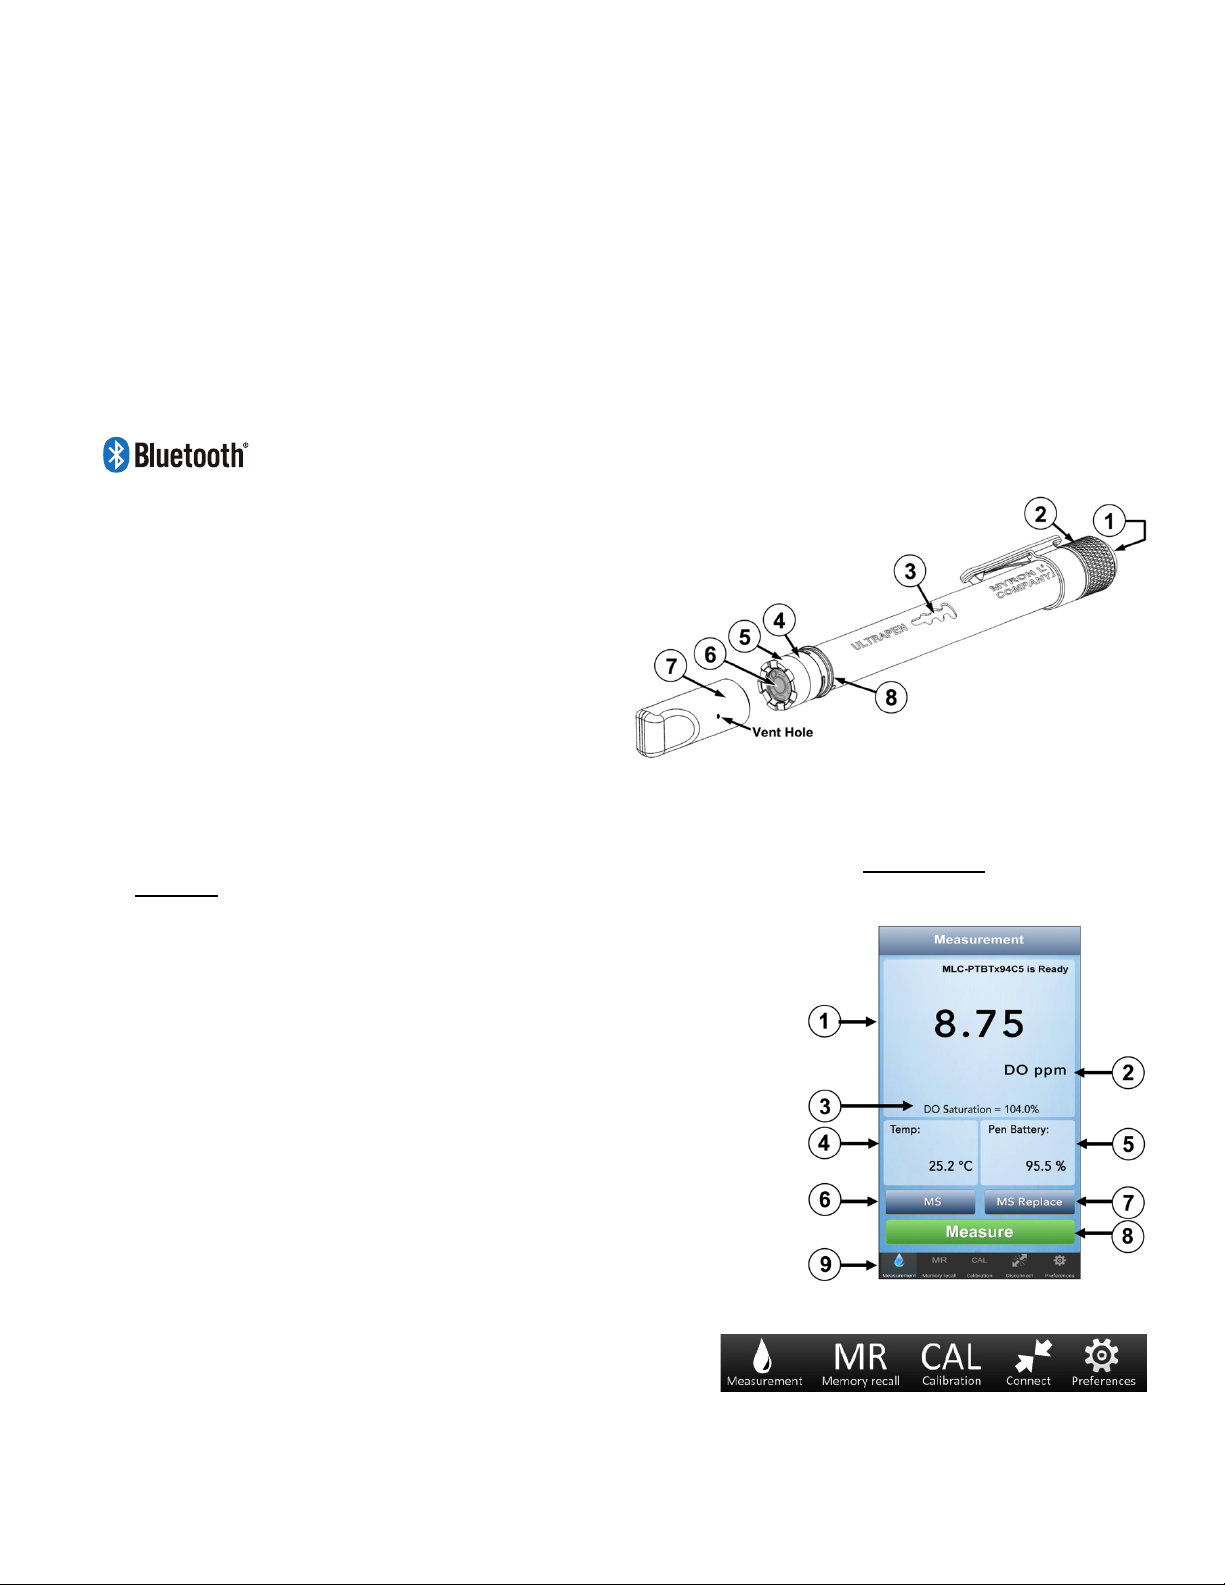
I. PTBT5 - LAYOUT
1. PEN BUTTON – Press to turn PTBT5 ON and place it in Standby mode.
2. BATTERY CAP – Unscrew to change battery.
3. LED INDICATOR LIGHT – Flashes rapidly when the PTBT5 is measuring and
once every 5 seconds when the PTBT5 is in Standby mode.
4. DO SENSOR BODY – Contains electrodes and reagent for
Dissolved Oxygen and Temperature measurements.
5. DO SENSOR CAP – Holds the DO sensor membrane
in place.
6. DO MEMBRANE – Permeable membrane through
which Dissolved Oxygen passes.
7. PROTECTIVE / HYDRATION CAP – Protects sensor from damage. The sensor should be kept moist at all times.
• Always replace the protective / hydration cap containing a sponge moistened with DI, RO or distilled water.
• See the MAINTENANCE section below for instructions for storing > 1 month.
• When removing or replacing the cap, gently wiggle it back and forth while pulling / pushing. DO NOT twist!
• Vent Hole: Allows air pressure to equalize during AIR calibration.
8. CAP STOP – Pushing the protective / hydration cap beyond the cap stop could damage the sensor.
II PTBTX2 APP MEASUREMENT SCREEN
1. MEASUREMENT VALUE FIELD – Displays the measured value of the solution.
When the PTBT5 turns OFF, displays the message, "Ultrapen is Offline".
2. UNITS OF MEASURE – Displays DO units of measure (ppm or %).
3. SECONDARY MESSAGE FIELD – In Default mode displays DO Saturation.
Otherwise displays the current parameter (DO Concentration or Saturation)
4. SOLUTION TEMPERATURE – Measured temperature of the solution.
5. PTBT5 BATTERY LEVEL – Flashes RED when PTBT5 battery is ≤ 25%.
6. MEMORY STORE BUTTON – Tap here to record the measurement in the App's
database.
7. MEMORY REPLACE BUTTON – Tap here to replace a previously stored
measurement with data from a new measurement.
8. MEASURE BUTTON – Tap this to start a new measurement.
9. FEATURE NAVIGATION BAR – These buttons activate various App features.
III. FEATURE NAVIGATION BAR
This bar appears at the bottom of all screens. It’s used to navigate between the App’s main functional areas.
MEASUREMENT – Returns the App to the Measurement screen.
MEMORY RECALL – Displays a list of saved measurements.
CALIBRATION – Places the App in Calibration mode.
CONNECT – Opens the App's Bluetooth Connect / Disconnect screen. Once a PTBT5 is connected to the App the button label changes
to say, “Disconnect."
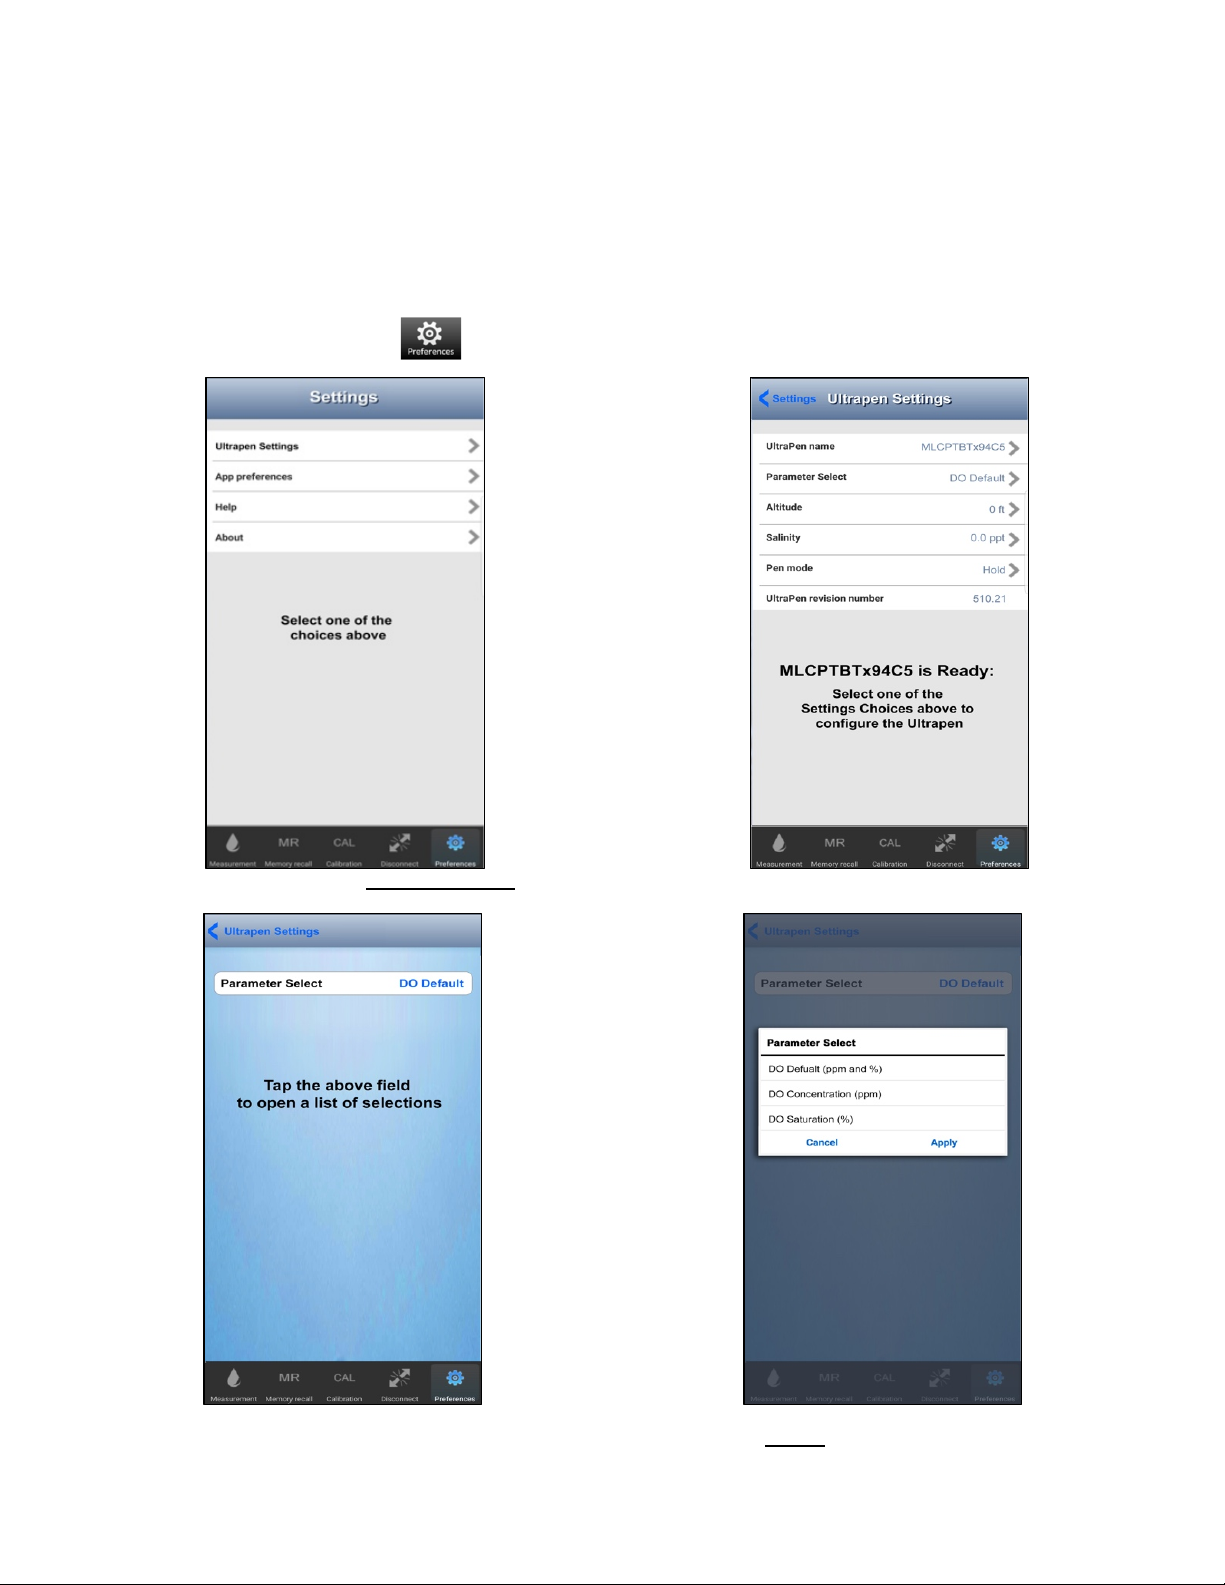
PREFERENCES – Opens the App's Preferences & Settings modes, including an internet link to the full App Operation Manual (HELP).