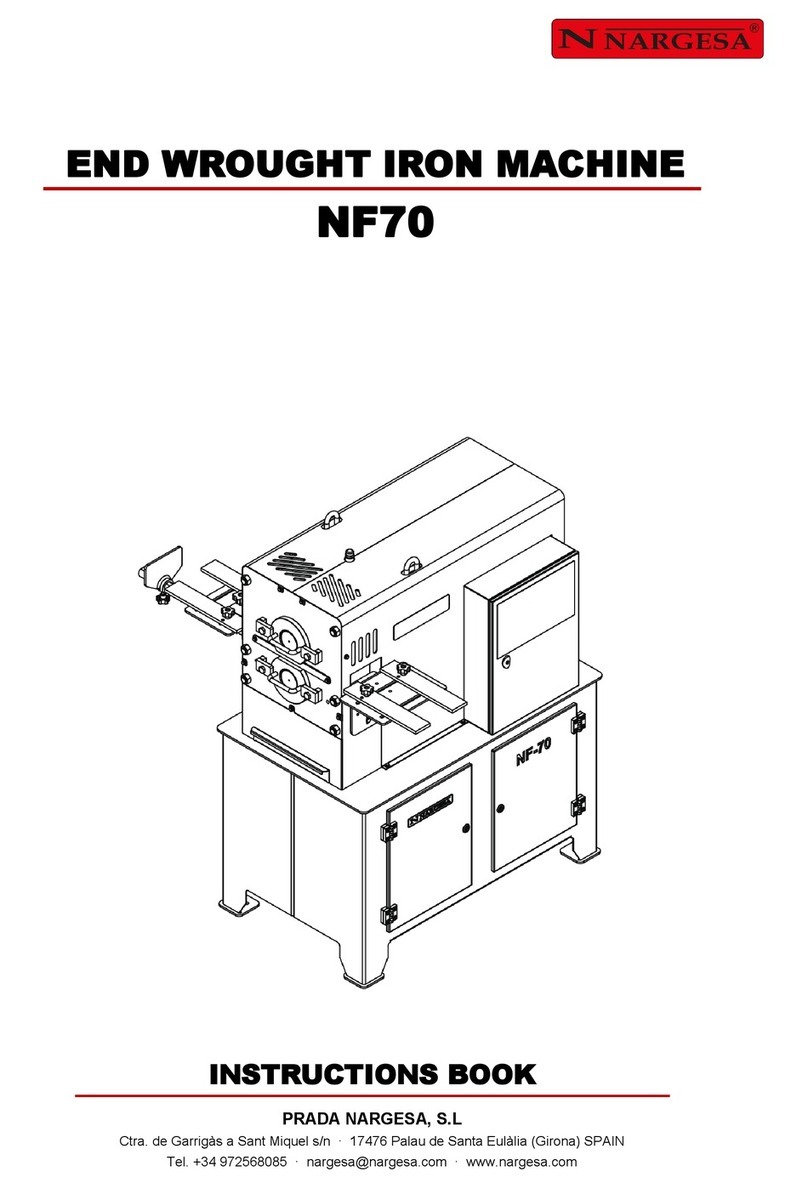
INSTRUCTIONS BOOK OF FORGING TWISTING MACHINE MT500 A 4
15
15
15
15
16
16
16
16
17
17
17
18
18
18
18
19
19
19
19
19
20
21
21
21
22
22
22
22
23
23
24
24
25
27
30
32
32
41
41
5.7. Using the equipment ...................................................................................................
5.7.1. Activation of the machine ...............................................................................
5.7.2. Starting up the machine .................................................................................
5.7.3. Machine in StandBy .......................................................................................
5.7.4. Left turning direction ......................................................................................
5.7.5. Machine in StandBy .......................................................................................
5.7.6. Right turning direction ....................................................................................
5.7.7. Machine in StandBy .......................................................................................
5.7.8. Programming the torsion of one piece ...........................................................
5.7.8.1. Finding the starting point ..................................................................
5.7.8.2. Confirm the starting point of the torsion ............................................
5.7.8.3. Definition of the kind of torsion .........................................................
5.7.8.4. Performing the torsion .......................................................................
5.7.8.4.1. Square torsion .....................................................................
5.7.8.4.2. Circle torsion ........................................................................
5.7.8.5. Finishing the torsion ..........................................................................
5.7.8.6. Pulling out .........................................................................................
5.7.9. Machine in StandBy .......................................................................................
5.7.10. Repetition of an existing torsion ...................................................................
5.7.10.1. Selection of the memory to be repeated .........................................
5.7.10.2. Performance of the selected memory .............................................
5.7.11. Machine in StandBy .....................................................................................
5.7.12. Counting of manufactured pieces ................................................................
5.7.12.1. Selection of the memory to be displayed ........................................
5.7.12.2. Delete the counting of manufactured pieces .................................
5.7.12.3. Do not delete the counter for manufactured pieces ........................
5.8. Solution of problems and emergency situations .........................................................
5.8.1. Emergency stop .............................................................................................
5.8.2. Interruption of electrical supply ......................................................................
5.8.2.1. When there was no torsion in process ..............................................
5.8.2.2. When there was a torsion in process ................................................
5.8.3. Loss of reference ...........................................................................................
5.9. Selection of language and model ................................................................................
6. STANDARD TOOLING ............................................................................................................
7. OPTIONAL TOOLING .............................................................................................................
8. DEMOSTRATION OF OPERATIONS WITH MOULDS ...........................................................
8.1. sequence of pictures for the different operations ........................................................
9. MAIN STEPS TO FOLLOW FOR A FAST PROGRAMMING OF THE MACHINE .................
9.1. Starting screen ............................................................................................................
THECHNICAL ANNEX
