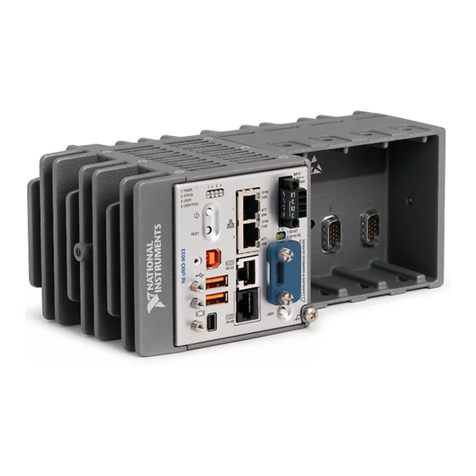
National Instruments NI cRIO-9035 User manual
Other National Instruments Controllers manuals
National Instruments
National Instruments PXI NI PXI-8105 User manual
National Instruments
National Instruments IC-3121 User manual
National Instruments
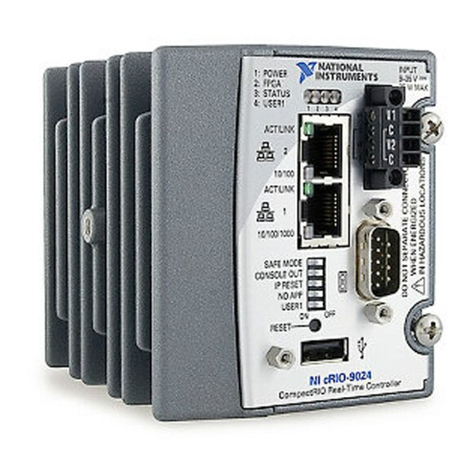
National Instruments NI cRIO-9024 User manual
National Instruments
National Instruments NI PXI-8104 User manual

National Instruments
National Instruments FW-7344 Instructions for use
National Instruments
National Instruments PXI-8186 User manual
National Instruments
National Instruments RMC-8356 User manual
National Instruments
National Instruments PXI-8119 User manual

National Instruments
National Instruments cRIO-9037 User manual
National Instruments
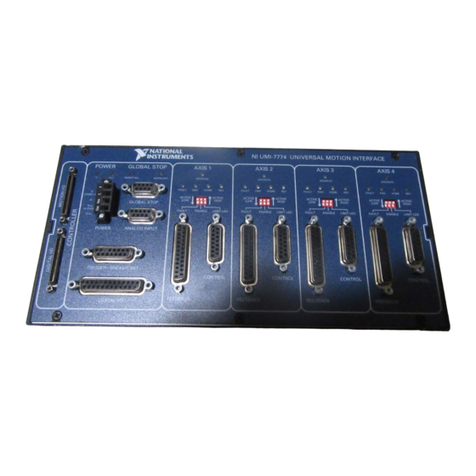
National Instruments UMI-7774 User manual
National Instruments
National Instruments Two-Slot Embedded Controller NI PXI-8183 User manual
National Instruments
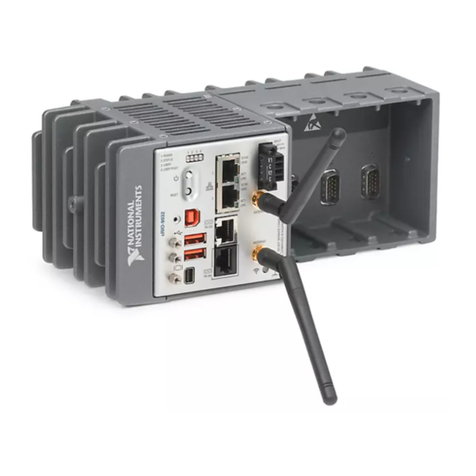
National Instruments cRIO-9032 User manual
National Instruments
National Instruments PXI-8195 User manual
National Instruments
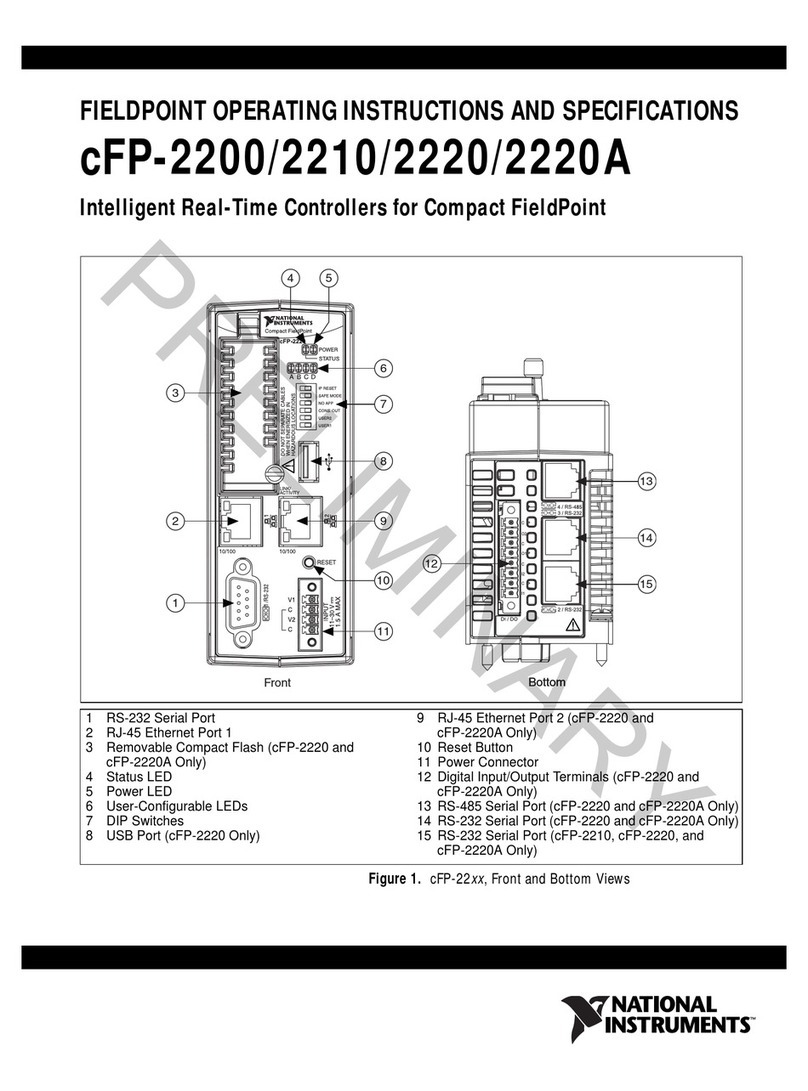
National Instruments cFP-22 Series User manual
National Instruments
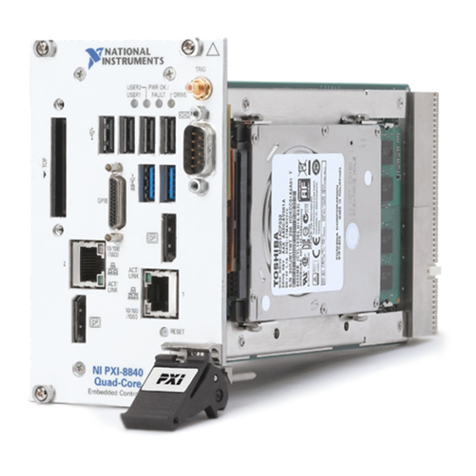
National Instruments PXIe-8840 Quad-Core User manual

National Instruments
National Instruments PXI-7356 User manual
National Instruments
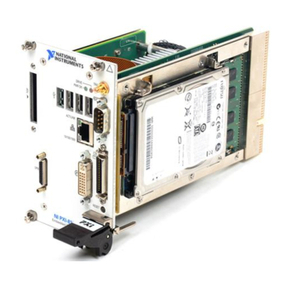
National Instruments PXI/CompactPCI Embedded Computer NI PXI-8108 User manual

National Instruments
National Instruments PXI Express Series User manual
National Instruments
National Instruments NI-Motion User manual
National Instruments
National Instruments GPIB GPIB-ENET/100 User manual
Popular Controllers manuals by other brands

Digiplex
Digiplex DGP-848 Programming guide

YASKAWA
YASKAWA SGM series user manual

Sinope
Sinope Calypso RM3500ZB installation guide

Isimet
Isimet DLA Series Style 2 Installation, Operations, Start-up and Maintenance Instructions

LSIS
LSIS sv-ip5a user manual

Airflow
Airflow Uno hab Installation and operating instructions
