GETTING STARTED
NI SMD-7613/7614/7615/7616
Stepper Drives and NI 9512 C
Series Modules
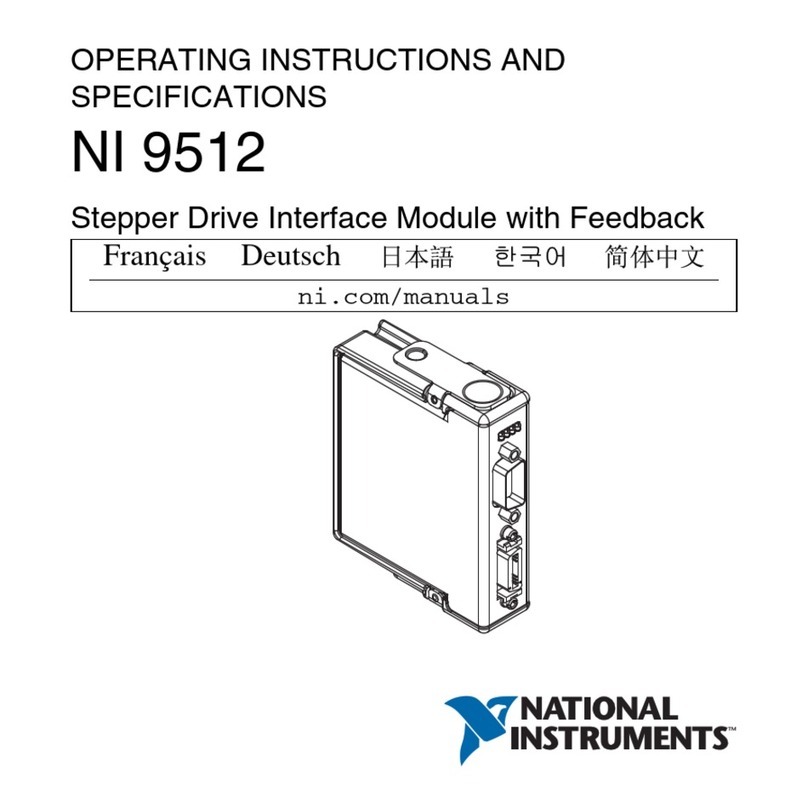
This document explains how to install and configure the NI SMD-7613/4/5/6 stepper drives for
use with the NI 9512 C Series drive interface module.
Contents
What You Need to Get Started ................................................................................................. 2
Hardware .......................................................................................................................... 2
Software............................................................................................................................ 3
Hardware Installation and Configuration ................................................................................. 4
Step 1: Set Up the Real Time System............................................................................... 4
Step 2: Connect the NI 9512 to the 37-Pin Terminal Block............................................. 4
Step 3: Connect the 37-Pin Terminal Block to the +24 V Power Supply ........................ 5
Step 4: Connect the Drive Command Signals .................................................................. 5
Step 5: Connect the Drive Enable Signal ......................................................................... 6
Step 6: (Optional) Connect the Encoder Signals .............................................................. 6
Step 7: Connect the NI PS-12/13 Power Supply to the NI SMD-7613/4/5/6................... 7
Step 8: Connect the SMD-7613/4/5/6 to the Motor ......................................................... 8
Four Lead Motors ..................................................................................................... 9
Six Lead Motors ....................................................................................................... 9
Eight Lead Motors .................................................................................................... 10
Step 9: Connect the NI SMD-7613/4/5/6 to the Network ................................................ 11
Step 10: Power on the Drive and Verify Connections...................................................... 11
Step 11: Configure the Drive using NI Stepper Configuration Utility............................. 12
Software Installation and Configuration................................................................................... 15
Step 1: Install Software on and Configure the NI RT Controller..................................... 15
Step 2: Create a Project and add NI RT Controller .......................................................... 15
A. CompactRIO Controller....................................................................................... 16
B. EtherCAT Master and NI 9144 EtherCAT Expansion Chassis ........................... 16
C. NI 9146/7/8/9 Ethernet RIO Expansion Chassis ................................................. 17
Step 3: Add a SoftMotion Axis to the Project .................................................................. 18
Step 4: Configure the NI 9512 Axis ................................................................................. 19
Step 5: Enable and Test the Drive Using LabVIEW ........................................................ 22
Where To Go From Here..........................................................................................................23
Worldwide Support and Services ............................................................................................. 24
