TO REDUCE THE RISK OF FIRE AND ELECTRIC SHOCK, DO NOT EXPOSE THIS UNIT TO
RAIN OR MOISTURE.
CAUTION : To reduce the
risk of fire and electric shock,
do not remove the cover (or
The lightning flash with arrowhead symbol,
within an equilateral triangle, is intended to
alert the user to the presence of uninsulated
"dangerous voltage" within product's enclosure
that may be of sufficient magnitude to constitute
a risk of electric shock.
The exclamation point within an equilateral
triangle is intended to alert the user to the
presence of important operation and servicing
instructions in the literature accompanying the
appliance.
WARNING: TO REDUCE THE RISK OF FIRE OR
ELECTRIC SHOCK, DO NOT EXPOSE THIS
APPLIANCE TO RAIN OR MOISTURE.
CAUTION: TO PREVENT ELECTRIC SHOCK,
MATCH WIDE BLADE OF PLUG TO WIDE SLOT,
FULLY INSERT.
IMPORTANT SAFEGUARDS
In addition to the careful attention devoted to quality
standards in the manufacture of your video product,
safety is a major factor in the design of every instrument.
However, safety is your responsibility, too. This sheet
lists important information that will help to assure your
enjoyment and proper use of the video product and
accessory equipment. Please read them carefully
before operation and using your video product.
8. Do not place naked flame sources, such as candles,
on the appliance.
9. Do not locate the appliance or cord near heat sources
such as radiators, heaters, air ducts or direct sunlight.
10. Do not block any of the ventilation openings. Ensure
that vents are not covered by newspapers, tablecloths,
curtains, etc. Do not install in a tight-fitting cabinet.
11. Do not insert or allow foreign objects to enter any
grille openings.
12. Do not run the cord under carpeting. Instead, arrange
the cord away from traffic areas where it will not become
a trip hazard.
13. To disconnect the appliance, turn the appliance off,
switch off the power outlet and remove the plug from the
power outlet.
14. Do not misuse the cord. Never carry the appliance by
the cord or pull to disconnect it from the outlet. Instead,
grasp the plug and pull to disconnect.
15. Do not operate the appliance if it has a damaged cord
or plug; after the appliance malfunctions; or has been
dropped or damaged in any way. Consult an authorised
service facility or similarly qualified person for examination.
16. Use of controls or adjustments, or performance of
procedures other than those specified herein, may result
in hazardous radiation exposure.
Caution
Do not open ?do not attempt to repair, disassemble or
modify this appliance.
Dangerous high voltages exist inside this appliance.
This appliance is only to be serviced by a qualified
person. There are
no user-serviceable parts inside.
Do not look at laser pick-up directly. Do not touch
the lens.
back) of the unit. Refer servicing only to qualified
service personnel.
Installation
Read all instructions carefully, even if you are familiar
with the appliance.
1. This appliance is not intended for use by children or
infirm persons without supervision.
2. Children should be prevented from playing with the
appliance.
3. This appliance should be placed on a dry, level surface
before it is operated.
4. INDOOR USE ONLY ?this appliance is not intended for
outdoor use.
5. Do not expose this appliance to rain or moisture. Do
not immerse the appliance in water or any other liquid.
6. Do not place items filled with liquids, such as vases, on
the appliance. Do not expose the appliance to dripping or
splashing liquids.
7. This appliance is not intended for use in bathrooms,
laundry areas or similar moist locations. Never locate this
appliance in the immediate surroundings of, or where it
may fall into, a bath, basin, washtub, shower or swimming
pool.
21
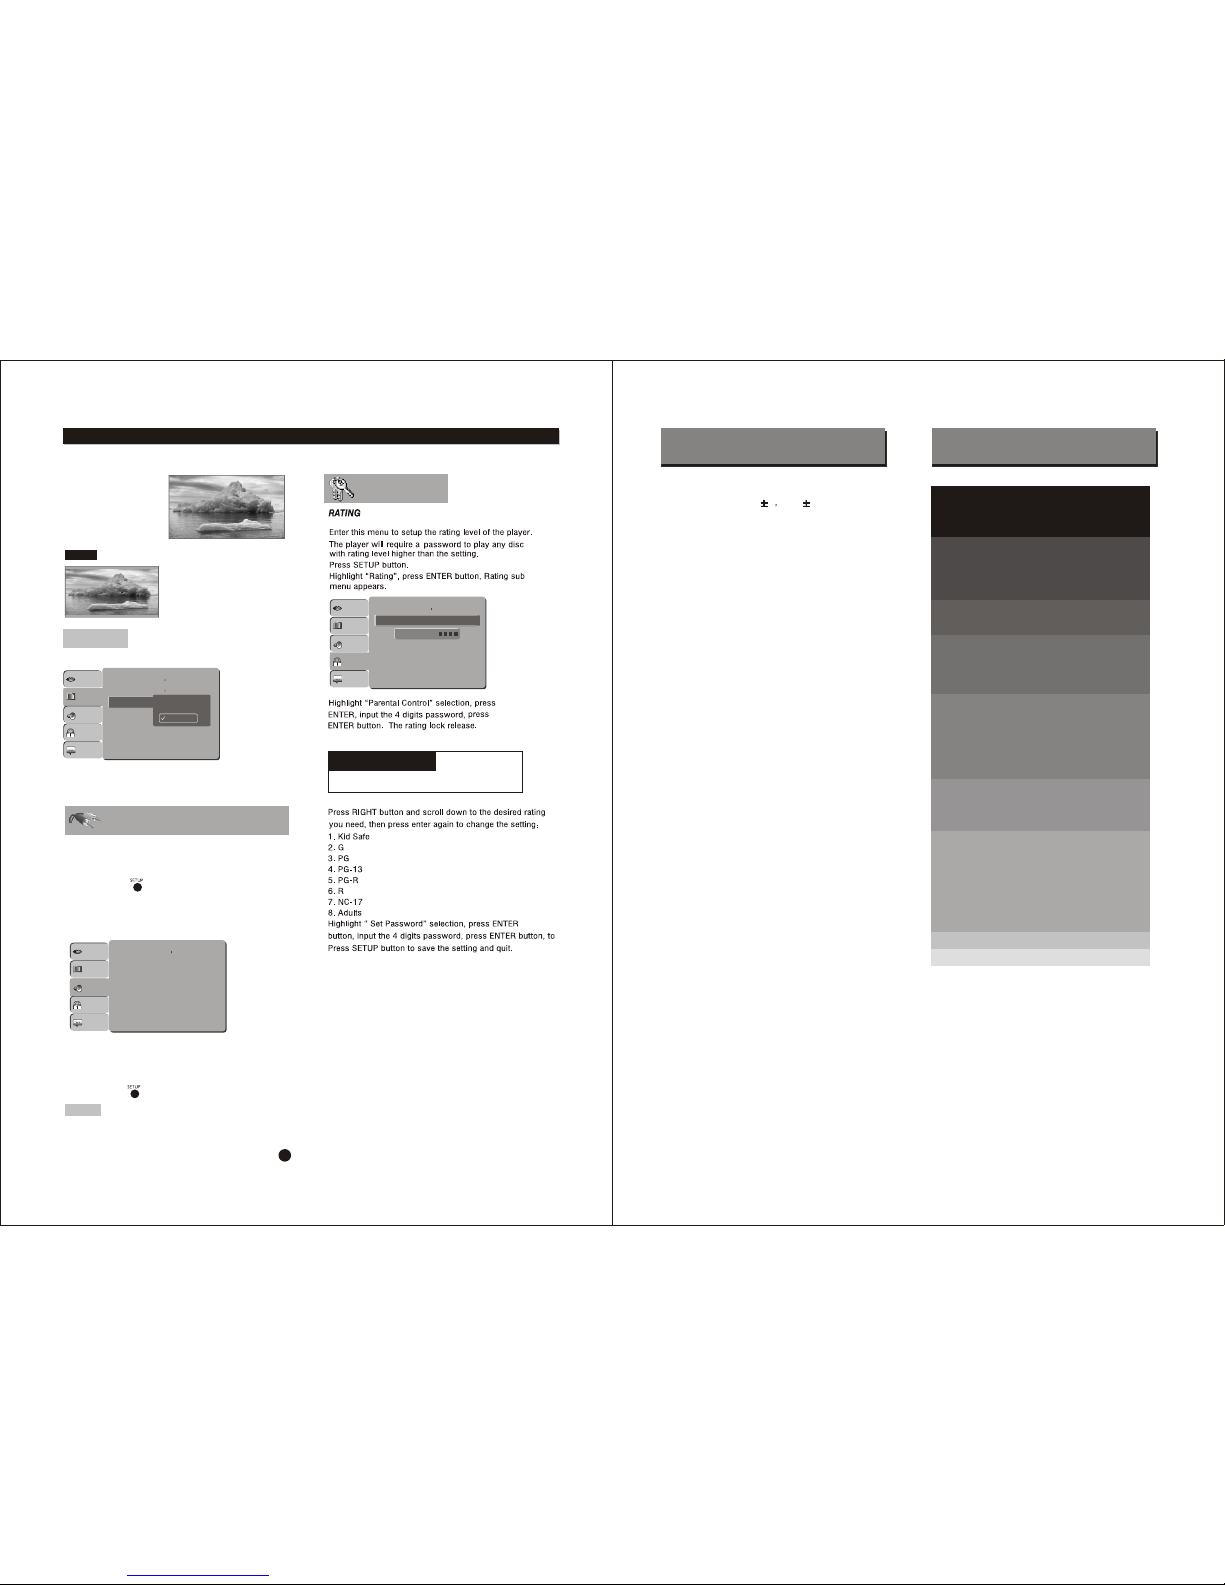
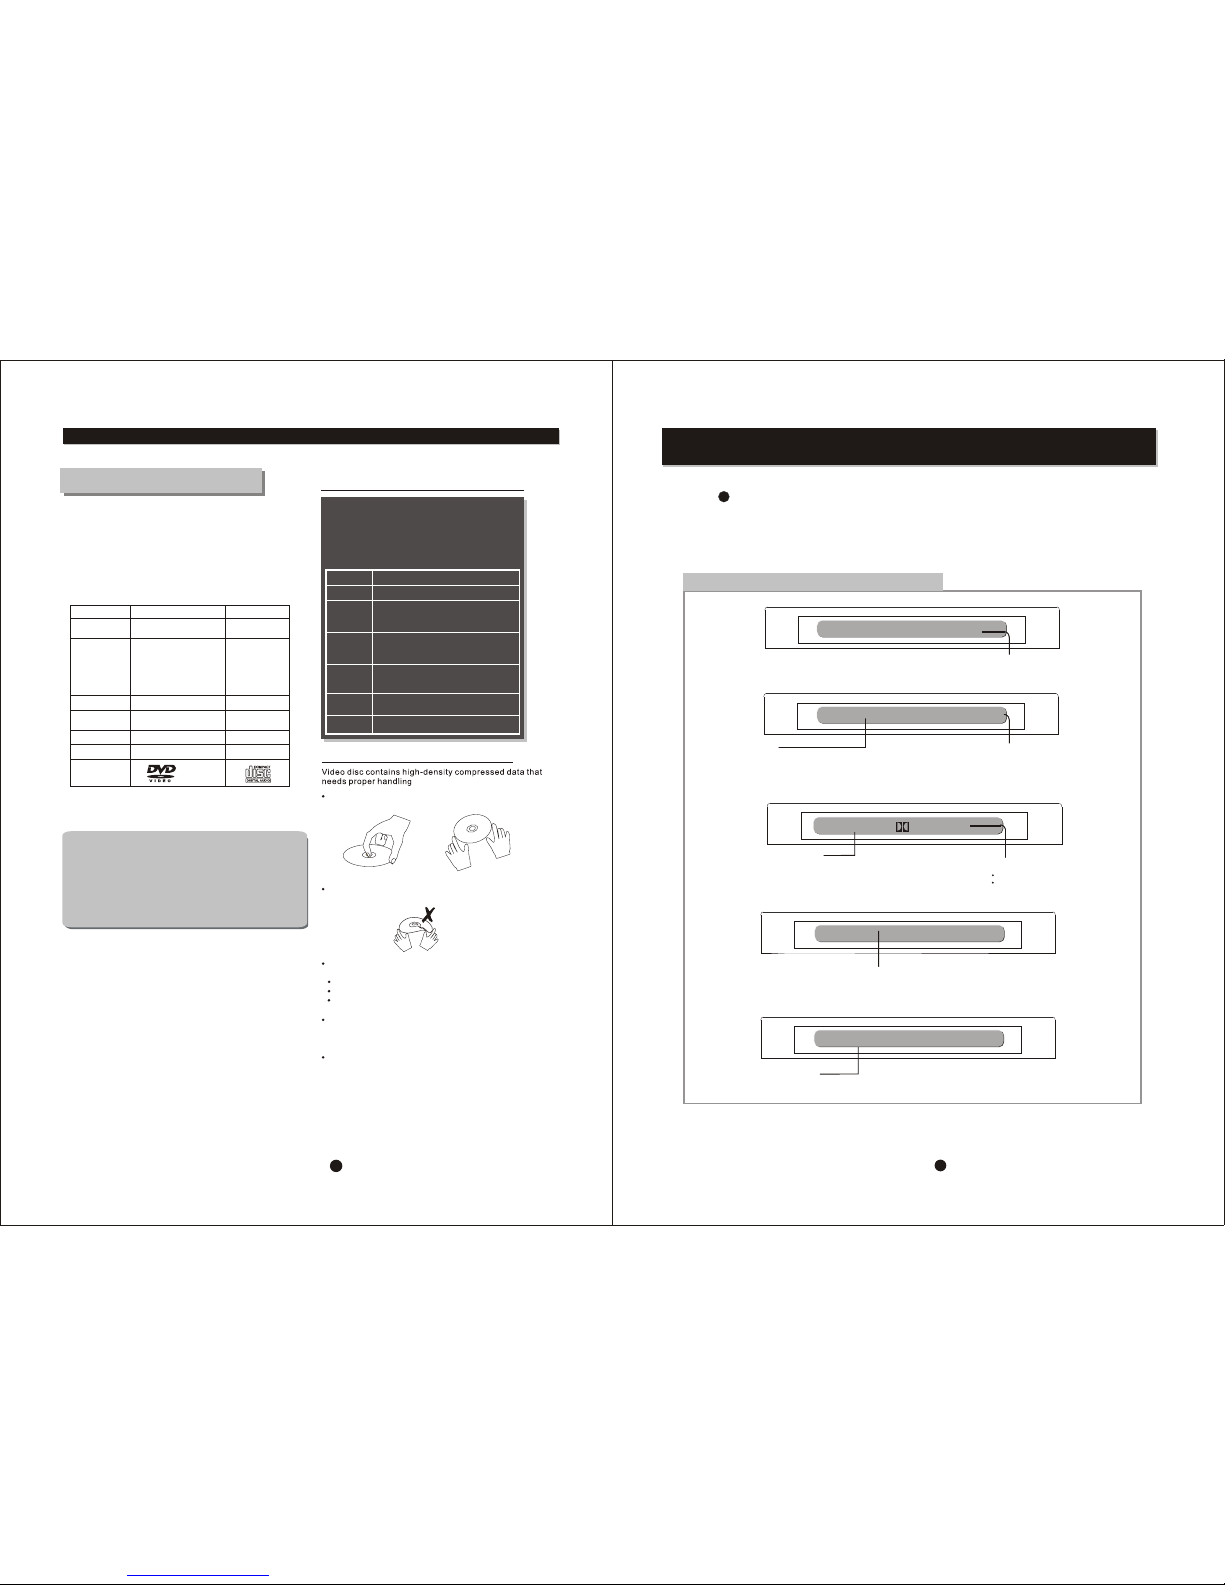
Symptom Check and Action
Cannot SKIP
or SEARCH
Some discs are programmed that do not allow users to SKIP
at some sections, especially at the beginning WARNING section.
Single Chapter disc cannot apply SKIP function.
No sound or
sound output
not complete
Check if the TV and Amplifier have been switched on, and correctly set.
Check if the TV and Amplifier system connection is secured.
Press LANGUAGE button to select other audio tracks output of disc.
Check if the MUTE function of the TV or Amplifier has been activated.
There will be no sound output during PAUSE
/STEP/ SLOW .
No surround
sound
If digital output has been applied:
Press SETUP button
Highlight "AUDIO"
Highlight "Digital Out"
Select RAW or PCM
Press SETUP button
Power on the amplifier or active type loudspeakers.
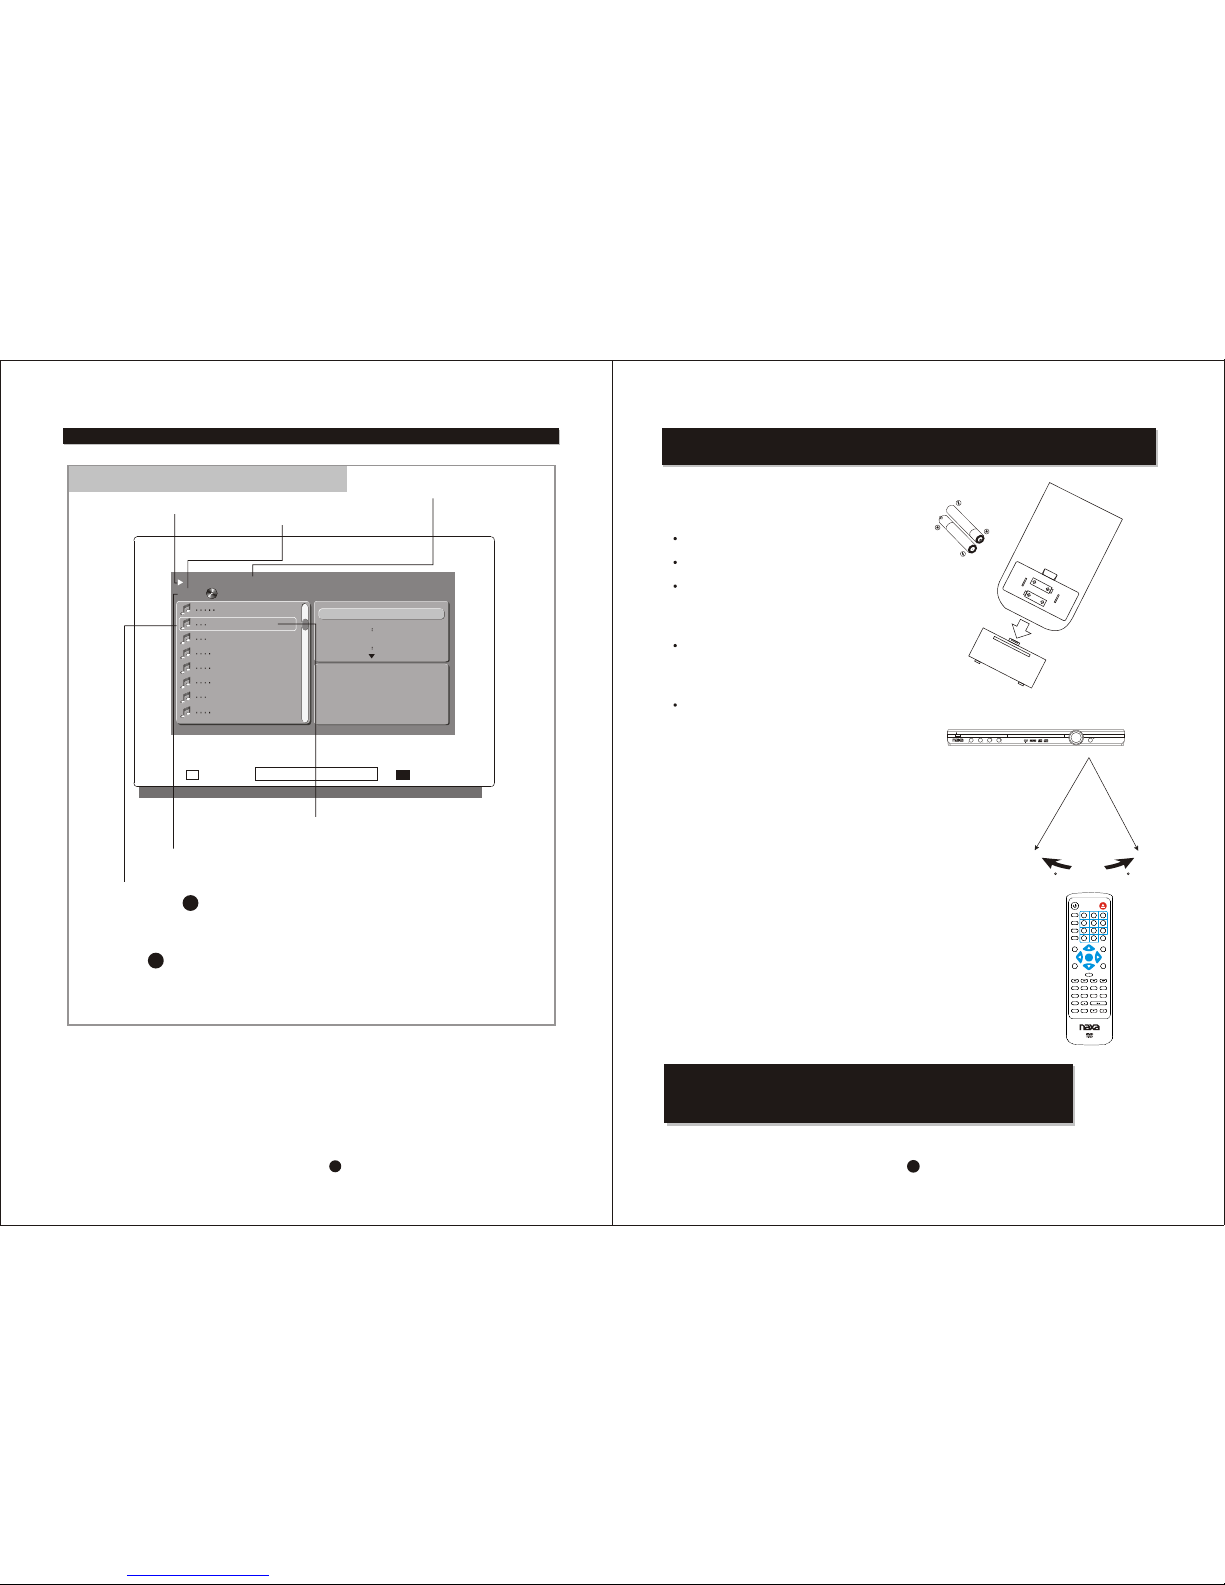
MP3 disc no
sound or noisy
Remote control
does not function
When PC program files or other data files are mixed with
MP3 files in the same disc, the player may play the non-MP3
files with noise or no sound.
Check the disc, if all the files on disc are MP3 files
Skip the f ile, try other files.
Remove the obst acles between the remote control and the player .
Point the remote control towards the remote sensor on the player.
Check if the batteries of the remote control have been loaded with
correct polarities.
Replace the batteries of the remote control.
CAUTION : To reduce the risk of fire and electric
shock, do not remove the cover (or back) of the unit. Refer
servicing only to qualified service personnel.
RISKOF ELECTRIC SHOCK
DO NOT OPEN
CAUTION
SAFETY INFORMATION
TROUBLE SHOOTING