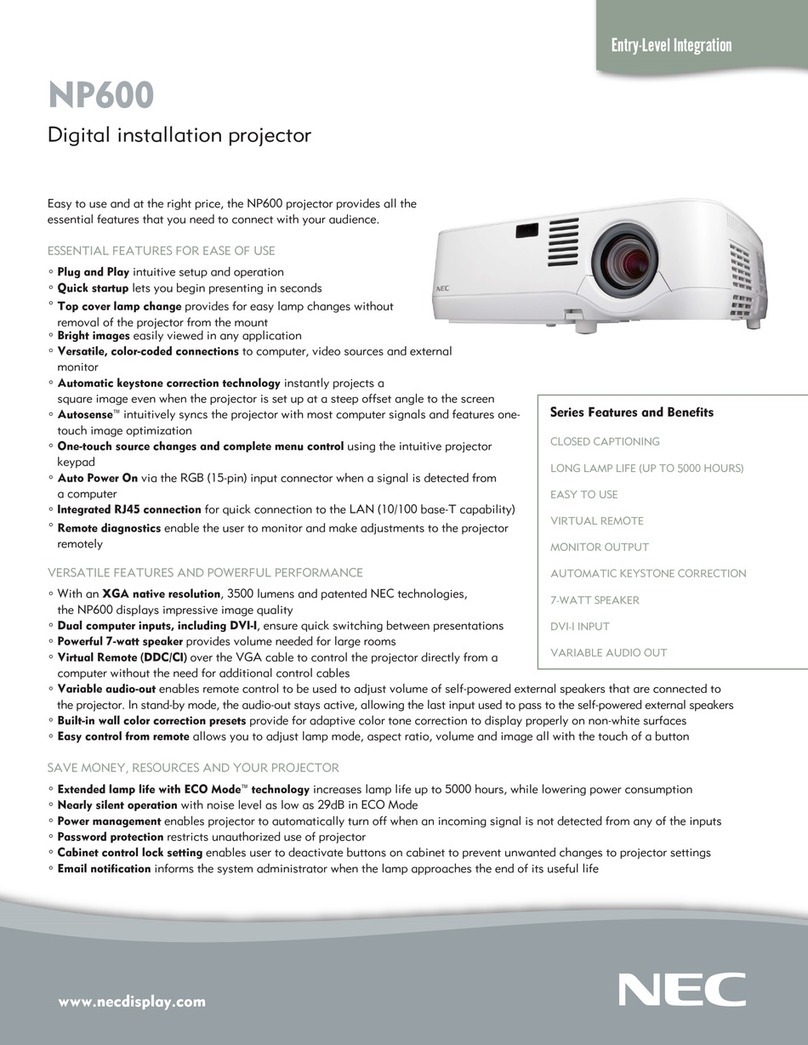
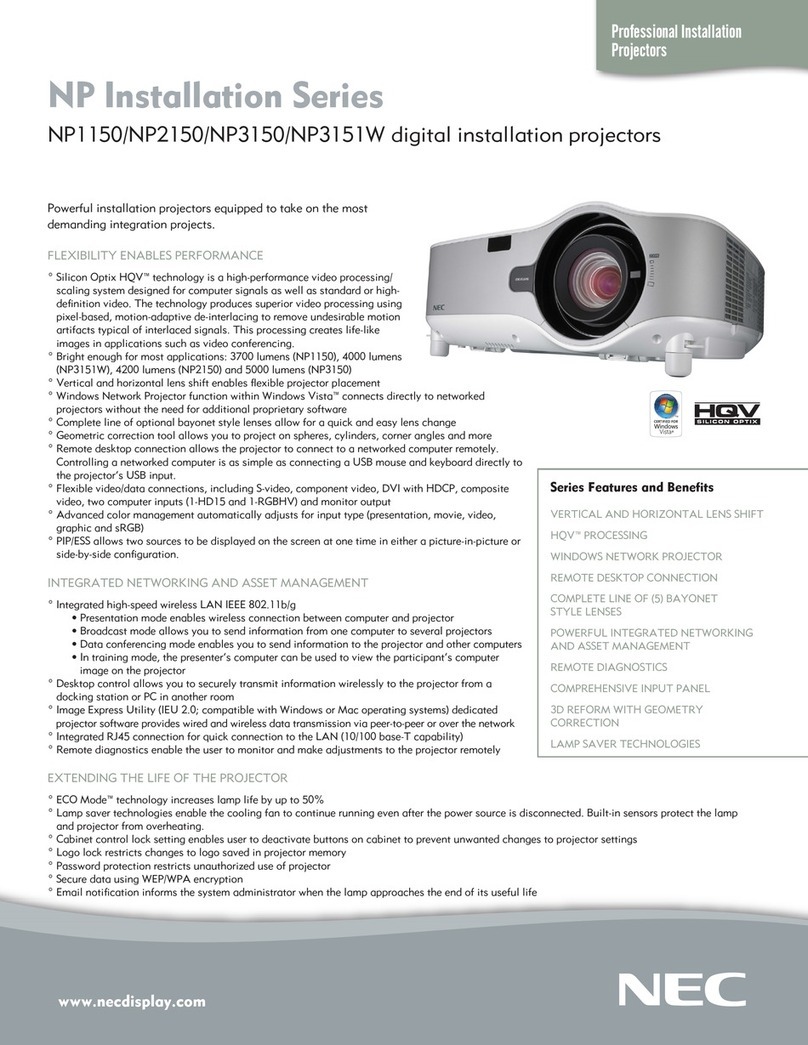
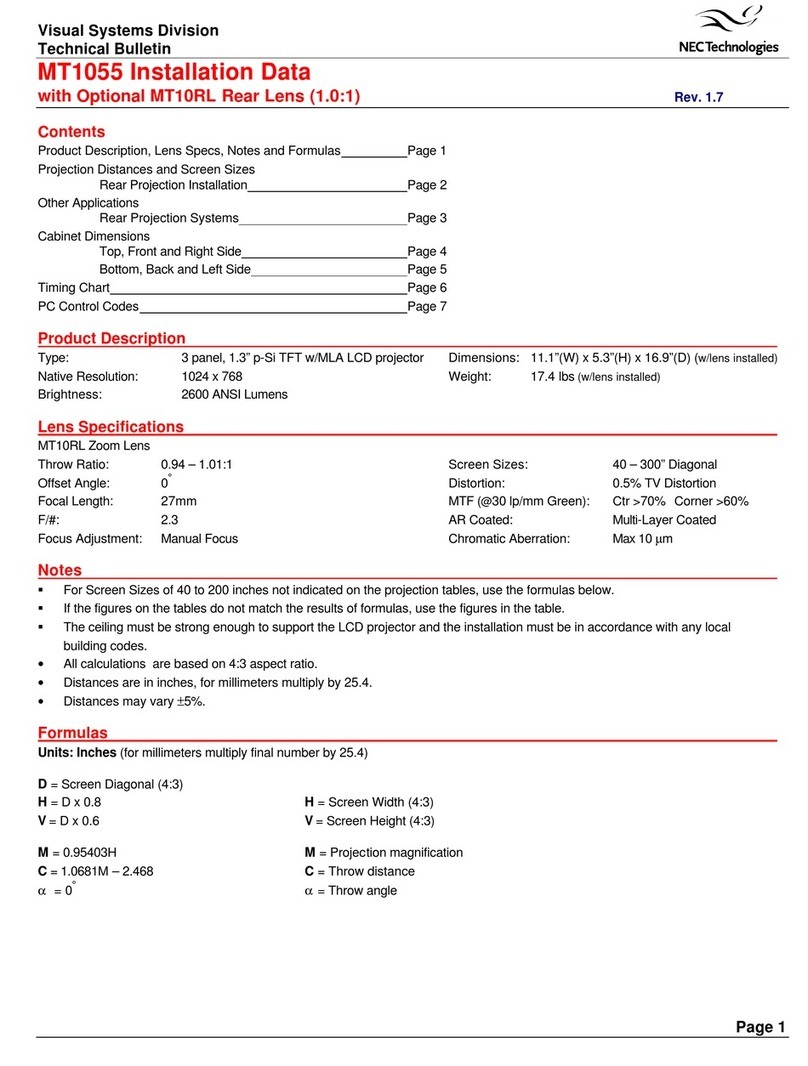
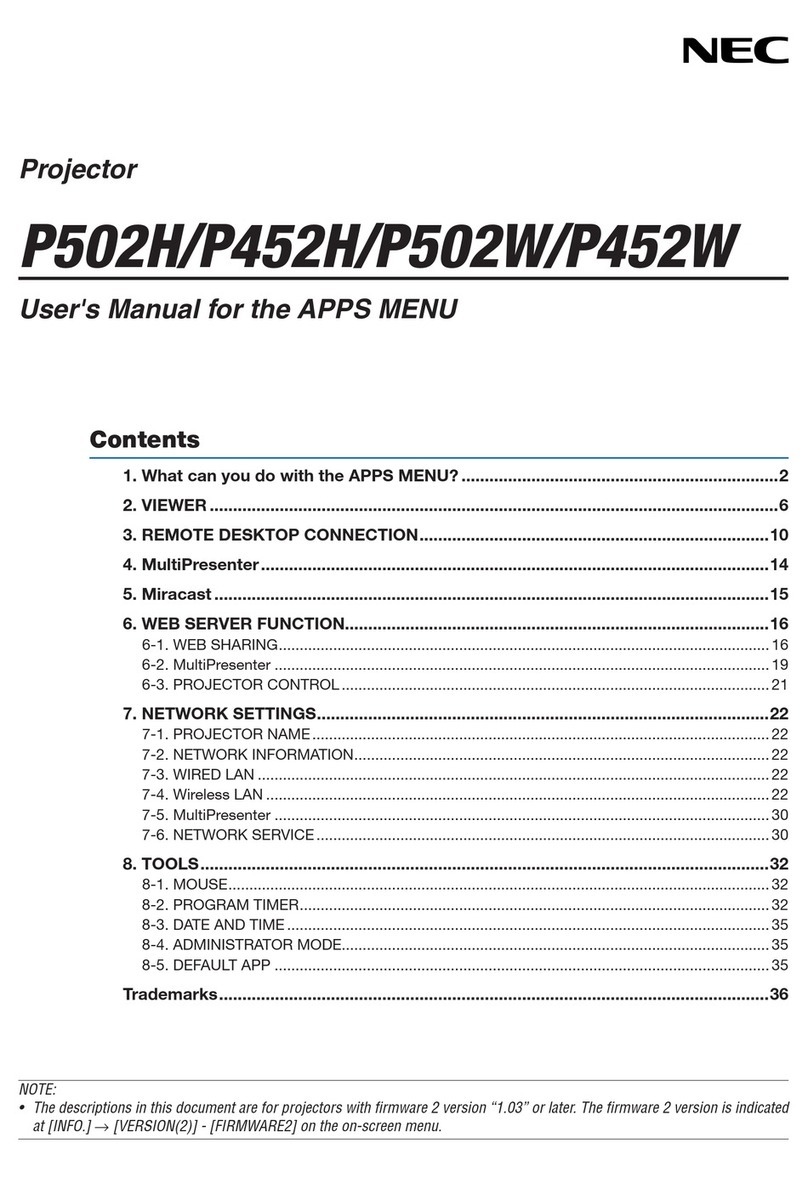
manuals.online logo
Brands
  1. Home
  2. •
  3. Brands
  4. •
  5. NEC
  6. •
  7. Projector
  8. •
  9. NEC VT37 User manual

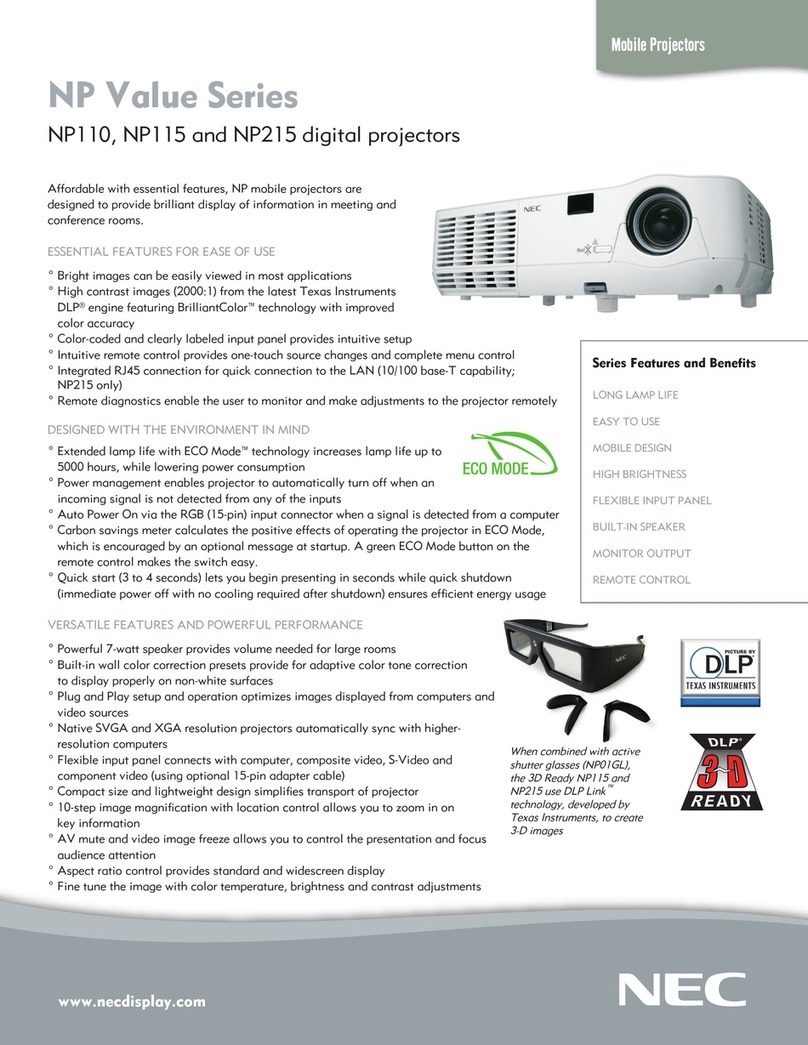
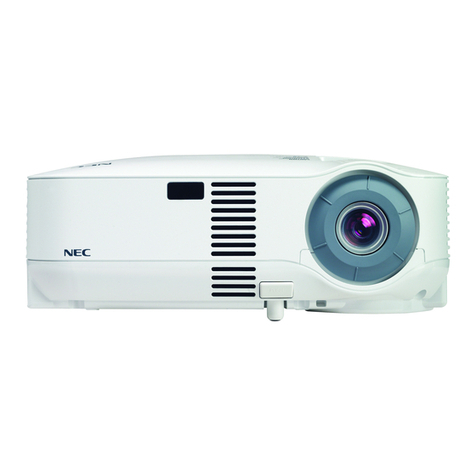
NEC VT37 User manual

7N8P5671
Printed in Japan
Printed on recycled paper
© NEC Viewtechnology, Ltd. 2005
Ver. 1 03/05
AC IN
PC CONTROL
S-VIDEO IN
VIDEO IN COMPUTER IN
AUDIO
L/MONO
R
AUDIO
COMPUTER IN
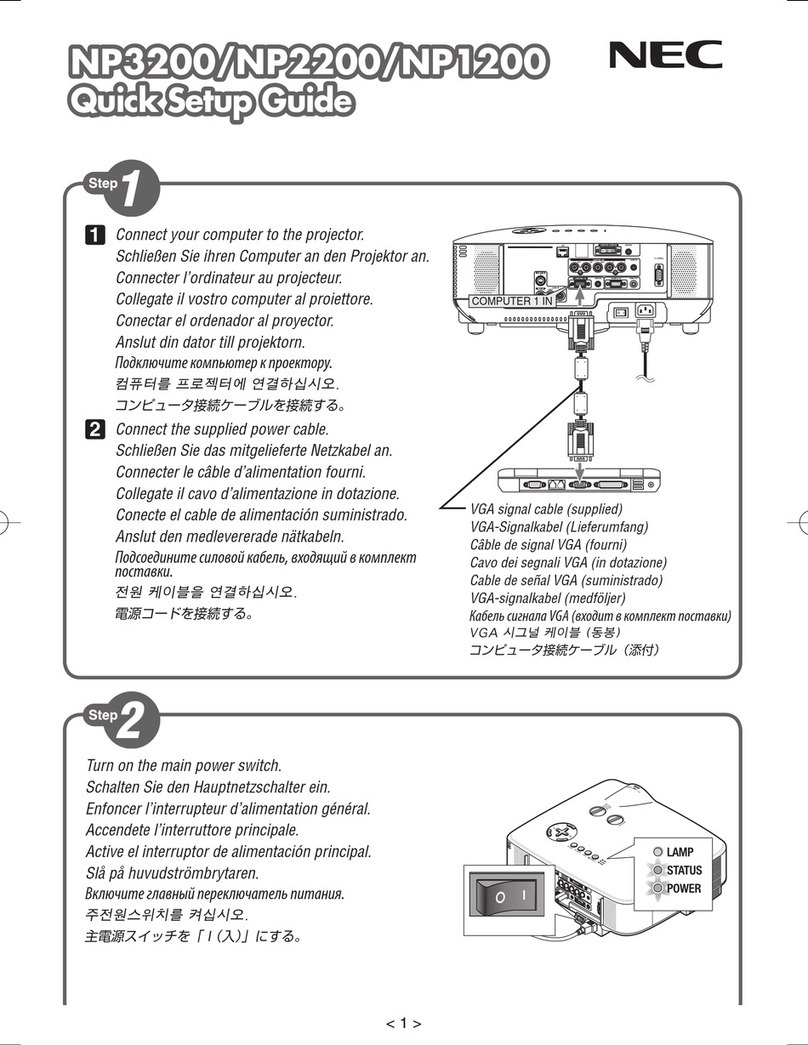
RGB/VGA signal cable (supplied)
RGB/VGA-Signalkabel (Lieferumfang)
Câble de signal RGB/VGA (fourni)
Cavo dei segnali RGB/VGA (in dotazione)
Cable de señal RGB/VGA (suministrado)
RGB/VGA-signalkabel (medföljer)
Mini D-SUB 15 pin connector
15poliger Mini D-Sub Anschluss
Connecteur Mini D-Sub à 15 broches
Connettore mini D-SUB a 15 pin
Conector Mini D-Sub de 15 contactos
15-polig Mini D-Sub-kontakt
ACIN
FOCUS
SELECT
ZOOM
LAMP
STATUS
POWERVIDEOS-VIDEOCOMPUTER
ON/STANDBY
AUTO
ADJ.
AUDIO
S-VIDEOIN PC CONTROL
L/MONO
R
AUDIO
VIDEOIN COMPUTER IN
Connect your computer to the projector.
Turn on the projector.
To turn on the power to the projector, press and hold the ON/STAND BY button on the
projector cabinet or the POWER ON button on the remote control for a minimum of 2
seconds.
Schalten Sie den Projektor ein.
Drücken und halten Sie zum Einschalten des Projektors die ON/STAND BY-Taste am
Projektorgehäuse oder die POWER ON-Taste auf der Fernbedienung mindestens 2
Sekunden lang gedrückt.
Allumer le projecteur.
Pour allumer le projecteur, appuyer sur la touche ON/STAND BY du coffret du projecteur
ou sur la touche POWER ON de la télécommande et la maintenir enfoncée pendant au
moins 2 secondes.
Accensione del proiettore.
Per accendere la corrente del proiettore, premete e mantenete premuto il tasto ON/
STAND BY sull´involucro del proiettore o il tasto POWER ON del telecomando,
mantenendolo premuto per almeno 2 secondi.
Encienda el proyector.
Para conectar la alimentación del proyector, pulse el botón ON/STAND BY en la cubierta
del proyector o el botón POWER ON en el mando a distancia durante al menos 2
segundos.
Slå på strömmen till projektorn.
Tr yck på ON/STAND BY-tangenten på projektorhöljet eller POWER ON-tangenten på
fjärrkontrollen intryckt i minst 2 sekunder för att slå på strömmen till projektorn.
If you encounter problems while setting up or using the projector, see
"Troubleshooting" in the user's manual on the supplied CD-ROM or the
Important Information.
Falls Sie beim Aufstellen oder bei der Verwendung des Projektors
irgendwelche Probleme haben sollten, lesen Sie bitte den Abschnitt
“Fehlersuche” im Benutzerhandbuch auf der im Lieferumfang
enthaltenen CD-ROM oder den Abschnitt Wichtige Informationen.
En cas de problèmes lors de l’installation ou de l’utilisation du
projecteur, voir la section “Dépistage des pannes” dans le manuel de
l’utilisateur sur le CD-ROM fourni ou les Informations Importantes.
Se avete qualunque problema durante la messa a punto o nell’utilizzo
del proiettore, consultate “Localizzazione dei guasti” nel manuale delle
istruzioni nel CD-ROM fornito oppure le Informazioni Importanti.
Si se le presenta algún problema mientras configura o utiliza el
proyector, consulte “Detección de fallos” en el manual del usuario en el
CD-ROM suministrado o información importante.
Se “Felsökning” i bruksanvisningen på den medföljande CD-ROM-
skivan eller Viktig information, om du skulle få några problem då du
ställer in eller använder projektorn.
LAMP
STATUS
POWER VIDEO
AUTO
ADJ.
S-VIDEO COMPUTER
ON/STAND BY
SELECT
MENU
UP
MAGNIFY PAGE
OFF
POWER
ON
PIC-MUTE
DOWN
Connect the supplied power cable.
AC IN
FOCUS
ZOOM
STATUS
LAMP
POWER
Turn on the main power switch.
Power cable (supplied)
Netzkabel (Lieferumfang)
Câble d'alimentation (fourni)
Cavo d´alimentazione (in dotazione)
Cable de alimentación (suministrado)
Nätkabel (medföljer)
Selecting a Source.
Turn on the computer. Press the COMPUTER button on the projector cabinet or the
COMPUTER 1 button on the remote control.
NOTE: Press the AUTO ADJ. button to optimize an RGB image automatically.
Auswählen einer Quelle.
Schalten Sie den Computer ein. Drücken Sie die COMPUTER-Taste am Projektorgehäuse
oder die COMPUTER 1-Taste auf der Fernbedienung.
HINWEIS: Drücken Sie die AUTO ADJ.-Taste, um ein RGB-Bild automatisch zu
optimieren.
Sélectionner une source.
Mettre l'ordinateur en marche. Presser la touche COMPUTER du projecteur ou la touche
COMPUTER 1 de la télécommande.
REMARQUE: Presser la touche AUTO ADJ. pour optimiser automatiquement l’image
RGB.
Selezione di una fonte.
Accendete il computer. Premete il tasto COMPUTER sull’armadietto del proiettore o il
tasto COMPUTER 1 sul telecomando.
NOTA: Premere il tasto AUTO ADJ. per ottimizzare automaticamente un’immagine RGB.
Selección de una fuente.
Encienda el ordenador. Pulse el botón COMPUTER en el gabinete del proyector o el
botón COMPUTER 1 en el mando a distancia.
NOTA: Pulse el botón AUTO ADJ. para optimizar automáticamente la imagen RGB.
Välja en källa.
Slå på datorn. Tryck på COMPUTER-tangenten på projektorns hölje eller COMPUTER 1-
tangenten på fjärrkontrollen.
OBSERVERA: Tr yck på AUTO ADJ.-tangenten för att optimera en RGB-bild automatiskt.
VIDEO S-VIDEO COMPUTER
LAMP
STATUS
POWER
AUTO
ADJ.
ON/STAND BY
SELECT
VOLUME
L-CLICK
MOUSE
R-CLICK
AUTO ADJ.
ASPECT HELP
FREEZEPICTURE
S-VIDEO
VIDEO
COMPUTER
1
2
FOCUS
ZOOM
Adjusting the image size and the focus.
Zoom: Use the Digital ZOOM button on the projector cabinet to electronically enlarge or
reduce the image size.
Focus: Use the Focus ring to obtain the best focus.
Stellen Sie die Bildgröße und den Fokus ein.
Zoom: Mit Hilfe der sich am Projektorgehäuse befindlichen Digital-ZOOM-Taste können Sie
die das Bild elektronisch vergrößern oder verkleinern.
Fokus: Verwenden Sie den Fokussierring zum Erzielen der besten Fokusleistung.
Régler la taille de l'image et effectuer la mise au point optique de l'objectif.
Zoom: Utiliser la touche du ZOOM numérique située sur le boîtier du projecteur pour
agrandir ou réduire électroniquement la taille de l’image.
Mise au point optique: Utiliser la bague de mise au point optique pour obtenir l’image la
plus nette à l’écran.
Regolate la dimensione dell'immagine e la messa a fuoco.
Zoom: Utilizzate il tasto Digital ZOOM del proiettore per ingrandire o ridurre
elettronicamente le dimensioni dell’immagine.
Fuoco: Usate l’anello di messa a fuoco per ottenere la migliore messa a fuoco.
Ajuste el tamaño y enfoque de la imagen.
Zoom: Utilice el botón Digital ZOOM, situado en la cubierta del proyector, para ampliar o
reducir electrónicamente el tamaño de la imagen.
Enfoque: Utilice el aro de enfoque para lograr el mejor enfoque.
Justera bildstorlek och fokus.
Zoom: Använd knappen för digital zoom på projektorkåpan för att förstora eller förminska
bildstorleken elektroniskt.
Fokus: Använd Fokusringen för att fokusera.
Adjustable Tilt Foot lever
Einstellbare Kippfußtaste
Touche du pied à inclinaison réglable
Tasto del piede di inclinazione regolabile
Botón de pata de inclinación ajustable
Justerbar lutningsfottangent
Adjustable Tilt Foot
Einstellbarer Kippfuß
Pied à inclinaison réglable
Piede d’inclinazione regolabile
Pata de inclinación ajustable
Justerbar lutningsfot
Adjust the Tilt Foot.
Push up and hold the Adjustable Tilt Foot Button on the front of the projector to extend the
adjustable tilt feet (maximum height).
Einstellung des Kippfußes.
Halten Sie die einstellbare Kippfußtaste an der Vorderseite des Projektors gedrückt, um die
einstellbaren Kippfüße auszufahren (maximale Höhe).
Régler le pied de réglage de l’inclinaison.
Pousser vers le haut et maintenir le bouton de réglage de l’inclinaison à l’avant du projecteur
pour augmenter la hauteur du pied de réglage (hauteur maximale).
Regolate il piedino d’inclinazione.
Alzate e tenete il tasto del piedino d’inclinazione regolabile sulla parte anteriore del
proiettore per aprire i piedi inclinabili e regolabili (altezza massima).
Ajuste de las patas de inclinación.
Presione hacia arriba (y manténgalo en dicha posición) el botón de las patas de inclinación,
situado en la parte delantera del proyector, para extender las patas ajustables (altura máxima).
Justera lutningen med foten.
Tr yck upp och håll justerfotsknappen på projektorns framsida för att förlänga justerfötterna
(maxhöjd).
FOCUS
SELECT
LAMP
STATUS
POWERVIDEOS-VIDEOCOMPUTER
ON/STANDBY
AUTO
ADJ.
ZOOM
2
1
2
FOCUS
SELECT
LAMP
STATUS
POWERVIDEOS-VIDEOCOMPUTER
ON/STANDBY
AUTO
AD
J
ZOOM
3
4
4
Adjustable Tilt Foot lever
Einstellbare Kippfußtaste
Touche du pied à inclinaison réglable
Tasto del piede di inclinazione regolabile
Botón de pata de inclinación ajustable
Justerbar lutningsfottangent
FOCUS
ZOOM
Digital ZOOM button
Digital-ZOOM-Taste
Touche du ZOOM numérique
Tasto Digital ZOOM
Botón Digital ZOOM
Knappen för digital ZOOM
Focus ring
Fokussierring
Anneau de l’objectif
Anello di messa a fuoco
Aro de enfoque
Fokusring
PRINTED WITH
SOY INK
TM
Correcting Keystone Distortion [Keystone]
This feature corrects the keystone (trapezoidal) distortion
to make the top of the screen longer or shorter to be the
same as the bottom.
Korrigieren der Trapezverzerrung [Trapez]
Die Trapez-Korrektur ermöglicht Ihnen das Korrigieren von
Trapez-Verzerrungen (trapezförmig), um den oberen
Bildschirmteil zu verlängern oder zu verkürzen, damit er
mit dem unteren Bildschirmteil identisch ist.
Correction de la déformation trapézoïdale
[Keystone]
Cette fonction corrige la distorsion keystone
(trapézoïdale) pour rendre le haut de l’écran plus long ou
plus court identique au bas.
Correzione della deformazione trapezoidale
[Chiave]
Questa funzione corregge la distorsione trapezoidale per
rendere più lunga o più corta la parte superiore dello
schermo affinchè sia uguale alla parte inferiore.
Corrección de la distorsión trapezoidal
[Keystone]
Esta característica corrige la distorsión keystone (trap-
ezoidal) para alargar o acortar la parte de arriba de la
pantalla para que sea igual a la parte de abajo.
Korrigera den keystonedistorsionen [Keystone]
Detta alternativ rättar till keystone- (trapetsformad)
förvrängning och justerar bildens översta kant så att den
blir lika lång som den understa kanten.
1. Press the MENU button. The menu will be displayed.
2. Use the SELECT 왔button to select “Image” and then press the
SELECT 왘button. The “Keystone” will be displayed.
1. Drücken Sie die MENU-Taste. Das Menü wird gezeigt.
2. Wählen Sie zunächst mit der SELECT 왔-Taste “Bild-Optionen”
aus und drücken Sie dann die SELECT 왘-Taste. Die Anzeige
“Trapez” wird eingeblendet.
1. Appuyer sur la touche MENU. Le Menu s’affiche.
2. Utiliser la touche SELECT 왔pour sélectionner “Options image”,
puis appuyer sur la touche SELECT 왘. La fonction “Keystone”
s’affiche.
1. Premete il tasto MENU. Viene visualizzato il menu.
2. Utilizzate il tasto SELECT 왔per selezionare “Opz. immagine” e
premete il tasto SELECT 왘. Viene visualizzato “Chiave”.
1. Pulse el botón MENU. Se visualizará el menú.
2. Utilice el botón SELECT 왔para seleccionar “Opc. de imagen” y,
a continuación, pulse el botón SELECT 왘. Se visualizará
“Keystone”.
1. Tryck på MENU-tangenten. Menyn visas.
2. Använd SELECT 왔-tangenten för att välja “Bildalternativ“ och
tryck sedan på SELECT 왘-tangenten. “Keystone” visas.
3. Use the SELECT 왗or 왘button to correct the vertical
keystone distortion.
4. Press the MENU button to close the menu.
3. Korrigieren Sie die vertikale Trapezverzerrung mit der
SELECT 왗bzw. 왘-Taste.
4. Drücken Sie die MENU-Taste, um das Menü zu
schließen.
3. Utiliser la touche SELECT 왗ou 왘pour corriger la
distorsion trapézoïdale verticale.
4. Appuyez sur la touche MENU pour fermer le menu.
3. Utilizzate i tasti SELECT 왗o 왘per correggere la
distorsione trapezoidale verticale.
4. Premete il tasto MENU per chiudere il menu.
3. Utilice el botón SELECT 왗o 왘para corregir la
distorsión trapezoidal vertical.
4. Pulse el botón MENU para cerrar el menú.
3. Använd tangenten SELECT 왗eller 왘för att korrigera
den vertikala keystonedistorsionen.
4. Tryck på MENU-tangenten för att stänga menyn.
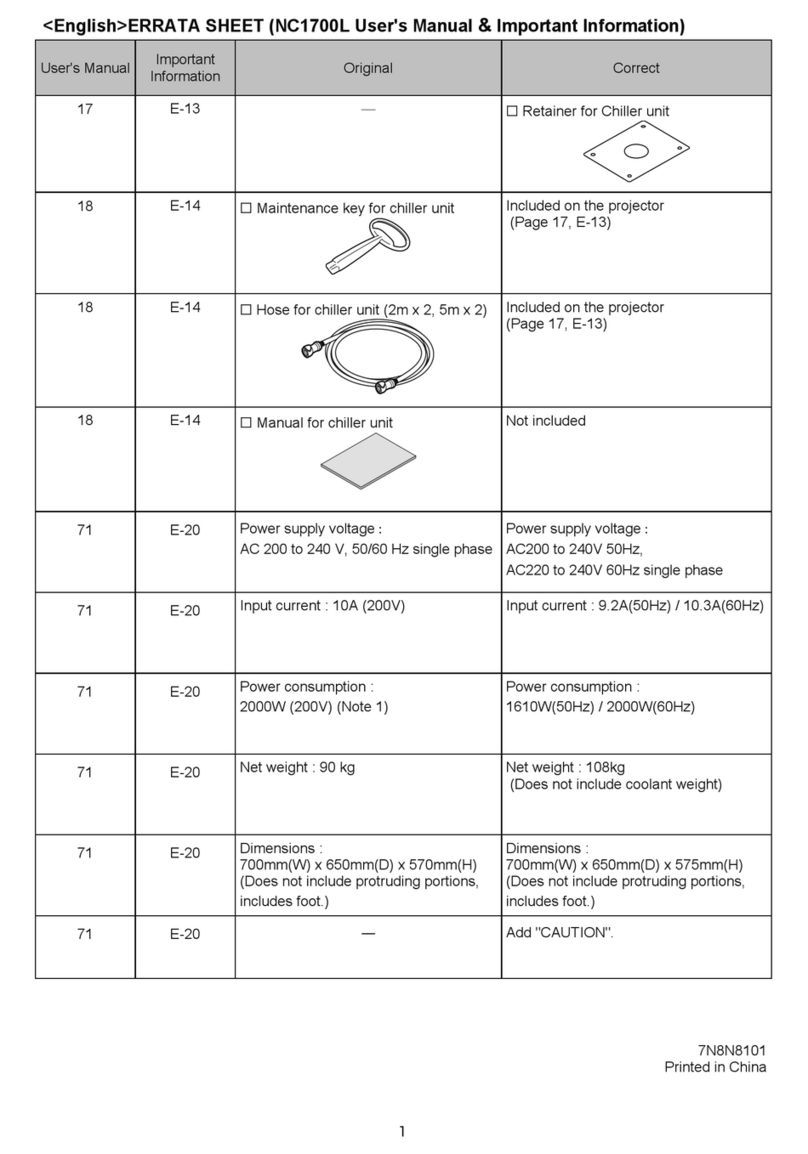
Other manuals for VT37

4

Other NEC Projector manuals

NEC NP-PH1400U User manual

NEC

NEC NP-PH1400U User manual

NEC UM351W User manual

NEC

NEC UM351W User manual

NEC NP510WS Series User manual

NEC

NEC NP510WS Series User manual

NEC MultiSync LT280 User manual

NEC

NEC MultiSync LT280 User manual

NEC NP-M311W Installation instructions

NEC

NEC NP-M311W Installation instructions

NEC VT491 User manual

NEC

NEC VT491 User manual

NEC P554U User manual

NEC

NEC P554U User manual

NEC NP-PX750U User manual

NEC

NEC NP-PX750U User manual

NEC MultiSync MT1040 User manual

NEC

NEC MultiSync MT1040 User manual

NEC GT5000 Series User manual

NEC

NEC GT5000 Series User manual

NEC NP43 Series User manual

NEC

NEC NP43 Series User manual

NEC PA1705UL-W User manual

NEC

NEC PA1705UL-W User manual

NEC NP215 Series Manual

NEC

NEC NP215 Series Manual

NEC VT615 User manual

NEC

NEC VT615 User manual

NEC GT1150 Series User manual

NEC

NEC GT1150 Series User manual

NEC HT1000 Series User manual

NEC

NEC HT1000 Series User manual

NEC VT676 Series User manual

NEC

NEC VT676 Series User manual

NEC NC800C User manual

NEC

NEC NC800C User manual

NEC MultiSync MT 600 User manual

NEC

NEC MultiSync MT 600 User manual

NEC MultiSync MT1020 Installation and user guide

NEC

NEC MultiSync MT1020 Installation and user guide

NEC M350X User manual

NEC

NEC M350X User manual

NEC NP610 Series User manual

NEC

NEC NP610 Series User manual

NEC NP-L50W User manual

NEC

NEC NP-L50W User manual

NEC MultiSync MT810 User manual

NEC

NEC MultiSync MT810 User manual

Popular Projector manuals by other brands

LG DX540 -  XGA DLP Projector owner's manual

LG

LG DX540 - XGA DLP Projector owner's manual

Panasonic PT-DZ570U brochure

Panasonic

Panasonic PT-DZ570U brochure

Panasonic PTL759U - LCD PROJECTOR operating instructions

Panasonic

Panasonic PTL759U - LCD PROJECTOR operating instructions

Ledy DFL-20W owner's manual

Ledy

Ledy DFL-20W owner's manual

Sanyo PLC-XE32 brochure

Sanyo

Sanyo PLC-XE32 brochure

Ricoh Hadar-PJ1 Series Technical training

Ricoh

Ricoh Hadar-PJ1 Series Technical training

Professional Audio Equipment HS121 User manual & installation guide

Professional Audio Equipment

Professional Audio Equipment HS121 User manual & installation guide

Sanyo PLC-XU45 Specification sheet

Sanyo

Sanyo PLC-XU45 Specification sheet

Barco iCon H600 Brochure & specs

Barco

Barco iCon H600 Brochure & specs

Sanyo UF10 - PLC UXGA LCD Projector Specifications

Sanyo

Sanyo UF10 - PLC UXGA LCD Projector Specifications

Epson 7700p - PowerLite XGA LCD Projector Specifications

Epson

Epson 7700p - PowerLite XGA LCD Projector Specifications

Seleco SVT-180 instruction manual

Seleco

Seleco SVT-180 instruction manual

ViewSonic M1 G2 user guide

ViewSonic

ViewSonic M1 G2 user guide

Panasonic PT-AE2000 operating instructions

Panasonic

Panasonic PT-AE2000 operating instructions

PROIETTA IMPRESSIVE EVO 1200 instruction manual

PROIETTA

PROIETTA IMPRESSIVE EVO 1200 instruction manual

Epson PowerLite 76c Specifications

Epson

Epson PowerLite 76c Specifications

Epson PowerLite Home Cinema 705HD Quick setup guide

Epson

Epson PowerLite Home Cinema 705HD Quick setup guide

Meiloon DHT100 owner's manual

Meiloon

Meiloon DHT100 owner's manual

manuals.online logo
manuals.online logoBrands
  • About & Mission
  • Contact us
  • Privacy Policy
  • Terms and Conditions

Copyright 2025 Manuals.Online. All Rights Reserved.