NEC MT40 - User manual
Introduction
The interactive remote control demonstrates the features,
functions, settings and adjustable menus of the remote
controls for the LT series and MT series.
Simply click any button on the remote control on the left to
display descriptions of the menus and functions.
Click the menus and submenus to display more detailed
descriptions.
Your projector’s display settings can be customized and fine-
tuned to match your presentation needs. Normally, however,
the display is optimized automatically for the input signals.
When any of the buttons on the full function remote control is
pressed, the back lights of all the buttons except Mouse
button turn on. If no button is pressed for 10 seconds, the
back lights turn off automatically. The menus also turn off at
this time.
Full function remote control
(for MT series) Card remote control
(for LT series)

SOURCE button
The input switches each time this button is pressed. (RGB a
Video aS-Video aPC Card Viewer)

AUTO ADJUST button
Press this to automatically adjust the vertical/horizontal
position, clock frequency/phase and resolution if the
projected picture is not centered, if there are vertical stripes
on the picture or if the picture is flickering. (The Position and
Pixel Adjust are only adjusted for RGB inputs.)
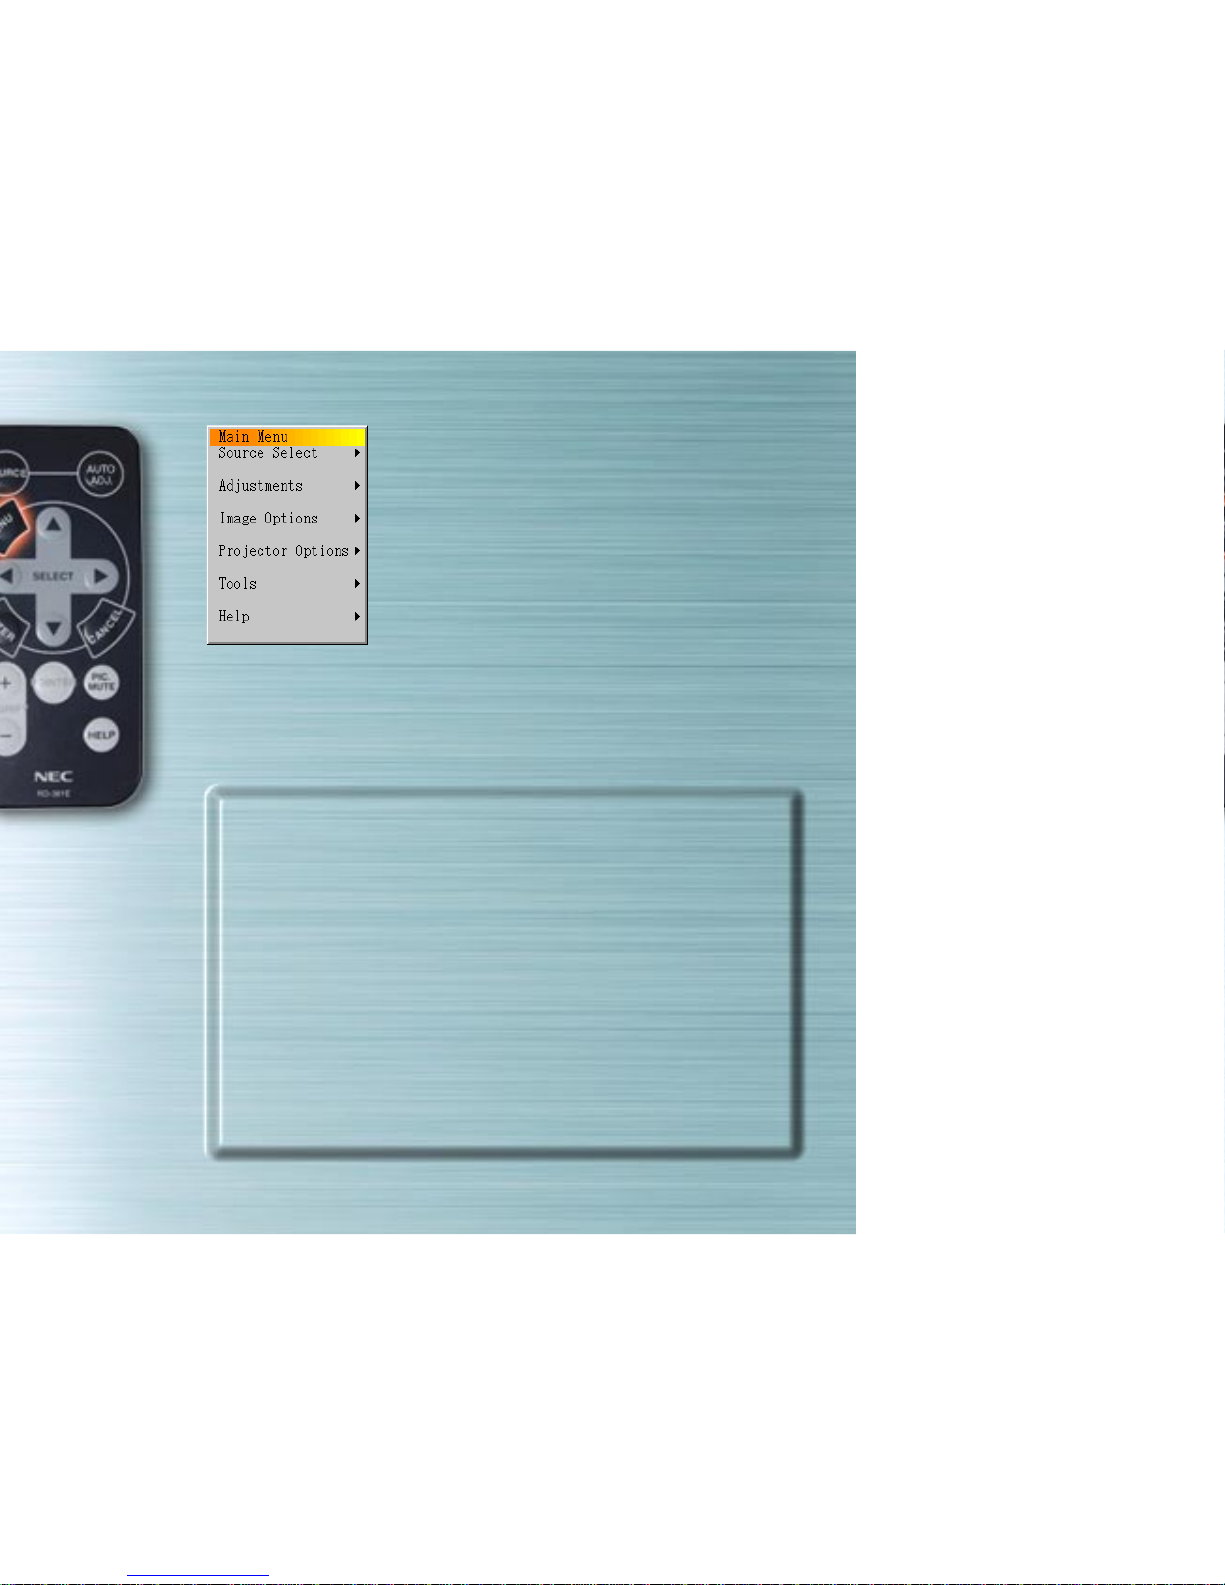
Menu buttons/On-screen menu
When pressed, the main menu appears. Use the ▲▼ buttons
to select the submenus or adjustment or setting items.
See below for a list of the remote control unit buttons that can
be used while the menu is displayed and the functions of the
menus and dialog box elements.
▲▼ buttons : Used to select items on menus or elements
in dialog boxes.
sbutton : Activates submenus or executes the selected
item.
tbutton : Returns to the previous menu.
next page

Close box (x) : Closes the window without saving the setting or adjustment values.
Highlight : Indicates that the menu or item is selected.
Solid triangle button : Indicates that there are selection items on the pull-down menu.
Tabs : Indicate the number of pages when the item in the dialog box is
divided on more than one page.
Radio buttons : Select the dialog box items.
Check box : Check the box to activate the dialog box item.
Slider bar : When the adjustment menu is displayed, increases or decreases the
adjustment value of the selected item.
Tabs
Solid triangle button
Highlight
Close box
Slider bar
Radio buttons
Check box
previous page

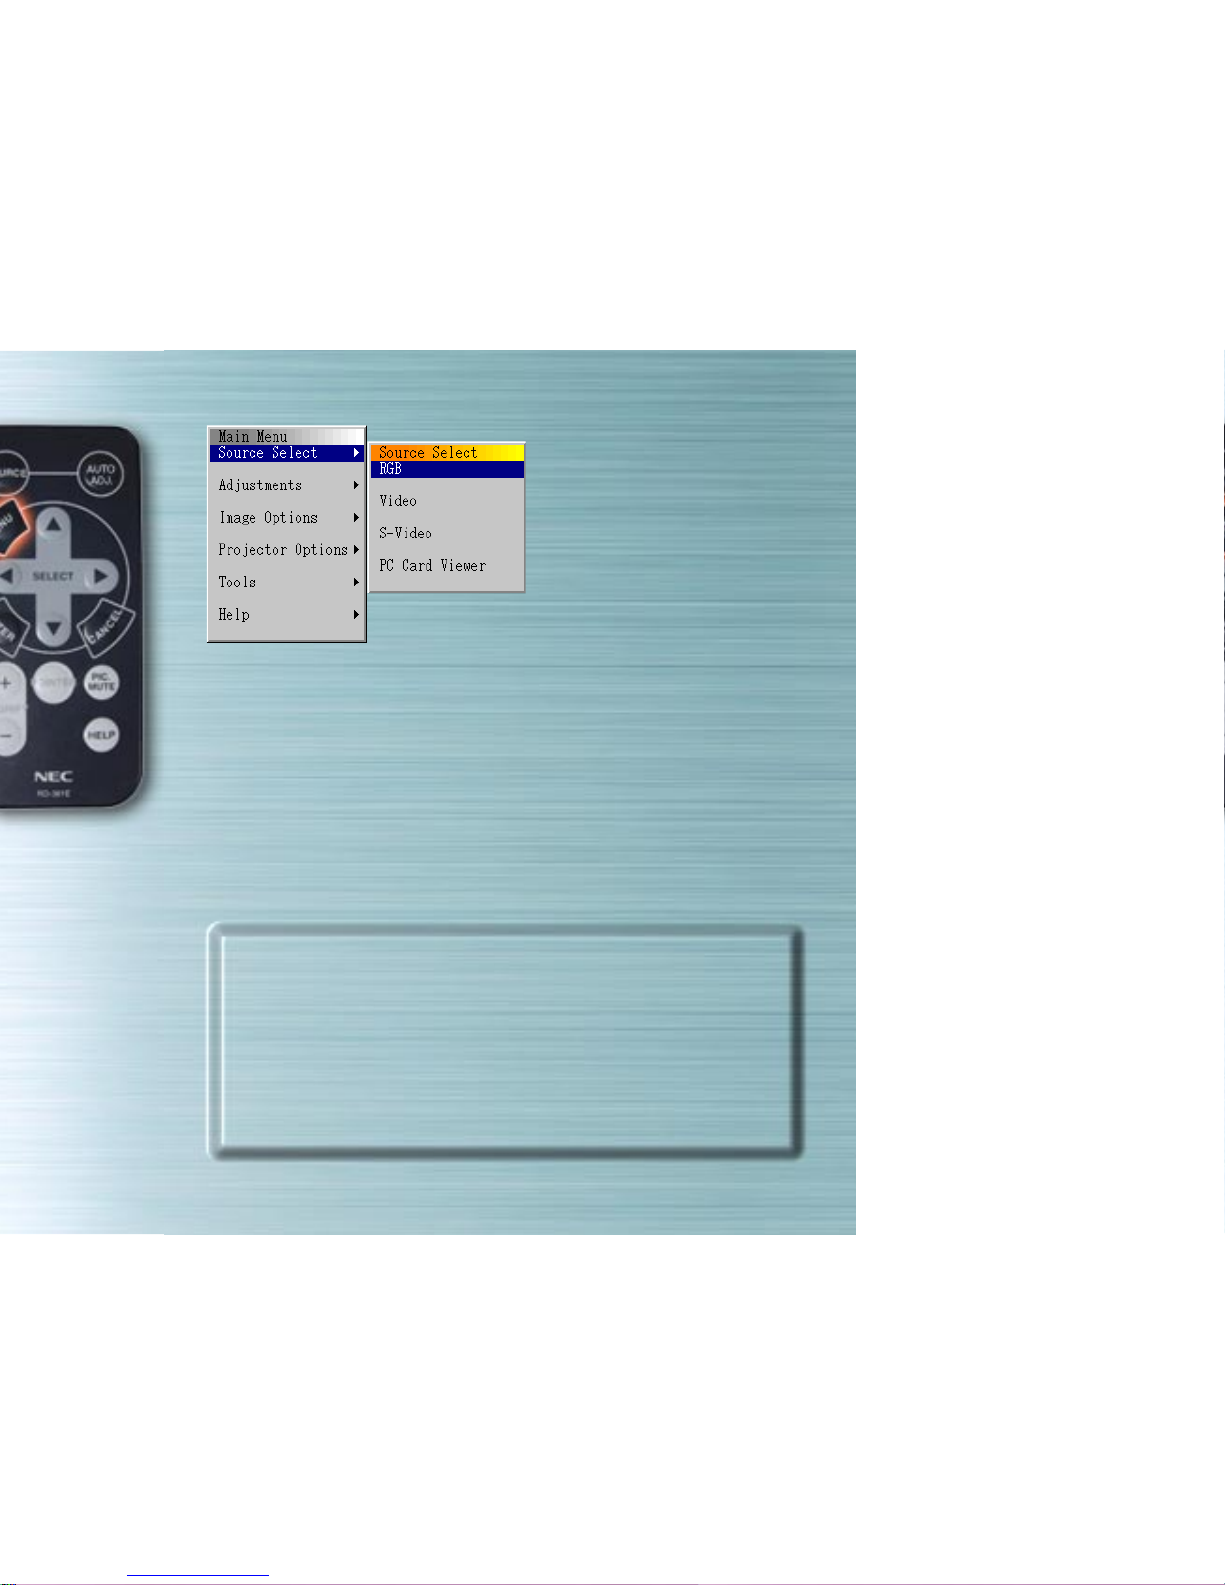
Signal Selection Menu
Use this menu to select the input (RGB/Component, Video, S-
Video or PC Card Viewer).
Use the ▲▼ buttons to select the desired input, then press
the ENTER button.
(When RGB is selected)
RGB input
The signals from the computer or DVD player connected to
the RGB input jacks are selected. Normally component
signals are identified automatically. If not, set the component
under Projector Options aSetup aPage 1 aSignal Select
aRGB.

(When Video is selected)
Video input
The signal from a VCR or laser disc player connected to the
VIDEO input jack is selected.

(When S-Video is selected)
S-Video input
The signal from a VCR or laser disc player connected to the
S-VIDEO input jack is selected.

(When PC Card Viewer is selected)
PC Card Viewer
The picture data of a PC card inserted in the PC card access
slot is displayed.
Settings such as whether to display a list of folders or start
displaying slides immediately after the PC Card Viewer input
is selected can be made under “Projector Options” a
“Setup” a“PC Card Viewer Options”.
Other manuals for MT40 -
1
This manual suits for next models
2
Table of contents
Other NEC Remote Control manuals


