Neilsen CT4951 User manual

1
HYDRAULIC PIPE BENDER SET FOR COPPER PIPE
CT4951
Instruction Manual
Read this material before using this product.
Failure to do so can result in serious injury.
SAVE THIS MANUAL

2
SAVE THIS MANUAL
Keep this manual for the safety warnings and precautions, assembly, operating,
inspection, maintenance and cleaning procedures. Write the month and year of
purchase. Keep this manual and the receipt in a safe and dry place for future
reference.
IMPORTANT SAFETY INFORMATION
In this manual, on the labeling, and all other information
provided with this product:
This is the safety alert symbol. It is used to alert you to potential
personal injury hazards. Obey all safety messages that follow this
symbol to avoid possible injury or death.
DANGER indicates a hazardous situation which, if not avoided, will
result in death or serious injury.
WARNING indicates a hazardous situation which, if not avoided, could
result in death or serious injury.
CAUTION, used with the safety alert symbol, indicates a hazardous
situation which, if not avoided, could result
in minor or moderate injury.

3
PART LIST
NO.
DESCRIPTION
QTY
NO.
DESCRIPTION
QTY
1
former
1set
23
oil reservoir
1
2
die holder
1set
24
seal cap
1
3
O-ring 25.8x 1.8
2
25
hex screw M5X 10
3
4
busing
1
26
screw M5x 5
2
5
O-ring 12.2x 2.4
27
steel- ball C4
2
6
body
1
28
oil suction pipe
1
7
screw
1
29
valve spring
1
8
spring base
1
30
valve cover
1
9
spring 0.7x
3.8x 12
1
31
piston spring
1.2x 9.8x33x 8.5
1
10
steel- ball C6.5
2
32
spring base
1
11
spring 0.7x
4.5x 12x 8
1
33
piston
1
12
screw M8X 8
1
34
seal ring
1
13
handle pin
1
35
stop collar
1
14
handle busing
1
36
lock nut
1
15
steel- ball C6
2
37
steel- ball C5
1
16
screw
1
38
spring
1
17
handle
1
39
piston
1
18
piston spring
1
40
seal ring
1
19
steel- ball C4.5
1
41
steel pipe
1
20
o-RING 6X 2
1
42
O-ring 29x2
2
21
BOLT
1
43
fixed handle
1
22
cylindrical pin 3x
12
2
44
cap
1

4
GENERAL SAFETY RULES
TO WORK IN SAFE CONDITIONS WITH THIS TOOLING, IT IS IMPERATIVE TO READ
CAREFULLY THE DIRECTIONS FOR USE AND TO FOLLOW THE INSTRUCTIONS IT
CONTAINS. IF YOU DO NOT RESPECT THE INFORMATION WRITTEN IN THAT
INSTRUCTION MANUAL THE WARRANTY WILL BE CANCELLED.
1. Work area safety
a. Keep work area clean and well lit. Cluttered or dark areas invite accidents.
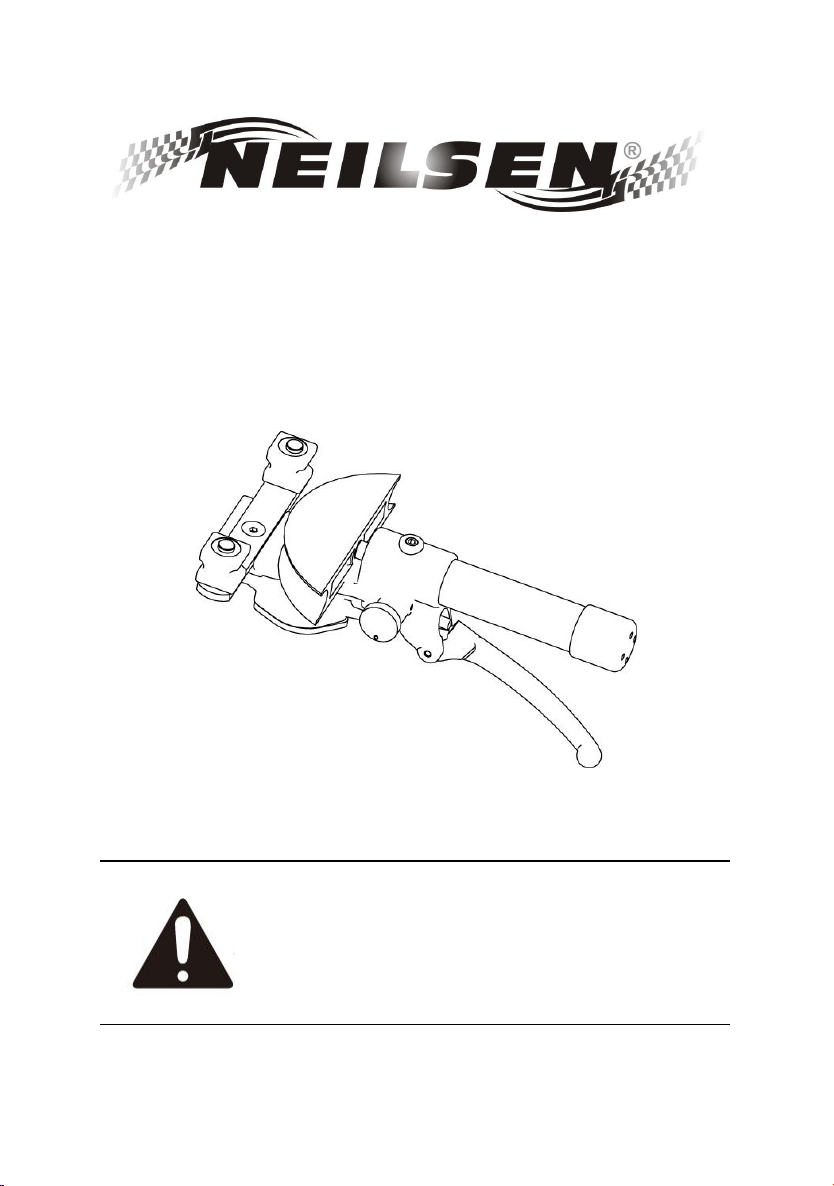
b. Keep children and bystanders away while operating the hydraulic pipe bender.
Distractions can cause you to lose control.
2. Personal safety
c. Stay alert, watch what you are doing and use common sense when operating the tool. Do not
use the tool while you are tired or under the influence of drugs, alcohol or medication.. A
moment of inattention while operating hydraulic tools may result in serious personal injury.
d. Use safety equipment. Always wear eye protection. Safety equipment such as dust mask,
non-skid shoes, hard hat, or hearing protection used for appropriate conditions will reduced
personal injuries.
e. Dress properly. Do not wear loose clothing or jewelry. Keep your hair,clothing and gloves
away from moving parts. Loose clothes jewelry or long hair can be caught in moving parts.
f. Do not force the tool. Use the correct power tool for your application .The correct power tool
will do the job better and safer at the rate for which it was designed.

5
g. Store idle power tools out of the reach of children and do not allow persons unfamiliar with
the hydraulic crimping tool. This tool is dangerous in the hands of untrained users.
h. Maintain power tools. Check for misalignment or binding of moving parts, breakage of parts
and any other condition that may affect the Hydraulic Pipe Bender operation. If damaged,
have the Hydraulic Pipe Bender repaired before use. Many accidents are caused by poorly
maintained power tools.
i. Use the Hydraulic Pipe Bender, accessories and tool bits etc., in accordance with these
instructions and in the manner intended for the particular type of tool, taking into account the
working conditions and the work to be performed. Use of the Hydraulic Pipe Bender for
operations different from those intended could result in a hazardous situation.
3. Service
Have your Hydraulic Pipe Bender serviced by a qualified service technician using only
identical replacement parts. This will ensure that the safety of the Hydraulic Pipe Bender Kit
is maintained.

6

7
SPECIFIC SAFETY RULES
1. Maintain labels and nameplates on the tool which carry important safety information. If
unreadable or missing, contact the agent to replace.
2. This product is not a toy, keep it out of reach of children.
3. Do not slide your fingers between the former and shaft during operate the tool.
4. Do not bending any hardness tube, like rebar, steel tube etc
5. The warnings, precautions, and instructions discussed in this instruction manual cannot cover all
possible conditions and situations that may occur. It must be understood by the operator that
common sense and caution are factors which cannot be built into this product, but must be
supplied by the operator.
SAVE THESE INSTRUCTIONS

8
UNDERSTAND YOUR TOOL
This Hydraulic Pipe Bender is a tool for bending copper tube, aluminum tube, PVC pipe and
thin-wall steel tube with elegant design, lightly and ingeniously structured, easy for application,
safe in handling to bend 90o
1. Specification
CT No.
CT4951
Max. bending range:
1.5mm thickness Ф22 soft copper tube
Length:
Approx.310mm
Oil capacity
100ml
Weight:
2.6kgs
Working Temperature:
-200C-400C
Accessory:
Sealing kit:
1 set
Hydraulic oil:
15#
PART LIST OF FORMER
Metric specification
Size
Weight/kg
material
aluminum
10mm
0.20kg
12mm
0.24kg
14mm
0.30kg
16mm
0.30kg
18mm
0.38kg
20mm
0.41kg
22mm
0.42kg
Note: The size marked on each former

9
The dusty and air will cause the tool does not working or the sealing kits lose their function.
Keep the oil clean during changing the oil and avoid the dusty into the hydraulic system.
Waiting for a little to exhaust the air which in the oil reservoirs, then insert the oil plug.
Please turn off the turn screw to avoid the air into the hydraulic system. wear the rubber
gloves to avoid touching the oil, if the skin touch the oil please wash it by soap water. To
protect the environment please draining the oil to the department which appointed by local
government.
5. After a long time using, the sealing kits will be damaged, if there is leakage please contact with
the manufacturer and/or the distributor to change the sealing kits.
Troubleshooting
Fault cause
Analysis
Solution
A. Not enough/no
pressure
1. not enough oil with
the tool
2. The dusty into the
hydraulic system
3. Inner leakage
1. Fill the oil
2. Change the oil as above
instruction
3. Contact with manufacturer
and/or distributor
B. Much Flash made
after bending
1. Wrong former or/and
shaft
1. Select the former or/and
shaft.
D. Leakage on the head
or plunger
1. Sealing kits broken
1. Contact with manufacturer
and/or distributor or ask the
trained person to change

10
MAINTENANCE AND SERVICING
Damaged equipment can fail, causing serious personal injury. Do not
use damaged equipment. If abnormal noise or vibration
occurs, have the problem corrected before further use.
1. BEFORE EACH USE, inspect the general condition of the tool. Check for loose screws,
misalignment or binding of moving parts, cracked or broken parts, and any other condition
that may affect its safe operation.
6. AFTER USE, clean external surfaces of the tool with clean, moist, smear the rust preventing
oil on the metal surface of the tool and the dies to avoid rusty. Store the tool in the dry
environment.
7. Service to the tool should only be done by a qualified Service Technician.
8. in order to prolong the life of the tool please change the oil per year. Make sure the oil filtered
by 120 mesh net or over 30µm strainer. Meantime avoid the dusty into the oil cup.
How to change the oil:

11
2.Description of the components
Series No.
Description
Function
1
Shaft
Assist to bending
2
Former
Assist to bending/ retract piston
3
Turn screw
Release pressure
4
Pump body
For store oil
5
Pump handle
For operating
6
Cover
For fixing the oil reservoir

12
OPERATING INSTRUCTIONS
Read the ENTIRE IMPORTANT SAFETY INFORMATION section at the beginning of this
manual including all text under subheadings therein before set up or use of this product.
Any parts of the tool cannot be knocked; the tool is dangerous when the parts is broken.
1. Select the appropriate shaft and former for intended using. Ask an authorized facility or
distributor to choose proper accessories set for bending.
2. Insert the former and shaft into as illustration step 2.
PLEASE ADJUST THE SCREW AS PERSONAL USING TO CHANGE THE OPEN
DEGREE

13
Do not bending the hardness material, otherwise it will damage the tool
and caused serious personal injury.
Please refer the illustration below for this item
Table of contents
Other Neilsen Construction Equipment manuals
Popular Construction Equipment manuals by other brands

Weber mt
Weber mt CR 3 Service information

Komatsu
Komatsu WB93S-5 F50003 Operation & maintenance manual

Amco Veba
Amco Veba 924NG user manual

Atlas Copco
Atlas Copco FlexiROC T35 R Translation of the original instructions

Hard Head
Hard Head 709-198 User instructions

Peri
Peri CB 240 Instructions for assembly and use