NEO STORMER 1200 IP User manual

P. 1
Versión Español | Tecshow NEBULA PAR 162 II
STORMER 1200 IP
HIGH PERFORMACE IP66 LED TILT MOVING STROBE
USER MANUAL | MANUAL DE USUARIO
PLEASE READ THE INSTRUCTIONS CAREFULLY BEFORE USE
POR FAVOR LEA LAS INSTRUCCIONES ANTES DE USAR

P. 2
English Version | NEO STORMER 1200 IP
STORMER 1200 IP
HIGH PERFORMANCE IP66 LED TILT MOVING STROBE
STROMER 1200 IP is NEO’s new hybrid mobile
LED strobe. Its powerful and versatile optics have
a central white LED tube that facilitates a clear and
homogeneous strobe eect intended for large-scale
applications. Its panel is completed with another 8
independent sections integrated by RGB LEDs that
give the equipment total versatility. Both its central
tube and its RGB section can be combined with
each other, oering the possibility of operating the
equipment as a powerful multipurpose oodlight
or blinder. Both stages can each be divided into 12
separate sections, and this entire matrix can be fully
mapped via any standard controller. STORMER 1200
IP also incorporates 185-degree tilt movement and
a waterproof IP66 degree of protection, making it
unique in its kind. This new LED strobe redenes the
hybrid concept unlocking a new programming reality.
Specifications
Source & Optics
• Light source: 5W CW + 0.6W RGB LEDs
• Amount of LEDS: 144 CW + 480 RGB
• Hax Angle: 117°
• Light Flux: ≥6194LM
• Beam angle: 26º
• Rendering: RA ≥90. R9≥90
Eects
• Color: RGB/CMY 2 Mode
• Dimmer: 4 modes
• Strobe Pulse Mode
• Integrated eects
• Dimmer Curve: Linear/ Non Linear
Control
• DMX channels: 4/14/42
• Operational modes:DMX, Master & Slave
and Auto & Static
Physical
• IP66 certication
• LED display
• Anti-fog incorporated valve
• DMX connectors: Waterproof Input and Output
• Waterproof PowerCON™ source connectors.
• Material: Aluminum
• Dimensions: 544x306x594 mm.
• Weight: 12 Kg.
1· OVERVIEW

P. 3
English Version | NEO STORMER 1200 IP
• Please read these operating instructions carefully
to familiarize you with basic operations of this
unit BEFORE USE.
• The projector is for indoor and outdoor use, IP66.
• Do not install the xtures onto inammable
surfaces directly.
• The xture is only intended for installation,
operation and maintenance by qualied
personnel.
• Do not project the beam onto inammable
surfaces, minimum distance is 3 meters.
• Avoid direct exposure to the light from the lamp.
The light is harmful to the eye.
• Do not attempt to dismantle and/or modify the
projector in any way.
• Electrical connection must only be carried out by
qualied personnel.
• Before installation, ensure that the voltage and
frequency of power supply match the power
requirements of the xture.
Please read the instruction
carefully which includes important
information about the installation,
usage and maintenance.
2. SAFETY INSTRUCTIONS
• It is essential that each projector is correctly
earthed and that electrical installation conforms
to all relevant standards.
• Do not connect this device to any other types of
dimmer apparatus.
• The projector should always be installed with a
secondary safety xing. A safety cord is supplied
for this; it should be attached as shown in
INSTALLING THE PROJECTOR section.
• Shields and lens shall be changed if they have
become visibly damaged to such an extent than
their eectiveness is impaired, for example by
cracks or deep scratches.
• Exterior surface temperatures of the luminaire
aer 5 minutes operation is 45°, when steady
state is achieved 70°.
• There is no user serviceable parts inside the
projector, do not open the housing and never
operate the xture with the covers removed.
• If you have any questions, don’t hesitate to
consult your dealer or manufacturer.

P. 4
English Version | NEO STORMER 1200 IP
3· INSTALLATION
QUICK LOCK
QUICK LOCK
SAFETY CORD
Take out 2 clamps and 1 safety rope, install the 2
clamps on the bottom of the xture with the 4 quick
knob attached to the clamps , then hang the xture
on the xed support with the clamp, and tighten the
clamp lock bolt to x the xture. Please conrm that
the xture installation is stable and reliable, and ensure
that the hoisting position has suicient strength to
withstand the weight oZf the xture. please carry the
randomly equipped safety rope through the bottom
of the xture holder for auxiliary hoisting to ensure
safety.
WARNING!
1. The clamps are only used when install the xtures.
It is strictly forbidden to use the clamps as a handle to
carry the xtures.
2. For safety reasons, please use a safety rope that can
withstand 10 times the weight of the xture through
the safety hole of the xture body.
3. Side hang the xtures are forbidden .

P. 5
English Version | NEO STORMER 1200 IP
4· SIGNAL AND POWER CONNECTION
5· FUNCTION SETTING
MENU
LCD
DOWN UP ENTER
For the connection of control signals, 2-pin shielded
cables with a diameter not less than 0.5 mm must
be used between the xture and the controller and
between the xtures. Please use the 3-pin signal
output / incoming line of the lamp to connect. The
connections between the 3-pin signal line ports are
shown in the gure above. It must be noted that the 3
pin of the XLR plug / socket must not be in contact with
the inner shell or between the cores when connecting.
The XLR plug / socket and the XLR control cable cannot
be connected in any other way than the connection
shown in the gure above. This product receives the
international standard DMX512 (1990) control signal.
The signal connection of multiple xtures, the
maximum number of connection is 32 xtures, use
a 3-pin signal cable from the DMX output port of the
controller to the DMX input line of the 1st xture, and
connect from the DMX output line of the rst xture
To the DMX input line of the second xture, and so on,
until all the xtures are connected.
When the rst xture is not connected to the
controller (the signal line connection between the
other xtures remain unchanged), it is the connection
mode of master-slave synchronous control. However,
to achieve master-slave synchronization control, the
rst xture should be set as the master in the menu,
and the remaining xtures should be set as slaves (the
default value is slave).
When connecting the power supply, the power supply
of each xture should be connected separately. Please
note that the power supply voltage and frequency
mustmatch with the power supply voltage and
frequency listed in the product manual.
DMX OUT DMX IN
DMX 512
PIN FUNCTION
1 GND
2 DATA +
3 DATA -
22
33
11
Press button UP or DOWN if you want to browse
through the various Setup Options.
Press button ENTER to save your settings or enter
next menu.
Press button UP or DOWN to shi.
Press button MENU will return to the upper menu
one by one.

P. 6
English Version | NEO STORMER 1200 IP
6 · DMX ADDRESS SETTING
When using the controller to control multiple xtures,
each xture shall be provided with a DMX address
to receive signals from the controller and respond
correctly, There are 3 control modes in this product,
which are simple mode, standard mode and extent
mode.
FOR EXAMPLE: The xture has 20 channels at
standard mode.
We set the 1st xture: DMXAddress 001
Then the 2nd xture DMX Address 021 the 3rd xture
DMX Address 041, the 4th xture 61... and so on.
REMARKS
1. Only one xture can be set to host in one signal line, remove DMX control signal when using host function
2. In the synchronous control of multiple xtures parameters can be transmitted from the master including:
DMX mode, display setting, operation mode (user memory data included); All xtures accepting parameters
will automatically be set to slave mode.
Turn on the xture, If operating menu is locked press
ENTER for 5 Sec, the xture will be unlocked;
Then press MENU, or UP or DOWN; to nd Add menu.
Press ENTER , display DMX Address;
Press UP / DOWN set DMX Address value;
Press ENTER to conrm, then the xture
automatically saved this DMX address
Press MENU, will return to the upper menu.
7. SPECIAL FUNCTION DESCRIPTION
LEVEL 1 LEVEL 2 DESCRIPTION
DMX ADRESS 001-512 Set DMX Adress
DMX
CHANNEL
MODE
7 Channel Mode 7 Channels DMX Mode
14 Channel Mode 14 Channels DMX Mode
42 Channel Mode 42 Channels DMX Mode
DIMMER
MODE
Dimmer Mode 1
Dimmer Mode 2
Dimmer Mode 3
Dimmer Mode 4
Dimmer Mode 5
DIMMER
CURVE
Dimmer Curve 1
Dimmer Curve 2
Dimmer Curve 3
Dimmer Curve 4

P. 7
English Version | NEO STORMER 1200 IP
MANUAL
COLOR
Tilt 000-255
Tilt Fine 000-255
Aura Dimmer 000-255
Aura Strobe 000-255
Aura Red 000-255
Aura Green 000-255
Aura Blue 000-255
Aura Macro 000-255
Aura Macro Color 000-255
Aura Macro Speed 000-255
White Dimmer 000-255
White Strobe 000-255
White Macro 000-255
White Macro Speed 000-255
LANGUAGE
English
Chinese
DISPLAY
Normal
Reverse 180º
BACKLIGHT
ON Always ON
30S OFF aer 30’’ without operation
DMX FAIL
Blackout Blackout when lost DMX Signal
Hold Keep DMX Value when lost DMX Signal
FACTORY
SETTINGS
NO
YES
SYSTEM
INFO
RDM UID RDM UID
Version Soware version number
DMX Channel Currently used MODE
Run Time 00:00:00 Total used time
User Time 00:00 Time of use
Temperature Current operating Temperature.

P. 8
English Version | NEO STORMER 1200 IP
8. DMX CHANNELS
CHANNEL NAME DMX VALUE DESCRIPTION
1Tilt 0-255 Tilt Movement
2Beam Dimmer 0-255 Tube Strobe Intensity
3Beam Mode
0-5 No Strobe
6-42 Strobe Mode 1
43-85 Strobe Mode 2
86-128 Strobe Mode 3
129-171 Strobe Mode 4
172-214 Strobe Mode 5
215-255 Strobe Mode 6
4Plate RED 0-255 Red Plate Dimmer
5Plate GREEN 0-255 Green Plate Dimmer
6Plate BLUE 0-255 Blue Plate Dimmer
7Plate Strobe
0-9 No Strobe
10-255 Strobe from slow to fast
CHANNEL NAME DMX VALUE DESCRIPTION
1Tilt 0-255 Tilt Movement
2Beam Dimmer 0-255 Tilt Fine Movement
3Beam Dimmer 0-255 Tube Strobe Intensity
4Beam Mode
0-5 No Strobe
6-42 Strobe Mode 1
43-85 Strobe Mode 2
86-128 Strobe Mode 3
129-171 Strobe Mode 4
172-214 Strobe Mode 5
215-255 Strobe Mode 6
7 CHANNEL MODE
14 CHANNEL MODE

P. 9
English Version | NEO STORMER 1200 IP
5Beam Duration 0-255 Tube Flash Duration 0-3 secs
6Beam Macro
0-15 Tube Macro OFF
16-57 Tube Macro 1
58-99 Tube Macro 2
100-141 Tube Macro 3
142-183 Tube Macro 4
184-225 Tube Macro 5
226-255 Tube Macro 6
7Plate Red 0-255 Red Plate Dimmer
8Plate Green 0-255 Green Plate Dimmer
9Plate Blue 0-255 Blue Plate Dimmer
10 Plate Strobe
0-9 No Strobe
10-255 Strobe from slow to fast
11 Plate Macro
0-4 Plate Macro O
5-9 Plate Macro 1
10-14 Plate Macro 2
15-19 Plate Macro 3
... Plate Macro ...
250-254 Plate Macro 50
255 Plate Macro 51
12 Plate Macro Color 0-255 Plate Macro Color
13 Plate Macro Speed 0-255 Speed from slow to fast
14 Reversed 0-255 Reversed Channel
15 Beam Pixel 1 0-255 Tube Pixel 1
16 Beam Pixel 2 0-255 Tube Pixel 2
17 Beam Pixel 3 0-255 Tube Pixel 3
18 Beam Pixel 4 0-255 Tube Pixel 4
19 Plate Pixel 1 Red 0-255 Plate Pixel 1 Red Dimmer
20 Plate Pixel 1 Green 0-255 Plate Pixel 1 Green Dimmer

P. 10
English Version | NEO STORMER 1200 IP
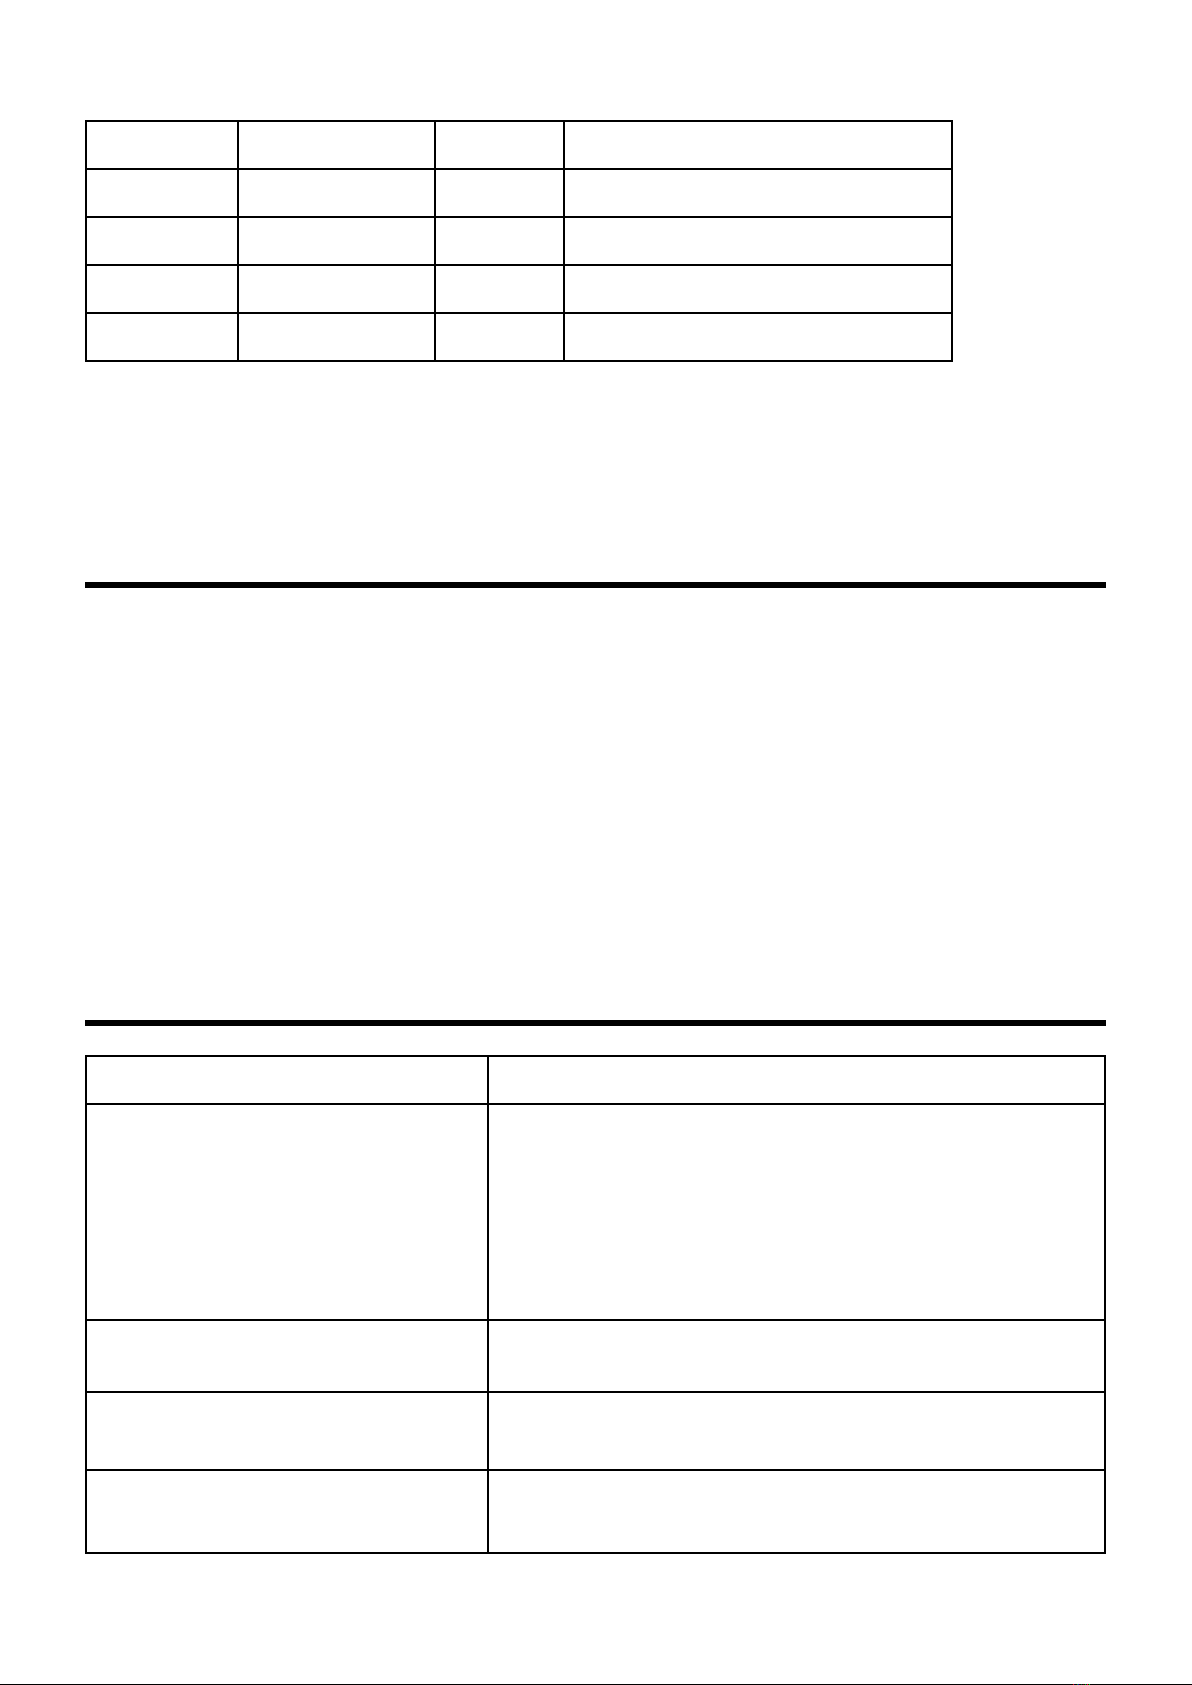
21 Plate Pixel 1 Blue 0-255 Plate Pixel 1 Blue Dimmer
... ... ... ...
40 Plate Pixel 8 Red 0-255 Plate Pixel 8 Red Dimmer
41 Plate Pixel 8 Green 0-255 Plate Pixel 8 Green Dimmer
41 Plate Pixel 8 Blue 0-255 Plate Pixel 8 Blue Dimmer
PROBLEM ACTION
The xture wont switch on properly
• Power cord connection is not normal.
• The switching power supply is damaged or the connection is
not normal, professional qualied technician needed to carry
out maintenance and repair.
• Control board connection is not normal
• Professional qualied technician needed to carry out
maintenance and repair.
The xture switch on, but LED not bright
and not controlled.
• LED board connection is not normal, professional qualied
technician needed to carry out maintenance and repair.
Switch on and light normally, but not
controlled by controller.
• Check the DMX starting address code setting is correct or not,
Check the XLR signal line is damaged or not.
The xture is dim and the brightness
drops sharply.
• The xtures temperature is too high, please take necessary
ventilation and heat dissipation measures.
CHANNEL PRIORITY
Dimming > built-in program call > user program call > ARGB dimming > HSV Dimming >
Macro Instruction > Color Temperature.
9. MAINTENANCE
10. TROUBLESHOOTING
• To ensure the reliability of the projector it should
be kept clean. It is recommended that the fans
should be cleaned every 15 days. The lens and
dichroic color lters should also be regularly
cleaned to maintain an optimum light output.
Do NOT use any type of solvent on dichroic color
lters.
• Cleaning frequency depends on the environment
in which the xture operates: damp, smoke or
particularly dirty surroundings can cause greater
accumulation of dirt on the unit’s optics. A so
cloth and typical glass cleaning products should
be used in cleaning. It is recommended to clean
the external optics at least once every 20 days
and clean the internal optics at least once every
30 / 60 days.
• Do not use any organic solvent, e.g. alcohol,
to clean the reector mirror, dichroic color
lters or housing of the apparatus.

neo.amproweb.com
/amprogroup /amprogroup
Table of contents
Other NEO Lighting Equipment manuals
Popular Lighting Equipment manuals by other brands

Procopi
Procopi Aquareva NAJA NS-50 Instructions for installation and use

HC Stage Lighting
HC Stage Lighting HC-015F user manual

HANYOUNG NUX
HANYOUNG NUX RLA-KB Series quick start guide

MegaLite
MegaLite Deco Pendant Q20 user manual

foc.us
foc.us SL-17-LEDP installation instructions

Compu Pool Products
Compu Pool Products C-CPP Series owner's manual