Neopost IS-280 iMeter Manual

© 2011 Neopost USA Inc. All rights reserved. No part of this document may be reproduced or distributed in any form or by any means.
IM | IS-280 iMeter™ Postage Meter
Replacement Part Guide – Base
For interactive step by step instructions, visit:
www.neopostinc.com/280helpdesk/ (For Neopost Customers)
www.haslerinc.com/280helpdesk/ (For Hasler Customers)
The following steps will guide you through the removal of the base and installation of a new base.
Replacing The Base Base Components
The following steps are performed when replacing the
base.
1. Removing the ink cartridge.
2. Replacing the base.
3. Returning the old base.
4. Installing the new base.
5. Installing the LAN or analog modem.
6. Installing the ink cartridge.
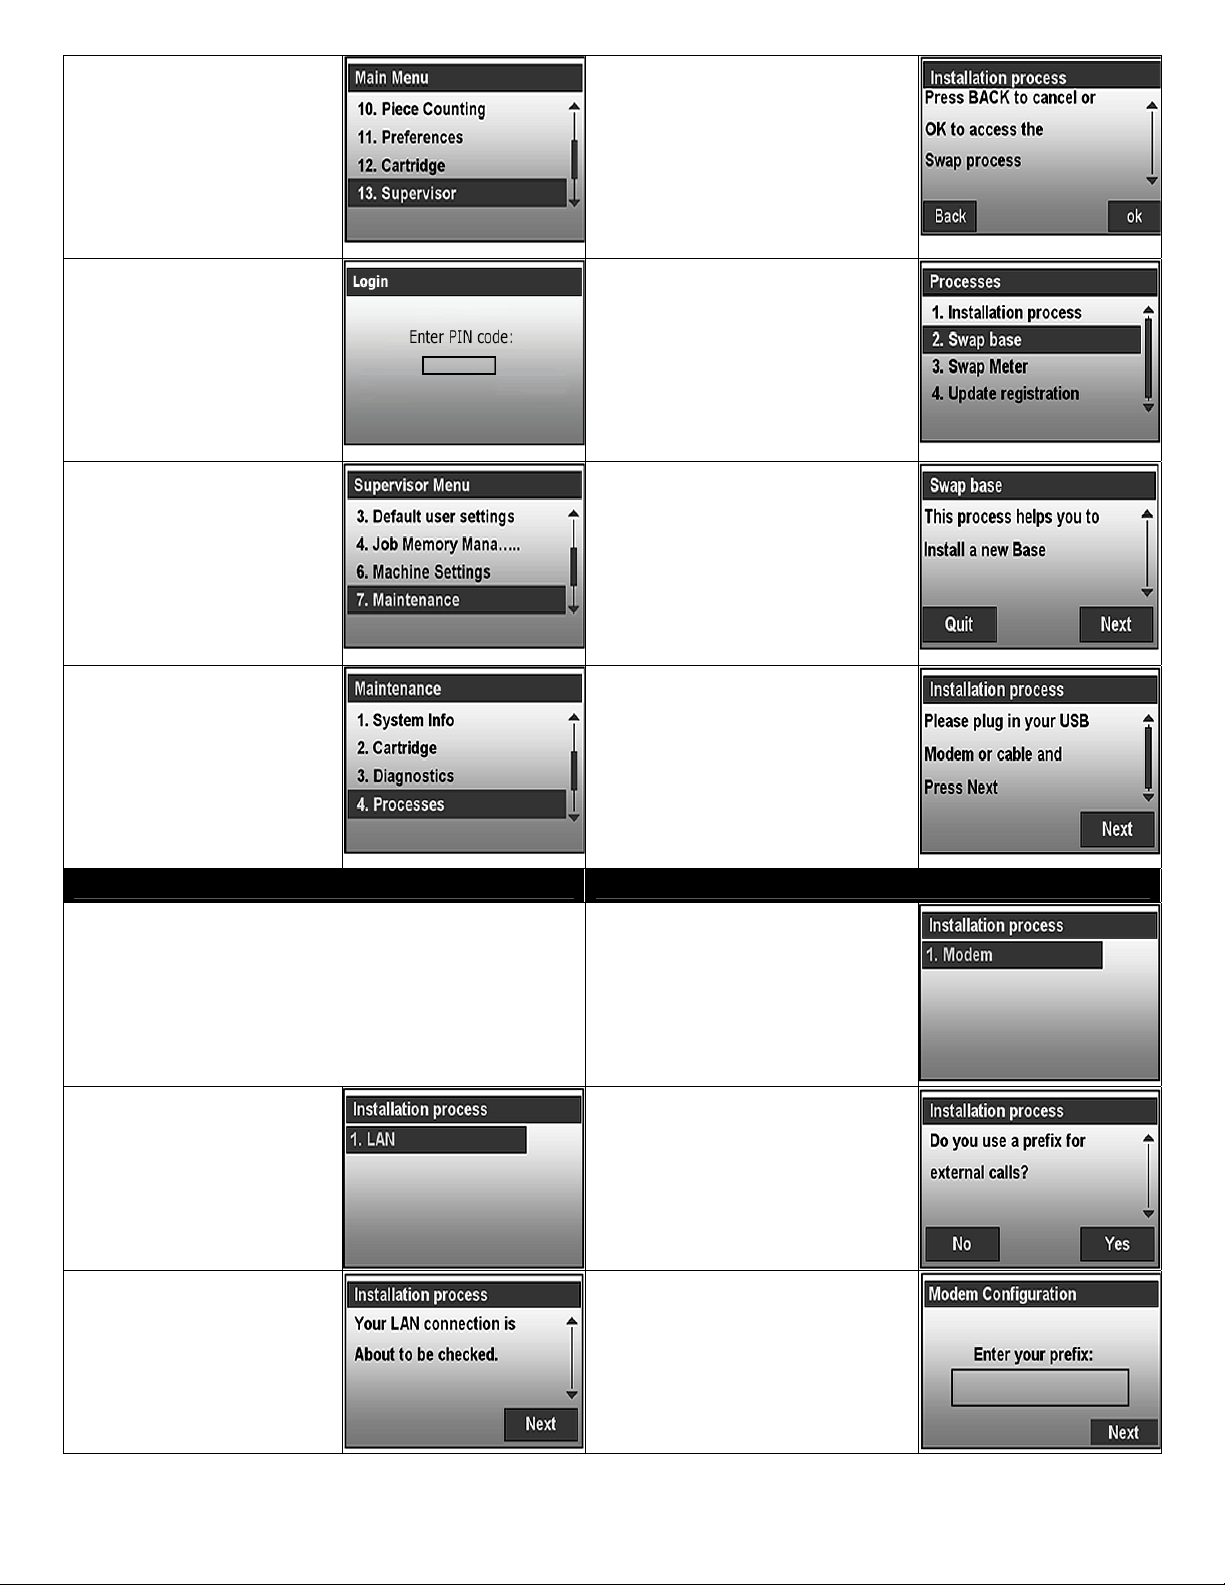
Removing The Ink Cartridge
If possible, remove the ink cartridge from the base:
1. Press the “MENU” button.
2. Using the down arrow button, select “Ink cartridge”. Press “OK”.
3. Using the down arrow button, select “Cartridge replacement”. Press “OK”.
4. Open the base door.
5. Pull on the left side of the blue lever to unlock the ink cartridge.
6. Pull out the ink cartridge and put it aside; it will be re-installed in the new base.
Close the base door.
Replacing The Base
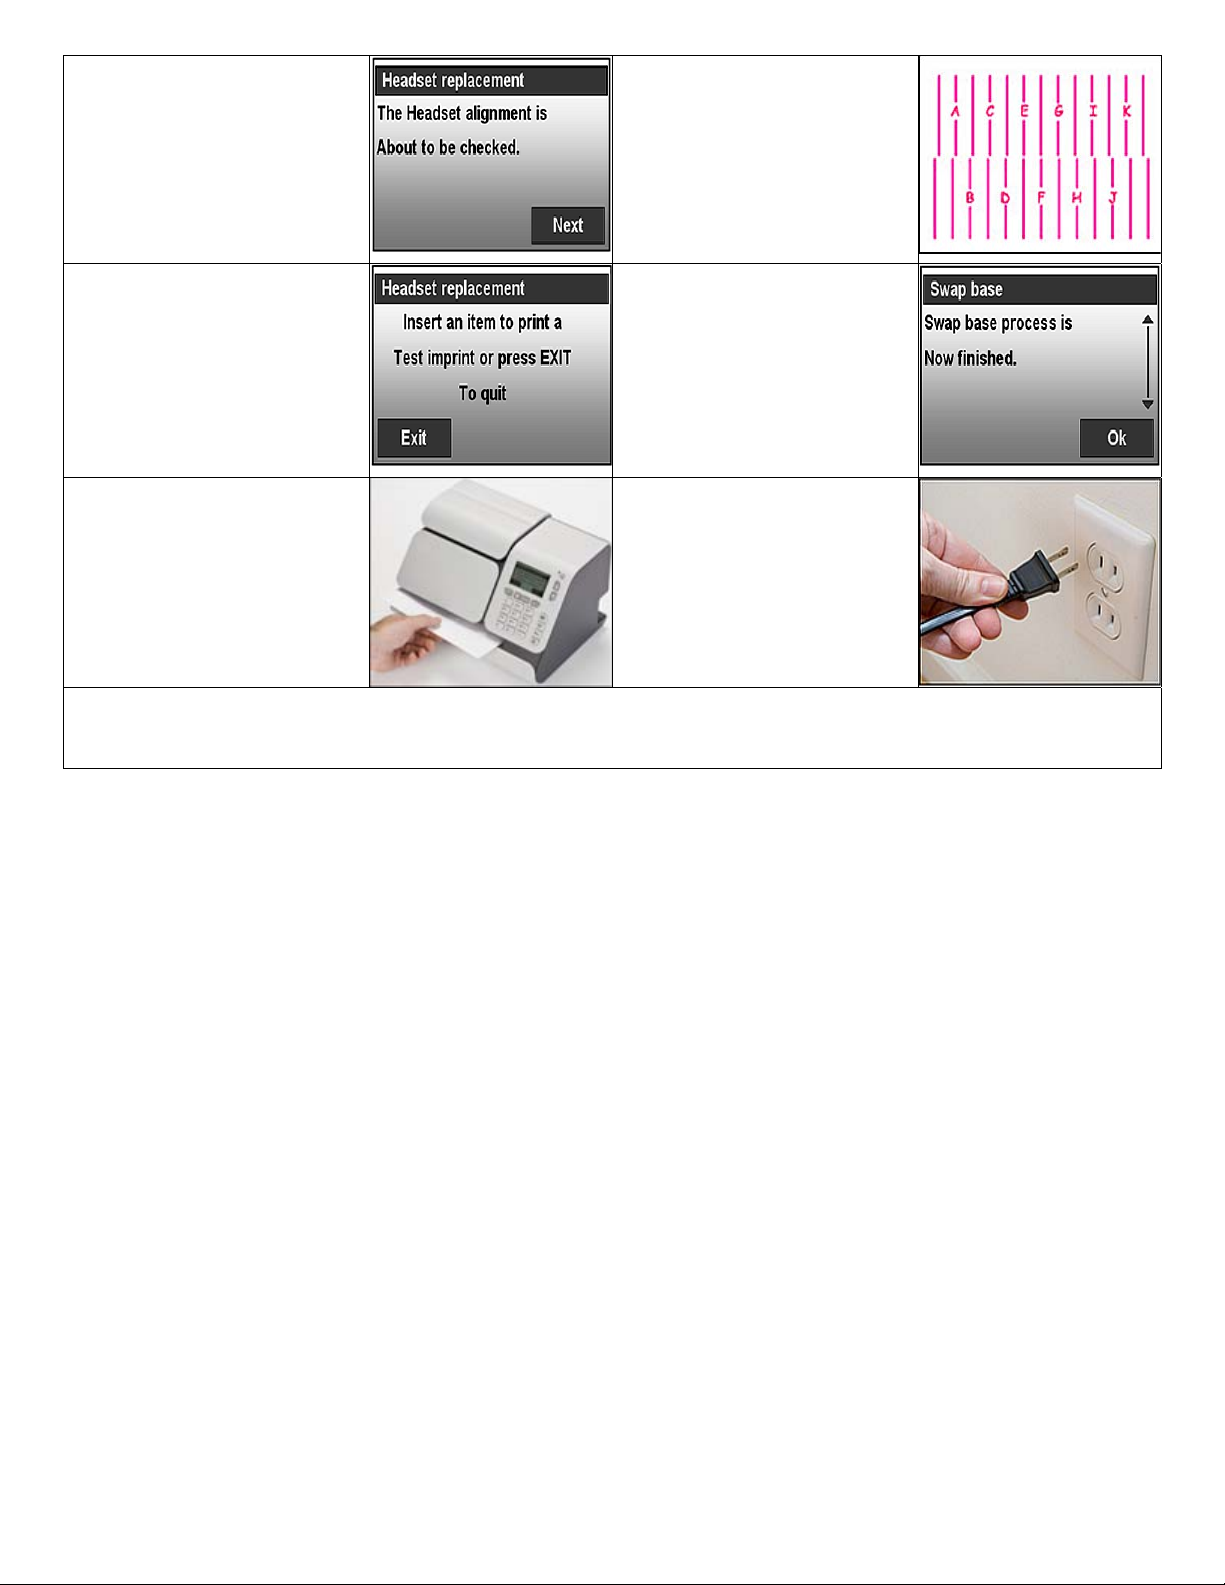
1. Disconnect the power
cable from the wall
outlet. This will turn off
the IM | IS-280 iMeter™
postage meter.
4. Disconnect the scale’s cable
from the IM | IS-280 iMeter™
postage meter. Remove the
scale and put it aside; it will
be connected to the new
base.
2. Disconnect the power
adapter from the IM |
IS-280 iMeter™
postage meter. Put the
power adapter aside; it
will be connected to the
new base.
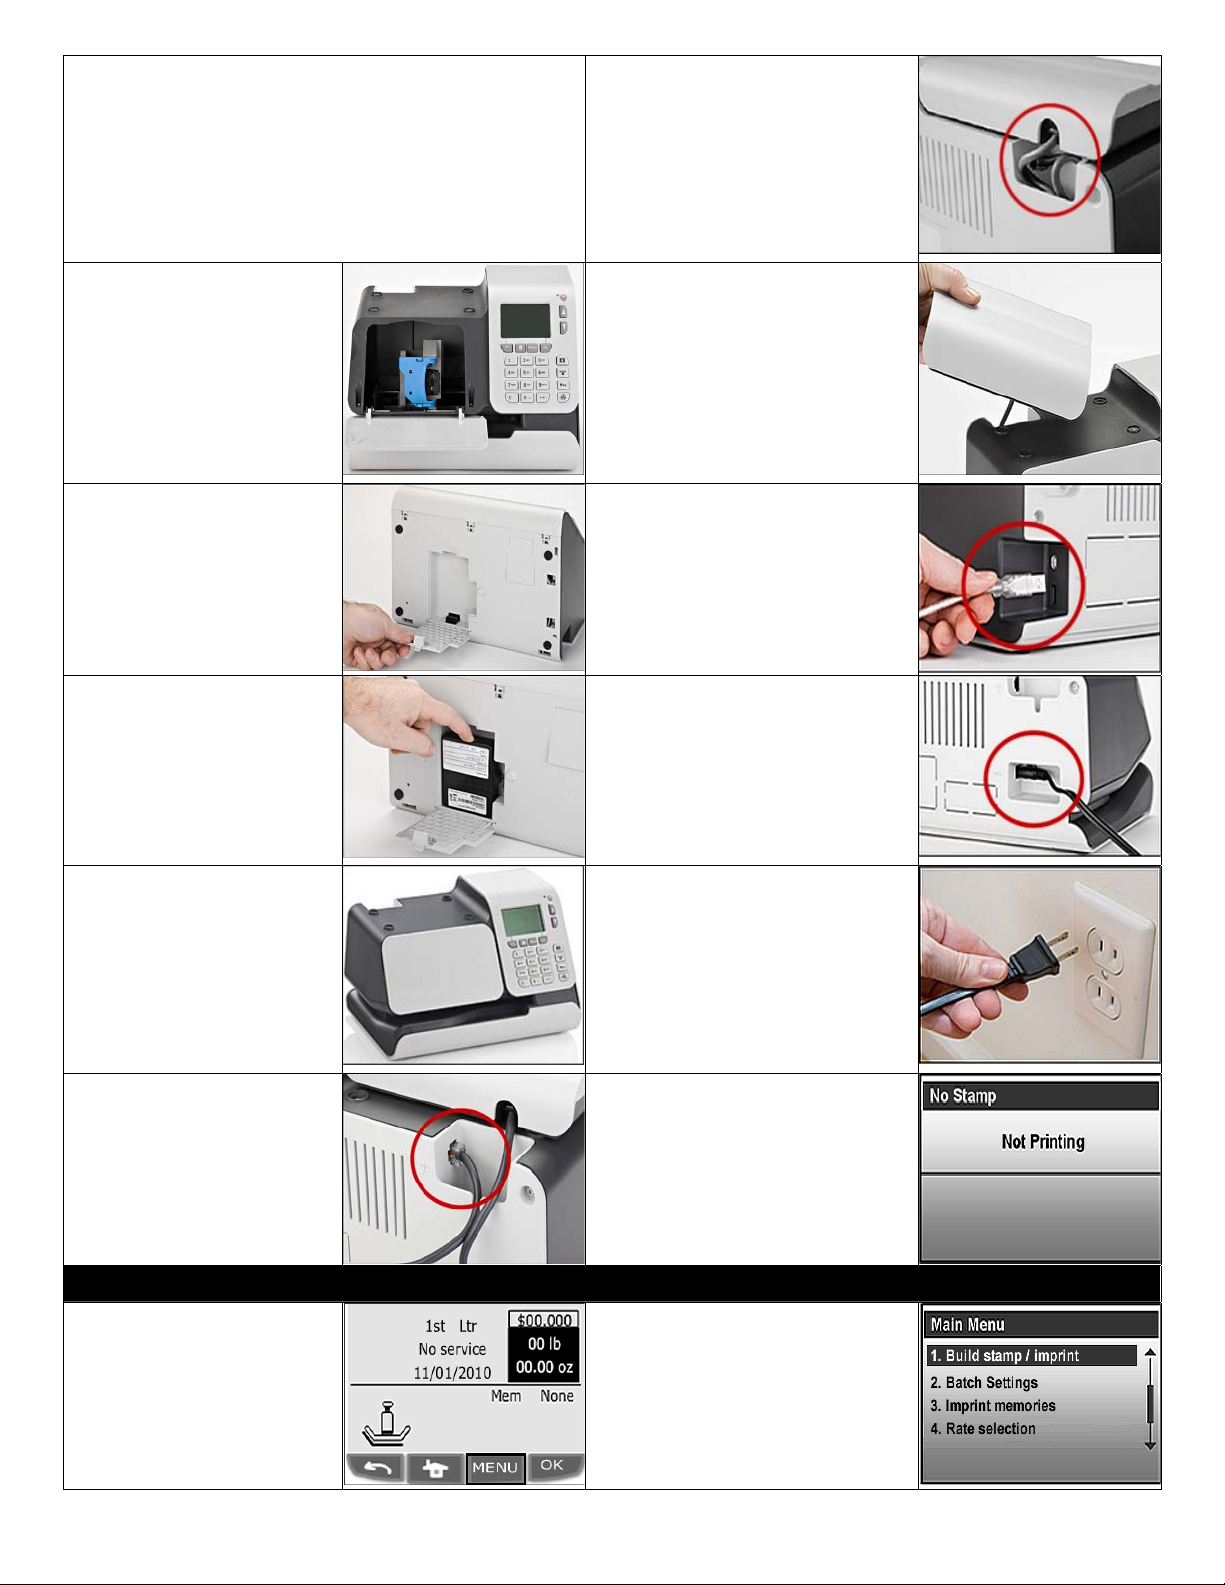
5. Place the IM | IS-280
iMeter™ postage meter onto
its back to access the PSD
cover. Open the PSD cover
by pushing down on the tab.
3. Disconnect the USB
cable on the LAN
adapter or phone
modem from the IM |
IS- 280 iMeter™
postage meter. Put the
LAN adapter or phone
modem aside.
6. Remove the PSD by sliding it
up and then out of the base.
Put the PSD aside; it will be
re-installed in the new base.
Close the PSD cover.
IM | IS-280 iMeter™
Postage Meter
Base

© 2011 Neopost USA Inc. All rights reserved. No part of this document may be reproduced or distributed in any form or by any means.
7. Remove the new IM | IS-280 iMeter™ postage
meter and prepaid shipping label from the
shipping package.
Place the old IM | IS-280 iMeter™ postage meter
into the same shipping package. Seal the
package with packing tape (not provided). Apply
the prepaid label to the package over the old
shipping label.
13. Tuck the scale’s cable into the
scale compartment. Do not
put pressure on the scale’s
platform when leaning over to
access the back of the unit.
8. Open the base door of
the new IM | IS-280
iMeter™ postage meter
and remove the
cardboard packaging.
Close the base door.
Do not install the ink
cartridge at this time.
14. Place the scale onto the
system aligning the scale’s
feet with the indentations on
the base.
9. Place the new IM | IS-
280 iMeter™ postage
meter onto its back to
access the PSD cover.
Open the PSD cover by
pushing down on the
tab.
15. Reconnect the USB cable on
the LAN adapter or phone
modem to the USB port on
the new IM | IS-280 iMeter™
postage meter.
10. Re-install the PSD by
sliding it in and then
down. Close the PSD
cover. If the PSD cover
does not close
properly, the PSD is
not installed correctly.
16. Connect the power adapter
to the back of the new IM |
IS-280 iMeter™ postage
meter.
11. Turn the new base
back to an upright
position.
17. Connect the power cable to
the wall outlet. This will turn
on the
IM | IS-280 iMeter™ postage
meter.
12. Re-install the scale by
connecting the scale’s
cable to the port of the
IM | IS-280 iMeter™
postage meter.
18. The IM | IS-280 iMeter™
postage meter will power up
and a “Not Printing” message
will be displayed.
Press “OK”.
Installing The New Base
1. From the Homescreen,
press the “MENU”
button.
2. Press the down arrow button
until “Supervisor” is
highlighted.

© 2011 Neopost USA Inc. All rights reserved. No part of this document may be reproduced or distributed in any form or by any means.
3. Once “Supervisor” is
highlighted, press “OK”.
7. Press “OK” to continue the
installation process.
4. Enter the Supervisor
PIN code, “09430”.
8. Press the down arrow button
to select “Swap base”. Press
“OK”.
5. Press the down arrow
button to select
“Maintenance”.
Press “OK”.
9. Press “Next” to
continue the installation
process.
6. Press the down arrow
button to select
“Processes”.
Press “OK”.
10. Ensure the LAN or analog
phone modem is connected to
the base and the cable from
the LAN adapter or analog
modem is connected to the
LAN or analog phone outlet.
Press “Next”.
LAN Installation Process Analog Modem Installation Process
If the LAN option is selected, the unit will test the
connection for any security/proxy settings. If a proxy
server is detected, the network administrator will be
required to obtain the settings for connection to the
online server.
If the analog phone modem is
selected, a connection via an
analog phone line is required.
1. Select “LAN”
connection. Press
“OK”.
1. Press “Yes” to enter a prefix
for external calls.
Press “No” if a prefix for
external calls is not required.
2. The LAN connection
will be checked.
Press “Next”.
2. Enter the required
prefix then press “Next”.

© 2011 Neopost USA Inc. All rights reserved. No part of this document may be reproduced or distributed in any form or by any means.
LAN & Analog Modem Installation Process (Continued)
3. A server connectivity test
will be performed.
Press “OK”.
6. A connection or declaration
to the online server must
be completed to finish the
replacement process.
Press “Next”.
4. The call is connecting to
the server.
7. The system declaration is
in progress.
5. The server call finished
successfully.
Press “OK”.
8. The server call or
declaration finished
successfully.
Press “OK”.
Installing The Ink Cartridge
1. The screen will display
“Your headset is about to
be installed.
Press “Next”.
5. Insert the ink cartridge into
the slot and slide it
forward.
2. The screen will display
“Open the cover, install
the Headset and press
OK when done.” Follow
the next steps to install
the ink cartridge.
6. Move the blue lever back to
the lock position.
3. Open the base door by
pulling the top left hand
corner of the base door.
7. Close the base door
securely by pushing on top
left hand corner of the door
until the latch clicks.
4. Pull on the left side of the
blue lever to unlock it.
8. After the ink cartridge is
installed, press “OK”.

© 2011 Neopost USA Inc. All rights reserved. No part of this document may be reproduced or distributed in any form or by any means.
9. The screen will display
“The Headset alignment is
about to be checked”.
Press “Next”.
12. Continue printing test
patterns until “F” is the
straightest line.
When completed, remove
the envelope.
Press the back button.
10. The screen will display
”Insert an item to print a
test imprint or press EXIT
to quit”.
13. The base replacement
process has now been
completed.
Press “OK”.
Press the Sleep/Wake
button.
11. Insert an envelope in the
mail path. A test pattern
will be printed on the
envelope.
14. Before processing mail,
disconnect the power
cable from the wall outlet.
Wait 10 seconds.
Re-connect the power
cable to the wall outlet.
If you fail to return the old base within ten business days,
you will be charged the full replacement value of the base.
For questions, please call: l-800-NEOPOST (1-800-636-7678).
Other manuals for IS-280 iMeter
5
Other Neopost Measuring Instrument manuals