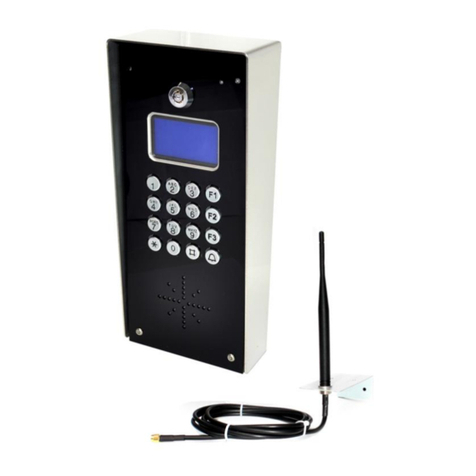
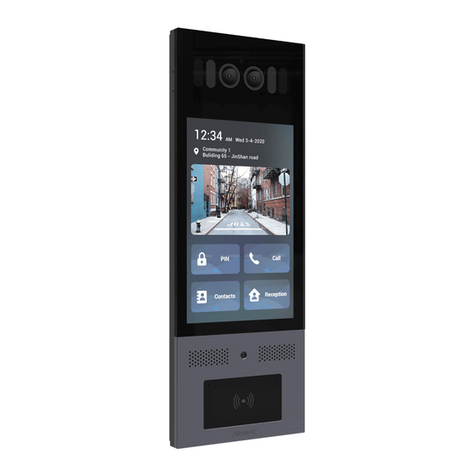
Ness SmartBell User manual

1 Ness SmartBell IP Intercom Quick Start Guide
Ness Smartbell IP Intercom
Turn your iPhone/Smart phone/Tablet into
Video & Audio Intercom
Quick Start Guide

2 Ness SmartBell IP Intercom Quick Start Guide
System Diagram

3 Ness SmartBell IP Intercom Quick Start Guide
Setting up the eGateway for the first time
1. Direct connect your computer to LAN1 on the eGateway.
2. By default the LAN IP address of the eGateway is set to 192.168.0.10.
Open a web browser such as Internet Explorer and enter in 192.168.0.10 then press enter.
When prompt for a username and password enter in:
Username: admin
Password: admin
3. Once logged in, select Settings > LAN from the side menu.

4 Ness SmartBell IP Intercom Quick Start Guide
4. Enter in an IP address in the first field.
Note: This IP address needs to be a different IP address then the customer’s network.
For Example: If the customer’s network has the IP of 192.168.0.xx then you would need to enter in
something like 192.168.5.10 as this IP address.
The rest of the fields should automatically change based on the IP address you set.
Once this IP address has been set you need to click the Apply button at the bottom of the page.
Then close the browser after clicking apply.
5. Once the IP address has been set, you will need to change your computers IP address so it’s on
the same network range as what you put in step 4 above and you will need to close the web browser.
For Example: If your IP address you set in step 4 is 192.168.5.10 then you would change your
computers IP address as 192.168.5.xx (other than 192.168.5.10)
6. Re-open your web browser and enter in the IP address you set in step 4. (You should still have
the LAN cable plugged into LAN1 that is connected to your computer)
7. Once logged in, select Settings > WAN from the side menu.

5 Ness SmartBell IP Intercom Quick Start Guide
8. You now need to set the following:
WAN Connection type needs to be set to STATIC
IP address, needs to be a IP that matches to the same network range as the customer network.
Subnet mask needs to be the same as your customers network subnet mask
In most cases the Default gateway will be your routers IP address.
The Primary and Secondary DNS in most cases can be your routers IP address or if you know your
ISP DNS server enter it into these fields.
Once those settings have been set, click on the Apply button.
9. Remove the LAN cable from the LAN1 port and plug it into the WAN port on the eGateway.
10. Change your computers IP address to match the same network range as what you entered the IP
address from step 8.
11. Open Internet Explorer and enter in the IP address you set from step 8 and login using the
username admin and the password admin.
Now the eGateway has been setup and ready for new devices to be paired and setup.
From now on, you only connect using the WAN port (blue port) and the IP address you set in step 8.

6 Ness SmartBell IP Intercom Quick Start Guide
Pairing the Outdoor Phone to the eGateway
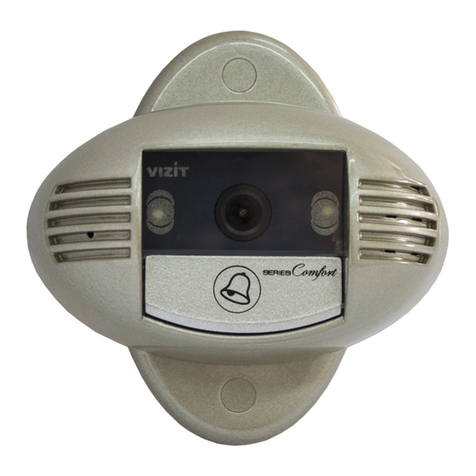
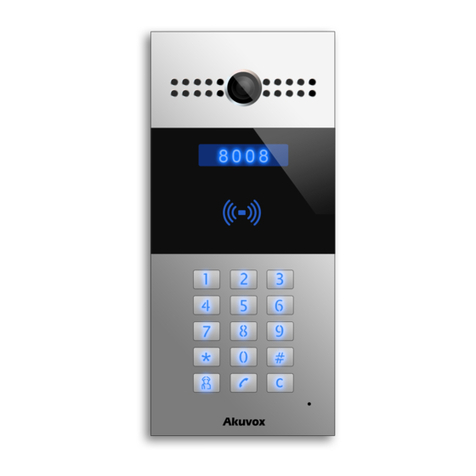
1. Connect the ODP to the Outdoor port of
the eGateway
2. The eGateway will identify the ODP unit
and will automatically pair it.
ODP pairing completed
Once completed the Unit Pairing status will
show Connected.
Name your Outdoor station
Once the unit is paired click on the tick box
next to your ODP and click Edit
Enter a name for your ODP (such as Front
Door) and press the Save button.
Note: Do not change other settings on this
page.

7 Ness SmartBell IP Intercom Quick Start Guide
Pairing the Room Station / 10” Indoor Phone to the eGateway
1. Click Settings > Unit pairing.
2. If there is already an Indoor phone in the
table that is not part of your system,
delete it so a new one can be added.
3. Connect the LAN Cable to the Indoor
phone unit and the other end into the
Indoor port.
4. Wait for about 30~40 seconds until the
door phone is automatically detected
and displayed in the “Unit Pairing
information table.
5. SELECT the new device and click Edit.
Edit Unit
Name Enter the appropriate name
according to personal
needs. (e.g. Kitchen)
Type
Select INDOOR PHONE
Account Please fill in the range of
100 to 109 ensuring this
number is not registered
Password Can be re-configured
according to individual
needs, or left as assigned
by the eGateway.
Press the Save button
Then click Start Pairing

8 Ness SmartBell IP Intercom Quick Start Guide
6. Open the App on the Master Room Station / 10” Indoor Phone, as per below:
7. On the Master Room Station / 10” Indoor Phone enter in the following settings:
Extension No
Enter extension No (100-109) as per the pairing screen in the eGateway.
Password
Enter password as per the pairing screen in the eGateway.
Default Server Address & Server Address
Please enter the LAN IP Address of the eGateway
If you are not sure what the LAN IP is, then in the Web GUI of the eGateway, click on Settings >
LAN and record the LAN IP (e.g. 192.168.5.10) Do not use the WAN IP address as you would
with Smartphone devices.
Once all details are entered, click on the Registration button.
To complete the ‘Pairing’ process, click on the Save button in the eGateway’s web GUI to finish
pairing.
Once successfully registered click “Homepage” on the Tablet and ‘Unit Pairing’ tab on the web GUI of
the eGateway which should now show ‘connected’.

9 Ness SmartBell IP Intercom Quick Start Guide
Pairing a Android Device to the eGateway
1. Plug your computer into the same
network as the WAN Port and
connect using a web browser with the
eGateway WAN IP address.
2. Enter in the username and password.
(Default User = admin Pass=admin)
3. Click Settings > Unit pairing.
4. Click the Add button.
5. SELECT the new device and click
Edit.
Edit Unit
Name Enter the appropriate
name according to
personal needs. (e.g.
Fred’s Phone)
Type
Select Smart Phone
Account Please fill in the range of
100 to 109 ensuring this
number is not registered
Password
Enter in a password.
Press the Save button
Then click Start Pairing

10 Ness SmartBell IP Intercom Quick Start Guide
6. When the Smart phone has not been
paired with eGateway the following
registration screen will appear.
7. Fill out the following items
Extension No
Enter Account (100-109) as per the
pairing screen in the eGateway.
Password
Enter password as per the pairing
screen in the eGateway.
Default Server Address
Please enter the eGateway’s WAN IP
Address.
Server Address
Enter in your routers external IP
address. You can get this by typing in
‘What is my IP’ into Google.
8. Once the items have been filled in
press the Registration button.
9. Once the pairing is complete, press
the save button in the web GUI.

11 Ness SmartBell IP Intercom Quick Start Guide
Pairing a iOS Smart Device to the eGateway
1. Plug your computer into the same network as the WAN
Port and connect using a web browser with the
eGateway WAN IP address.
2. Enter in the username and password.
(Default User = admin Pass=admin)
3. Click Settings > Unit pairing.
4. Click the Add button.
5. SELECT the new device and click Edit.
Edit Unit
Name Enter the appropriate name
according to personal needs. (e.g.
Fred’s Phone)
Type
Select Smart Phone
Account Please fill in the range of 100 to 109
ensuring this number is not
registered
Password
Enter in a password.
Press the Save button
Then click Start Pairing

12 Ness SmartBell IP Intercom Quick Start Guide
6. On your iDevice (iPhone/iPad) tap on the Settings icon
from the home screen.
7. Scroll down the list into you find Ness Smartbell and
tap on it.
8. Fill out the following items
Name
Enter Account (100-109) as per the pairing screen in
the eGateway.
Password
Enter password as per the pairing screen in the
eGateway.
Intranet Server IP
Please enter the eGateway’s WAN IP Address.
Internet Server IP
Enter in your routers external IP address. You can get
this by typing in ‘What is my IP’ into Google.
Server Port
You should leave this as 5060 unless you have
changed it in the eGateway.
Monitor View Mode
This allows you to change the size of the image shown
when a Outdoor station calls. Recommend to leave it
as 1.
Silent
OFF = Ness Smartbell will make sounds.
ON = Ness Smartbell will mute all sounds from the app.
Recommend to leave it to OFF.

13 Ness SmartBell IP Intercom Quick Start Guide
9. Once the items have been filled in press the Home
button on the smart device
10. Find the Ness Smartbell app icon on the home screen
and tap on it.
11. Once the app has opened and it’s connected, press
the save button in the web GUI.

14 Ness SmartBell IP Intercom Quick Start Guide
Notes

15 Ness SmartBell IP Intercom Quick Start Guide
Notes

16 Ness SmartBell IP Intercom Quick Start Guide
Head Office:
4/167 Prospect Hwy,
Seven Hills NSW, Australia
Phone +61 2 8825 9222
email : ness@ness.com.au
Sydney Office - (02) 8825 9222
Melbourne Office -(03) 9875 6400
Brisbane Office - (07) 3399 4910
Perth Office -(08) 9328 2511
Adelaide Office - (08) 8277 7255
Support
Email
Phone
1300 551 991 (Within Australia)
+61 2 8825 9222 (Outside Australia)
Online
www.youtube.com/nesscorporation
Other manuals for SmartBell
2
Table of contents
Other Ness Intercom System manuals
