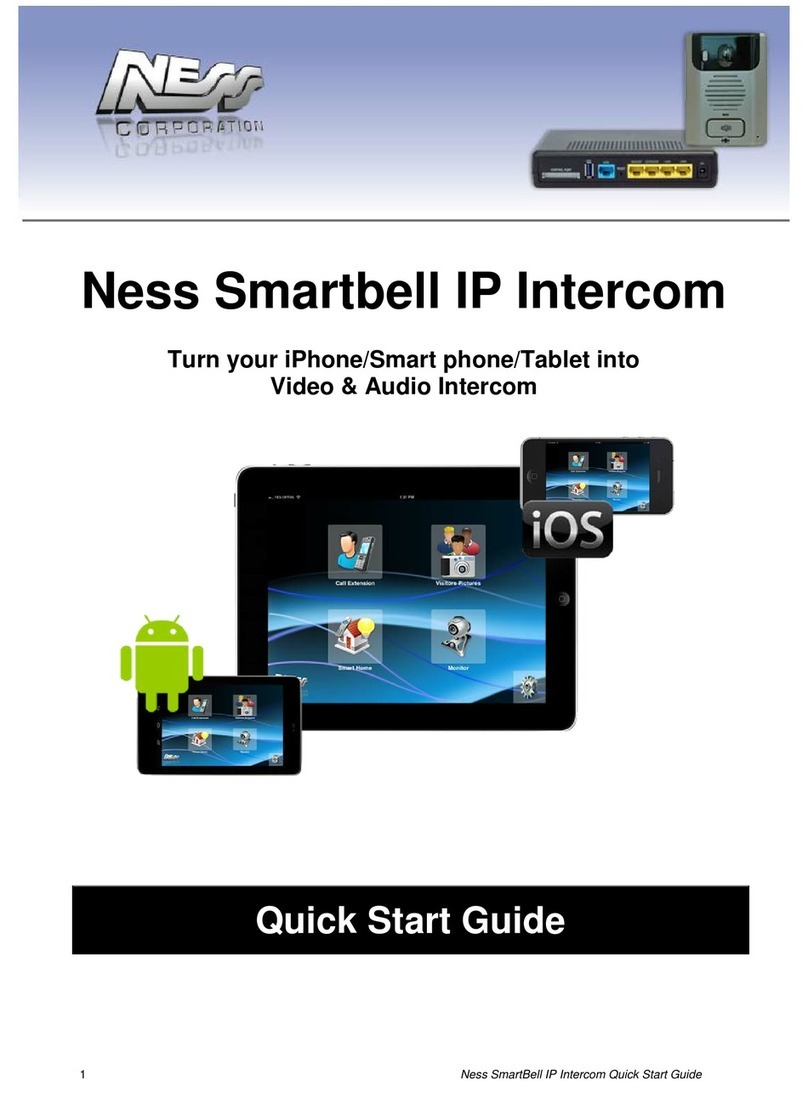
Ness SmartBell User manual

1 Ness SmartBell IP Intercom Installation and Users Manual.(series 2)
Version 1.5.4
Ness Smartbell IP Intercom
Turn your iPhone/Smart phone/Tablet into
Video & Audio Intercom
Installation and Users Manual

2 Ness SmartBell IP Intercom Installation and Users Manual.(series 2)
Version 1.5.4
Index
Introduction.......................................................................................................................................3
GENERAL PRECAUTIONS ...............................................................................................................5
System Configuration and Connections.........................................................................................5
Usability.............................................................................................................................................7
Maximum Number of Devices .........................................................................................................7
Home Screen of the Ness SmartBell INTERCOM on a Smart Device.............................................8
Calling an Intercom Extension.........................................................................................................9
Calling a iDevice or Android Device Extension..............................................................................10
VISITOR LOG (Photo snap shot)....................................................................................................12
Smart Home.....................................................................................................................................13
Monitoring the Camera on a Door Phone......................................................................................14
SETUP..............................................................................................................................................15
RINGTONE Settings.....................................................................................................................16
Background Settings.....................................................................................................................19
Modify Registration Message........................................................................................................20
Access Card Settings....................................................................................................................21
Volume Settings............................................................................................................................21
Version & Terminal equipment......................................................................................................22
Slideshow settings (only for Indoor Phone 101-132 (10” tablet) ....................................................22
Notes on CAT5e Cable....................................................................................................................23
Installation Steps – Network & Wifi setting...................................................................................24
Network connection Architecture...................................................................................................24
WiFi Router Setting.......................................................................................................................25
Setting up the eGateway for the first time.....................................................................................26
Installation steps – Device Installation..........................................................................................29
Installing the Outdoor Phone (ODP)..............................................................................................29
Outdoor Phone wire connection table............................................................................................31
Connections to electronic door strike/lock.....................................................................................32
Door Strike Wiring Examples ........................................................................................................32
Indoor Phone / Master Station, 10” tablet (101-132) installation..................................................35
Installation steps – Device Pairing ................................................................................................38
Ness SmartBell eGateway Specifications .....................................................................................41
Outdoor Phone (ODP) / Door Unit - Device pairing to eGateway.................................................42
Room Station / 10” tablet / Indoor Phone (101-132) pairing and setting flow.............................43
Device pairing of Room Station / 10” Indoor Phone to the eGateway............................................44
Main IP intercom application (App) ...............................................................................................46
Initiate Wi-Fi setting.......................................................................................................................48
Android Smart Device pairing to the eGateway.............................................................................48
Important Note Re WMM and Audio on some Smart phones ......................................................51
iOS Smart Device pairing to the eGateway ...................................................................................53
Mobile device pairing and setting flow chart................................................................................58
Use of STATIC IP addressing setting ............................................................................................59
Use of DHCP addressing settings .................................................................................................59
DDNS account application and setting .........................................................................................60
Set the DDNS to WiFi router...........................................................................................................63
Outdoor Unit Settings.....................................................................................................................65
Outdoor Settings...........................................................................................................................65
Volume Control.............................................................................................................................66
Third Party Security System Integration........................................................................................66
Third Party Integration Setting.......................................................................................................67
Push Notification APNS..................................................................................................................69
Testing Push Notifications.............................................................................................................70
Remote Access……………………………………………………………………………………………... 72
Troubleshooting (FAQs)……………………………………………………………………………………73
NOTES .............................................................................................................................................73
Contact Us..........................................................................................................................................74

3 Ness SmartBell IP Intercom Installation and Users Manual.(series 2)
Version 1.5.4
Introduction
Thank you for selecting the Smartbell IP intercom for your communication and security needs.
Please read this manual carefully before installation and keep it in a safe place for future reference.
The Ness SmartBell Intercom allows user to communicate to each other via the Ness SmartBell eGateway.
Once a unit is programmed (‘paired’) into the eGateway they can communicate to any device that is also
programmed to it. This includes Outdoor Phones, (also known as Door Stations), Indoor Phone (also known as
Room Stations or 10” Tablet Room) or Smartphone’s (Android or iOS (iPhone / iPad) devices.)).
We need intercoms in daily life
Office Reception
Family member
•
When away Office/Home, owner can monitor, view visitor
image displayed to 3G Smart phone or Wi-Fi tablet.
•Quick talk and door release from anywhere.
Seniors at home
•
Senior at home, one can view visitor image displayed to TV set.
•Simply click on talk and communicate with door phone station.
•Door release from safely inside building.
Hospital Nurse Call
•
Duty station for communication with patient rooms.
•View patient images displayed to Kiosk station.
•When away from the duty station, view image displayed on a 3G
Smart phone or Wi-Fi tablet, quick talk from anywhere.
Public service
• Situation image displayed to 3G Smart phone, Wi-Fi tablet,
Kiosk station.
Unattended Assistance
• Listen to activity for secure, service calls, discreet monitoring
from any offsite 3G Smart Phone, quick talk from anywhere.

4 Ness SmartBell IP Intercom Installation and Users Manual.(series 2)
Version 1.5.4
Turn your Smart Phone into an intercom
– Turn Your Smart Phone/Tablet into intercoms
– Key features:
• Control intercom on Wi-Fi/WAN networks.
• Listen to activity for secure, discreet monitoring.
• Quick door release from safely inside building or anywhere.
• Simply click on Talk & Monitor to communicate with door phone station.

5 Ness SmartBell IP Intercom Installation and Users Manual.(series 2)
Version 1.5.4
GENERAL PRECAUTIONS
Keep the unit more than 1 m (3.3') away from radio or TV.
Keep the intercom wires more than 30cm (12'') away from AC100-240V wiring. AC induced
noise and/or unit malfunction could result.
Install the unit in an area that will be accessible for future inspections, repairs, and
maintenance.
As to other manufacturer’s devices (such as door releases) used with this system, comply with
the Specifications and Warranty conditions that the manufacturers or venders present.
If the unit is down or does not operate properly, unplug the power supply.
The unit can be damaged if dropped. Handle with care.
The unit turns inoperative during power failure.
In areas where broadcasting station antennas are close by, the intercom system may be
affected by radio frequency interference.
All the units are designed for indoor use only. Do not use outdoor.
This product, being a control unit of door release, should not be used as a crime prevention
device.
It must be noted in advance that the LCD panel, though manufactured with very high precision
techniques, inevitably will have a very small portion of its picture elements always lit or not lit
at all. This is not considered a unit malfunction.
Door station is not weather-resistant, and do not spray with high pressure water. Unit trouble
could result.
For wiring, specify CAT5e straight cable.
Due to the environmental sound around the unit, it may hinder smooth communication, but
this is not a malfunction.
When outside temperature lowers sharply after rainfall, etc., the inside of camera may fog up
slightly, causing a blurry picture, but this is not a malfunction. Normal operation will be
restored when moisture evaporates.
Do not locate the units in a location with restricted access. It impedes maintenance inspection
or repairs. Also, unit trouble could result.
If the wrong power supply is used it could damage the product(s) and will void your warranty
on the product.
System Configuration and Connections
The system is a video intercom system especially designed for applications in facilities such
as office buildings, factories, schools, hospitals.
Installed separately from conventional general-purpose internal communications systems, the
system can be used as:
◦a video door entry system,
◦emergency announcement system,
◦rescue assistance system, urgent call system,
◦public announcement system, and access control system.
The system can be constructed on an IP network so multiple sites of system can be
connected and controlled as a global system. You can design the system to any scale
depending on your needs.

6 Ness SmartBell IP Intercom Installation and Users Manual.(series 2)
Version 1.5.4
Notice
We will under no conditions be liable for:
◦Damage that occurs due to failures in network equipment; failures due to internet
providers and cell phone companies; failures such as disconnected lines and other
losses in communication, which render it impossible to provide this service or in any
way delay this service due to causes outside of our responsibility; or if an error or
missing data occurs during transmission.
◦Damage that occurs due to the inability to communicate due to malfunctions,
problems, or operational errors in this product.
◦Damage caused if a customer's password or transmitted information are leaked
through bugging or unlawful computer access over Internet communication.
◦Any damages or losses resulting from this product's contents or specifications.
◦Damage caused by the installer or customer powering up the unit with the wrong
power supply. It’s the installers responsibly to double check to ensure the correct
power supply is being used.
Please note that:
◦Images depicted in this manual may differ from the actual images.
◦This manual may be revised or changed without prior notice.
◦Product specifications may be changed for the sake of improvement without prior
notice.
◦It is the customer's responsibility to ensure that their computer is secure. We will under
no conditions be liable for security failures.
This system is not intended for life support or crime prevention.
It is just a supplementary means of conveying information. We will under no conditions be
liable for loss of life or property which occurs while the system is being operated.
It is up to the customer to ensure that there ISP does not block ports and that they are able to
open DMZ in there router for remote access if required. Ness will not support and will not open
ports for customers if they are unsure on how to do it, and customers will need to talk directly
to their ISP for help and further information.

7 Ness SmartBell IP Intercom Installation and Users Manual.(series 2)
Version 1.5.4
Usability
Scenarios:
◦Visitor presses door phone, Image displayed to TV.
◦Owner listen to activity for secure, discreet monitoring.
◦Click on Talk & Monitor to communicate with door phone.
◦Quick door release from safely inside building or anywhere.
Connectivity:
◦Easy installation and maintenance free.
◦Control intercom on Wi-Fi/WAN networks.
◦Accessible in anywhere via the internet and 3G connectivity.
◦Applicable in multi OS (iOS, Android, Windows) with mobile devices(Smart phone &
tablet).
Maximum Number of Devices

8 Ness SmartBell IP Intercom Installation and Users Manual.(series 2)
Version 1.5.4
Home Screen of the Ness SmartBell INTERCOM on a Smart Device

9 Ness SmartBell IP Intercom Installation and Users Manual.(series 2)
Version 1.5.4
Calling an Intercom Extension
Press the Call Extension button from the home screen and tap on the extension you which to call.
NOTE: Video is only available when communicating with an Outdoor Phone / Door station.
When calling an Outdoor phone station from the list the following screen will appear:
Switch between hands free speaker and handset
speaker
Unlock the door
End / Hang Up the call
Mute Microphone on Smart Device

10 Ness SmartBell IP Intercom Installation and Users Manual.(series 2)
Version 1.5.4
Calling a iDevice or Android Device Extension
Tap on the icon to call an iDevice or Android device and the call will begin.
Pressing the hang up button will end the call.
iDevice Started Call
Android Device started call
The person at the receiving end of the call will be notified of the incoming call as shown below.
If you want to reject the call you can just press the red phone icon.
To answer the call press the green phone icon.
iDevice Ringing
Android Device Ringing
On Apple Devices if the app is closed, or the screen is turned off then a Push Notification will show
telling you have an incoming call from another device (or someone has pressed the door bell button).
Tap on this notification and the app will then display and the incoming call will ring within in the app
allowing you to answer it.

11 Ness SmartBell IP Intercom Installation and Users Manual.(series 2)
Version 1.5.4
Once call has been made the following screen will display.
iDevice In a Call
Android Device In a Call
By pressing this icon, it will mute the sound coming from the other person.
By pressing this icon, it will mute your microphone and the other person won’t be able to hear
you.
To end the call press the red hang up button.

12 Ness SmartBell IP Intercom Installation and Users Manual.(series 2)
Version 1.5.4
VISITOR LOG (Photo snap shot)
Whenever a visitor comes to an outdoor phone it will take a series of snap shot images (typically 5)
and store them so you can view for later viewing.
Click on “Visitor Log” from the main screen to view the most recent visitors.

13 Ness SmartBell IP Intercom Installation and Users Manual.(series 2)
Version 1.5.4
Smart Home
Press the Smart Home button from the home screen will launch the Push Controls App allowing you
to control your AV devices.
Note: This feature is not available on the 10 inch Indoor Phone Touch Screen.
In the Push Project Editor you need to ensure you have a page called home (All lower case) as this
is the page that the Ness Smartbell will open.
If you don’t have the Push Controls app installed on your device and someone presses the Smart
Home button, it will display the following message.

14 Ness SmartBell IP Intercom Installation and Users Manual.(series 2)
Version 1.5.4
To return back to the Ness Smartbell app again from the Push App you can add a URL Scheme.
To do this add this URL Scheme, add a button to the GUI page by right clicking in the GUI page and
click Add > New Button in the Push project editor, GUI page.
Now you need to change the Navigation drop down menu to URL Scheme and enter in the URL
Scheme to be nesssmartbell:// now when you press this button it will load up the Ness Smartbell
app.
Note: The URL Scheme has three ‘s’ in the URL Scheme. This URL scheme must also be in
lowercase.
Monitoring the Camera on a Door Phone
Press the Monitor button from the home screen and tap on the Door station you which to monitor.

15 Ness SmartBell IP Intercom Installation and Users Manual.(series 2)
Version 1.5.4
SETUP
• SETUP page for Smart phone allows you to setup the following 7 features;
Ringtone Settings,
Background Settings,
Modify Registration Message, (used to pair / program the device into the eGateway)
Card Settings, (used to Add / Delete / disable Access Cards into a door station
Volume,
Version
Terminal Equipment.
SETUP Page for Mobile Device
• SETUP page for Indoor phone/Master station (10” tablet 101-132) allows you to setup the
following 8 features;
Ringtone Settings,
Background Settings,
Modify Registration Message,
Card Settings,
Volume,
Version
Terminal Equipment,
Slide show.
SETUP Page for 10” tablet 101-132

16 Ness SmartBell IP Intercom Installation and Users Manual.(series 2)
Version 1.5.4
RINGTONE Settings
You can store ringtone files in the SD card file “Ring” folder of your smart-Phone and then select it as
your Ringtone when the intercom activates.
There are many ways to load the ringtone to your Android device.
1. If you have a USB cable you can plug your phone into the computer and find the ‘ring’ folder and
copy the files into this folder.
2. Use and load an app called AirDroid which is a free app from the Google Play Store and you can
transfer the ringtones to your phone wirelessly over the Wi-Fi using your computer.
(https://play.google.com/store/apps/details?id=com.sand.airdroid)
Once the app is installed on your Android device, you then need to make sure your computer is
connected to the same Wi-Fi Network as your Android Device.
Once you have confirmed your connected to the same Wi-Fi network then open the AirDroid app.
It will now tell you what your IP address is in that app and you need to open a web browser such as
Internet Explore and type in the URL it shows you in the app.
When you are asked, tap on the 'Accept' button on your Android Device.
Your Android device can now be accessed within the web browser and will allow you to do many
things.

17 Ness SmartBell IP Intercom Installation and Users Manual.(series 2)
Version 1.5.4
Since we are going to be copying a ringtone you need to click on the 'Files' icon in the web browser.
A window like below will then appear:
Now simply select SD Card from the left menu and scroll down into you get to ring.
Now you need to right mouse click in the empty space on the right and choose Upload

18 Ness SmartBell IP Intercom Installation and Users Manual.(series 2)
Version 1.5.4
You now have two options.
1. You can click on the Select Files button up the top right and browse for the ringtone (mp3 file) on
your computer
2. Drag and drop the mp3 file from your computer into this window.
Once the file has been copied to this window, you can then close the web browser.
Then on your Android device, you can press the back button and press the OK button to close the
app. (by pressing the home button you will find the app is still running in the title bar, so you need to
press the back button)
Now you need to open the Ness Smartbell app and click on the settings button down the bottom
right of the screen.
Then select the Ringtone Settings button and then when you press the Door Phone
Ringtone button the new ringtone will then display.

19 Ness SmartBell IP Intercom Installation and Users Manual.(series 2)
Version 1.5.4
Background Settings

20 Ness SmartBell IP Intercom Installation and Users Manual.(series 2)
Version 1.5.4
Modify Registration Message
Warning: to modify the registration information (Account, password and the server
address) must be the same as the registration information recorded on the e-GW,
otherwise it will result in registration failure.
Modify Registration Message flow chart
Existing registration information:
Account / password
Server Address of the eGateway
(eGateway’s WAN IP address)
Your routers External IP Address
Press this button to start the registration procedure.
To create or modify a new registration information (Account, password and server
address), this user will be registered to:
1. First enable pairing (registration mode) in the eGateway.
2. Registration on this device, otherwise it will result in a registration failure.
Existing registration information:
Extension / unit number as registered
into the eGateway controller. (This
must be unique for each device).
Other manuals for SmartBell
2
Table of contents
Other Ness Intercom System manuals
