Netopia
®
3-D Reach
™
Wi-Fi Gateways
MM
MMoo
oodd
ddee
eellllss
ss::
::
••
••
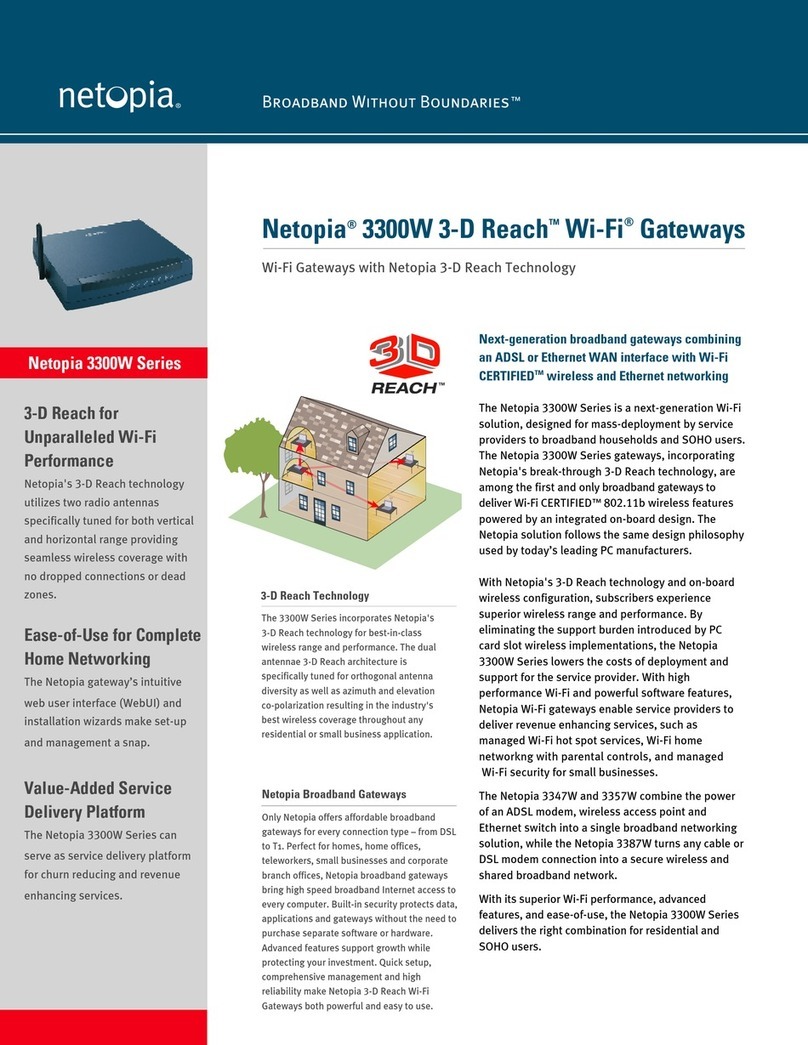
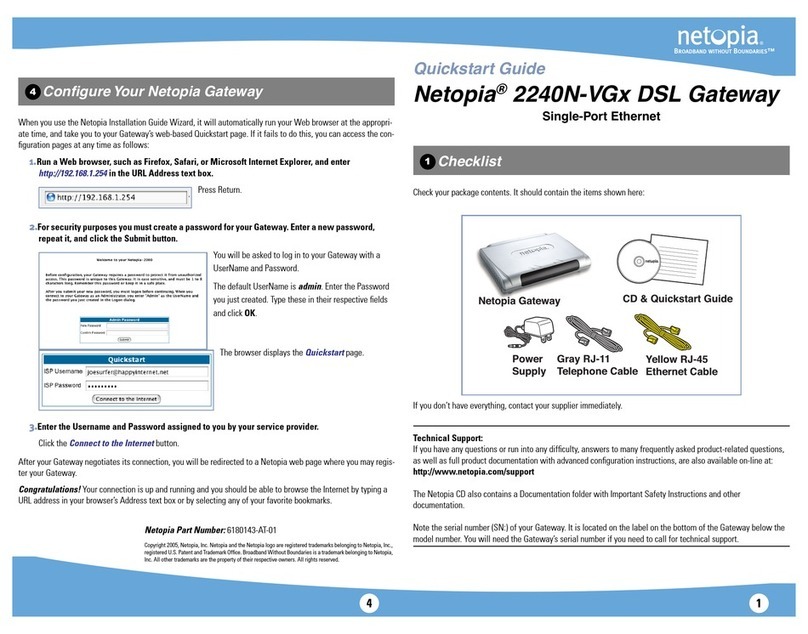
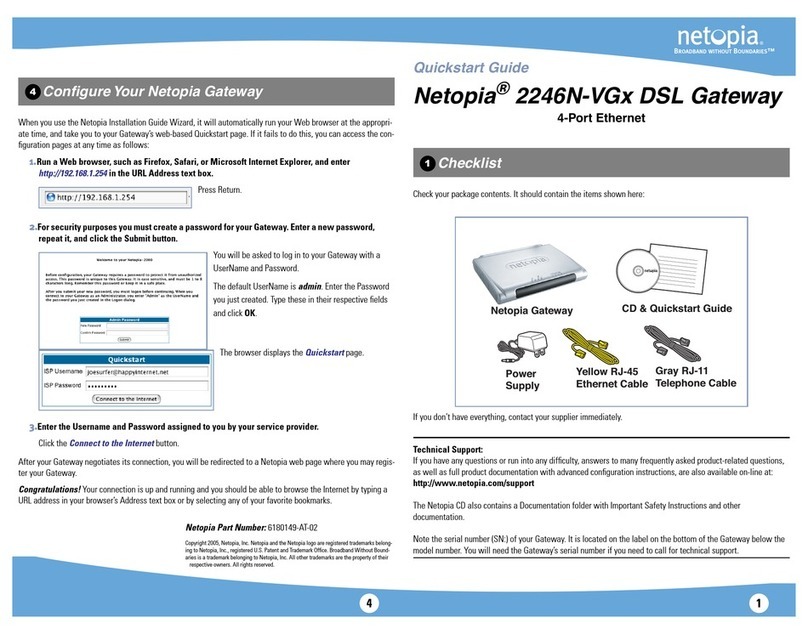
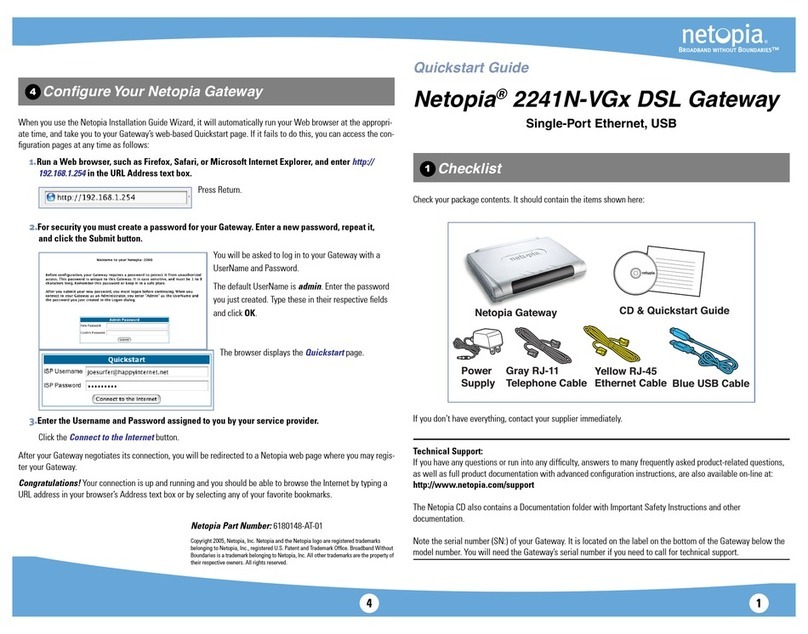
Netopia® 3300-Series ADSL 3-D Reach™ Wi-Fi Gateways
••
••
Netopia® 3300-Series Broadband 3-D Reach™ Wi-Fi Gateways
Quickstart Guide
Unpack your Gateway, check your package contents, and decide on a location.
Consider:
• Place the Gateway in a spot that is easily accessible for you. You can lay it flat or mount
on the wall.
• Keep the cables away from other electrical devices that may interfere with the operation
of your Gateway.
If you don’t have everything, contact your supplier immediately.
Note:
Note the serial number (
SN:
) of your Gateway. It is located on the label on the bottom of
the Gateway below the model number.You will need the Gateway’s serial number when installing
wireless card(s) or adapters, or if you need to call for technical support.
The Netopia Installation Wizard automates several tasks to get you up and running easily.
You can run the Wizard on every
WW
WWiiiinn
nndd
ddoo
ooww
wwss
ss--
--bb
bbaa
aass
ssee
eedd
dd PP
PP CC
CC
that will connect to your network,
whether it is connected via Wireless, USB, or by Ethernet cable.
>>
>>BB
BBee
ee ss
ssuu
uurr
rree
ee tt
ttoo
oo dd
ddiiii ss
ssaa
aabb
bbllll ee
ee ff
ff iiii rr
rree
eeww
wwaa
aallllllll pp
pprr
rroo
oodd
dduu
uucc
cc tt
ttss
ss ss
ssuu
uucc
cc hh
hh aa
aass
ss NN
NNoo
oorr
rrtt
ttoo
oonn
nn PP
PP ee
eerr
rrss
ssoo
oonn
nnaa
aallll FF
FFiiiirr
rree
eeww
wwaa
aallllllll oo
oorr
rr
MM
MM cc
cc AA
AA ff
ff ee
eeee
ee PP
PP ee
eerr
rrss
ssoo
oonn
nnaa
aallll FF
FFiiiirr
rree
eeww
wwaa
aallllllll bb
bbee
eeff
ff oo
oorr
rree
ee rr
rruu
uunn
nnnn
nniiiinn
nngg
gg tt
tthh
hhee
ee ww
wwiiiizz
zz aa
aarr
rrdd
dd....<<
<<
1.
II
IInn
nnss
ssee
eerr
rrtt
tt tt
tthh
hhee
ee CC
CCDD
DD ii
iinn
nntt
ttoo
oo yy
yyoo
oouu
uurr
rr CC
CCDD
DDR
R
RROO
OOMM
MM dd
ddrr
rrii
iivv
vvee
ee....
The Installation Wizard will run
automatically and step through your connection installation(s).
2.
When prompted, connect a PC to any of the Ethernet “LAN” ports using the
Yellow RJ-45 Ethernet cable.
Use additional standard Category 5 Ethernet cables
(not supplied) to connect up to four devices.
3.
If you are installing a Netopia 3-D Reach Wireless card, use the Netopia
Installation Wizard on your laptop or PC.
If you are using third-party,
non-Netopia-supplied wireless adapters with your Gateway use the drivers/CD
that are compatible for that wireless adapter.
When all of your connections are made, your network may look like this:
When all of your connections are made, the status LEDs on the front of your Netopia Gateway
will light, according to the following diagram:
Checklist
The Welcome screen lists the tasks that
you can perform with the Netopia Installa-
tion Wizard.
The second screen lets you choose which
type of Netopia device you are installing,
and where you are installing it.
Once you make your choice, subsequent
screens will install the appropriate drivers,
if required, and perform configuration
tasks, depending on the type of device you
are installing.
Follow the on-screen instructions.
Power Off/ On
LAN
Modem
41
2
3
DSL or Cable DC Power
Rear View
Modem
Modem Port
(Ethernet models)
Ethernet
Ports
Power Switch
DSL Port
(DSL models)
1
1
For Ethernet models, connect to DSL or Cable modem;
For DSL models, connect directly to DSL wall outlet
Modem
Power -
Ethernet 1, 2, 3, 4 - Modem (Ethernet models) -
Flash green when there is
activity on the LAN.
Front View
Flashes green for activity
on the modem port.
Solid green when connected. Solid green when connected.
Green when power is on.
Wireless -
Flashes green when there is
activity on the wireless LAN.
Flashes green when training
Solid green when trained
DSL Sync (DSL models) -
– OR –

