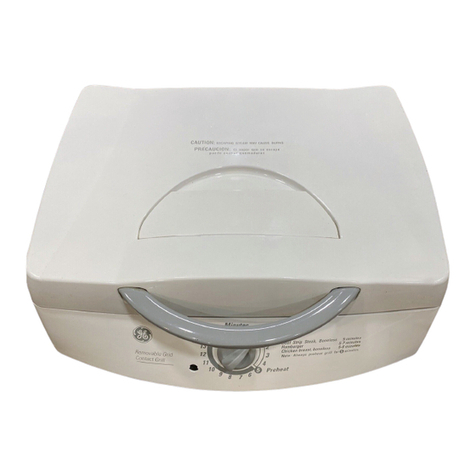
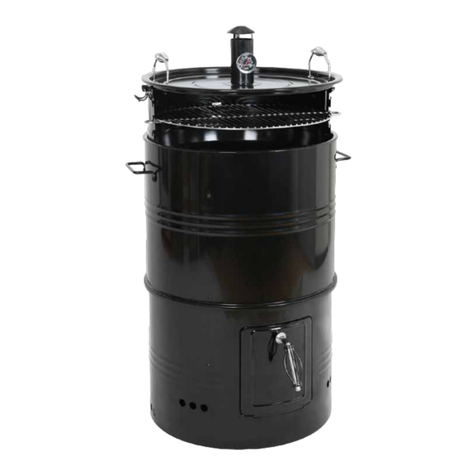
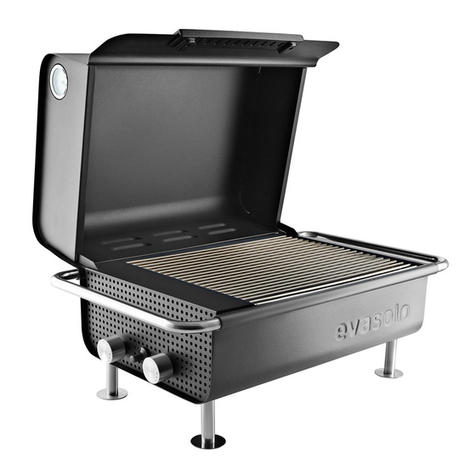
Neumaerker PROFESSIONAL 11-80411DT User manual

Neumärker
PROFESSIONAL
Lohstr. 13 - 58675 Hemer / Postfach 4063 - 58663 Hemer
Telefon: 02372/9274-0 Fax: 02372/3304
DEUTSCHLAND
Operating Manual
Contact Grill
www.neumaerker.de

Contents
I. Instructions for the installer
1. Nameplate
2. Technical data
3. Installation
3.1 Set-up
3.2 Notes
3.3 Electrical connection
3.4 Function check
3.5 Maintenance
II. Operating instructions
1. Instructions for the user
2. Comments regarding the use
3. Instructions regarding cleaning
4. Faults - repairs
5. Risks
6. General

I. Instructions for the installer
Dear customer,
We thank you and congratulate you on the purchase of our product. The following
instructions and recommendations concern the correct installation, operation and
maintenance, for the sake of your safety and a better functioning of your device.
1. Nameplate
The nameplate is located on the cable exit side. The technical features are shown in the
following section "Technical data". The "CE" marking of the devices contained in this
manual refers to the EC Directives 73/23/EEC and 89/336/EEC
2. Technical data
Panini-Master - 230 V / 2.5 kW
art.-no. 11-80411DT + 11-80412DT
Kamtschatka Grill - 400 V / 5.0 kW
art.-no. 11-80420DT + 11-80421DT + 11-80422DT
Chopper Grill –230 V / 3.4 kW
art.-no. 11-80430DT +11-80431DT + 11-80432DT
3. Installation
The 230 V devices are ready to plug in and can be connected to sockets up to 16 A. It is
important to ensure that max. 3.6 kW or 16 A per current phase are allowed. In addition,
the fuse turns off the circuit.
The 400 V devices have 2 phases and are equipped with a CE plug.
3.1 Set-up
The grill must be positioned in a way that electrical connection and maintenance is
possible. The units are not suitable for installation and for a series installation. When
placing the unit near walls, partitions, kitchen furniture, trim edges, etc., make sure they
are not made of flammable material. Otherwise they must be covered with a heat-
insulating, non-combustible material and the relevant fire protection regulations must be
observed.
3.2 Notes
Carefully peel off the protective film from the stainless steel sheets to avoid any adhesive
residue. If adhesive residues remain, they must be removed with a suitable solvent. In
addition to the installation itself (only for non-plug-in devices), any maintenance work may
only be carried out by an authorized installer.
3.3 Electrical connection
Connection to the mains must be carried out in accordance with the relevant regulations.
Before carrying out the electrical connection, make sure that the voltage and the frequency
correspond to the information given on the nameplate of the appliance. When the device is
in operation, the supply voltage must not deviate from the rated voltage by more than
±10%.
The device must be connected to the earth conductor of the mains.

3.4 Function check
Commission the device according to the following operating instructions. Explain the
operation and commissioning of the device to the user with the help of the operating
instructions.
3.5 Maintenance
Before performing any maintenance, make sure that the power to the unit has been
disconnected, and wait for the unit to cool. All components that require maintenance are
accessible after the bottom plate has been removed. Make sure that a complete device
inspection is carried out regularly (at least once a year) by a specialist.
II. Operating instructions
Attention: Do not clean the device with a water jet.
The device is intended for professional use and
may only be used by qualified personnel.
1. Instructions for the user
Note:
Read these operating instructions carefully as they provide you with important information
regarding installation safety, use and maintenance. Keep this manual for reference for
other users. For repairs, contact an Authorized Service Center and require the use of
original replacement parts. Non-observance of the above instructions may affect the safety
of the device.
2. Comments regarding the use
Notes:
Cast iron plates and hoods reach high temperatures during operation. This device may
only be used for the intended purpose, viz. for grilling food. Any other type of use is
considered unsuitable.
Do not use the grill plate to warm pots and pans. Aluminum foil and plastic
containers must not be placed on the grill plate.
Before putting the plates into operation, clean them with a cloth soaked in oil,
whereby the grill surfaces may only receive a thin, barely visible coating of it.
Then switch on the grill and leave it on for about an hour, with the control knob in
the "200°C" position.
The appliance will evaporate excess grease in the first few minutes after switching
on. This is normal before commissioning and will be limited to one time if properly
cleaned.
Do not use plastic parts to place food on the grill plate and remove it.
Clean the appliance with paper towels immediately after each barbecue. Not
removed grill and fat residues will otherwise burn onto the grill plate and form an
insulating layer to the grill plate.
Residues that have burnt onto the plates can lead to exfoliation, which affects the
food quality and appearance. These exfoliations are not from the equipment
material but from grill residues.

Attention:
the cast plates do not give the impression of being very hot, even if they are; Therefore, be
very careful before touching them or before placing objects on the cast plate.
Collection of cooking residues
The cooking residues such as grease flow into the front drip tray. Other residues can be
removed with the scraper and placed into the grease drip tray. It is important to ensure that
the grease collection tray is not completely filled with residues, otherwise the grease may
overflow when the grease collecting tray is removed by gently tilting it towards the
appliance. Therefore, make sure to drain the tub regularly to avoid overflowing.
Occupational safety:
It is essential to make sure not to touch the device with bare fingers or hands. For hygiene
and safety reasons, please always wear protective gloves that reach over the wrist.
Do not touch the heated food with your bare hands.
Operating toggle / temperature setting
The device is energized by the on / off switch. When the device is switched on, the on / off
switch is lighted. With the temperature controller, the desired cooking temperature can be
adjusted. The heating light indicates whether the appliance is heating up. When the
desired temperature has been reached, the appliance switches off the heaters and the
pilot light turns off. When the temperature falls below the set temperature, the controller
automatically switches the heating on again.
Note: the pilot light lights up - heating is in progress, pilot light is switched off - the
temperature has been reached. By turning clockwise, the desired temperature is set, the
max. operating temperature at the heating section is 300°C.
Function of the timer:
With the arrow keys located on the timer, the desired time can be set. If you press and
hold an arrow key, the unit automatically counts up or down. Once the desired time has
been reached, the counting process can be initiated with the start button located on the
timer. At the end of the set time the timer gives an acoustic signal.
The process is repeated with each operation. The timer is ready for use as soon as the
device is switched on via the main switch.
Height adjustment
With the handle the upper grill plate can be adjusted in height / moved up and down.
Burning and accident hazard:
Even if the upper grill plate is opened up to the anchor point, only one hand should always
work with tools such as fork, spatula or engraver. The other hand should hold the handle
of the upper plate. The top plate could tip over in the open state due to inattentiveness.
3. Instructions regarding cleaning
Spots or residues on the surfaces must be removed immediately (be careful not to burn,
the equipment may still be hot), but in any case before starting work. For cleaning, the use
of a dry cloth is recommended for light residues. If this is not sufficient, wait until the parts

have cooled down and then use suitable cleaning agents, but not scouring agents.
Removable parts can be cleaned in the dishwasher.
When cleaning the device, use water sparingly! Casing parts are cleaned with a slightly
damp cloth or with a dry cloth. Food-grade cleaners can be used as long as their residues
are removed as quickly as possible with cloths. The grill plates can be kept clean with a
cloth or with a wire brush or the enclosed spatula.
When cleaning, make sure that the cast iron plates may still be hot. The device should
therefore be opened and cleaned with one hand on the handle.
After the cleaning of the grill plates with a damp cloth and with food-compatible cleaning
agent you have to ensure that residues of the cleaning agent remain on the grill surfaces.
Immediately after cleaning the entire grill plates have to be coated with a thin coat of oil
again. Use an oil-soaked cloth or brush. Under no circumstances the device may be
cleaned with water while it is still hot!
4. Faults –repairs:
Controller failure:
It can be identified by a pilot light not showing a switch-off function. The unit heats
continuously without interruption over a period of more than 30 minutes.
Radiators disorder:
The control lamp is switched on for more than 30 minutes, the device does not get hot.
In both cases, immediately disconnect the device from the power circuit - pull out the plug.
Contact customer service. Do not do a repair yourself.
If the timer does not work anymore, it will not affect the further cooking process of the
heating elements and the temperature control. You can continue working with the device.
It is still advisable to inform a specialist and to replace the defective timer.
5. Risks
Note:
All mentioned devices become hotter than 60°C. The danger of burning is given if any
instructions are disregarded.
Grill plates: Keep working distance and do not put your arm or hand on it.
Lock the grill plate when not in use or keep it closed. Otherwise, hold the upper plate with
one hand at the handle.
6. General
Avoiding risks
Always use protective gloves.
Use tools such as fork, spatula, spoon or sausage tongs.
Wear apron and sturdy shoes.
In general we refer to the accident prevention regulations that the legislator of each
country prescribes.

Consumption
The installed electrical power is reduced to a saving consumption by the temperature
control. Energy consumption is significantly lower in relation to wattage.
+ button
- button
Start/stop button
After switching the device on the adjusted time appears on the display.
To adjust and save the time push the + or –buttons.
With the start/stop button the timer is started or stopped. The display shows the time
counting down to 0:00 and an acoustic signal rings.
Attention! The set-point can only be adjusted when the timer is stopped.
This manual suits for next models
7
Table of contents
Other Neumaerker Grill manuals
