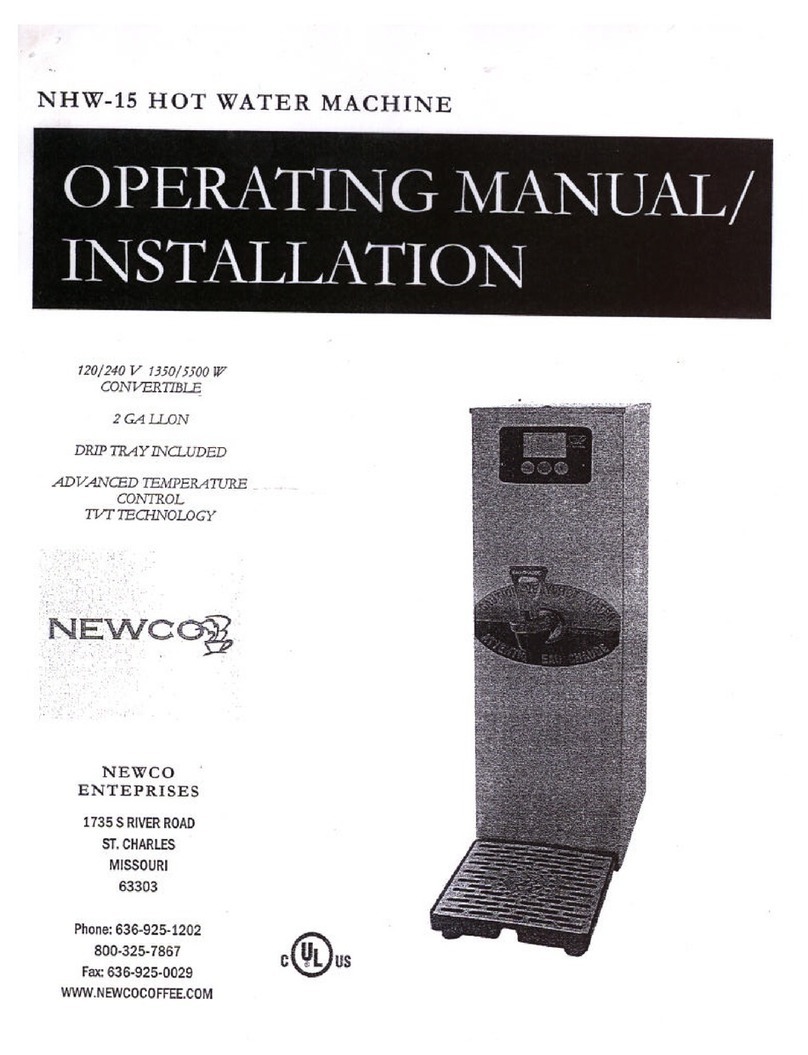
Newco NHW-5 Instruction Manual

PN 121586 8-29-2013
1
NHW-5
HOT WATER MACHINE
Operating Instruction Manual
Model NHW-5
1-800-325-7867
3650 NEW TOWN BLVD ST. CHARLES MO 63301
WWW.NEWCOCOFFEE.COM

PN 121586 8-29-2013
2
Table of Contents
Machine Dimensions & Specifications......................... 5
Plumber’s Installation Instructions.............................. 6
Electrical Hook-Up......................................................... 6
Installation Instructions................................................. 6
Operating Instructions.................................................. 7
Temperature Adjustment.............................................. 7
Machine Troubleshooting.............................................. 8
Machine Parts Locator.................................................. 9
Machine Parts Locator-Listing................................... 10
Wiring Diagram ........................................................... 11

PN 121586 8-29-2013
3
Warning Labels
NOTICE: Read and follow all notices posted on this machine.
Do not damage or destroy these notices as they are for your
protection
!WARNING
DO NOT OVERLOAD CIRCUIT.
ALWAYS ELECTRICALLY GROUND THE
CHASSIS OR ADAPTOR PLUG.
DO NOT DEFORM PLUG OR CORD.
FOLLOW NATIONAL AND LOCAL
ELECTRICAL CODES.
KEEP COMBUSTIBLES AWAY.
FAILURE TO COMPLY RISKS EQUIPMENT
DAMAGE, FIRE OR SHOCK HAZARD.
READ THE ENTIRE OPERATING
MANUALBEFORE USING THIS PRODUCT

PN 121586 8-29-2013
4
Introduction & Newco Product Warranty
INTRODUCTION
This machine is intended to dispense Hot Water in limited quantity into a cup or bowl.
WARRANTY
Newco coffee brewers are warranted against defects in workmanship or
materials, under normal use, for one year from the date of purchase.
Liability in all events is limited to the purchase price paid and liability under
the aforesaid warranty is limited to replacing or repairing any part or parts
which are defective in material or workmanship, and returned to our factory,
shipping cost prepaid. No warranty expressed or implied, other than the
aforesaid is made or authorized by Newco Enterprises, Inc.
Prompt disposition will be made if item proves to be defective, within
warranty. Before returning any item, write or call Newco, or the dealer from
whom the product was purchased, giving model number, serial number, and
date of purchase, and describe nature of the defect.
If damage was incurred during transit to you, file claim with the carrier.

PN 121586 8-29-2013
5
Machine Dimensions & Specifications
120 VAC-1600W HEATER-15A USA POWER SUPPLY
120 VAC-1400W HEATER-15A CANADIAN POWER SUPPLY
1/2 GALLON TANK
8-12 OZ CUP SIZE
TEMPERATURE RANGE 180-205F

PN 121586 8-29-2013
6
Plumber’s Installation Instructions
CAUTION: Disconnect Power to machine before proceeding with plumbing installation.
1) Attach water line to water filter, rear of machine.
2) Flush water line before installing machine. Machine should be connected to COLD WATER LINE ONLY.
3) Water pressure should be at least 40 lbs. For less than a 25 ft run, use 1/4" copper tubing and connect to
1/2" or larger water line. For longer runs, use 3/8" copper tubing & connect to 1/2" or larger water line and
provide an adapter fitting for connection to the brewer. A dedicated water line is necessary for this
machine. Minimum flow rate is 1GPM.
4) If installed with saddle valve, the valve should have a minimum of 1/8" porthole for up to 25 ft run, and
5/16" porthole for over 25 ft runs.
5) Manufacturer recommends connecting to copper tubing.
Electrical Hook-Up
WARNING
The Machine must be disconnected from the power source until specified in Installation
Instructions.
Determine the available on-site electrical requirements
Refer to Data Plate on the Machine, and local/national electrical codes to determine circuit
requirements.
CAUTION – Improper electrical installation will damage electronic components.
Installation Instructions
WARNING: - Read and follow installation instructions before plugging or wiring in machine to electrical
circuit. Warranty will be void if machine is connected to any voltage other than that specified on the
nameplate serial tag.
1) Machine must be on a flat and level surface. Plug or wire in machine to appropriate voltage as noted
on the machine serial tag. Serial tag is located on inside of machine.
2) With water line connected, turn machine power ON (power switch located lower left rear of
machine). Install Drip tray and drip tray grate under brew area (slide tray between guide rails until
seated).
3) Tank will automatically fill, and machine will start heating. If tank does not fill in 8 minutes, a tank
fill error will occur. (Note: To reset error power machine on/off with power switch).
4) Allow 5 to 10 minutes for water in tank to heat to brewing temperature. (Additional water may drip
into drip tray on initial expansion of water in the tank). This will not occur thereafter.
5) Heater will turn on when tank is at probe level. When tank noise is no longer heard, machine is
ready to operate
6) In higher altitude locations (5000 feet above sea level) the thermostat may have to be
adjusted lower to prevent boiling:

PN 121586 8-29-2013
7
Operating Instructions
Once the machine has filled and water is heated to temperature,
machine is ready to dispense Hot Water.
To dispense Hot Water, place cup or bowl under dispense nozzle.
Pull down Red Handle on Dispense Nozzle to dispense hot water,
and release nozzle when finished.
CAUTION-WATER IS EXTREMELY HOT!!
Machine will automatically refill and reheat.
Temperature Adjustment
TO ACCESS HEATER
CONTROL, REMOVE REAR
COVER WITH MACHINE
UNPLUGGED.
TURN KNOB CLOCKWISE
TO INCREASE
TEMPERAUTRE,
COUNTERCLOCKWISE TO
LOWER TEMPERATURE

PN 121586 8-29-2013
8
Machine Troubleshooting
PROBLEM CAUSE CORRECTIVE ACTION
1. No water a) Water turned off
b) Water line not
connected
c) Faulty water inlet
valve
a) Turn water on –open
shutoff valve
b) Ensure water line is
connected
c) Check valve and
connections-replace if
necessary
2. Water not hot a) Temperature setting
too low
b) Heater overload
tripped
c) Defective heater
element
d) Defective thermistor
a) Adjust temperature
setting (+)
b) Reset hi-limit
thermostat )
c) Replace heater
element
d) Replace thermistor
3. Water does not shut off a) Liquid level probe
malfunction
b) Faulty water inlet
valve
a) Check probe
connections
b) Check valve and
connections-replace if
necessary
4. Water boiling a) Temp setting too high
b) Malfunctioning
thermistor
a) Adjust temp settting
(-)
b) Replace thermistor

PN 121586 8-29-2013
9
Machine Parts Locator
1
2
3
4
5
6
7
8
910
11
12
13
14
15
16
17
18

PN 121586 8-29-2013
10
Machine Parts Locator-Listing
1 100078 FOOT,BUMPER WITH SCREW
2 102770 FAUCET ACE W/RED HANDLE
3 110626 SWITCH,DP/ST,RECT,ROCKER
4 110958 RELAY,12V DC,SPST,30 AMP
5 111719 BOARD,ECONO HOT WATER DIS
6 120378 VALVE ASY,LCD1,HOT
7 121304 DRIP TRAY,LCD-1
8 121305 GRID,DRIP TRAY,LCD-1
9 121576 TNK ASY,COMPCT HOT/W,1600
10 120898 TANK BODY W/INSUL,LCD-1
11 111593 THERM,MAN,VERTAB,221F,25A
12 120928-10 ELE,MAIN,1600W,120V,LCD-1
13 7+(50,6725$66<6,1*/(
14 500398 PROBE 1.818 & BUSHING ASY
15 120929 GASKET,TANK,LCD-1
16 121578 PANEL,BACK,EXT,S/S,SHWM
17 121584 PANEL,SIDE,EXT,LH,SHWM
18 121585 PANEL,SIDE,EXT,RH,SHWM
19 202103 STRAINER ASY,1/4FL,S/S, (NOT SHOWN)

PN 121586 8-29-2013
11
Wiring Diagram
Table of contents
Other Newco Dispenser manuals
Popular Dispenser manuals by other brands

Tuthill
Tuthill FILL-RITE FR102PHU Owners installation, operation, and safety manual

Multiplex
Multiplex FreshBlender Installation, operation and maintenance manual

Outdoor Solutions
Outdoor Solutions SKEETER DEFEATER instruction manual

DS Produkte
DS Produkte 06115 instructions

Sterilize+
Sterilize+ SHOE COVER DISPENSER quick start guide

Delta Clean
Delta Clean DZ6561 manual