newsteo CUB12 User manual

CUB USER GUIDE
References: CUB12 –CUB22
- 2 - SFDO-CUB12-012-0104.docx
1GENERAL PRESENTATION
The main function of the CUB device is to collect the measurements collected from the
wireless data loggers and transmit them through an Ethernet / Wifi / cellular network.
The display of the CUB allows easy installation, maintenance and monitoring of the device
itself and the data loggers. The CUB can display, monitor and warn when a logger’s
measurement exceeds the settable thresholds.
The user can connect to the Webmonitor application to access the data and to configure the
data loggers and can also use RF Monitor software for the first installation.
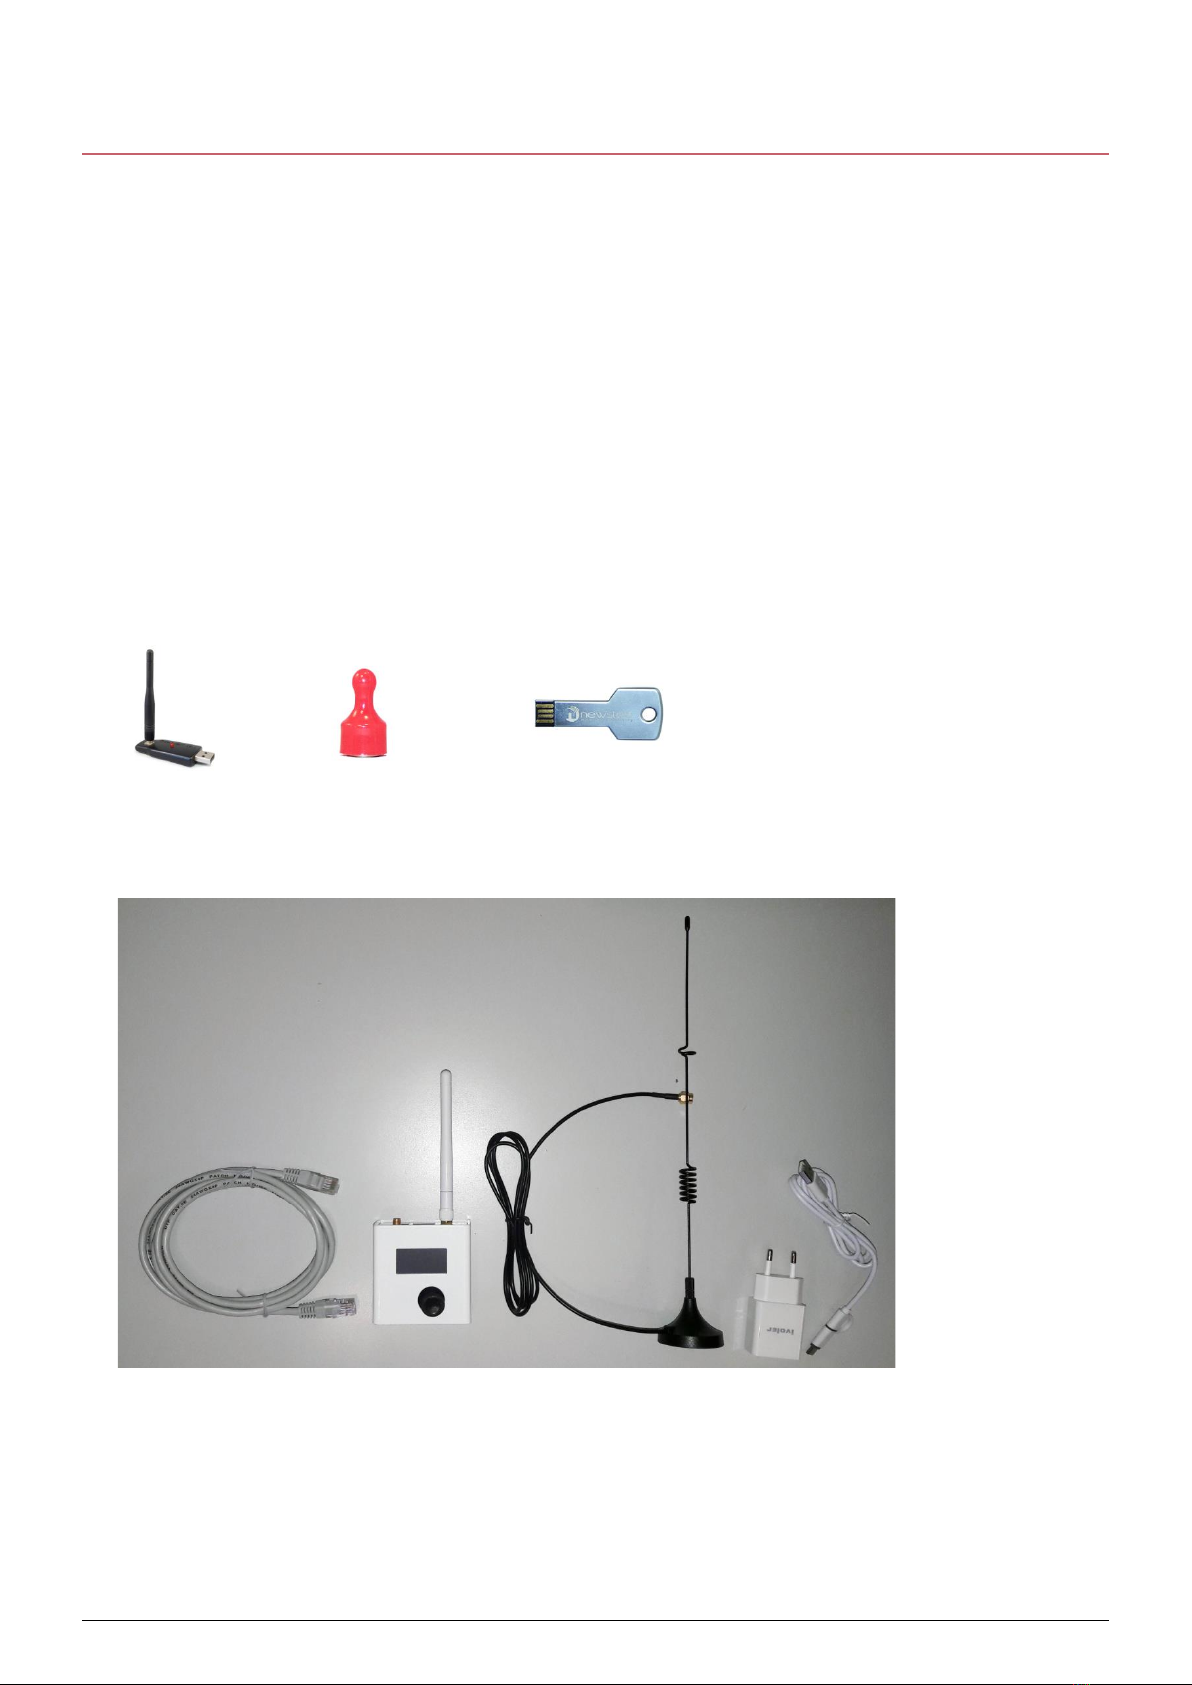
Content of the kit PFKI-CUB12-004 or PFKI-CUB22-004
Radio Key
USB Key with RF Monitor
software
PFPN-CUB12-001 or PFPN-CUB22-001
1 RJ45 cable 1 CUB device 1 antenna 1 power supply
Magnet
CUB USER GUIDE
SFDO-CUB12-012-0104.docx - 3 -
INSTALLATION - Several possible cases
1) No specific setting is required: please go to Chapter 5 Starting the CUB and the data
loggers directly
2) You want to connect directly to an Internet Box using WIFI with the WPS option: go
directly to Chapter 3 DIRECT WIFI CONNECTION WITH THE WPS OPTION, WITHOUT
THE RF MONITOR SOFTWARE
3) You are using a specific database, you want to configure the CUB manually with your
wifi key: Chapter 2 Pairing the CUB with RF Monitor
4) You must modify the settings of CUB and / or of your data loggers: Chapter 2 Pairing
the CUB with RF Monitor
Note: if you change the connection mode: for example, you switch from Wifi to an Ethernet
connection, it is better to delete the parameters entered for Wifi and then to enter the
Ethernet configuration.
2PAIRING THE CUB WITH RF MONITOR
For the first installation, it is easier to use RF Monitor to modify the settings of the CUB or the
data loggers.
2.1 Launching RFMONITOR
1. Install or update RFMONITOR software with the latest version available from our
website www.newsteo.com / Help center / Software
2. Launch RF Monitor
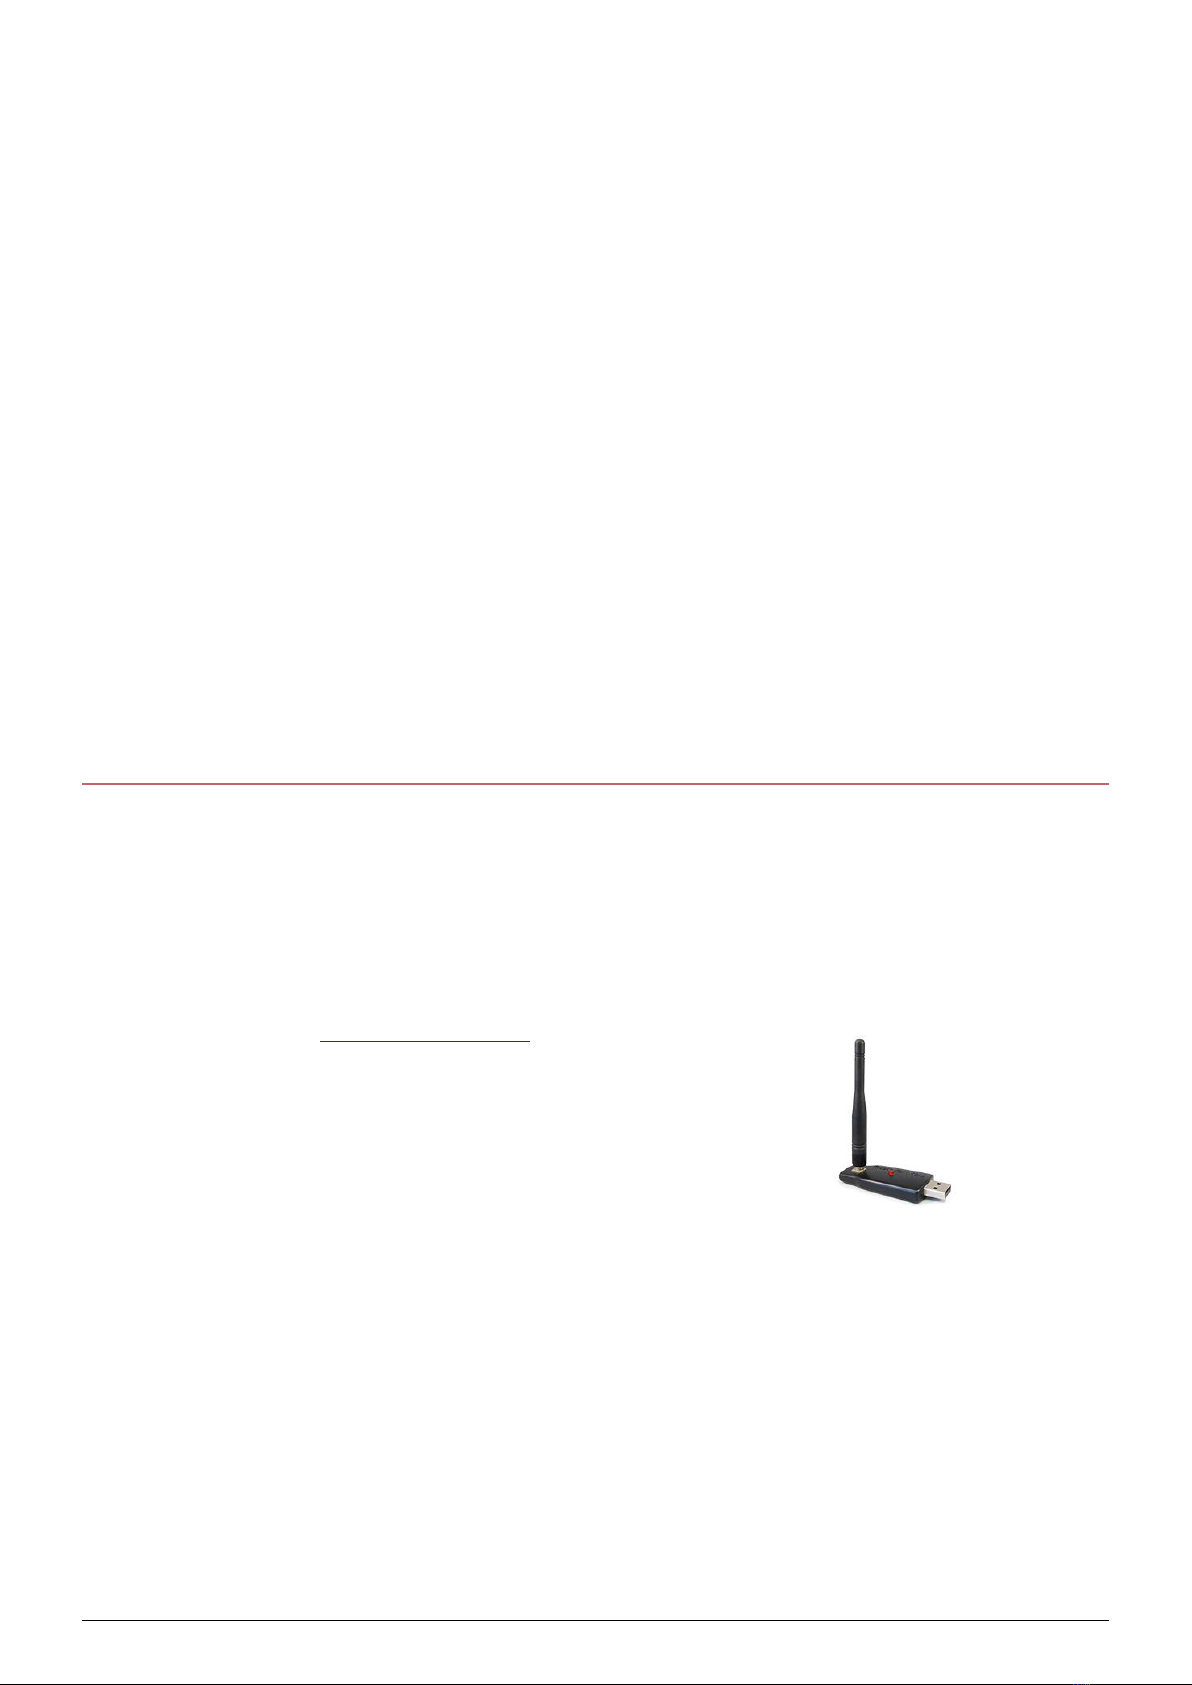
3. Insert the RF-to-USB key on your PC
4. The CUB, the data loggers and the RF-USB key must be on the same radio
channel (the CUB, the USB key and the data loggers are factory set on radio
channel 1 when delivered)
2.2 Starting the CUB
Plug the CUB power supply. The CUB and the RF Monitor software will communicate by radio;
you don’t need the Ethernet connection yet. Connect also the provided radio antenna.

- 4 - SFDO-CUB12-012-0104.docx
When the CUB boots, you have to wait about 1 minute before it starts and the screen displays
something. The LED colour, at the rear of the product (on the side where the cables and
antennas are connected), will change:
-red: the CUB is powered but has not boot yet
-orange: the CUB is correctly powered and is operating
On RF Monitor, once the CUB communicates, it will automatically appear on the list of the
measuring devices.
2.3 CUB settings
The database credentials are indicated on the technical sheet delivered with the CUB.
To modify the settings of the CUB:
On RF Monitor, click on the Configuration button > Configuration > COLLECTOR Settings.

CUB USER GUIDE
SFDO-CUB12-012-0104.docx - 5 -
2.3.1 First option: factory setting : Ethernet link, just 1 CUB
There is no particular setting, the CUB will send the data to its dedicated database. For
example, the CUB000000 sends data on the database DBS000XXX. This setting is performed
by Newsteo, in factory.
2.3.2 Second option: installation with several CUBs or on an existing database
If your are using several CUBs and you wish to use an existing database or a single database,
you need to configurate the CUB so they are directed towards the same database.
Example:
On the example below the CUB00001B is configured to be directed towards the database
DBS000XXX.

- 6 - SFDO-CUB12-012-0104.docx
2.3.3 Third option: WiFi connection
On the same configuration tab, tick the Wifi option and enter your network name and
password.
Restrictions regarding the network’s name: the network’s name should not include any space.
2.3.4 Other option: proxy / fixed IP address
On the same configuration tab, you can also enter a Proxy or modify the DHCP settings.
3DIRECT WIFI CONNECTION WITH THE WPS OPTION,
WITHOUT THE RF MONITOR SOFTWARE
Plug the CUB power supply. Connect also the provided radio antenna.
When the CUB boots, you have to wait about 1 minute before it starts and the screen displays
something. The LED colour, at the rear of the product (on the side where the cables and
antennas are connected), will change:
-red: the CUB is powered but has not boot yet
-orange: the CUB is correctly powered and is operating
You must now activate the search for the Internet box.
-Press the joystick, Up: the screen gives the details of the CUB configuration
-Then Right: allows access to Settings
-Go down until you reach the WIFI WPS menu and press the centre of the joystick to
confirm.
-A message appears asking you to go to press the pairing button (WPS button) located
on your Internet box. Perform the operation.

CUB USER GUIDE
SFDO-CUB12-012-0104.docx - 7 -
-The CUB remains waiting for pairing for 3 minutes. If the pairing is not done within this
time, the CUB leaves the menu.
-After pairing, the CUB is connected to the network.
4DIRECT CONNECTION IN 3G / 4G, WITHOUT THE RF
MONITOR SOFTWARE
You can also transmit the measurements to your database on
the Newsteo server through the cellular network (3G 4G). To
do this, you must connect an external 3G or 4G modem to the
CUB, either on the USB port of the CUB (3G 4G modem) or on
the Ethernet port of the CUB or even through Wifi. The modem
must have a SIM card to connect to the network. Newsteo can
provide you with a 3G 4G USB modem and the associated SIM
card, compatible with the CUB.
4.1 Configuration and modem connection
-When Newsteo provides the 3G 4G USB modem and the
SIM card, there are no settings to make. Connect the 3G 4G modem to the USB port of
the CUB.
-If it is a modem not supplied by Newsteo, the modem must be configured before
connection to the CUB. Generally, you must insert the SIM card into the modem and
then connect the modem to a PC. Via the software provided by the modem
manufacturer, you must enter the network connection parameters: PIN code, APN, etc.
4.2 Starting up the CUB in 4G
4.2.1 3G 4G USB modem, connected to the USB port of the CUB
Plug the CUB power supply. Connect the provided radio antenna. Connect the 3G 4G modem
to the USB port of the CUB.
When the CUB boots, you have to wait about 1 minute before it starts and the screen displays
something. The LED colour, at the rear of the product (on the side where the cables and
antennas are connected), will change:
-red: the CUB is powered but has not boot yet
-orange: the CUB is correctly powered and is operating
3G/4G USB
Modem
- 8 - SFDO-CUB12-012-0104.docx
At the top left of the screen, the 4G icon will appear, signifying that you are connected to the
cellular network.
4.2.2 External 3G 4G modem, connected to the Ethernet port
In this case, it is an Ethernet connection for the CUB. Go directly to chapter 5 Starting the
CUB and the data loggers.
4.2.3 External 3G 4G modem, connected by Wifi
In this case, it is a Wi-Fi connection for the CUB. Perform the setting following the instructions
in chapter 2 Pairing the CUB with RF Monitor. If your modem has WPS, you can enjoy faster
installation. Follow chapter 3 DIRECT WIFI CONNECTION WITH THE WPS OPTION,
WITHOUT THE RF MONITOR SOFTWARE.
5STARTING THE CUB AND THE DATA LOGGERS
Note:For a first installation we recommend you keep your devices near the CUB when you
start the loggers.
REMOVE THE RF-TO-USB KEY FROM YOUR PC AND CLOSE RF MONITOR
1. Your CUB is already powered. If not, plug the power supply
1.1 Check that the radio antenna of the CUB is connected (black antenna)
1.2 Plug the Ethernet cable (except if you have set a WiFi connection)
On the screen of the CUB, few icons are displayed
2. If the time and date appear, the CUB has successfully connected to the
internet
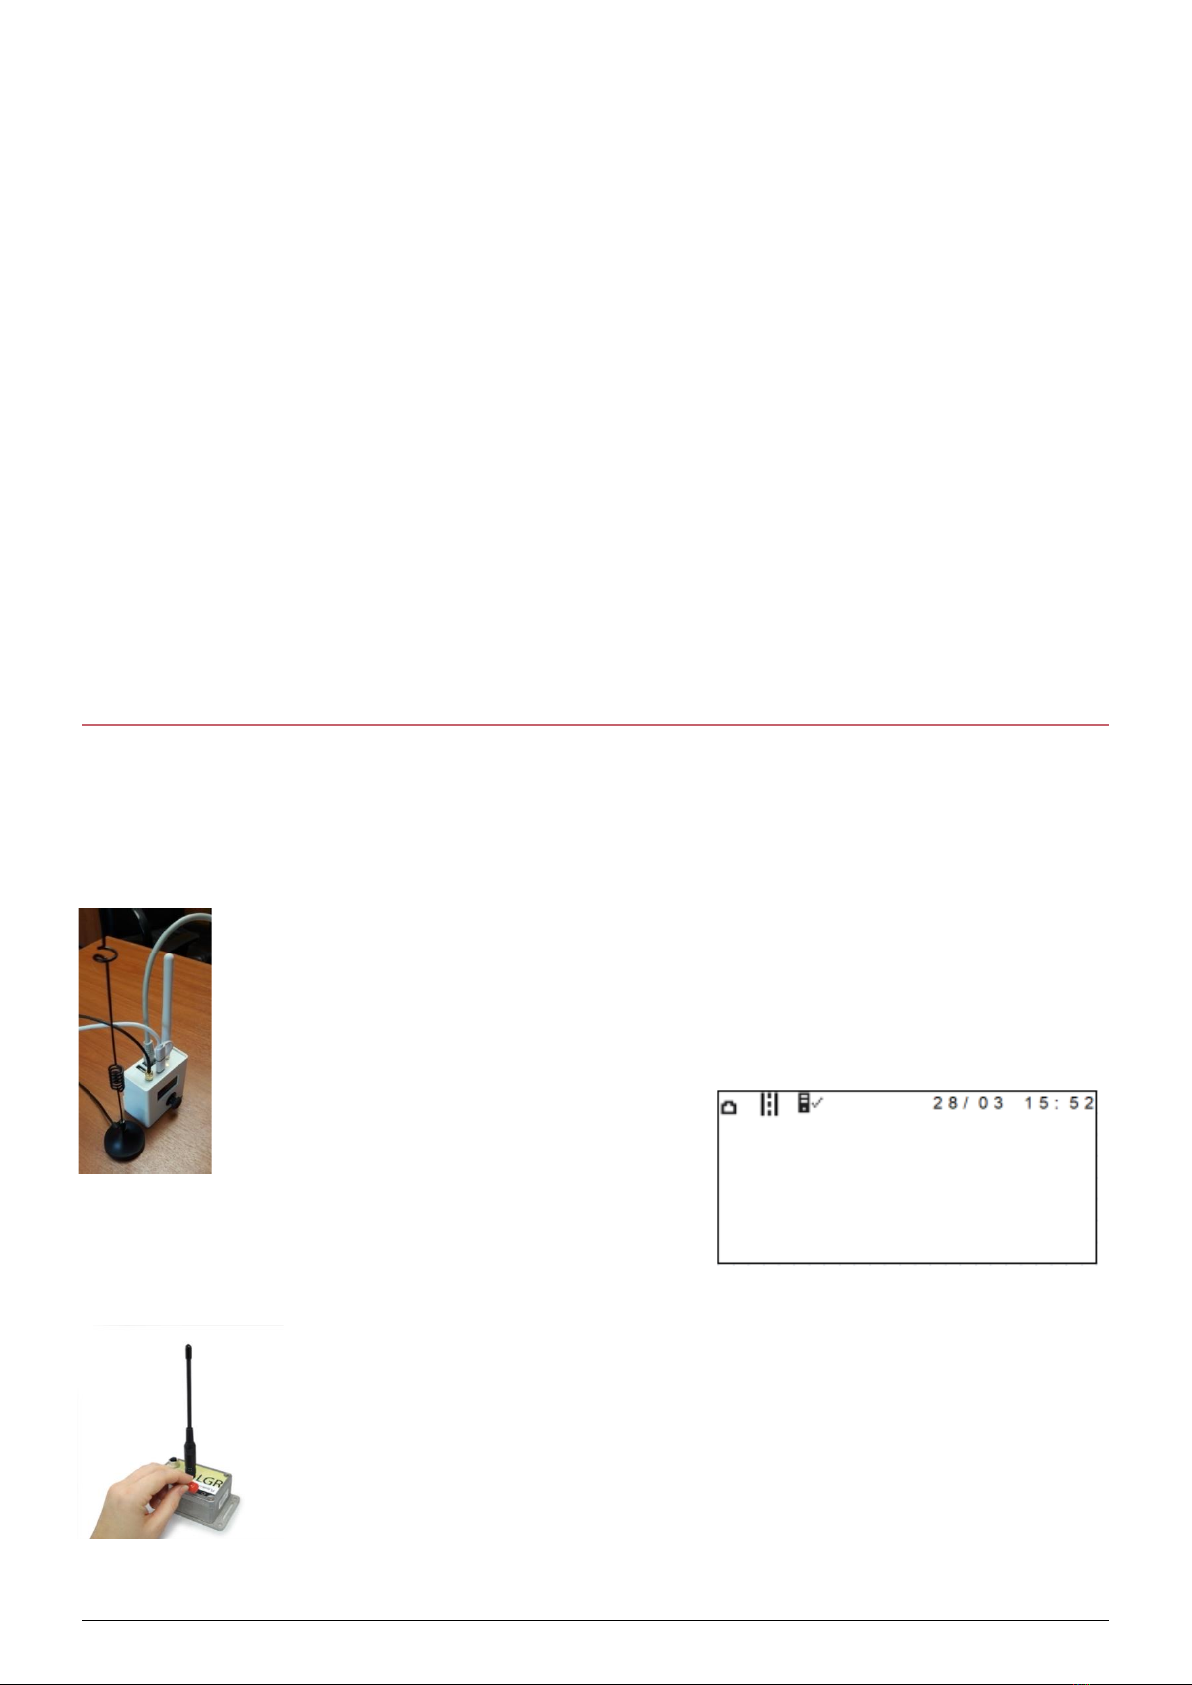
3. Swipe the magnet on the data logger’s magnet area
4. The data logger activates and transmits its information via radio signal
to the CUB
The data logger’s description and data will be displayed on the screen

CUB USER GUIDE
SFDO-CUB12-012-0104.docx - 9 -
5. Repeat the same operation with each data logger
6. The CUB will connect to the Ethernet / WiFi network and will send the
data logger’s descriptor and measures to the server
7. After a few minutes the data logger and its measure will appear on
Webmonitor application.
8. If the time does not appear at the top of the CUB, the CUB's internet
connection has failed.
If you need to modify the settings of your data loggers (thresholds, measurement interval …),
use the RF Monitor software.
6CONNECTING TO WEBMONITOR
-Webmonitor application’s link : www.newsteo-webmonitor.com
-Enter your credentials

- 10 - SFDO-CUB12-012-0104.docx
-After you have logged in, go to the Devices menu of Webmonitor. The CUB and the
various data loggers are visible.
-If the CUB failed to connect to the server, the panel will remain empty.
To view the devices on the dashboard and make the Webmonitor interface your own, you can
view a video tutorial by clicking on the video icon at the top right of the screen.

CUB USER GUIDE
SFDO-CUB12-012-0104.docx - 11 -
7CUB’S DISPLAY
7.1 Icons of the top of the screen
On the top of the screen, icons help you to know the status of the device.
Ethernet / WiFi connection
Ethernet cable connected –Connection to the server operating
→
Wifi Quality level
4G
Cellular connection
No Ethernet nor WiFi connection
Radio connection to a Data Logger
Radio packet received
Radio connection to RF-to-USB Key (RF Monitor)
USB Key detected –Setting through RF Monitor
Attempt to detect a USB key - Period 10mn
Connection to server
Server response OK
Being processed
Server response KO
The date and time are automatically updated when the CUB gets the network.
7.2 Logger’s display
Logger’s name (maximum of 10 characters)
Measurement of the first sensor
Status of the Data Logger:
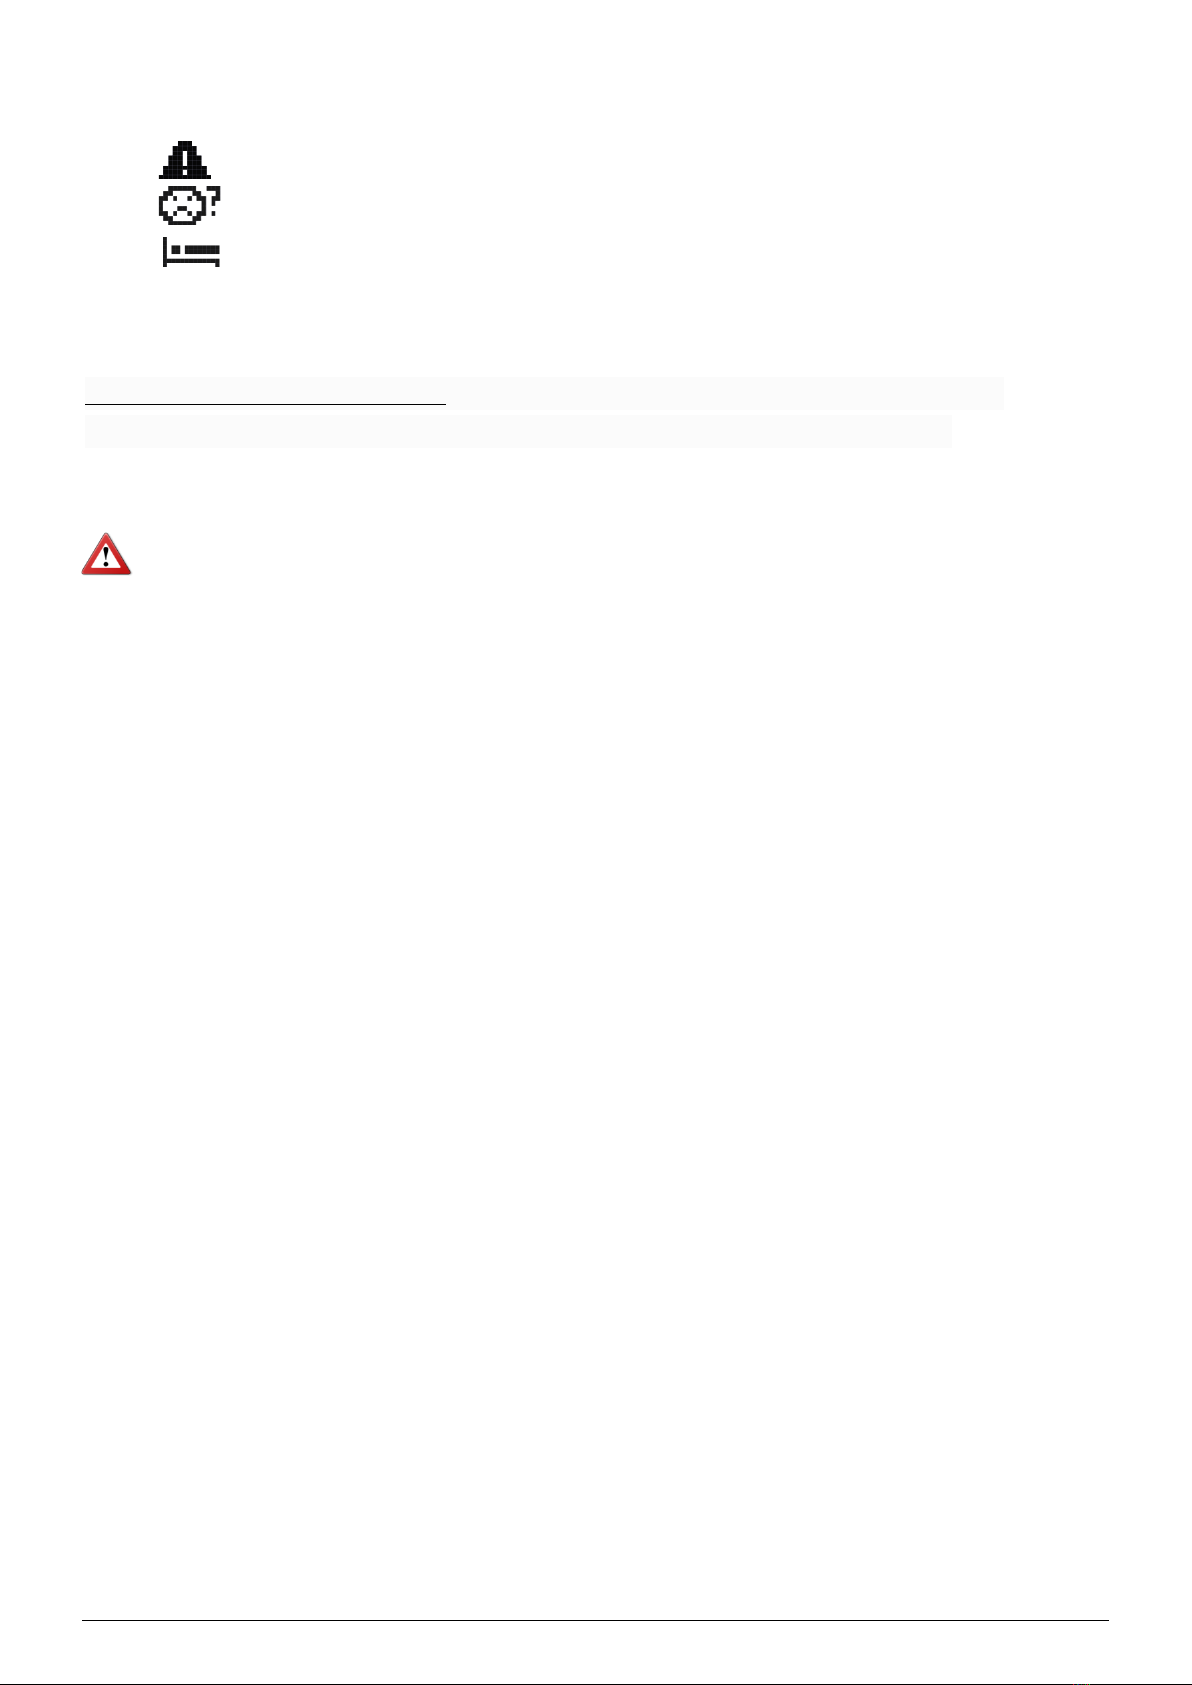
- 12 - SFDO-CUB12-012-0104.docx
OK
Nominal operation
Threshold Alert
No communication for more than 4 hours
Hibernate
Number of minutes since the last measurement (i.e.: 7) or number of hours and minutes
if the data logger has not been seen for more than 1 hour (i.e.: 1h07)
Restrictions regarding the display: on the first screen, only the first 7 data loggers are
displayed. To see all the data loggers, use the joystick (press the right direction).
When a problem occurs with the network, the CUB won’t upload any measure and
won’t receive any message from the server.

CUB USER GUIDE
SFDO-CUB12-012-0104.docx - 13 -
8JOYSTICK’S FUNCTIONS
-Short press on the joystick→Allows to manually force the CUB to establish a
connection with the server and to try to communicate by radio
8.1 Access to the menus
When you are on the Start Page:
-Up: gives details on the CUB setting
othen Right: give access to the Settings
-Right: access to the second page of the data logger’s list if there are more than 7 data
loggers detected.
-Down: last measurement of each sensor and detailed information on the first data
logger detected by the CUB
othen Right / Left: access to the same data on the other detected data loggers
Start page

- 14 - SFDO-CUB12-012-0104.docx
8.2 Colour of the joystick
The colour of the joystick light changes regarding the data loggers’ status:
-Green: OK
-Blinking Red: a data logger is currently in threshold alert
-Orange: The power cable of the CUB has been unplugged. It will stop functioning soon
-Blue: a USB radio receiver has been detected. The CUB stops communicating with the
data loggers to let the USB radio receiver exchange with the data loggers.
8.3 Settings
Go to the Settings menu:
-Up: gives the details of the CUB configuration
oThen Right: allows access to Settings.
8.3.1 Contrast
Adjusts the contrast level of the screen.
8.3.2 CUB’s buzzer
8.3.2.1 Activate / deactivate the buzzer
The CUB also integrates a buzzer. You can activate / deactivate it directly through the CUB’s
menu. Use the joystick: press Up and then Right access the menu allowing to activate or
deactivate it. At the activation, the buzzer will buzz 2 times to acknowledge the activation.
8.3.2.2 Buzzer functioning
When the CUB’s buzzer is activated, it will buzz when a data logger’s measurement is outside
the set thresholds.
To stop the buzzer, you need to acknowledge the alert by pressing the joystick.
8.3.3 LED alerts
Allows the joystick to be lit according to the alerts in progress.
8.3.4 Language
Allows you to change the menus’ language.
8.3.5 Errors
Displays the technical errors that have appeared on the CUB: server errors (no internet access,
improperly configured database ...) or hardware errors.

CUB USER GUIDE
SFDO-CUB12-012-0104.docx - 15 -
8.3.6 WIFI WPS
Launches the Wi-Fi Protected Setup (WPS) pairing procedure.
8.3.7 MAC addresses
Displays the MAC addresses of the CUB.
9SUPPORT
Please refer to our support dedicated website:www.newsteo.com, Help centre menu.
-For a remote support we use the application TEAMVIEWER
10NEWSTEO ADDRESS
NEWSTEO S.A.S. - 93 avenue des Sorbiers –ZE Athelia 4- 13600 La Ciotat –France
This manual suits for next models
1
Table of contents
Popular Industrial Equipment manuals by other brands


SKF
SKF TKBA 40 Instructions for use

ABB
ABB HT575645 Operation manual

Abbey Machinery
Abbey Machinery VF1500T Maintenance, Operating Instructions and Spare Parts Lists

VAHVA
VAHVA C Series Operating and safety manual

GCC Technologies
GCC Technologies LaserPro StellarMark CIIA-Li user manual

Sulzer
Sulzer ABS J 12 Assembly and installation instruction