manuals.online logo
Brands
  1. Home
  2. •
  3. Brands
  4. •
  5. Next
  6. •
  7. Indoor Furnishing
  8. •
  9. Next 116911 HARTFORD PAINTED SMLSDBO User manual

Next 116911 HARTFORD PAINTED SMLSDBO User manual

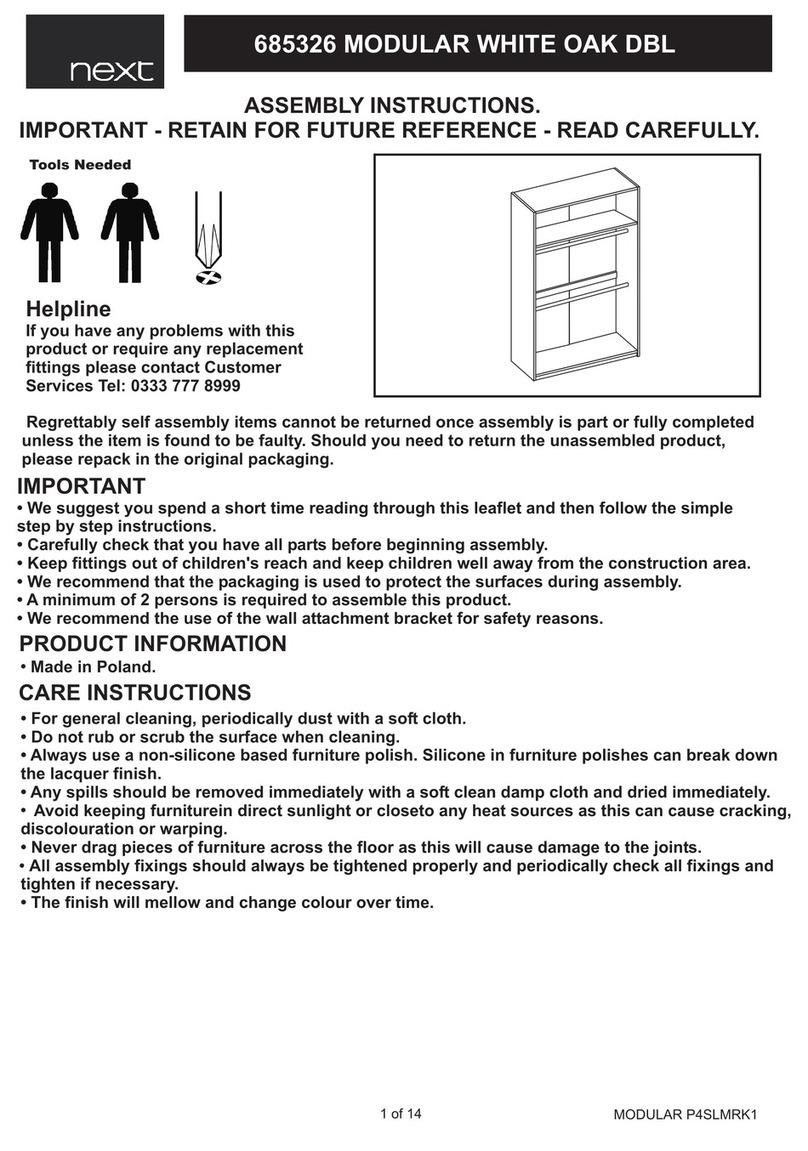
Tools Needed
Helpline
If you have any problems with this product or require
any replacement fittings please contact Customer
Services Tel: 0333 777 8999
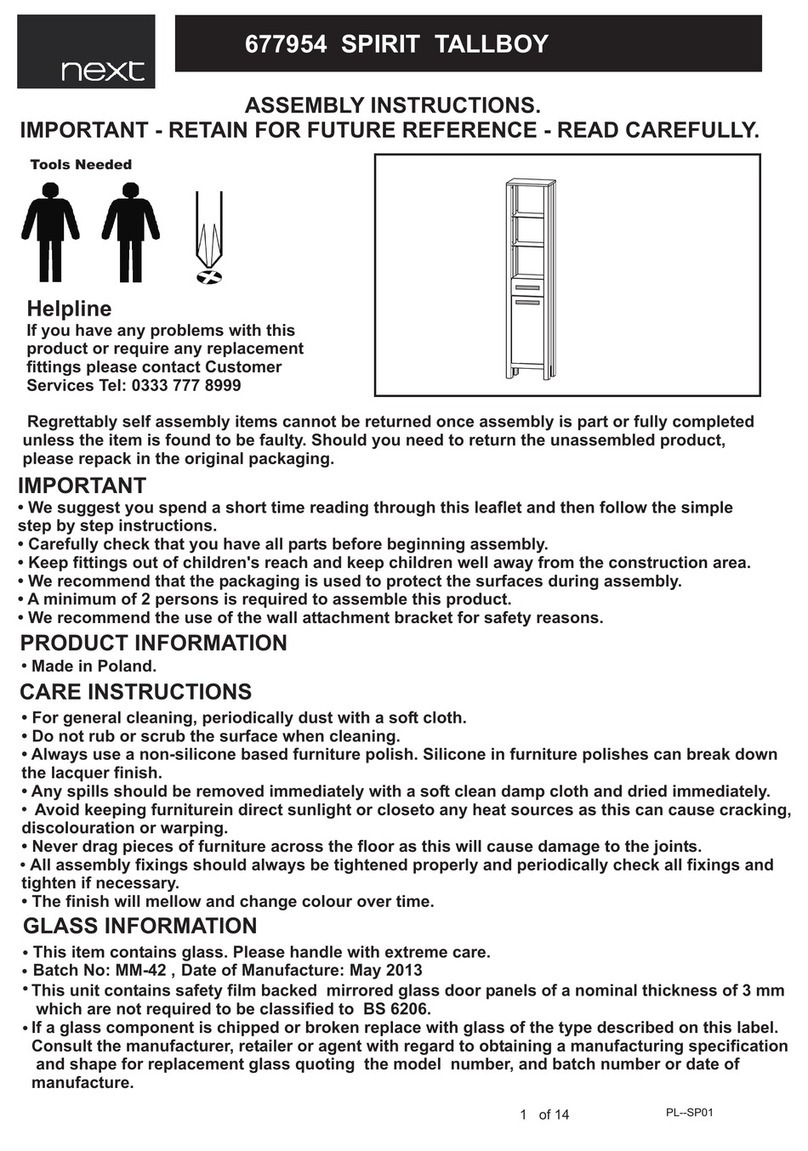
CARE INSTRUCTIONS
• Natural features ensure that each piece is individual. Every effort is made to ensure colour continuity between
pieces, however this is a natural product, slight colour variations and natural grain markings may occur.
• We recommend that the packaging is used to protect the surfaces during assembly.
ASSEMBLY INSTRUCTIONS.
Regrettably self assembly items cannot be returned once assembly is part or fully completed unless the item is
found to be faulty. Should you need to return the unassembled product, please repack in the original packaging.
IMPORTANT
IMPORTANT - RETAIN FOR FUTURE REFERENCE - READ CAREFULLY.
• We suggest you spend a short time reading through this leaflet and then follow the simple step-by-step
instructions.
• Made in China.
• A minimum of 2 persons is required to assemble this product.
• Keep fittings out of children's reach and keep children well away from the construction area.
PRODUCT INFORMATION
• Carefully check that you have all parts before beginning assembly.
• All assembly fixings should always be tightened properly and periodically check all fixings and tighten if
necessary.
• Avoid keeping furniture in direct sunlight or close to any heat sources as this can cause cracking, discolouration
or warping.
• Never drag pieces of furniture across the floor as this will cause damage to the joints.
• Ensure the product is protected with mats and coasters when items are placed on the surfaces, to prevent
scratching or damage.
• Do not put hot dishes directly on the surfaces of the item.
• Do not rub or scrub the surface when cleaning.
• Always use a non-silicone based furniture polish. Silicone in furniture polishes can break down the lacquer finish.
• For general cleaning, periodically dust with a soft cloth.
• Any spills should be removed immediately with a soft clean damp cloth and dried immediately.
• Made from Pine with lacquer finish.
116911 HARTFORD PAINTED SMLSDBO
Page 1 of 10
PARTS
FITTINGS
Page 2 of 10
1. Insert 13 x cambolts (A) into top panel 1.
4. Insert 4 x cambolts (A) into leg 2.
5. Insert 7 x cambolts (A) into leg 5.
1. Insert 6 x dowels (E) into panel 12.
2. Insert 6 x dowels (E) and 3 x dowels (D) into 3 x
rails 13.
STEP ONE
STEP TWO
2. Insert 3 x cambolts (A) and 8 x dowels (E) into side
panel 3.
3. Insert 4 x cambolts (A) and 2 x dowels (E) into rail
9.
3. Insert 7 x dowels (E) and 3 x dowels (D) into panel
8.
Page 3 of 10
1. Insert 2 x cambolts (A) into rail 11.
2. Insert 8 x cambolts (A) into leg 6.
3. Insert 5 x cambolts (A) into leg 4.
4. Attach 2 x hinges (I) to leg 4 using 4 x screws (R).
Tighten with a screwdriver.
6. Attach 2 x hinges (J) to door panel 14 using 4 x
screws (R). Tighten with a screwdriver.
7. Attach 1 x washer (O) to door panel 14 using 1 x
screw (Q). Tighten with a screwdriver.
1. Attach 1 x magnet catch (T) to rail 7 using 2 x
screws (U). Tighten with a screwdriver.
STEP THREE
5. Insert 3 x cambolts (A) and 8 x dowels (E) into
panel 10.
STEP FOUR
Page 4 of 10
1. Attach legs 2 & 4 to panel 3.
2. Insert 8 x camlocks (B) into panel 3. Ensure the
arrow indicators on the camlocks are pointing
towards the panel edges and ensure the assembly
bolts locate properly into the camlocks before
turning clockwise with a screwdriver to tighten.
1. Attach legs 5 & 6 to panel 10 and 3 x rails 13.
2. Insert 8 x camlocks (B) into panel 10. Tighten with
a screwdriver.
3. Insert 6 x camlocks (B) into 3 x rails 13. Tighten
with a screwdriver
STEP FIVE
STEP SIX
Page 5 of 10
1. Attach rail 9 to panel 8.
1. Attach rail 11 to panel 12.
2. Insert 2 x camlocks (B) into panel 12. Tighten with
a screwdriver
1. Attach panel 8 to panel 12 using 3 x screws (C).
Tighten with a screwdriver.
STEP NINE
STEP SEVEN
STEP EIGHT
2. Insert 4 x camlocks (B) into panel 8. Tighten with a
screwdriver.
Page 6 of 10
1. Attach top panel 1 to the assembled unit.
3. Insert 2 x screws (C) into rail 11. Tighten with a
screwdriver.
STEP TWELVE
1. Attach side panel 2, 3 & 4 and side panel 5, 6, & 10
to rail 7 and panel 12.
2. Insert 8 x camlocks (B) into rail 7 and panel 12.
Tighten with a screwdriver.
STEP ELEVEN
1. Insert 2 x screws (C) into rail 7. Tighten with a
screwdriver.
2. Insert 13 x camlocks (B) into legs 2, 4, 5 & 6 and
panels 3, 8 & 10. Tighten with a screwdriver.
STEP TEN
Page 7 of 10
1. Insert 4 x cambolts (A) into drawer front 18.
2. Attach drawer sides 19 & 20 to drawer front 18.
5. Attach drawer back 21 to the assembled unit using
4 x screws (H).
STEP THIRTEEN
6. Attach handle (F) to the drawer front 18 using 2 x
bolts (G).
7. Repeat the above steps to assemble the other 2
drawers.
4. Slide drawer bottom 22 into the grooves of drawer
sides 19 & 20 and drawer front 18.
3.Insert 4 x camlocks (B) into drawer sides 19 & 20.
Tighten with a screwdriver.
Page 8 of 10
1. Insert 4 x pin supports (L) into panels 3 & 8.
Ensure they are at the same height.
2. Insert shelf 15 onto the pin supports within the
unit.
2. Attach wall attachment strap (N) to the back of the
top panel with 1 x washer (V) and 1 x screw (P).
STEP FIFTEEN
STEP FOURTEEN
1. Attach back panels 16 & 17 to the assembled unit
using 18 x screws (K) and 4 x washers (S). Tighten
with a screwdriver.
Page 9 of 10
Next Retail Ltd, Desford Road, Enderby, Leicester, LE19 4AT
5. NOTE: Wall fixings are not included, please source
suitable fixings for your wall type. If in doubt, please
consult a qualified tradesman.
STEP SEVENTEEN
4. WARNING: Always ensure the area to be drilled is
free from hidden electrical wires, water and gas
pipes.
3. Move the item into position and attach the end of
the strap to the wall with the approciate screw,
washer and wall plug for your wall type.
1. Put drawers into the assembled unit onto the
drawer runners.
2. Insert 2 x dowels (D) into each of drawer sides.
Insert drawers half way into the unit then push the
dowels further into the runners.
2. Adjust hinges to the correct positions according
to diagrams. Then tighten screws with a screwdriver.
3. Attach 1 x handle (M) to door panel 14 using 1 x
screw (G). Tighten with a screwdriver.
STEP SIXTEEN
1. Attach door 14 to the assembled unit, according
to diagrams.
Page 10 of 10

Other Next Indoor Furnishing manuals

Next BROOKLYN 379778 User manual

Next

Next BROOKLYN 379778 User manual

Next M13902 User manual

Next

Next M13902 User manual

Next 865122 User manual

Next

Next 865122 User manual

Next VALENCIA 664973 User manual

Next

Next VALENCIA 664973 User manual

Next 388553 User manual

Next

Next 388553 User manual

Next SHOREDITCH 902408 User manual

Next

Next SHOREDITCH 902408 User manual

Next AMELIA 129380 User manual

Next

Next AMELIA 129380 User manual
Next Sherlock User manual

Next

Next Sherlock User manual

Next BRONX User manual

Next

Next BRONX User manual

Next Claro 808535 User manual

Next

Next Claro 808535 User manual

Next WOLIN 469132 User manual

Next

Next WOLIN 469132 User manual

Next U13520 User manual

Next

Next U13520 User manual

Next 879410 User manual

Next

Next 879410 User manual

Next LINCOLN BED DOUBLE 885963 User manual

Next

Next LINCOLN BED DOUBLE 885963 User manual

Next HIGHBURY 872404 User manual

Next

Next HIGHBURY 872404 User manual

Next BRONX 425622 User manual

Next

Next BRONX 425622 User manual

Next Stella A03213 User manual

Next

Next Stella A03213 User manual

Next BARLOW CORNER TV UNIT 118685 User manual

Next

Next BARLOW CORNER TV UNIT 118685 User manual

Next SPARKLE 848175 User manual

Next

Next SPARKLE 848175 User manual

Next ELISE DREWER BED User manual

Next

Next ELISE DREWER BED User manual

Next WESTCOTT FLIP BED User manual

Next

Next WESTCOTT FLIP BED User manual

Next 388553 User manual

Next

Next 388553 User manual

Next 260413 User manual

Next

Next 260413 User manual
Next 604131 User manual

Next

Next 604131 User manual

Popular Indoor Furnishing manuals by other brands

Forte ATDS92411 Assembling Instruction

Forte

Forte ATDS92411 Assembling Instruction

Rauch M2669 Assembly instructions

Rauch

Rauch M2669 Assembly instructions

emob ELIAS BED-LIT 90 Assembly instruction

emob

emob ELIAS BED-LIT 90 Assembly instruction

Hülsta OVIELLA Assembly instruction

Hülsta

Hülsta OVIELLA Assembly instruction

Argos Finland 656/1770 Assembly instructions

Argos

Argos Finland 656/1770 Assembly instructions

BLACK RED WHITE ELIPPE EL4S/7/9 Assembly instructions

BLACK RED WHITE

BLACK RED WHITE ELIPPE EL4S/7/9 Assembly instructions

Kangaroo Kabinets Aussie II K8605 Assembly instructions

Kangaroo Kabinets

Kangaroo Kabinets Aussie II K8605 Assembly instructions

avaks nabytok REA Lary S6/110 Assembly instructions

avaks nabytok

avaks nabytok REA Lary S6/110 Assembly instructions

Mooreco DOC Partition 661A Series manual

Mooreco

Mooreco DOC Partition 661A Series manual

Techni Mobili RTA-2018 Assembly instructions

Techni Mobili

Techni Mobili RTA-2018 Assembly instructions

FMD Bora 2 Assembly instructions

FMD

FMD Bora 2 Assembly instructions

Cooper Lighting Shaper 635-18 installation instructions

Cooper Lighting

Cooper Lighting Shaper 635-18 installation instructions

Wonderland W401 Assembly instructions

Wonderland

Wonderland W401 Assembly instructions

SPIELTEK 100 Series user manual

SPIELTEK

SPIELTEK 100 Series user manual

Lomado LANDRO R1D1SZ Assembly instruction

Lomado

Lomado LANDRO R1D1SZ Assembly instruction

Plust PLANET TABLE Assembly instructions

Plust

Plust PLANET TABLE Assembly instructions

Cool Kids Furniture 4230 Assembly instructions

Cool Kids Furniture

Cool Kids Furniture 4230 Assembly instructions

Kimball Fluent Assembly instructions

Kimball

Kimball Fluent Assembly instructions

manuals.online logo
manuals.online logoBrands
  • About & Mission
  • Contact us
  • Privacy Policy
  • Terms and Conditions

Copyright 2025 Manuals.Online. All Rights Reserved.