manuals.online logo
Brands
  1. Home
  2. •
  3. Brands
  4. •
  5. Next
  6. •
  7. Indoor Furnishing
  8. •
  9. Next 130442 User manual

Next 130442 User manual

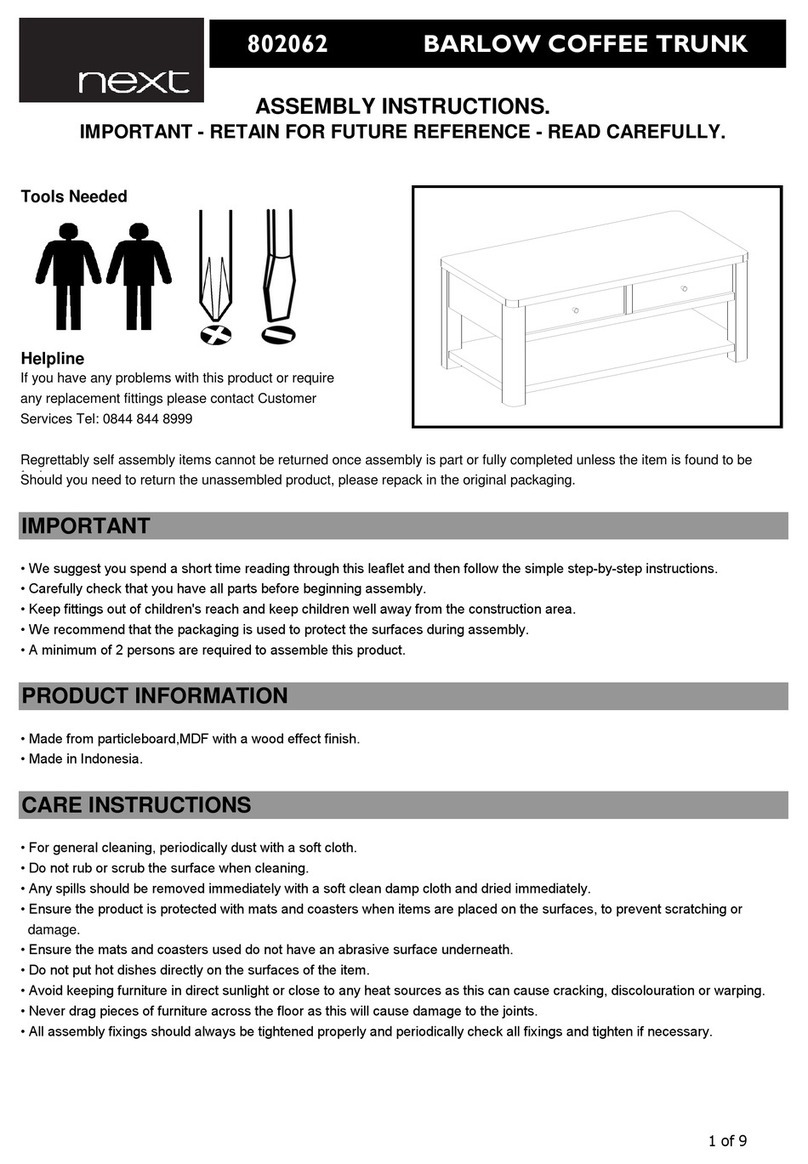
Tools Needed
Helpline
If you have any problems with this product or require any
replacement fittings please contact Customer Services
Tel: 0333 777 8999
• Wall fixings are not included.
• Carefully check that you have all parts before beginning assembly.
• Keep fittings out of children's reach and keep children well away from the construction area.
ASSEMBLY INSTRUCTIONS.
IMPORTANT - RETAIN FOR FUTURE REFERENCE - READ CAREFULLY.
Regrettably self assembly items cannot be returned once assembly is part or fully completed unless the item is found to be
faulty. Should you need to return the unassembled product, please repack in the original packaging.
IMPORTANT
• We suggest you spend a short time reading through this leaflet and then follow the simple step-by-step
instructions.
• We recommend that the packaging is used to protect the surfaces during assembly.
• A minimum of two persons is required to assemble this product.
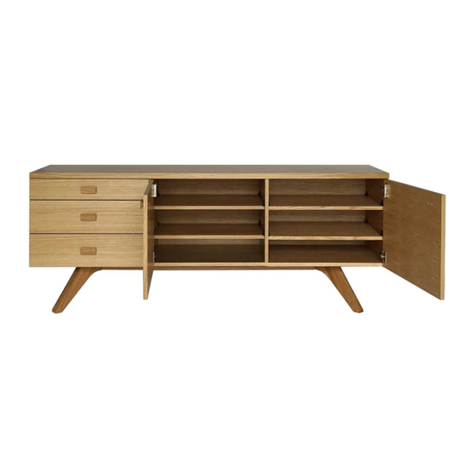
130442 CORSICA SMALL SIDEBOARD
130442 CORSICA SMALL SIDEBOARD130442 CORSICA SMALL SIDEBOARD
130442 CORSICA SMALL SIDEBOARD
• Wall fixings are not included.
• Do not put hot dishes directly on the surfaces of the item.
• Made from honeycomb board, partical board & MDF with a wood effect finish.
• Made in China.
CARE INSTRUCTIONS
• We recommend the use of the wall attachment bracket/strap provided for safety reasons.
PRODUCT INFORMATION
• For general cleaning, periodically dust with a soft cloth.
• Avoid keeping furniture in direct sunlight or close to any heat sources as this can cause cracking, discolouration or warping.
• Never drag pieces of furniture across the floor as this will cause damage to the joints.
• All assembly fixings should always be tightened properly and periodically check all fixings and tighten if necessary.
FITTINGS
• Do not rub or scrub the surface when cleaning.
• Do not use furniture polish.
• Any spills should be removed immediately with a soft clean damp cloth and dried immediately.
• Ensure the product is protected with mats and coasters when items are placed on the surfaces, to prevent scratching or
damage.
Page 1 of 20
PARTS
1.Attach panels 18, 19 & 22 to panel 20 with 6 x screws
(H) and tighten with a screwdriver.
1.Slide panel 23 into the assembled drawer frame.
STEP ONE
STEP TWO
Page 2 of 20
1.Insert 3 x cambolts (E) into panel 21 and tighten
with a screwdriver.
2Aattach handle (M) to the panel 21 with 2 x screws (M)
3.Glue and insert 5 x wooden dowels (A) into panels
18,19 & 22.
4.Attach panel 21 to the assembled drawer frame.
5.Insert 3 x camlocks (D) into panels 18, 19 & 22.
and tighten with a screwdriver.
Ensuring the arrow indicator is pointing towards the
panel edge before tightening with a screwdriver.
6.Repeat STEP
ONE
to STEP
THREE
for the other
STEP THREE
1.Attach panels 22, 24 & 25 to panel 26 with 6 x screws
(H) and tighten with a screwdriver.
1.Slide panel 23 into the assembled drawer frame.
STEP FOUR
STEP FIVE
Page 3 of 20
1.Insert 3 x cambolts (E) into panel 17 and tighten with
a screwdriver.
2Aattach handle (M) to the panel 17 with 2 x screws (M)
3.Glue and insert 5 x wooden dowels (A) into panels
22, 24 & 25.
4.Attach panel 17 to the assembled drawer frame.
5.Insert 3 x camlocks (D) into panels 22, 24 & 25.
and tighten with a screwdriver.
Ensuring the arrow indicator is pointing towards the
panel edge before tightening with a screwdriver.
6.Repeat STEP FOUR to STEP SIX for the other drawer.
1.Insert 11 x cambolts (E) into panels 1 , 2, 3 , 4 & 7
STEP SIX
STEP SEVEN
1.Insert 11 x cambolts (E) into panels 1 , 2, 3 , 4 & 7
and tighten with a screwdriver.
2 Aattach stopper (L) to the panel 7 with 2 x screws
provided
Note:The stopper must be facing towards the
outside of panel 7.
3.Glue the holes of 3 & 4 , insert 4 x wooden dowels (B)
into panels 3 & 4
1.Glue and insert 1 x wooden dowels (B) into panel 1
2.Attach panel 7 to panel 1
3.Insert 2 x camlocks (D) into panels 7 and tighten with a
Ensuring the arrow indicator is pointing towards the
panel edge before tightening with a screwdriver.
STEP EIGHT
Page 4 of 20
1.Glue and insert 6 x wooden dowels (B) into
panels 13 (x3)
2.Attach panels 13 ( x3) to panel 7
STEP TEN
STEP NINE
STEP TEN
1.Glue and insert 6 x wooden dowels (B) into
panels 13 (x3)
2.Attach panels 3 & 4 to panels 13 (x3)
STEP ELEVEN
1.Attach panels 3,4 to panel 1
2.Insert 4 x camlocks (D) into panel 1 and tighten with
a screwdriver.
Ensuring the arrow indicator is pointing towards the
panel edge before tightening with a screwdriver.
Page 5 of 20
1.Glue and insert 2 x wooden dowels (B) into panel 2
2.Attach panel 14 to panel 2.
3.Insert 1 x camlock (D) into panels 14 and tighten with
a screwdriver.
Ensuring the arrow indicator is pointing towards the
panel edge before tightening with a screwdriver.
1.Glue 2 x wooden dowels (B) on panels 3 & 4.
2 Attach panel 2 to panels 3 & 4.
3.Insert 4 x camlocks (D) into panel 2 and tighten with
a screwdriver.
Ensuring the arrow indicator is pointing towards the
panel edge before tightening with a screwdriver.
STEP TWELVE
STEP THIRTEEN
panel edge before tightening with a screwdriver.
1.Tighten panel 2 to panel 7 with 2 x screws (F) using
an Allen key (G) .
STEP FOURTEEN
Page 6 of 20
STEP FIFTEEN
1.Glue and insert the 6 x wooden dowels (A) into
panels 15 & 16.
2 Attach panels 15 & 16 to paenls 3 & 4.
STEP SIXTEEN
1.Silde panels 12 (x2) into the grooves of the unit
STEP SEVENTEEN
1.Silde panels 10, 11 into the grooves of the assembled
unit.
10
1
2
7
STEP EIGHTEEN
Page 7 of 20
1.Slide panels 5 & 6 into the assembled unit as shown
in diagram.
STEP NINETEEN
1.Tighten panels 5 & 6 to panels 1 & 2 with 8 x screws (F)
using an Allen key (G) .
6
5
5
10
15
12
12
10
15
11
12 11
16
2
STEP TWENTY
1.Carefully lift the unit upright
2.Insert 4 x fittings (I) into the required position
of panels 15 & 7.
3.Insert panel 8 onto the fittings (I) .
STEP TWENTY -ONE
1.Attach 2 × hinges (J) to panel 9 with 4 × screws (K)
by using a screwdriver until tight.
2.Attach handle (M) to the panel 9 with 2x screws
Page 8 of 20
provided.
STEP TWENTY -TWO
1.Attach panel 9 to panel 15 with 4 ×screws (K)
through 2 x hinges (J) by a screwdriver.
To align doors use the adjustment
diagram below.
LATERAL
VERTICAL
FRONT-TO-BACK
STEP TWENTY -THREE
1. Insert the drawers 21(x2) & 27(x2) to the assembled
unit as shown in diagram.
STEP TWENTY -FOUR
1. Insert 12 x plastic fasteners (O) into the back panel
grooves and tighten with screws provided.
Page 9 of 20
STEP TWENTY -FIVE
1.Using screw and washer secure the 2 x nylon straps
(N) to the back of top panel.
2.Secure the other end of the strap to the wall with an
appropriate screw and wall plug for your wall type
(not provided).
To hide the strap behind the unit ,drill the hole lower
than the top of unit.
Warning:
Always ensure intended wall area to be
drilled is free from hidden electrical wires,
water and gas pipes.
NB:Wall fixings are not included-Please source
suitable fixing for your wall type. If in doubt
please consult a qualified trades person.
Next Retail Ltd, Desford Road, Enderby, Leicester, LE19 4AT
Page 10 of 20
Page 11 of 20
Page 12 of 20
Page 13 of 20
Page 14 of 20
Page 15 of 20
Page 16 of 20
Page 17 of 20
Page 18 of 20
Page 19 of 20
Page 20 of 20

This manual suits for next models

1

Other Next Indoor Furnishing manuals

Next 431648 User manual

Next

Next 431648 User manual

Next WESTCOTT NO FE 354249 User manual

Next

Next WESTCOTT NO FE 354249 User manual

Next 776510 User manual

Next

Next 776510 User manual

Next HUXLEY NEST SO3 User manual

Next

Next HUXLEY NEST SO3 User manual

Next 363424 User manual

Next

Next 363424 User manual

Next Bellagio 689891 User manual

Next

Next Bellagio 689891 User manual

Next SIMPSON 749477 User manual

Next

Next SIMPSON 749477 User manual

Next GRAND COUNTRY LARGE SIDEBOARD U22226 User manual

Next

Next GRAND COUNTRY LARGE SIDEBOARD U22226 User manual

Next MODE 857326 User manual

Next

Next MODE 857326 User manual

Next 697901 User manual

Next

Next 697901 User manual

Next NEWHAVEN ROBE 729440 User manual

Next

Next NEWHAVEN ROBE 729440 User manual

Next MADRID DINING TBL 131232 User manual

Next

Next MADRID DINING TBL 131232 User manual

Next 801708 User manual

Next

Next 801708 User manual

Next BRIGITTE 819052 User manual

Next

Next BRIGITTE 819052 User manual

Next 279192 User manual

Next

Next 279192 User manual

Next MALVERN U83634 User manual

Next

Next MALVERN U83634 User manual

Next MALVERN User manual

Next

Next MALVERN User manual

Next 597564 User manual

Next

Next 597564 User manual

Next Shropshire 121862 User manual

Next

Next Shropshire 121862 User manual

Next MILAN User manual

Next

Next MILAN User manual

Next IVA 380058 User manual

Next

Next IVA 380058 User manual

Next 685014 User manual

Next

Next 685014 User manual

Next Amelia 125862 User manual

Next

Next Amelia 125862 User manual

Next 988494 User manual

Next

Next 988494 User manual

Popular Indoor Furnishing manuals by other brands

CATSKILL 7225 Assembly instructions

CATSKILL

CATSKILL 7225 Assembly instructions

Kettler Cora Rope Lounge Armchair HUC25687 Assembly instructions

Kettler

Kettler Cora Rope Lounge Armchair HUC25687 Assembly instructions

Furniture of America CM1767 Assembly instructions

Furniture of America

Furniture of America CM1767 Assembly instructions

Sauder Cannery Bridge 429515 manual

Sauder

Sauder Cannery Bridge 429515 manual

grospol ENJOY ELITE 2 user guide

grospol

grospol ENJOY ELITE 2 user guide

Golden Technologies MAXICOMFORT PR515-MLA owner's manual

Golden Technologies

Golden Technologies MAXICOMFORT PR515-MLA owner's manual

sweeek. NEPAL INEPCHEST4D manual

sweeek.

sweeek. NEPAL INEPCHEST4D manual

GALA MEBLE LANGEN G80K Assembly manual

GALA MEBLE

GALA MEBLE LANGEN G80K Assembly manual

modway MOD-5431 Assembly instruction

modway

modway MOD-5431 Assembly instruction

Totem LAGOS Assembly instructions

Totem

Totem LAGOS Assembly instructions

Costway JV11059 manual

Costway

Costway JV11059 manual

CasaOne MROW5819 Assembly instructions

CasaOne

CasaOne MROW5819 Assembly instructions

Trasman T2027CA Assembly manual

Trasman

Trasman T2027CA Assembly manual

Ameriwood HOME Good To Go 5206015GM Instruction booklet

Ameriwood HOME

Ameriwood HOME Good To Go 5206015GM Instruction booklet

BluDot MODULICIOUS 6 LOW DRESSER Assembly instructions

BluDot

BluDot MODULICIOUS 6 LOW DRESSER Assembly instructions

Safavieh Furniture QUINN SFV6033A Assembly

Safavieh Furniture

Safavieh Furniture QUINN SFV6033A Assembly

aspenhome IHP-378-KHA Assembly instructions

aspenhome

aspenhome IHP-378-KHA Assembly instructions

Forte SQNK221-C764 Assembling Instruction

Forte

Forte SQNK221-C764 Assembling Instruction

manuals.online logo
manuals.online logoBrands
  • About & Mission
  • Contact us
  • Privacy Policy
  • Terms and Conditions

Copyright 2025 Manuals.Online. All Rights Reserved.