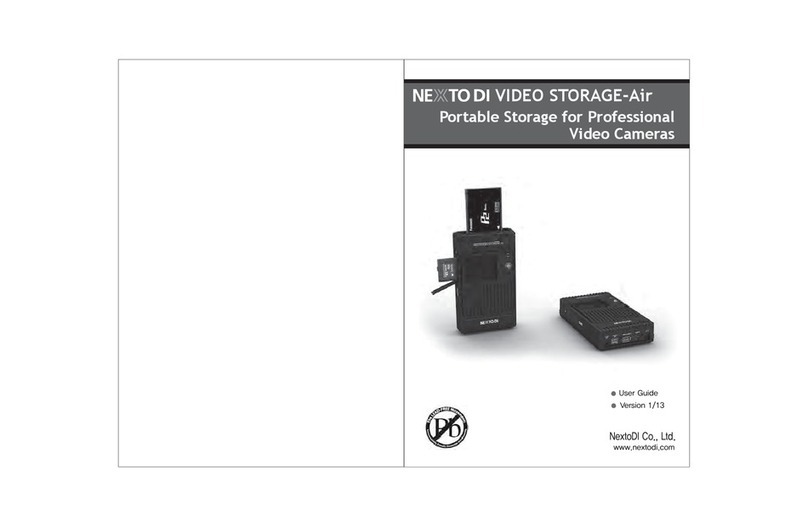
6Copying Data from Flash Memory Cards to the
Nexto ND2901
1. The Nexto-ND2901 must not be connected
to a computer.
2. Insert a memory card in the Nexto-ND2901
corresponding memory slot.
3. Turn on the Nexto-ND2901
4. The display says “XX detected – Copy? S=Y, L=No”
(XX represents the type of memory card
detected, such as CF,SDHC, SDXC or SD).
5. To copy the data, use a (S)hort stroke
(press and quickly release the COPY key.)
6. The display reads “Copy Complete.”
7Photo Preview
Copyright 2008 NextoDI, Inc. www.nextodiusa.com P.O. Box 4668. Inglewood, CA 90309-4668
5Turning the Nexto ND2901 On or Off
Check the remaining capacity of the internal battery on the upper right
corner of the screen. If it is low, charge the Nexto-ND2901 before use.
You may also use the external battery, but again, it may need to be charged
before use. Plug the external battery into the “BAT” connection on the
Nexto-ND2901 while the Nexto-ND2901 is charging using the AC adapter.
8Using the NEXTO ND2901 as a Hard Drive
Press the control key for more than 2 seconds in order
to turn the ND2901 on. The power up logo and firmware
version is shown on the LCD.
When you see the logo on the LCD screen, release
the button. Otherwise, the ND2901 will automatically
power down.
PHOTO STORAGE
Ver 1.00
OK Back
HDD 1/4
20110502.000
20110501.000
20110430.000
20110428.001
20110428.000
Sel Back
20110502.000
13 Files
14.1 GB
Show Photo
Delete Folder
Copy to Ext Dev
245.0 G
Preview
Self Test
Auto Copy On
Buzzer: On
Format
Sel Back
Sel Back
245.0 G
Preview
Select a Source
Internal HDD
External DEV
1. Preview from the internal hard drive
The ND2901 shows stored photo files after backup. For clarification on supported file
formats www.nextodiusa.com. A preview of both the internal and external devices
(CF/SD/SDXC/SDHC) is supported. Users can also choose to delete the backup folders.
Press the control key once at the “XCopy Ready” mode
to activate the menu.
Press the control key and select “Preview”.
Select “Internal HDD” to preview a photo file stored
in the internal hard drive.
The ND2901 will display the contents of the backup
folder in date order. The most recent folder is shown
first. After you select a folder, the ND2901 will display
a brief list of the contents as shown in the figure below.
The user can select [Show Photo] for photo preview,
[Delete] for deleting this backup, or [Copy] for copying
to an external device
Sel Back
245.0 G
Preview
Select a Source
Internal HDD
External DEV
The ND2901 supports the preview of photo files stored on
memory cards such as: CF, SD, SDXC and SDHC.
Select “External DEV” from the [Preview] menu.
The ND2901 can be connected to your computer for use as an external hard
drive. Connect to the computer’s USB port via the ND2901 "COMPUTER" slot and
the USB cable.
Reference
● Users of Windows XP and Windows Server 2003 must have Service Pack 2 or
later and install an update to support exFAT. Windows Vista must be Service
Pack 1 or later for exFAT support. The ND2901 cannot be read by any version
of Windows prior to Windows XP.
● Mac OS X Snow Leopard 10.6.6 and later can fully access exFAT file system.
●A computer can only recognize the internal hard drive of the ND2901.
A computer cannot recognize an External USB hard drive or any memory cards
that are connected to the ND2901. Thus, the ND2901cannot be used as a
memory card reader.
● If connecting to the ND2901 via USB, use the back slot of the computer.
The front slot might not be able to process the high speed of the signal.
●The ND2901 can be connected to your computer with the super fast
USB3.0 interface (up to 5Gbps) or the high speed USB2.0 interface. If the
ND2901 is connected to a USB2.0 port on your computer, data will be
transferred at USB2.0 speed.
1. Connect via USB
①Turn your computer on. Wait until the operating system is completely booted.
②Turn your ND2901 on.
③Connect the ND2901 "COMPUTER" slot via the USB cable with a free USB 3.0
port on your computer. A USB 2.0 port can also be used.
④Check the “PC USB”on the ND2901’s LCD display.
⑤If your computer detects the ND2901 correctly, a new drive named [NEXTODI]
will appear in the “My Computer” display.
USB 3.0 cable
USB 3.0 (Micro-B)
Off
PC ↔USB
IF THE POWER ON THE ND2901 CANNOT BE TURNED OFF VIA
ON/OFF BUTTON:
Press the recessed Reset key using a toothpick or paper clip. The Reset key is
located on the bottom of the ND2901 to the right of the BAT port.
(See diagram below.)
The Reset key will turn the power off safely so that the data stored in the
internal hard drive will not be lost or altered.
↔
14. Making A Secondary Copy (SYNC)
1
3
3m15sCancel
913.0 G
HDD →USB
Up 20140414.000
67 / 88
123.88 MB
2
Current operation status is shown on the LCD display.
①Total number of files in the external USB hard drive
versus the number of copied files
②Amount of data copied
③Elapsed time
①Total number of files in the external USB hard drive
versus the number of copied files
②Amount of data copied
③Copy speed in (MB/s)
2. Status
3. Indication of Results
24MB/s Off
913.0 G
Sync Success
RemoveUSB
88 / 88
13.45 GB
1
2
3
The “Sync” function synchronizes data between the [NEXTOMS] folder of the
ND2901 and the [NEXTOMS] folder of an external USB hard drive. This function
compares the folders stored in the [NEXTOMS] folder of the ND2901 with the
[NEXTOMS] folder of an external USB hard drive. A new folder will be copied to
the external hard drive only if a folder is in the [NEXTOMS] folder of the ND2901
but not in [NEXTOMS] folder of an external USB hard drive.
OK Cancel
913.0 GB
USB Detected
Select USB Mode
SYNC
Copy from USB
If the proper external USB hard drive is connected,
the ND2901 shows “SYNC”or “Copy from USB” mode
selection. Briefly press the control key to select ‘SYNC’.
1. SYNC function
A user can select two modes of duplication, copy or verify.
Highlight the desired mode using the up/down key, then
briefly press to select the mode. Press and hold the key
to cancel the operation.
OK Cancel
913.0 GB
SYNC Mode
Copy
Verify
Duplicates new files and folders to [NEXTOMS] folder of external
USB hard drive from internal [NEXTOMS] folder.
Copy
Verify Compare data stored in the [NEXTOMS] folder of the external hard
drive with that of the internal hard drive.
Caution
● External USB hard drives MUST be formatted using the exFAT format.
If a non-exFAT formatted drive is connected for SYNC, the ND2901
will ask you to format the external USB drive. Be sure to backup
data before formatting the drive.


