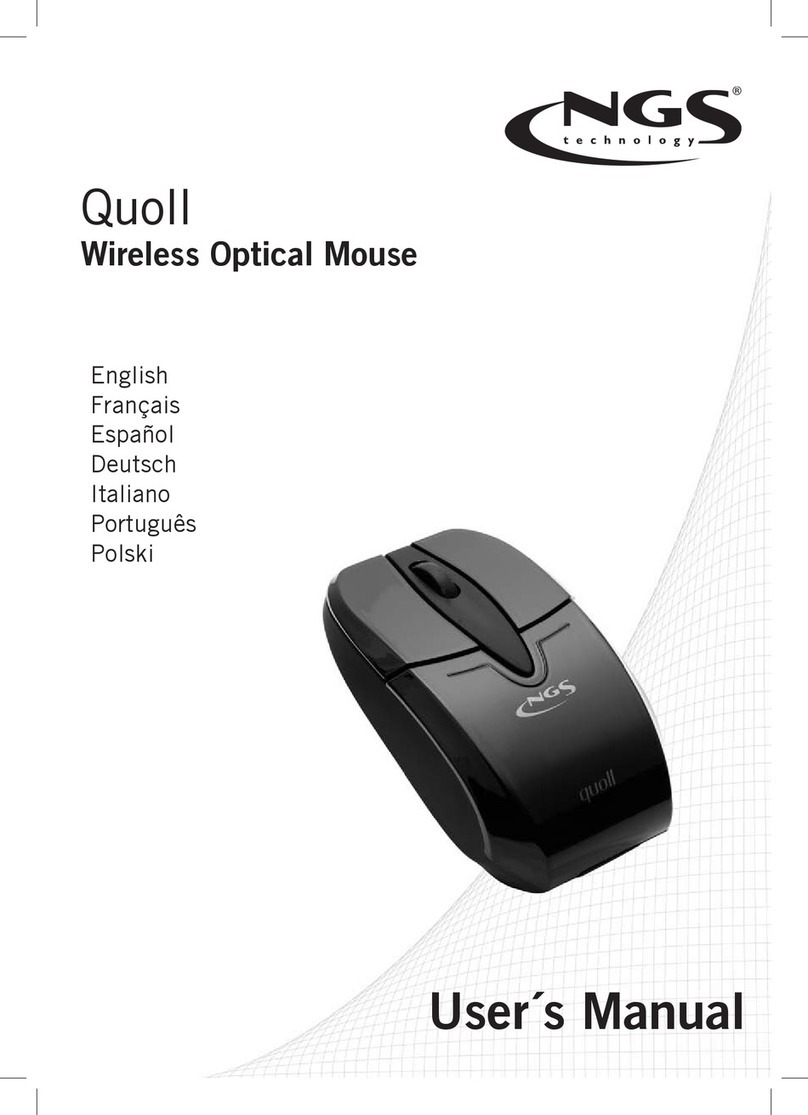
NGS Screen Mouse User manual

User’s Manual
1
EN
User’s Manual
English · Français · Español · Deutsch · Italiano · Português · Polski
Screen Mouse
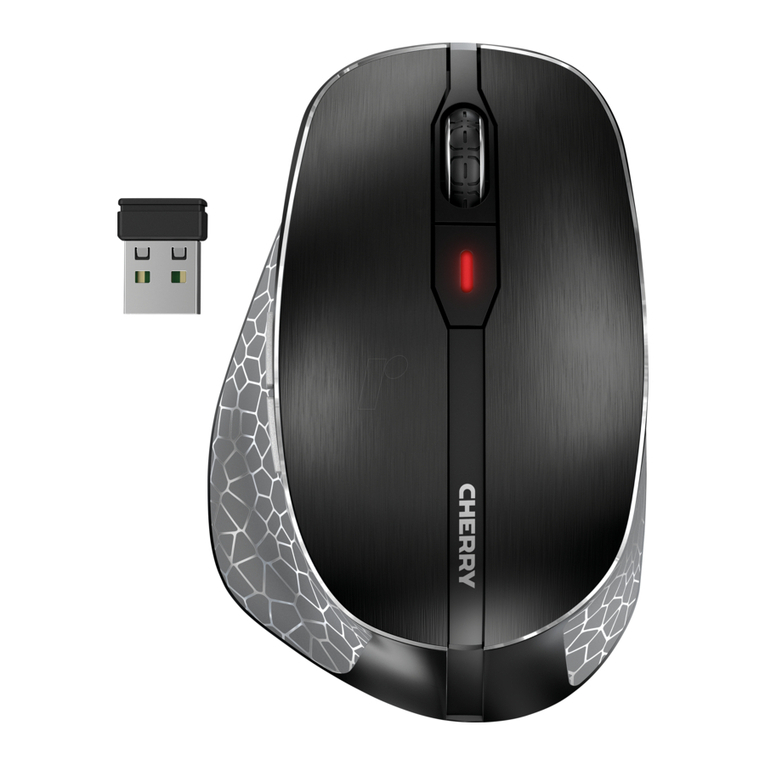
NGS PHOTO FRAME MOUSE


User’s Manual
3
EN
1. PRODUCT DESCRIPTION:
2. INSTALLATION:
3. DISPLAY MANUAL:
1.1 This optical mouse sets with 800dpi resolution.
1.2 Ergonomics design offers comfortable use for both left and right hand users.
1.3 Streamline appearance design, not novel but fashionable in design.
1.4 Capacity: 8M, Supports bmp and jpg format.
1.5 Display function could be adjusted automatically and manually.
1.6 USB interface, plug and play.
1.7 Compatible with Windows95, Windows98, Windows2000, Windows XP, Vista and
Windows 7.
1.8 This mouse includes three keys—left, right and middle, plus scroll function.
1.9 1.5 Inch TFT color LCD.
2.1 Plug the mouse into PC USB port directly, plug and play, no need to install other drivers.
USB cable
Reset
Down Up
Menu
3.1 Appearance and key function (picture as below):

User’s Manual
4
3.2 Buttons.
Menu: Press and hold to power on and off.
Up: Go back to the previous item/picture.
Down: Go to the next item/picture.
Reset: To restart the unit when it has been stopped or connects with computer error.
3.3 Menu Introduction:
A. Press Menu button to access the Menu:
Use “Up/Down” buttons to navigate then press Menu
button to access the selected item.
The menu including: USB connect, Slide Show, Auto off,
Backlight, Contrast, Delete, Power off and Exit.
Note: Hold Menu button for 2 seconds. The unit will
power off. It is not acceptable power off in the main menu
interface.
B. USB connect:
Connect the unit with computer. Select “USB connect”
and press Menu button to enter the sub-menu.
Select “Yes” to connect it with computer, please refer to
section “4. Picture File Conversion”.
Select “No” to exit.
Main Menu
USB Connect
Slide Show
Auto off
Backlight
Contrast
Delete
Power Off
Exit
Main Menu
USB Connect
Slide Show
Auto off
Backlight
Contrast
Delete
Power Off
Exit

User’s Manual
5
EN
C. Slide Show:
Select “Slide Show” and press Menu button to enter.
Select “on”, adjust the setting by using “Up/Down” button (the slide time range is 00-15).
Press Menu button to exit the setting and back to “Menu” after adjusting.
Select “off”, no slide function, press Menu button to exit the setting and back to “Menu”.
Select “Cancel”, press Menu button to exit the setting and back to “Menu”.
E. Backlight Adjusting:
Select “Backlight” and press Menu button to enter.
Adjust the setting by using “Up/Down” button (the brightness range is 0-21).
F. Contrast Adjusting:
Select “Contrast” and press Menu button to enter.
Adjust the setting by press “Up/Down” button (the contrast range is 0-6).
D. Auto off(for LCD):
Select “Auto off ”and press Menu button to enter.
Press “On”, then press “Up/Down” button to adjust time for Auto off, (the time range is
00-30 minutes), show as below.
Select “off”, press Menu button to exit the setting
and back to “Menu”.
Select “Cancel”, press Menu button to exit the
setting and back to “Menu”.
User’s Manual
6
G. Delete:
Delete one:
Select “Delete” and press “Menu” to enter.
Select sub-menu “Delete one” press Menu button to enter.
Select one picture by using “Up/Down” button.
Select “Yes” and press “Menu” to delete the picture.
Select “No” and press “Menu” to exit.
Delete All:
Select “Delete” and press “Menu” to enter.
Select sub-menu “Delete All” press Menu button to enter.
Select “Yes” and press “Menu” to delete all pictures.
Select “No” and press “Menu” to exit.
H. Power Off (for LCD):
Select “Power off” and press Menu button to shut LCD display.
Press Menu button again several seconds, the screen will display just as before.
I. Exit:
Select “Exit” and press Menu button to exit the menu.
J. If there are not any pictures in the unit, the screen
will display“No photo”, show as below:

User’s Manual
7
EN
4. PICTURE FILE CONVERSION:
Connect the unit to the computer with the USB cable.
Select “Connect” then press Menu button.
Select “No” and press Menu button to exit.
Select “Yes” and press Menu button to enter “connect” mode.
The computer will open a window of the tool.
Select the picture le need to
be converted.
: Green means the unit was
connected with computer.
: Red means the unit
was disconnected with
computer.
+ , - : Zoom in/out the picture for selected
the picture.
RotateL , RotateR : Rotates the picture.
Clear : Cut the picture to correct size.
Rect : Whole picture convert, shift for Clear.
Add : Add the selected picture.
All : Select all pictures.
Delete : Delete the selected picture.
Save : Save the selected pictures.
Save all : Save all pictures.
Exit : Exit.

User’s Manual
8
Press the reset button and turn
back the normal display mode
after loading completely.
After the whole pictures are
converted, click “Download”
button to transfer the pictures
to the unit.
5. DISPLAY SETTING:
Click “setting” can change the font color and the background color of the menu.
Fontcolor : to select the font color.
Background : to select the background color.

User’s Manual
9
EN
6. AUTO-PLAY SETUP FOR COMPUTER SYSTEM
6.1 Windows XP system setup:
6.1.1 Click “Start”, choose and enter “Run”, see below image:
6.1.2 Input “gpedit.msc” and click “OK”, see below image.

User’s Manual
10
6.1.3 Open the folder “System” and double click “Turn off Auto-play”, see the red mark in
the image as below:
Open
system
Double click
here

User’s Manual
11
EN
6.1.4 Enter “Turn off Auto-play Properties” interface as follow, choose “Disabled” and
click “OK”, see the red mark in the image as below:
Choose
disabled

User’s Manual
12
6.2 Windows 7 system setup:
6.2.1 Click “Start” and enter “Control table”.
6.2.2 Click the “Hardware and voice effect” and enter “Auto-play” option.
6.2.3 Find out option “Software and game”, choose “Install or run program from your
media” in the sub-option of “Software and game”.
6.2.4 Click “Save”.
6.3 Vista system setup:
6.3.1 Click “Start”, choose “Set up” and enter “Control table”.
6.3.2 Click the “Hardware and voice effect” and enter “Auto-play” option.
6.3.3 Find out option “Software and game”, choose “Install or run program from your
media” in the sub-option of “Software and game”.
6.3.4 Click “Save”.

Manuel de l’Utilisateur
13
FR
1. DESCRIPTION DU PRODUIT :
2. INSTALLATION :
3. GUIDE DE L’AFFICHEUR :
1.1 Cette souris optique possède une résolution de 800dpi.
1.2 Le design ergonomique permet une utilisation confortable pour les usagers gauchers
comme droitiers.
1.3 Aspect conventionnel mais élégant.
1.4 Capacité : 8M, compatible avec les formats bmp et jpg.
1.5 La fonction d’afchage peut être congurée automatiquement et manuellement.
1.6 Interface USB, plug and play.
1.7 Compatible sous Windows95, Windows98, Windows2000, Windows XP, Vista et Windows 7.
1.8 Cette souris est munie de trois boutons — gauche, droit et central, plus fonction
délement.
1.9 Écran LCD couleur TFT de 1,5”.
2.1 Branchez la souris directement dans le port USB de votre PC, plug and play, pas besoin
d’installer de pilotes.
Câble USB
Redémarrer
Descendre Monter
Menu
3.1 Aspect et fonctionnement des boutons (voir image ci-dessous) :

Manuel de l’Utilisateur
14
3.2 Boutons :
Menu : Maintenez appuyé pour allumer et éteindre.
Monter : Revenir à l’élément/image précédent(e).
Descendre : Avancer à l’élément/image suivant(e).
Redémarrer: Pour redémarrer l’unité après un arrêt ou une connexion défectueuse à
l’ordinateur.
3.3 Introduction au Menu :
A. Appuyez sur le bouton Menu pour accéder au Menu :
Utilisez les boutons “Up/Down” pour parcourir le Menu puis
appuyez sur le bouton Menu pour accéder à l’élément choisi.
Le menu inclut : connexion USB, Présentation de
diapositives, Fermeture automatique, Éclairage de l’écran,
Contraste, Effacer, Éteindre et Quitter.
Note : Appuyez le bouton Menu pendant 2 secondes.
L’unité se met hors service. Le menu principal d’interface
ne permet pas la mise hors service.
B. Connecteur USB
Raccordez l’unité sur votre ordinateur. Sélectionnez “USB
connect” et appuyez sur le bouton Menu pour accéder au
sous-menu.
Cliquez sur “Yes” pour le raccorder à l’ordinateur, voir
section 4. Conversion des Fichiers d’Image.
Cliquez sur “No” pour quitter.
Main Menu
USB Connect
Slide Show
Auto off
Backlight
Contrast
Delete
Power Off
Exit
Main Menu
USB Connect
Slide Show
Auto off
Backlight
Contrast
Delete
Power Off
Exit

Manuel de l’Utilisateur
15
FR
C. Présentation des Diapositives :
Sélectionnez “Slide Show” et appuyez sur le bouton Menu pour accéder.
Sélectionnez “on”, réglez la conguration à l’aide des boutons “Up/Down” (l’intervalle
des diapositives est de 00-15). Appuyez sur le bouton Menu pour quitter le menu de
conguration et revenir au ·”Menu”.
Sélectionnez “off”, appuyez sur le bouton Menu pour quitter le menu de conguration et
revenir au “Menu”.
Sélectionnez “Cancel”, appuyez sur le bouton Menu pour quitter le menu de conguration
et revenir au “Menu”.
E. Éclairage de l’écran :
Sélectionnez “Backlight” et appuyez sur le bouton Menu pour accéder.
Réglez la conguration à l’aide des boutons “Up/Down” (l’intervalle de luminosité
est de 0-21).
F. Conguration du Contraste :
Sélectionnez “Contrast” et appuyez sur le bouton Menu pour accéder.
Réglez la conguration à l’aide des boutons “Up/Down” (l’intervalle de contraste
est de 0-6).
D. Fermeture automatique (du LCD) :
Sélectionnez “Auto off” et appuyez sur le bouton Menu pour accéder.
Appuyez sur “On”, puis sur les boutons “Up/Down” pour congurer le minuteur sur la
fermeture automatique, (l’intervalle de temps est de 00-30 minutes), voir ci-dessous.
Sélectionnez “off”, appuyez sur le bouton Menu
pour quitter le menu de conguration et revenir
au “Menu”.
Sélectionnez “Cancel”, appuyez sur le bouton Menu
pour quitter le menu de conguration et revenir
au “Menu”.

Manuel de l’Utilisateur
16
G. Effacer :
Effacer un :
Sélectionnez “Delete” puis appuyez sur “Menu” pour accéder.
Sélectionnez le sous-menu “Delete one” et appuyez sur le bouton Menu pour accéder.
Sélectionnez une image à l’aide des boutons “Up/Down”.
Sélectionnez “Yes” puis appuyez sur “Menu” pour effacer l’image.
Sélectionnez “No” puis appuyez sur “Menu” pour quitter.
Effacer tous :
Sélectionnez “Delete” puis appuyez sur “Menu” pour accéder.
Sélectionnez le sous-menu “Delete all” et appuyez sur le bouton Menu pour accéder.
Sélectionnez “Yes” puis appuyez sur “Menu” pour effacer toutes les images.
Sélectionnez “No” puis appuyez sur “Menu” pour quitter.
H. Fermeture (du LCD) :
Sélectionnez “Power off” et appuyez sur le bouton Menu pour fermer l’écran LCD.
Appuyez encore sur le bouton Menu pendant plusieurs secondes, l’écran reviendra à son
état précédent.
I. Quitter :
Sélectionnez “Exit” et appuyez sur le bouton Menu pour quitter le menu.
J. Dans l’absence d’images dans l’unité, l’écran
afcherale message “No photo”, voir ci-dessous :

Manuel de l’Utilisateur
17
FR
4. CONVERSION DES FICHIERS D’IMAGE :
Raccordez l’unité sur l’ordinateur à l’aide du câble USB.
Sélectionnez “Connect” puis appuyez sur le bouton Menu.
Sélectionnez “No” puis appuyez sur le bouton Menu pour quitter.
Sélectionnez “Yes” et appuyez sur le bouton Menu pour accéder au mode “connect”.
L’ordinateur afchera une fenêtre pour l’outil.
Sélectionnez le chier d’image
que vous souhaitez convertir.
: Le vert signie que l’unité
est reliée à l’ordinateur.
: Le rouge signie que
l’unité n’est pas reliée à
l’ordinateur.
+ , - : Zoom +/- de l’image choisie.
RotateL , RotateR : Rotation de l’image.
Clear : Découpe de l’image à la dimension
correcte.
Rect : Conversion complète de l’image en
Clear.
Add : Ajout de l’image choisie.
All : Sélection de toutes les images de
l’unité.
Delete : Suppression de l’image choisie.
Save : Sauvegarde des images choisies.
Save all : Sauvegarde de toutes les images.
Exit : Quitter.

Manuel de l’Utilisateur
18
Appuyez sur le bouton de
redémarrage pour revenir à
l’afchage normal après le
changement complet.
Lorsque toutes les images ont
été converties, cliquez sur les
boutons “Download” pour
transferer les images vers
l’unité.
5. CONFIGURATION DE L’AFFICHAGE :
Cliquez sur “setting” pour changer la couleur des caractères et de l’arrière-plan du menu.
Fontcolor : pour choisir la couleur des
caractères.
Background : pour choisir la couleur de
l’arrière-plan.

Manuel de l’Utilisateur
19
FR
6. CONFIGURATION DE LA LECTURE AUTOMATIQUE DU SYSTÈME DE L’ORDINATEUR
6.1 Conguration sous Windows XP :
6.1.1 Cliquez sur “Start”, choisissez et accédez à “Run”, voir l’image ci-dessous :
6.1.2. Saisir “gpedit.msc”, puis cliques sur “OK”, voir l’image ci-dessous.

Manuel de l’Utilisateur
20
6.1.3.Ouvrez le répertoire “System” et double-cliquez sur “Turn off Autoplay”, voir la
marque rouge sur l’image suivante :
Ouvrir
Double
cliquez ici
Table of contents
Languages:
Other NGS Mouse manuals