manuals.online logo
Brands
  1. Home
  2. •
  3. Brands
  4. •
  5. NHS
  6. •
  7. Medical Equipment
  8. •
  9. NHS Barts Health KTMED OXYPALM Owner's manual

NHS Barts Health KTMED OXYPALM Owner's manual

9
.15
2015
-
09
-
08
Page
-
1
of
3
KTMED OXYPALM SpO2 monitor
Supplemental Operators Information
OXYPALM is indicated for use in measuring and dis laying functional oxygen saturation and ulse
rate for neonatal, aediatric and adult use. The devi e should be used for spot- he king only and
isn’t suitable for unattended ontinuous monitoring, due to limitations of the Audio Alarm.
Fun tions & Display:
Power button, Press (>2 Seconds) to turn device ON. All LEDs are shown, followed by device
software version. Press Power button (>2 Seconds) to turn device OFF.
U er numeric dis lay = Patient S O2 reading.
Lower numeric dis lay = Patient Pulse rate.
Green Segment bar = Pulse Strength Indicator.
“SEn” “OPn” = “Sensor O en”, Sensor not connected to device.
“Fin” “OPn” = “Finger O en”, Sensor is not attached to the atient.
“POA” “OFF” = “Power OFF”, Device is about to turn OFF.
“0” “0” = If both S O2 and Pulse rate dis lay numeric are Zero then device is Sear hing for a
signal.
Numeric Flashing = If both S O2 and Pulse rate dis lay numeric are flashing then this
indicates a Noisy Signal, normally due to atient movement or oor ositioning of the sensor.
Green LED (solid) = Audio Alarm is Silen ed.
To activate Alarm Silen e, Press M button (short ress). Press M button to re-activate audio.
Note: Audio Alarm re-activates after the set Alarm Interval time is reached: OFF, 30sec, 60Sec,
90Sec, 120Sec. Warning: If Alarm Interval time is set to OFF device remains ermanently silenced.
Red LED Flashing = Alarm ondition.
Green LED (solid) + Red LED Flashing = Silen ed Alarm ondition. Visual Alarm condition only.
Battery Low LED = Batteries require re lacement.
This do ument is not a repla ement for
the manufa turers User
Manual
9
.15
2015
-
09
-
08
Page
-
2
of
3
Devi e Settings Menu.
WARNING: Alarm settings are inherited from the previous use
Device settings, as selected within the menu, are retained when device is switched off and even if
batteries are removed.
Navigating the menu: Press M button for 2 Seconds to begin the menu sequence. Having entered
the first menu item, ress Power button to cycle through other menu items as required.
Note: Whilst within any menu item after 10 Seconds of no o erator activity the menu will time out
and revert back to monitoring.
Menu Items
(Press M button >2 seconds):
First menu item: “voL” = Audio “Pulse Volume”, Press M to cycle round from 0 to 10.
(If Pulse Blee not required set = 0).
Press Power button, (whilst still in the menu sequence).
Second menu item: “AvL” = Audio “Alarm Volume”, Press M to cycle round from 1 to 10.
Warning: Alarm Volume has limitations of effectiveness, The device isn’t suitable for unattended
continuous monitoring. Recommended Setting = 10
Press Power button, (whilst still in the menu sequence).
Third menu item: “Int” = “Alarm Interval time”
Press M to cycle round “OFF, 30sec, 60sec, 90sec, 120sec”. (Recommended setting = 120sec)
When Audio Alarm is silenced a Green LED is lit. The Audio Alarm will re-activate after the set
Alarm Interval time is reached. Warning: If Alarm Interval time is Set to OFF and the silence is
ressed (Green LED lit) then device remains ermanently silenced.
Press Power button, (whilst still in the menu sequence).
Fourth menu item: “SPL” = “SpO2 Low Alarm limit”, Press M to cycle round from 85 to 99.
Note: This device does not have a S O2 High Alarm function.
Press Power button, (whilst still in the menu sequence).
Fifth menu item: “P H” = “Pulse rate High Alarm limit”, Press M to cycle round from +5 above
ulse rate Low Alarm Limit (minimum 35) to 255. Set in ste s of 5.
Press Power button, (whilst still in the menu sequence).
Sixth menu item: “P L” = “Pulse rate Low Alarm limit”, Press M to cycle round from 30 to -5 below
ulse rate High Alarm Limit (maximum 250). Set in ste s of 5.
Press Power button, (whilst still in the menu sequence).
9
.15
2015
-
09
-
08
Page
-
3
of
3
Seventh menu item: “Yr” = “Date Year”, Press M to cycle round from 00 to 99.
(Note: Device stores trend data of atient monitoring, required if com uter download is to be used)
Press Power button, (whilst still in the menu sequence).
Eighth menu item: “AO” = “Date Month”, Press M to cycle round from 1 to 12.
(Note: Device stores trend data of atient monitoring, required if com uter download is to be used)
Press Power button, (whilst still in the menu sequence).
Ninth menu item: “dY” = “Date Day”, Press M to cycle round from 1 to 29/30/31
.
(Note: Device stores trend data of atient monitoring, required if com uter download is to be used)
Press Power button, (whilst still in the menu sequence).
Tenth menu item: “hr” = “Time Hour”, Press M to cycle round from 0 to 23.
(Note: Device stores trend data of atient monitoring, required if com uter download is to be used)
Press Power button, (whilst still in the menu sequence).
Eleventh menu item: “Ai” = “Time Minute”, Press M to cycle round from 0 to 59.
(Note: Device stores trend data of atient monitoring, required if com uter download is to be used)
Press Power button, (whilst still in the menu sequence).
Twelfth menu item: “SEC” = “Time Se onds”, Press M to cycle round from 0 to 59.
(Note: Device stores trend data of atient monitoring, required if com uter download is to be used)
Press Power button, (whilst still in the menu sequence).
Thirteenth menu item: “CLr” “no” = “Clear Data memory”, Press M to “Yes” then ress Power
button, “dEL no” “Deleting numeric” will be dis layed. Once the deletion rocess is com lete the
menu will exit.
(Note: Device stores trend data of atient monitoring, required if com uter download is
to be used)
Press Power button, (whilst still in the menu sequence).
Fourteenth menu item: “ESC” “OO” = “Esca e” This is indicates end of the menu sequence has
been reached. ( ress Power button to Exit and revert back to monitoring or sim ly allow 10
seconds of no o erator activity to time out automatically).
Battery Installation
.
Size ty e ‘AA’ (LR6).
Quantity 4 Batteries.
Insert Batteries according to olarity

Other NHS Medical Equipment manuals

NHS Under Breast Soreness Technical manual

NHS

NHS Under Breast Soreness Technical manual

NHS Airsense 10 User manual

NHS

NHS Airsense 10 User manual

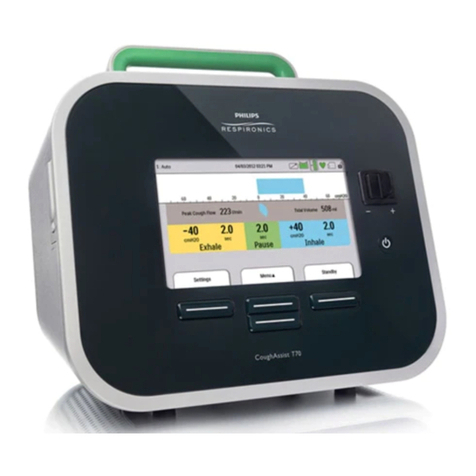
NHS Cough Assist User manual

NHS

NHS Cough Assist User manual

NHS Maltings User manual

NHS

NHS Maltings User manual

NHS FFP3 User manual

NHS

NHS FFP3 User manual

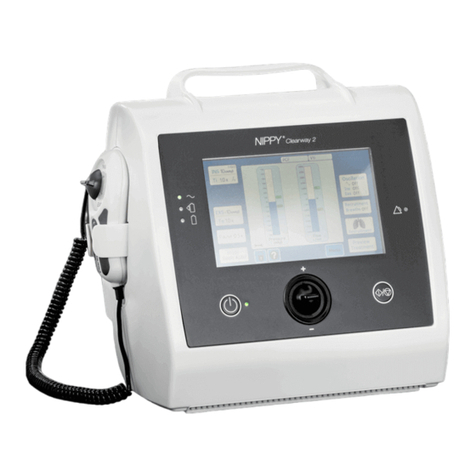
NHS Clearway User manual

NHS

NHS Clearway User manual

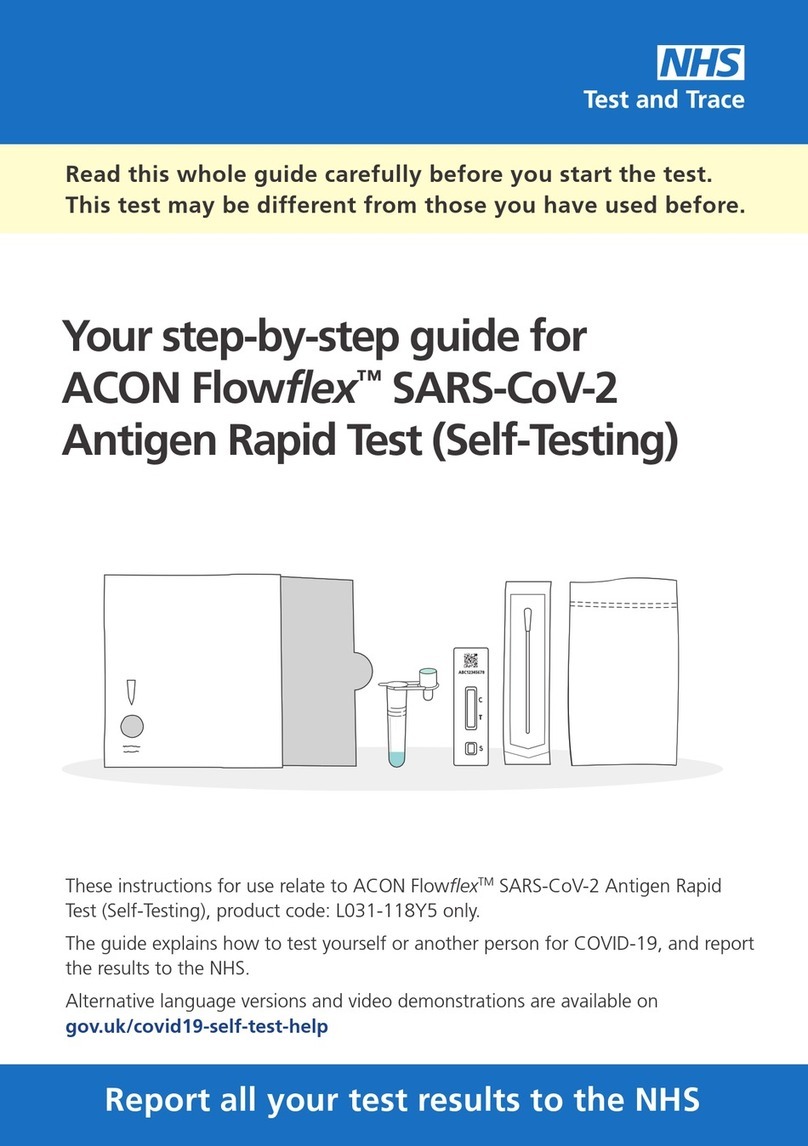
NHS ACON Flowflex SARS-CoV-2 User manual

NHS

NHS ACON Flowflex SARS-CoV-2 User manual

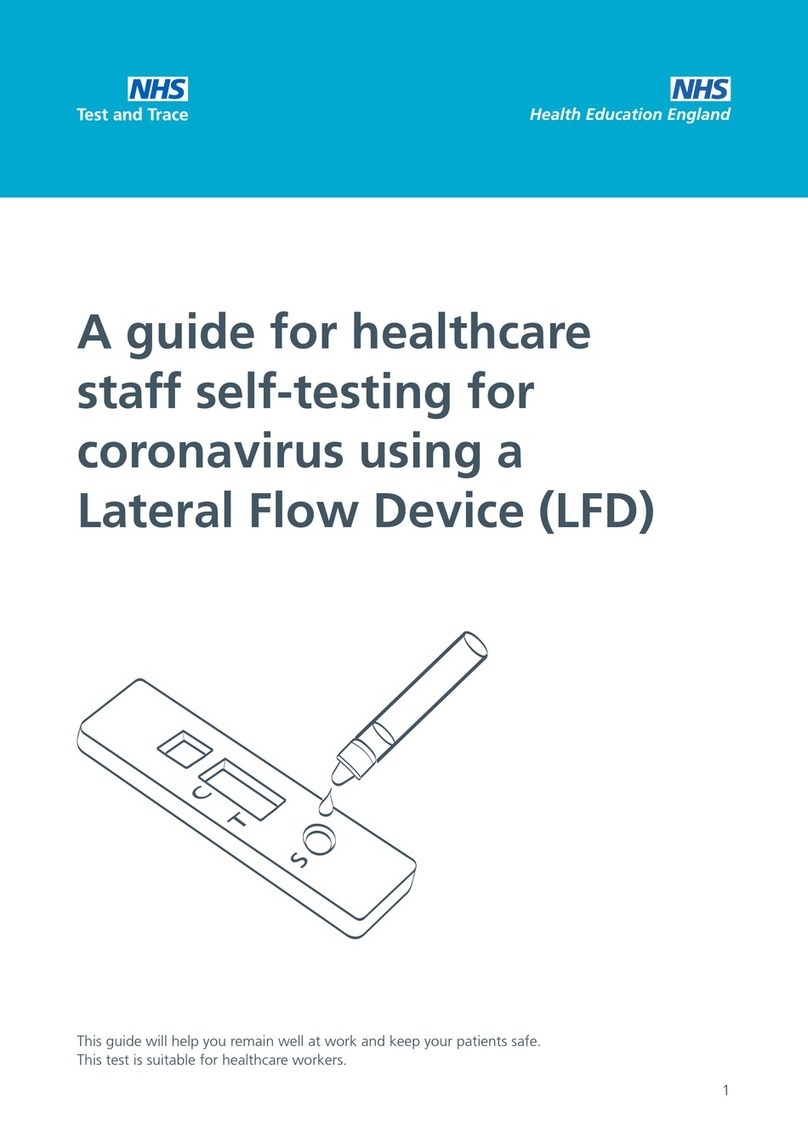
NHS Lateral Flow Device User manual

NHS

NHS Lateral Flow Device User manual

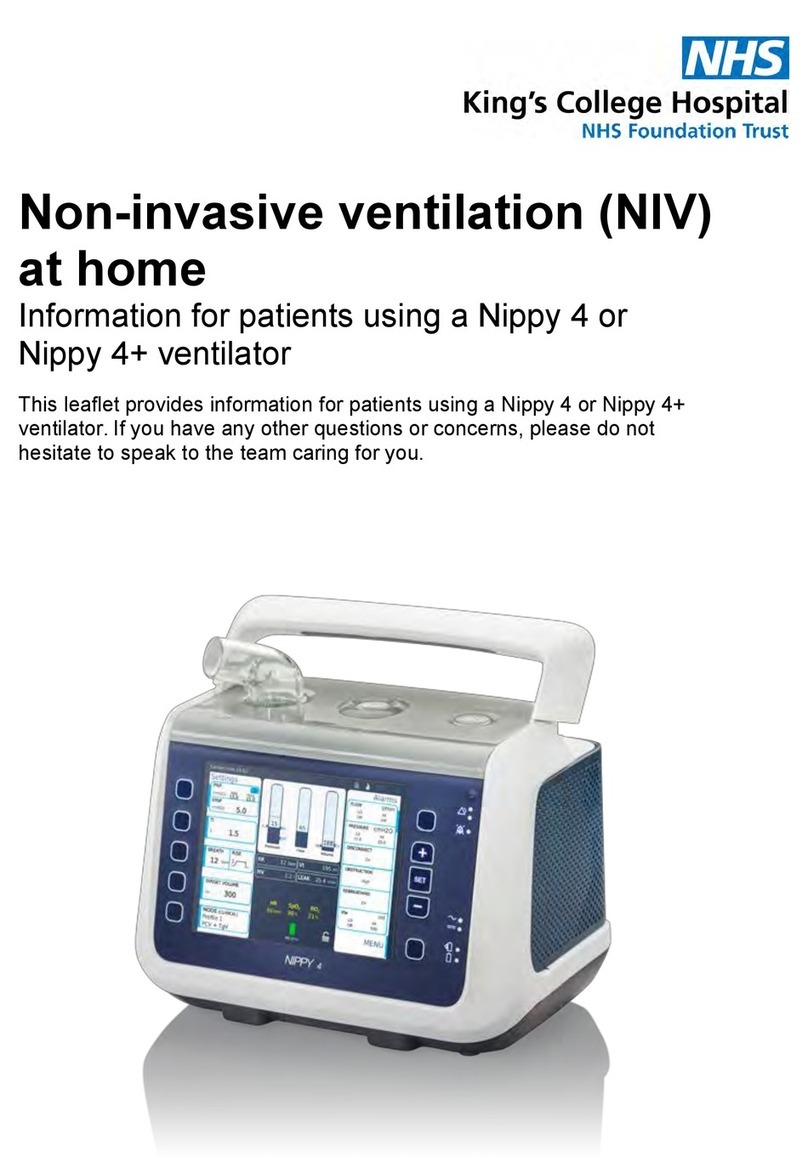
NHS Nippy 4 Manual

NHS

NHS Nippy 4 Manual

Popular Medical Equipment manuals by other brands

LINET MULTICARE 2015 Service manual

LINET

LINET MULTICARE 2015 Service manual

St. Jude Medical Optisure LDA220 user manual

St. Jude Medical

St. Jude Medical Optisure LDA220 user manual

dispomed Moduflex Access 2 manual

dispomed

dispomed Moduflex Access 2 manual

Smiths Medical CADD-legacy 1 quick start guide

Smiths Medical

Smiths Medical CADD-legacy 1 quick start guide

Vitalograph Pneumotrac User instructions

Vitalograph

Vitalograph Pneumotrac User instructions

Otto Bock 8E33-6 manual

Otto Bock

Otto Bock 8E33-6 manual

IOPI MEDICAL 3.2 user manual

IOPI MEDICAL

IOPI MEDICAL 3.2 user manual

Tesmed MAX 830 quick start guide

Tesmed

Tesmed MAX 830 quick start guide

SYAS Technology PREMIUM SGT2 Manual book

SYAS Technology

SYAS Technology PREMIUM SGT2 Manual book

3B Aer X quick start guide

3B

3B Aer X quick start guide

Physio Control lucas 2 Quick reference card

Physio Control

Physio Control lucas 2 Quick reference card

Maico DRD Ex Series Original installation and operating instructions

Maico

Maico DRD Ex Series Original installation and operating instructions

twall Premium64 user manual

twall

twall Premium64 user manual

medi M.4 s OA Instructions for use

medi

medi M.4 s OA Instructions for use

Nufer Medical CERATHERM 600-3 quick start guide

Nufer Medical

Nufer Medical CERATHERM 600-3 quick start guide

Stryker X8000 user guide

Stryker

Stryker X8000 user guide

Bedfont Gastro+ Gastrolyzer manual

Bedfont

Bedfont Gastro+ Gastrolyzer manual

Sota SP5 manual

Sota

Sota SP5 manual

manuals.online logo
manuals.online logoBrands
  • About & Mission
  • Contact us
  • Privacy Policy
  • Terms and Conditions

Copyright 2025 Manuals.Online. All Rights Reserved.