Cooking the same food in each zone? Set Zone 1 with probe and use
Match to automatically match settings to Zone 2.
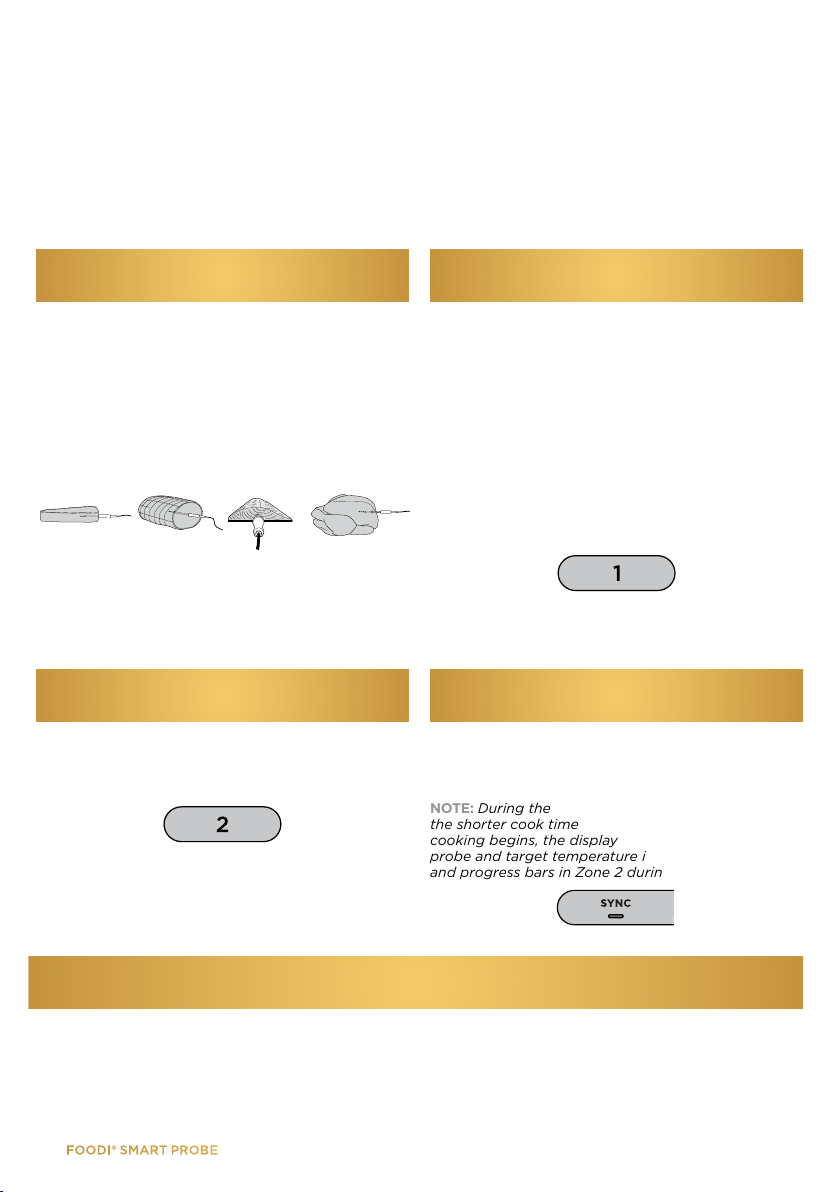
STEP 1
Set up Zone 1 with Probe
STEP 2
Program Zone 1
• Remove the probe storage compartment
located on the left-hand side of the unit.
• Remove Zone 1 basket (before plugging in
the probe).
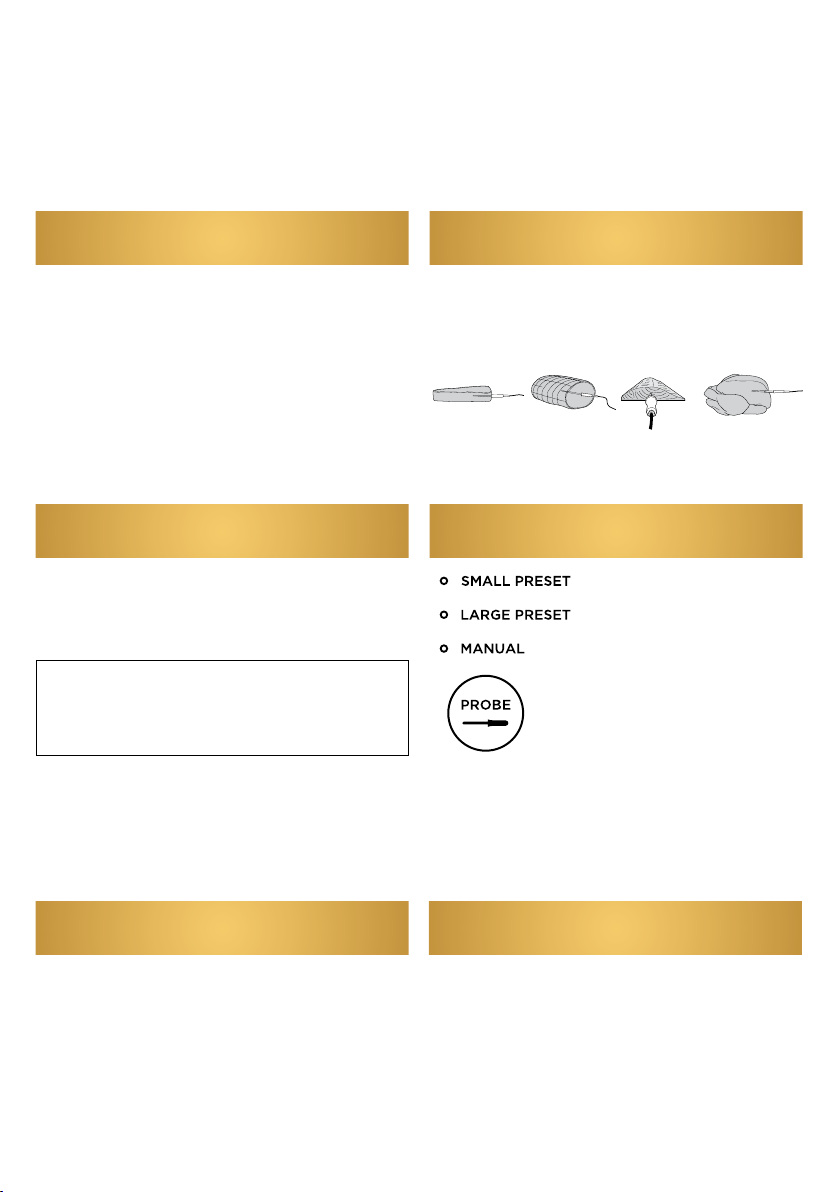
• Insert the probe in the protein according to
the guide on page 5.
• Place protein in basket and insert into unit.
• Plug probe into jack (located on the
left-hand side of the control panel).
• Select Zone 1 and the desired cook function
(e.g., Air Fry).
• Use the PROBE button to select Small Preset
or Large Preset, depending on the size of the
protein. Reference the preset cooking chart
below for guidance.
• If using the Manual button, use the
recommended internal cook temperatures
included on page 6.
• Use the arrows on the left of the display to
select your desired protein and arrows on the
right to set the internal doneness.
• Select MATCH, then press the START/STOP
button to begin cooking.
Match with the
Foodi®Smart Probe
9
PROTEIN PRESET WEIGHT (per basket) EXAMPLES
Pork
Small 4 each (110-170g each) Italian Sausages
2 each (280-340g each) Bone-In Pork Chops
Large 1 each (1kg) Pork Tenderloin
1 each (2-3kg) Pork Loin/Roast
Chicken Small 3-4 each, depending on size (225-340g each) Boneless Chicken Breast
3-4 each, depending on size (170-280g) Bone-In Chicken Thighs
Large 1 each (140g) Whole Chicken
Beef Small 2-4 each, depending on size (170-340g each) Steak
Large 1 each (85-110g) Top Round
Fish Small 3-4 each, depending on size (110g each) Salmon Fillets
Large 1 each (340-450g each) Side of Salmon
Preset Cooking Chart
STEP 3
Cooking Complete
• When cooking is complete, unit will beep. Transfer protein to a plate and allow to rest for 5 minutes
before serving. This is an important step, as proteins continue to cook and retain juices after being
removed from the source of heat.
NZ 64 800 112 660 |AU 61 2 8801 7666 |ninjakitchen.co.nz |ninjakitchen.com.au