NIX Labs FL4 User manual
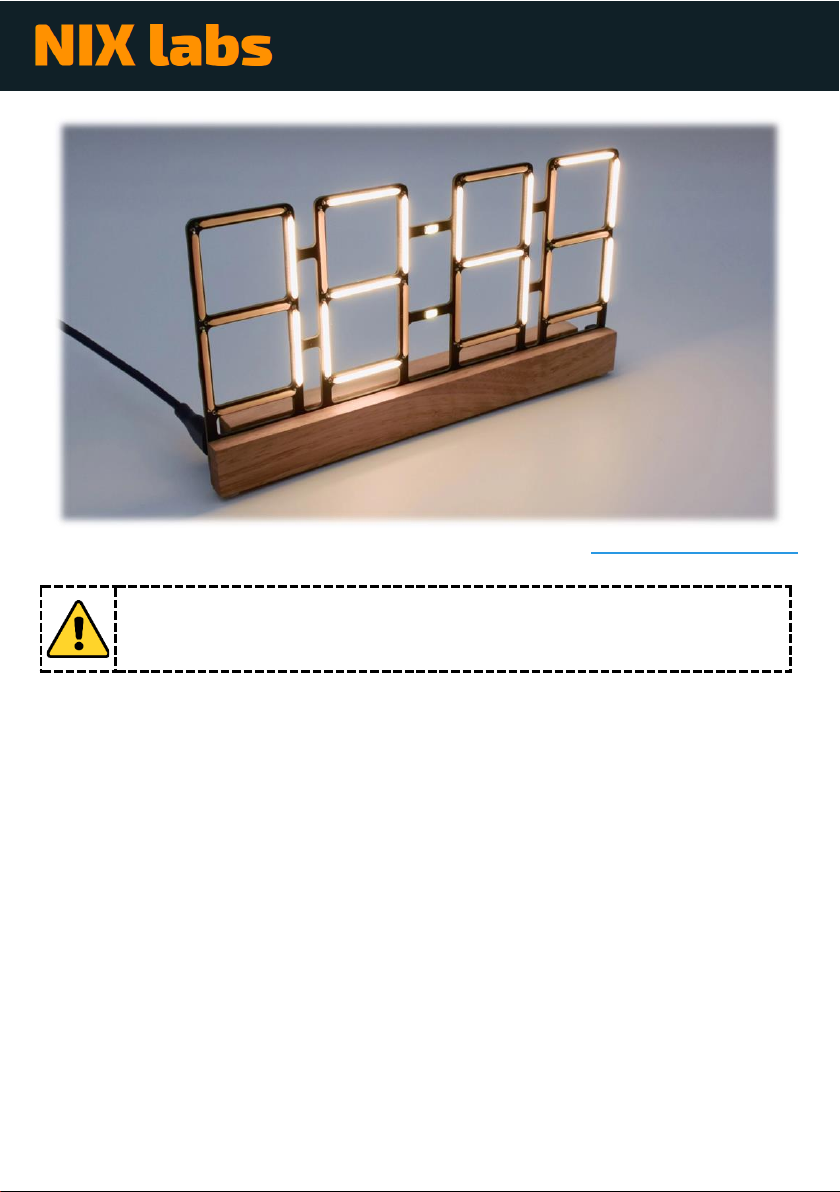
FL4 Quick Start Guide
Revision A0
Thanks for your NIX labs purchase! For the full user’s guide, visit nixlabs.com.au/support.
This product is not a toy and should be handled with care. Dono insert objects
into the gaps in the enclosure. Do not press on the LED filaments as they are
not flexible. Consult the full manual for complete usage instructions.
Getting Started
Check the box for the following items and remove them from their packaging:
•FL4 filament clock
•Australian power adaptor (or Multi-Region adaptor for international orders)
For use in countries other than Australia, remove the AU plug from the power adaptor,
and replace with the correct one for your region (US, EU or UK).
Plug the power adaptor’s USB-C end into the socket on the back of your clock either way
around. Connect the power adaptor to the wall outlet and turn on - your clock will show
88:88 for a few seconds after which it is ready to use.
When powering from a computer, connect directly to the computer’s USB port – avoid
USB hubs or extension cables. You can use any good-quality charge & data USB-C to
regular USB-A or USB-C to USB-C cable to connect your clock to your computer or
phone/tablet.

Using the Online Web App
Connect your clock to your PC, Mac, Linux, ChromeOS, or Android device using any good-
quality cable. Use Google Chrome, Microsoft Edge or Opera browser to go to
app.nixie.com.au, where the complete range of your device’s settings can be easily
changed for maximum customisation. However, many of these settings can be set using
the three built-in buttons, so use of the WebApp is not required.
Linux devices may require an additional udev rule, please refer to the full user’s manual.
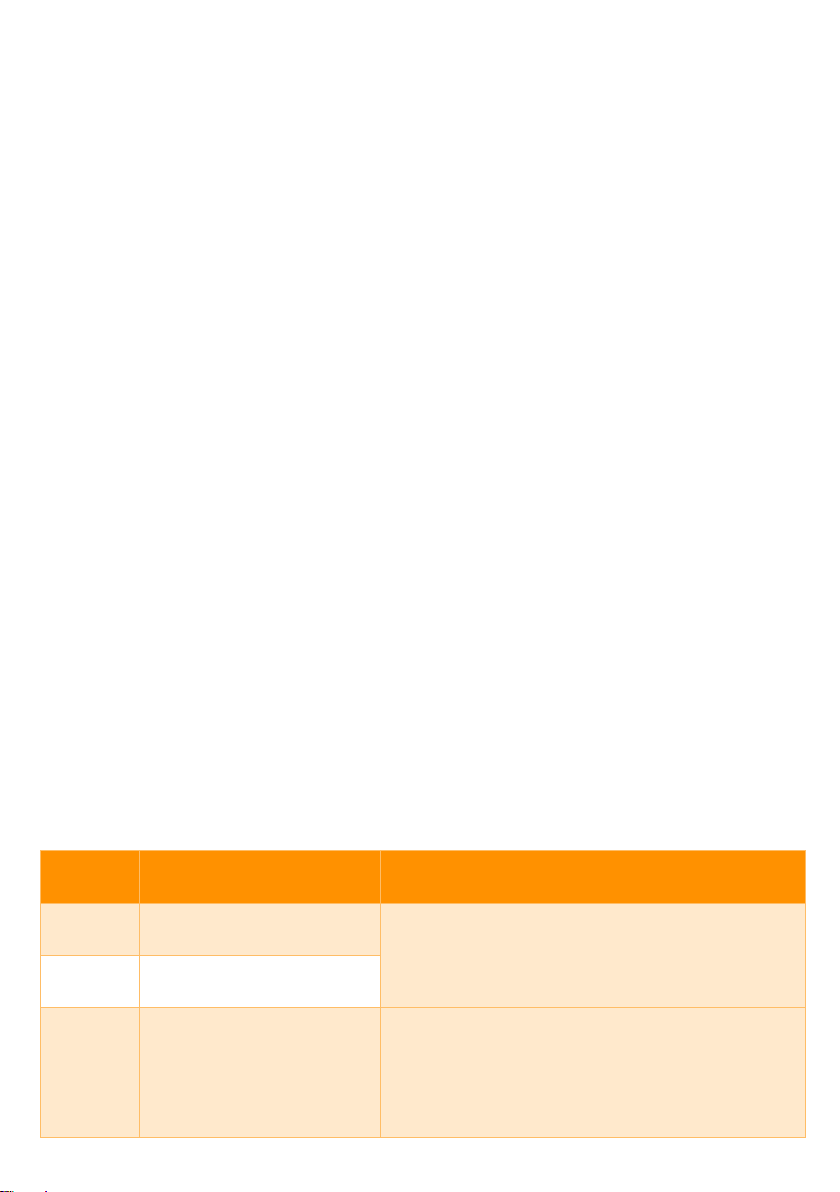
Buttons
Web App
Set time
✓
✓
Set date
✓
Start a counter/timer
✓
12/24hr time format
✓
✓
Leading zero on time display
✓
Button beep
✓
Colon on/off/flash
✓
Auto-show date and temperature
✓
Date format (DD/MM/YY or MM/DD/YY)
✓
Select °C / °F temperature units
✓
✓
Customise LED backlighting colour
✓
✓
Randomised LED backlighting colour
✓
Rainbow cycling LED backlighting colour
✓
✓
Adjust rainbow colour cycling speed
✓
Different backlighting colour for time, date and temperature
✓
Day and night display brightness
✓
✓
Set LED backlighting brightness
✓
✓
Set LED backlighting dimming level at night
✓
Set ambient-light night dimming threshold
✓
✓
Select ambient-light or time-based night dimming
✓
Display effects
✓
On-off timer
✓
Read diagnostic information
✓
Read error logs
✓
Firmware upgrade
✓
Using the Buttons
The buttons are labelled with SET, ▼(down), and ▲ (up). When your clock is showing
the time, you can briefly press ▲to show the date and then the temperature. Also on
the time screen, briefly pressing ▼ will cycle through the LED backlighting colours.
If in a settings mode and no button has been pressed for 30 seconds, the display will revert
back to the normal time screen without saving.
Setting the Time
Press the SET button briefly and the display will be changed to only show the hour digits.
Press the ▲ and ▼ buttons to set the hour and SET to advance to the minutes to do the
same. After adjusting the minutes, pressing SET again will save the new time and return
to the normal time screen.
Using the Counter/Timer
When your clock is showing the time, hold ▲for 3 seconds to start an up-counter. To start
a countdown timer, hold the ▼button on the time screen, and the display will change to
showing just the timer hours. Press the ▲ and ▼buttons to set the hours, then press SET
to advance to the minutes, and then SET again to start the timer.
When a counter/timer isrunning, briefly press SET to pause/resume, or hold SET to cancel.
Every minute the current time will be shown for about 3 seconds.
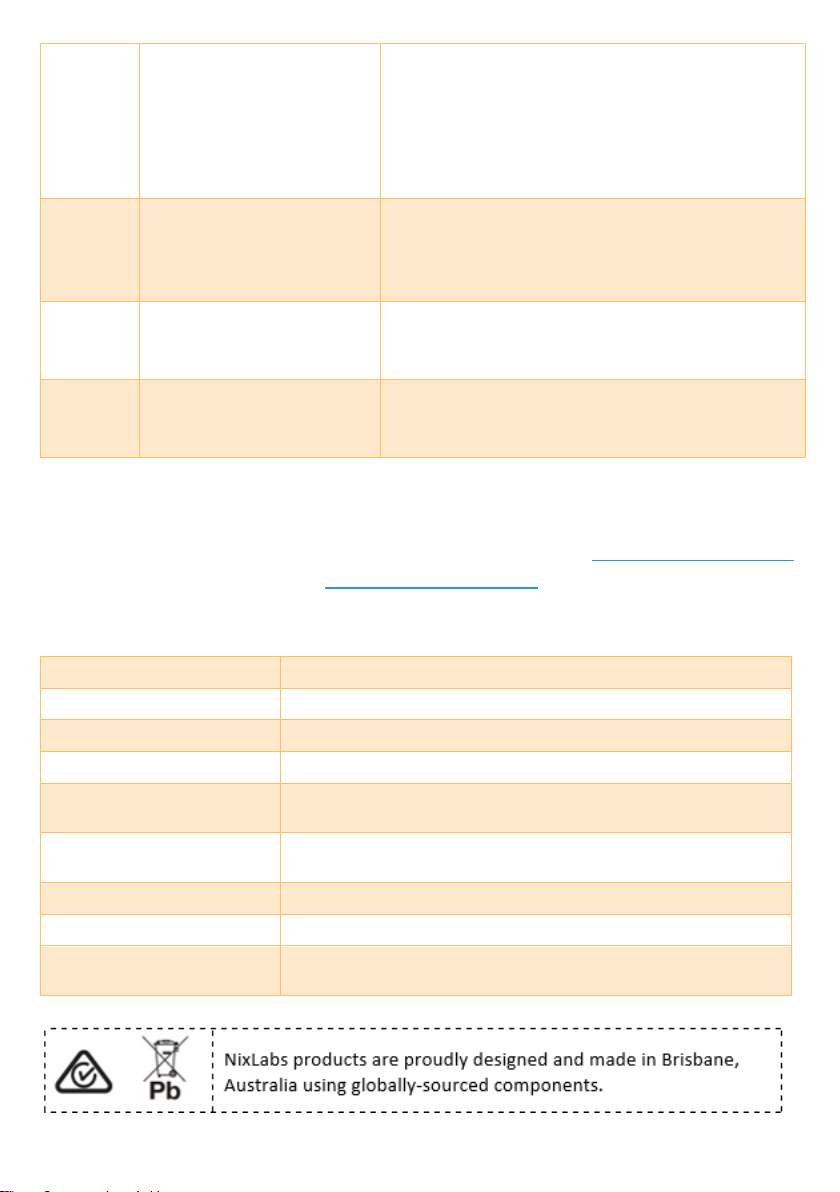
Changing your Settings
Hold the SET button for 3 seconds and the display will enter the settings menu. The
leftmost digit shows the setting number, and the rightmost digits show the current value
–use the ▲ and ▼ buttons to adjust. Press the SET button briefly to advance to the next
setting, and at the end of the settings list it will save all changes and return back to the
normal time screen. The ordering and description of these options are shown below.
Setting
Number
Description
Usage
1
Set day-time display
brightness
Use ▲ and ▼to set display brightness from 0
(min) to 7 (max).
2
night-time dispaly
brightness
3
Set night-time light
threshold
Press ▲to use the current ambient light level
as the night-time detection threshold.
Press ▼to use existing threshold.
“1” = New night-time threshold will be set
“0” = No change to threshold level
4
Set custom LED
backlighting colour
Cycle through backlighting colours by holding
▲ or ▼and release on the desired colour. To
show the custom colour on the normal time
screen, exit the menu and use ▼to cycle
through presets until new colour is selected.
No number is shown on right side of display.
5
Set LED backlighting
brightness
Use ▲ and ▼to set backlighting brightness,
applied to all screens. Note: low brightness
may affect the custom colour appearance.
No number is shown on right side of display.
6
Select 12hr or 24hr time
format
Use ▲ and ▼to choose time format.
“12” = 12-hour
“24” = 24-hour
7
Select °C or °F
temperature
Use ▲ and ▼to choose temperature units.
“1” = °F (Degrees Fahrenheit)
“0” = °C (Degrees Celsius)
Troubleshooting
Please refer to the full user’s guide for troubleshooting: nixlabs.com.au/support.
For any other assistance, contact support@nixlabs.com.au.
Specifications
Dimensions & Mass:
193mm x 25mm x 105mm (LxWxH), 80g
Operating Environment:
0°C to +40°C, ≤95%rh non-condensing
Time Accuracy:
Calibrated to < 0.0003% (3ppm), < 8s per month @ 25°C
Temperature Accuracy:
0.1°C Resolution, ±3°C Accuracy (typ <1.5°C)
Time + Settings Backup:
5-day supercapacitor backup maintains time and date.
User settings are saved permanently.
Supplied Power Adaptor:
Input voltage: 100-240VAC 50/60Hz
Output: 5.1V at 1A, 5.3V max. RCM compliant
Supply Voltage:
4.8V –5.3V via standard USB-C socket
Max Supply Current
660mA at 5.1V (3.4W)
WebApp Compatibility:
Google Chrome, Microsoft Edge or Opera running on
Windows, Mac, Linux, ChromeOS or Android.
Other manuals for FL4
1
Table of contents
Popular Lighting Equipment manuals by other brands

Highlite International
Highlite International Infinity iB-715 manual

EuroLite
EuroLite SUPERSTAR operating instructions

Duronic
Duronic GLH60 manual

Heitronic
Heitronic 38321 Installation and operating instructions

Fomei
Fomei RGB 200F LED user guide

HEPER
HEPER TURA 1x16 LED Installation and maintenance instructions


