No-Mar Classic HD User manual

Assembly Instructions Packet
Classic®HD
Motorcycle Tire Changer
For our latest instructional videos, visit:
NoMarTireChanger.com
(or scan the QR code below)
Tools Required for Assembly:
•5/32" Hex (Allen) Wrench - Included in Lube Box inside of Box A
•3/16" Hex (Allen) Wrench - Included inside of Box B
•3/4" (or 19mm) Wrench - Socket w/Ratchet, Combination or similar
•7/16" (or 11mm) Wrench - Socket w/Ratchet, Combination or similar
For mounting your Tire Changer to the floor, we recommend using 1/2" x 3+1/2" (or 12mm x 100mm)
Concrete Wedge anchors (Power-Stud+® SD1 or similar) drilled to a minimum depth of 2+3/4" (or 70mm)
and installed per manufacturer directions with nuts and washers.

Notes and Tips:
1. All set screws (sometimes called "grub" screws) and select other screws have been pre-installed in
their specified locations at the factory to aid in identification and assembly. Remaining hardware
needed for assembly is included in the hardware pack inside of Box B.
2. Some screws may be more difficult than others to turn in due to powder coating residue in the
threads. In these cases adrop of oil or other lubricant (such as WD-40®) can aid in installation, as
well as partially tightening and then loosening gradually until the screw is completely fastened.
3. We strongly recommend using only the provided Hex (Allen) Wrenches to install/tighten hex-drive
screws, and hand tools (ratchet or combination wrench) for other bolts. Using power tools (even
battery powered) can cause threads to strip or hex sockets to round out.
While the diagram has not yet been updated to reflect all of the latest Heavy Duty updates to your tire
changer, the remainder of the assembly process should reasonably match the assembly instructions.
If you have any difficulty assembling your tire changer or changing tires,the instructional videos on our
website are extremely thorough and helpful, and are in the process of being updated to show many of
the changes described in these notes.
If you require further assistance or technical support, please call us at 888-98-NOMAR
(888-986-6627) and we will be happy to assist you!
Classic®HD Tire Changer
Assembly Preparation
We recommend unpacking and assembling your tire changer in the following order:
1. Box A - Mount/Demount Bar (save 5/32" Hex (Allen) Wrench for use with Box B and Box D). The
Mount/Demount Bar has its own set of assembly and usage instructions inside of Box A.
2. Box B - Stand Assembly (unless you will be using our Hitch Mount, in which case you may skip Box B
however you will still need to remove the 3/16" Hex (Allen) Wrench from Box B for use assembling
Box C.)
a. Stand Assembly Special Notes (applies to changers shipped after February 19, 2019):
i. Stand posts have been upgraded to a revised Heavy Duty design. The basic assembly
remains the same, except there are now 16 (sixteen) 5/16"-18x1/2" Flat Socket Head Cap
Screws used to secure the stand square and triangle to the stand post flanges.
ii. There is a tab welded to the stand post with two holes in it. This bracket is for optionally
upgrading to a ground-level ATV bead breaker assembly in the future. If you are not using
the ground-level bead breaker upgrade, be sure to orient the stand so that the tab faces
rearward and out of the way.
3. Box C - Frame Assembly (Now with up to 34" Clearance for Tire Outside Diameter)
4. Box D - Upper Arm Assembly (Includes revised Heavy Duty Bead Breaker Arm).
a. The Clevis Collar and Stop Collar for the back post should be left over from Box C.

Machine Parts
Stand Post
Stand Square Bottom Plate
Stand Triangle Top Plate
Frame Assembly
Back Post w/Swivel Tee Pre-Installed
Stop Collar
Billet Clevis Collar
Bead Breaker Arm
Scratch-Proof Bead Breaker "Tee"
Slide Arm
Center Post
Dog Block (2)
Cam Block
Tool Collar
Assembly Parts
5/16" x 5/16" set screw (4 installed)
1/2" x 1" Hex bolt (3)
1/2" Flat Washer (3)
5/16" x 1/2" Flat Socket Head Screw (16)
3" Carriage Bolt and Locking Knob (1)
5/16" Flat Washer (1)
5/16" x 3/4" Shoulder Bolt (1)
5/16" x 1/2" Shoulder Bolt (1)
1/4" Nylock Nut (1)
Center Post Knob (1)
5/16" x 1 /2" Flat Socket Head Screw (12)
3/16" Allen Wrench (1 - in stand box)
5/32" Allen Wrench (1 - with M/D Handle)
Changer Placement: We recommended assembling the tire changer before mounting to the floor so the user will better understand the space needed for the changer and changer tools. We
recommend providing a 5-foot clearance circle from the center of the frame assembly, and 12” clearance from the rear of the machine to any wall. See Figure B.
STEP 1 Attach Stand Square Base (B) and Stand Triangle Top (C) to Stand Post (A) Using (16) Screws (S). There are 8 screws for each plate, but only 4 of each are shown on the diagram due to a
design revision. Make sure all threads of all screws are started before tightening. The notch in the Stand Triangle goes towards the front. The ATV bead breaker accessory tab on the stand post
should be pointed to the rear of the changer to keep it out of the way unless you will be using the ground-level ATV bead breaking upgrade.
STEP 2 Attach 3 frame arms (D) using 2 "Y-plates", fastening with 6 screws (Z) on top and bottom.
STEP 3 Attach Frame Assembly (D) to the Stand Assembly in the orientation pictured, using (3) 1/2" hex bolts (Q) and washers (R). Use a 3/4" (19mm) wrench to tighten.
STEP 4 Secure Tool Collar (N) onto the Back Post (E), approximately 1/8" below Swivel Tee by tightening 2 set screws (P).
STEP 5 Slide Clevis Collar (G) onto Back Post (E) and leave loose. This part needs to spin freely.
STEP 6 Secure the Stop Collar (F) onto Back Post (E) 1/8" below Clevis Collar (G) by tightening 2 set screws (P).
STEP 7 Slide Back Post (E) into the top of the Frame (D) so that it extends 2" below rear frame arm collar. Tighten (4) set screws (P).
STEP 8 Attach Bead Breaker Arm (H) to the Clevis Collar (G) by first removing the 3/4" shoulder bolt (V) and 2 washers. Place one washer on either side of the break arm tab, hold the end of the
break arm and washers together and align in the slot, followed by inserting the shoulder bolt until the threaded end can be screwed into the threads and tightened.
STEP 9 Attach Bead Breaker "Tee" (I) to the Bead Breaker Arm (H) using the 1/2" shoulder bolt (W) and Nylock nut (X). Verify proper alignment of the tee so that the No-Mar markings on the non-
marring wedges face forward when the break arm is raised. Use 5/32" Allen Wrench and 7/16" wrench on Nylock nut to tighten. (There will be play in this joint -- this is by design!!!)
STEP 10 Insert Slide Arm (J) in the opening of the Swivel Tee as shown with the larges holes at the front and oriented up and down. Tighten the Locking Knob (T) to secure the slide arm in
position. Do not over-tighten. The upper arm should swing side-to-side freely at this time.
STEP 11 Insert the Center Post (K) into the hole on the end of the Upper Arm (J) with the pin pointing down. Hold the center post in position using the Center Post Knob (Y) on the side. There is a
hole in the center of the “Y-plate” on the Frame Assembly where you can engage the pin from the center post for single-sided swingarm wheels, automotive wheels, or any wheels with a large
axle opening (the center post will not fit through all wheels, for such wheels the eccentric pin should be engaged in the bearing).
STEP 12 Mount the tire changer to a suitable floor using anchors.
STEP 13 Compare your assembled changer to the photo in Figure C to verify everything was done correctly.
STEP 14 Please visit the Video Library on our website to familiarize yourself with tire changer use and technique prior to changing your first tire.
Parts, labels, names, drawings, pricing and availability are subject to change without notice. Contact us or see our website if you have any questions. REV. 9/2019CA
Figure A - Exploded Diagram
Classic® HD Tire Changer Assembly Diagram & Instructions

Figure B - Space Requirements Figure C - Assembled Changer
Table of contents
Other No-Mar Tyre Changer manuals
Popular Tyre Changer manuals by other brands

Draper
Draper 78612 user manual
Ranger
Ranger R80EX Installation and operation manual

WERTHER INTERNATIONAL
WERTHER INTERNATIONAL TITANIUM 200/22 Instruction and maintenance manual
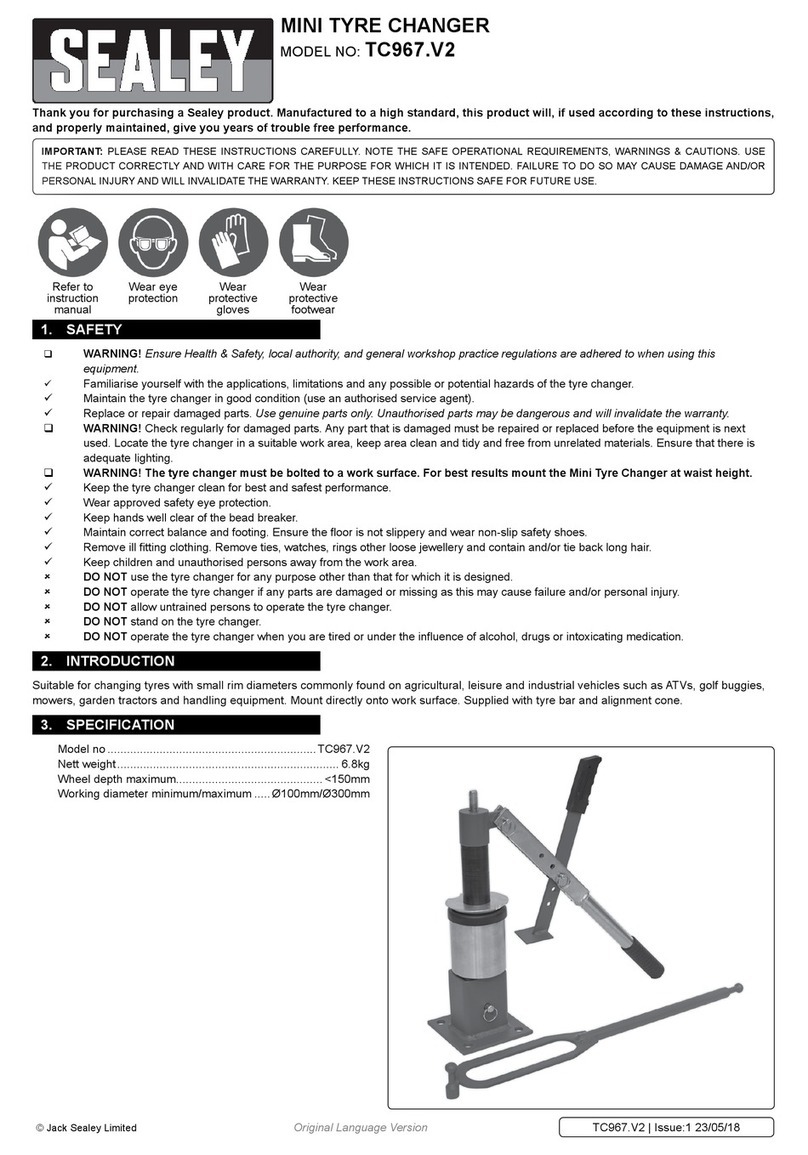
Sealey
Sealey TC967.V2 manual
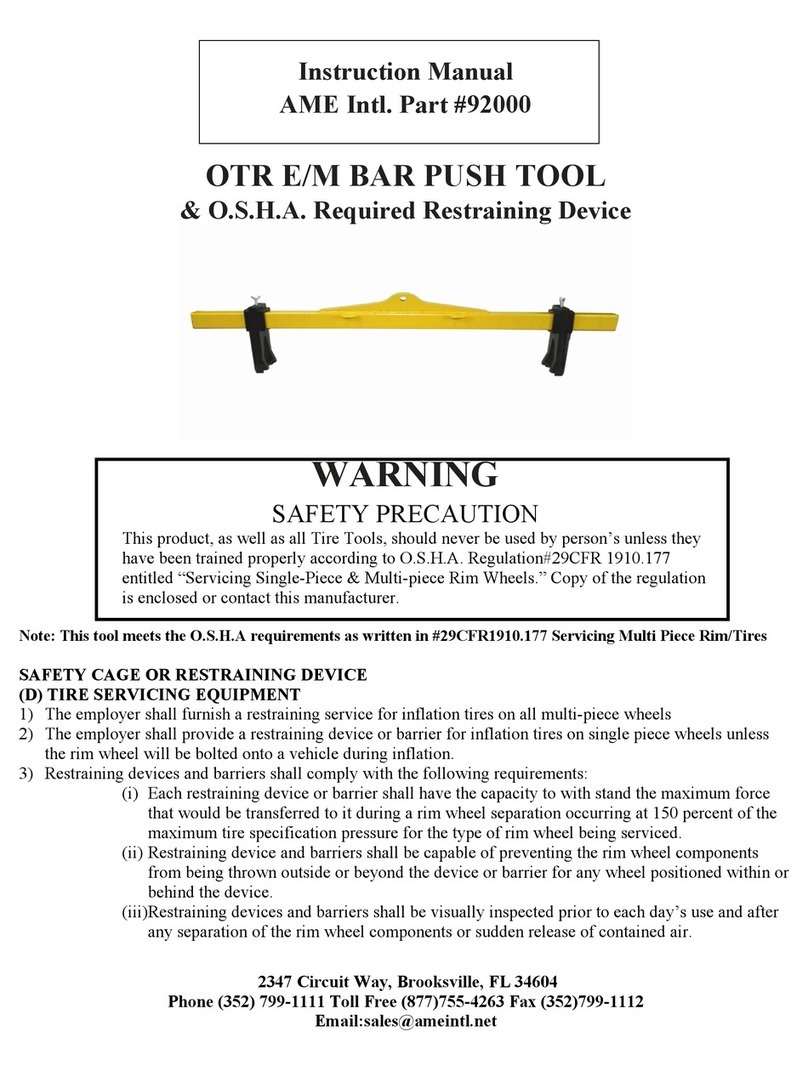
AME Intl.
AME Intl. 92000 instruction manual

Eagle Equipment
Eagle Equipment ETC-2800A Instruction & maintenance manual

Ranger Products
Ranger Products R26AT Installation and operation manual
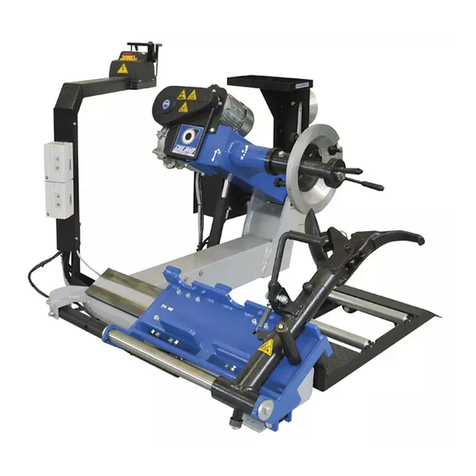
GIULIANO
GIULIANO S 554 Use and maintenance instructions
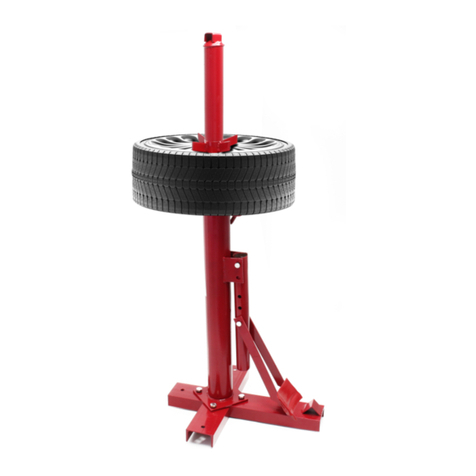
WilTec
WilTec 61309 Operation manual

Black Diamond Equipment
Black Diamond Equipment TC1024DCA instructions

ATH
ATH M126 operating instructions
Rotary
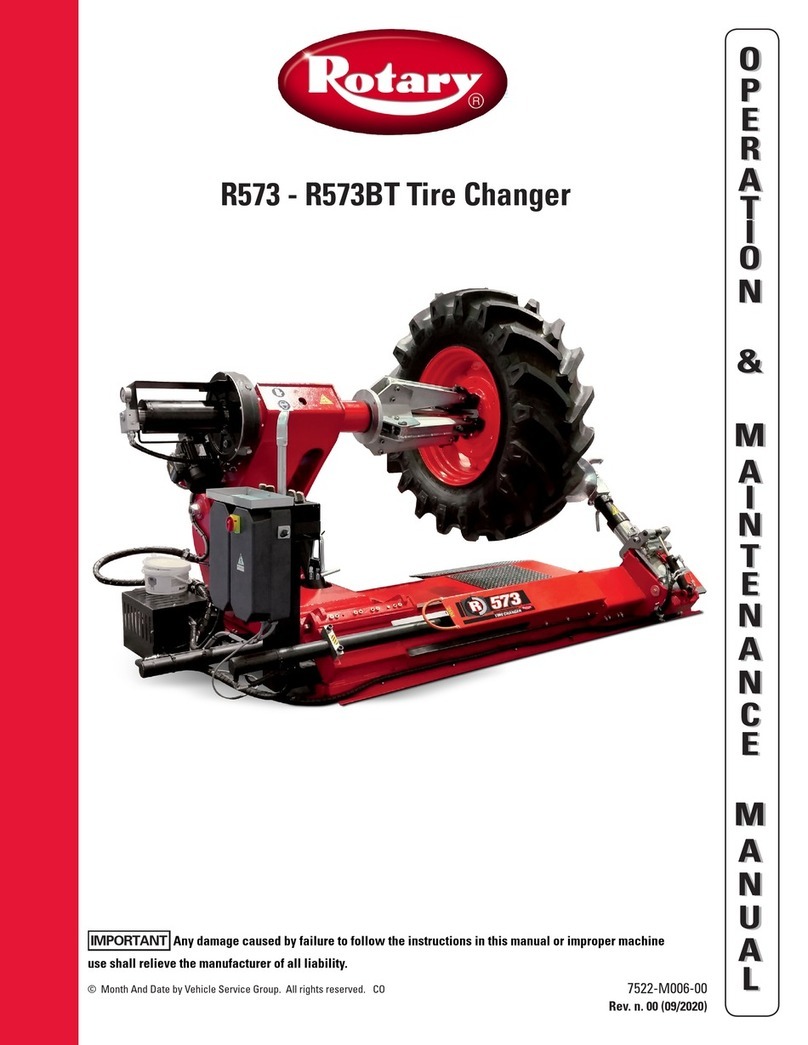
Rotary R573 Operation & maintenance manual

