nodon ASP-3-1-00 User manual

The NodOn®Smart Plug allows to control (Power ON or Power
OFF) an electrical appliance plugged on it: bedside lamp, electrical
heater, coffee machine, etc.
The NodOn®Smart Plug is compatible with the worldwide home
automation standard, Z-Wave®, and all the products Z-Wave®or
Z-Wave Plus® certied.
INSTALLATION
Thanks to an innovative design, the Smart Plug can be mounted on
the power outlet in either side, head up or head down.
1Plug the NodOn®Smart Plug on your power outlet.
2Plug the electrical appliance, you want to control, on the NodOn®
Smart Plug.
3The Smart Plug allows to switch ON (Power ON) or switch OFF
(Power OFF) the electrical appliance you want to control.
Switching ON or OFF can be done through the Smart Plug local
button, or any kind of Z-Wave®compatible devices, such as the
NodOn®Octan Remote, the NodOn®Soft Remote or a Home
Automation Gateway.
If the electrical appliance (ex.: bedside lamp) has an ON/OFF button, make sure it’s positioned
on “ON”, in order that the power ON of the appliance by the Smart Plug will switch ON the lamp.
SMART PLUG MODES
LOCAL CONTROL
The Smart Plug can be switched ON or OFF locally, through a short
press on the local button. By default, the Smart Plug is switched
ON when the LED is green, OFF when the LED is OFF.
LEARNING MODE
Press on the Smart Plug button during 2 seconds until the LED
becomes red. Release the button, the LED will then glow in red. The
Smart Plug is in “Learning mode”.
To add or to remove the Smart Plug from a Z-Wave®network,
follow “INCLUSION” or “EXCLUSION” procedures below.
If the Smart Plug is not added or removed from a network within
30 seconds (or if the button is pushed during learning mode), the
ON
OFF
<1sec
<1sec
2 sec {Blinking}
Smart Plug will automatically exit learning mode.
Expert remark: NodOn® created a power ecient « Learning mode ». During this mode, the
Smart Plug will send its « Node Information » (NIF) at regular interval.
If the Primary Controller is battery powered (such as the NodOn® Octan Remote), rst put the
Smart Plug in « Learning mode », and then proceed to the INCLUSION/EXCLUSION procedure
of your controller.
To send a single NIF, just triple press on the Smart Plug’s button.
LED state Smart Plug State
Shine Red Learning mode activated
Blink in Green Successful Inclusion
Blink in Red Successful Exclusion
Blink in Orange “Learning mode” Timeout
FACTORY RESET
To perform a factory reset, press on the Smart Plug button during
5 seconds until the LED becomes orange. Release the button, the
LED will blink red/green.
Factory Reset clears the Smart Plug’s memory and set parameters
to default value.
WARNING
Please use this procedure only when the primary controller is missing or otherwise inoperable.
Resetting the Smart Plug does not mean it has been removed from Z-Wave®network
controller’s memory.
Use the primary controller to remove the Smart Plug from its Z-Wave®network (follow
“EXCLUSION” procedures below), before doing a Factory Reset.
INCLUSION PROCEDURE
To add the Smart Plug into a Z-Wave®network
1Plug the Smart Plug.
2Put the Smart Plug in “Learning mode”.
3Within 30 seconds put the Z-Wave®Controller in “Learning
mode” (See the Controller user guide for its own Inclusion
procedure).
4 The Smart Plug will conrm the Inclusion procedure by blinking
its LED in Green.
EXCLUSION PROCEDURE
To remove the Smart Plug from a Z-Wave®network
1Make sure the Smart Plug is plugged.
2Put the Smart Plug in “Learning mode”.
3Within 30 seconds put the Z-Wave®Controller in “Learning
mode” (See the Controller user guide for its own Exclusion
procedure).
4 The Smart Plug will conrm the Exclusion procedure by blinking
its LED in Red.
POWER FAILURE
The Smart Plug embeds a very small energy backup, which allows
it to send Notication Report on a Z-Wave®network during a short
time, after a main power failure.
The Smart plug must be plugged at least 5 minutes before being
able to detect each Power Failure.
ASSOCIATION GROUPS
Using Association group, the Smart Plug is able to command or
notify another device of a Z-Wave®network.
The Association groups are set by the Main Controller. Once set,
the association groups allow direct control, without involving the
Main Controller in the communication.
{Blinking}>5sec
The NodOn®Smart Plug proposes 8 association groups:
Group number Group Name
1Lifeline
2Follow State
3Follow Complementary State
4Power Failure Notication
5Power Failure – Set On
6Power Failure – Set Off
7Power Recover – Set On
8Power Recover – Set Off
Group 1 – Lifeline
Maximum number of devices in group: 5
This group is generally used to report information of the Smart
Plug to the Main Controller of the network.
Group 2 – Follow State
Maximum number of devices in group: 5
When the Smart Plug is switched ON (respectively OFF) - either
locally or by wireless - it will send ON (respectively OFF) command
to the associated devices.
Group 3 – Follow Complementary State
Maximum number of devices in group: 5
When the Smart Plug is switched ON (respectively OFF) - either
locally or by wireless - it will send OFF (respectively ON) command
to the associated devices.
Group 4 – Power Failure Notication
Maximum number of devices in group: 5
When the Smart Plug detects a power failure or recovers from a
power failure, it sends the notication report to the associated
devices.
The sent Notication is “Notication Report: Power Management
– AC Disconnected / Re-connected”
Group 5 – Power Failure Set ON
Maximum number of devices in group: 5
When the Smart Plug detects a Power Failure, it will switched ON
the associated devices.
Group 6 – Power Failure Set OFF
Maximum number of devices in group: 5
When the Smart Plug detects a Power Failure, it will switched OFF
the associated devices.
Group 7 – Power Recover Set ON
Maximum number of devices in group: 5
When the Smart Plug detects a Power Recover, it will switched ON
the associated devices.
Group 8 – Power Recover Set OFF
Maximum number of devices in group: 5
When the Smart Plug detects a Power Recover, it will switched OFF
the associated devices.
Power supply: 230V AC +/-10% - 50Hz
Self-consumption <1W
Max. power: - 3000W continuous (Resistive load)
- 3500W temporary (Resistive load)
Center radio frequency : 868.42 MHz
Occupied frequency band : 868.40 to 869.85 MHz
RF power Max : +4dBm
Range up to 80 meters outdoor
Range up to 40 meters indoor
Operational temperature: -10°C / 50°C
IP20
Radio protocol: Z-Wave Plus®(500 series)
Dimensions: 51mm (W) x 36mm (D) x 104mm (H)
Weight: 137g
Warranty: 2 years
USER GUIDE
SMART PLUG
Smart Plug Type E
Reference: ASP-3-1-00
Smart Plug Schuko
Reference: ASP-3-1-10
CONFIGURATION
The Smart Plug offers a wide range of conguration, which can be
set and handled by the Z-Wave®network Main Controller.
Default State
Parameter Number Default Value Size
1 2 1 [byte]
This parameter denes the status of the Smart Plug after a Power Failure or
after being plugged.
Value Description
0OFF
1ON
2Status before Power Failure
Power Failure
Parameter Number Default Value Size
2 0 1 [byte]
This parameter is to set-up the Power Failure / Recover notication and the
associated group (Groups 4, 5, 6, 7, 8).
Value Description
0Power Failure detection disable
1Power Failure enable (report to Lifeline only)
2Enable group 4
4Enable group 5
8Enable group 6
16 Enable group 7
32 Enable group 8
The value may be the sum of available values.
For example, if you want to activate Power Failure and enable
group 4 & 5, the parameter value is 1+2+4=7.
Follow State
Parameter Number Default Value Size
3 3 1 [byte]
This parameter allows to enable or disable Group 2 & Group 3.
Value Description
0Group 2 & Group 3 disable
1Group 2 enable
2Group 3 enable
The value may be the sum of available values.
For example, if you want to enable Group 2 & 3, the parameter
value is 1+2=3.
Always On
Parameter Number Default Value Size
4 0 1 [byte]
This parameter forces the Smart Plug status to be ON. While enable it is not
possible to switch OFF the plug (local or wireless).
Value Description
0Always ON disable
1Always ON enable
WARNING!
Unplug the product only when it is powered OFF.
Do not plug the products one behind the other.
Do not use the product in a humid area.
The product must be easy to access once plugged.
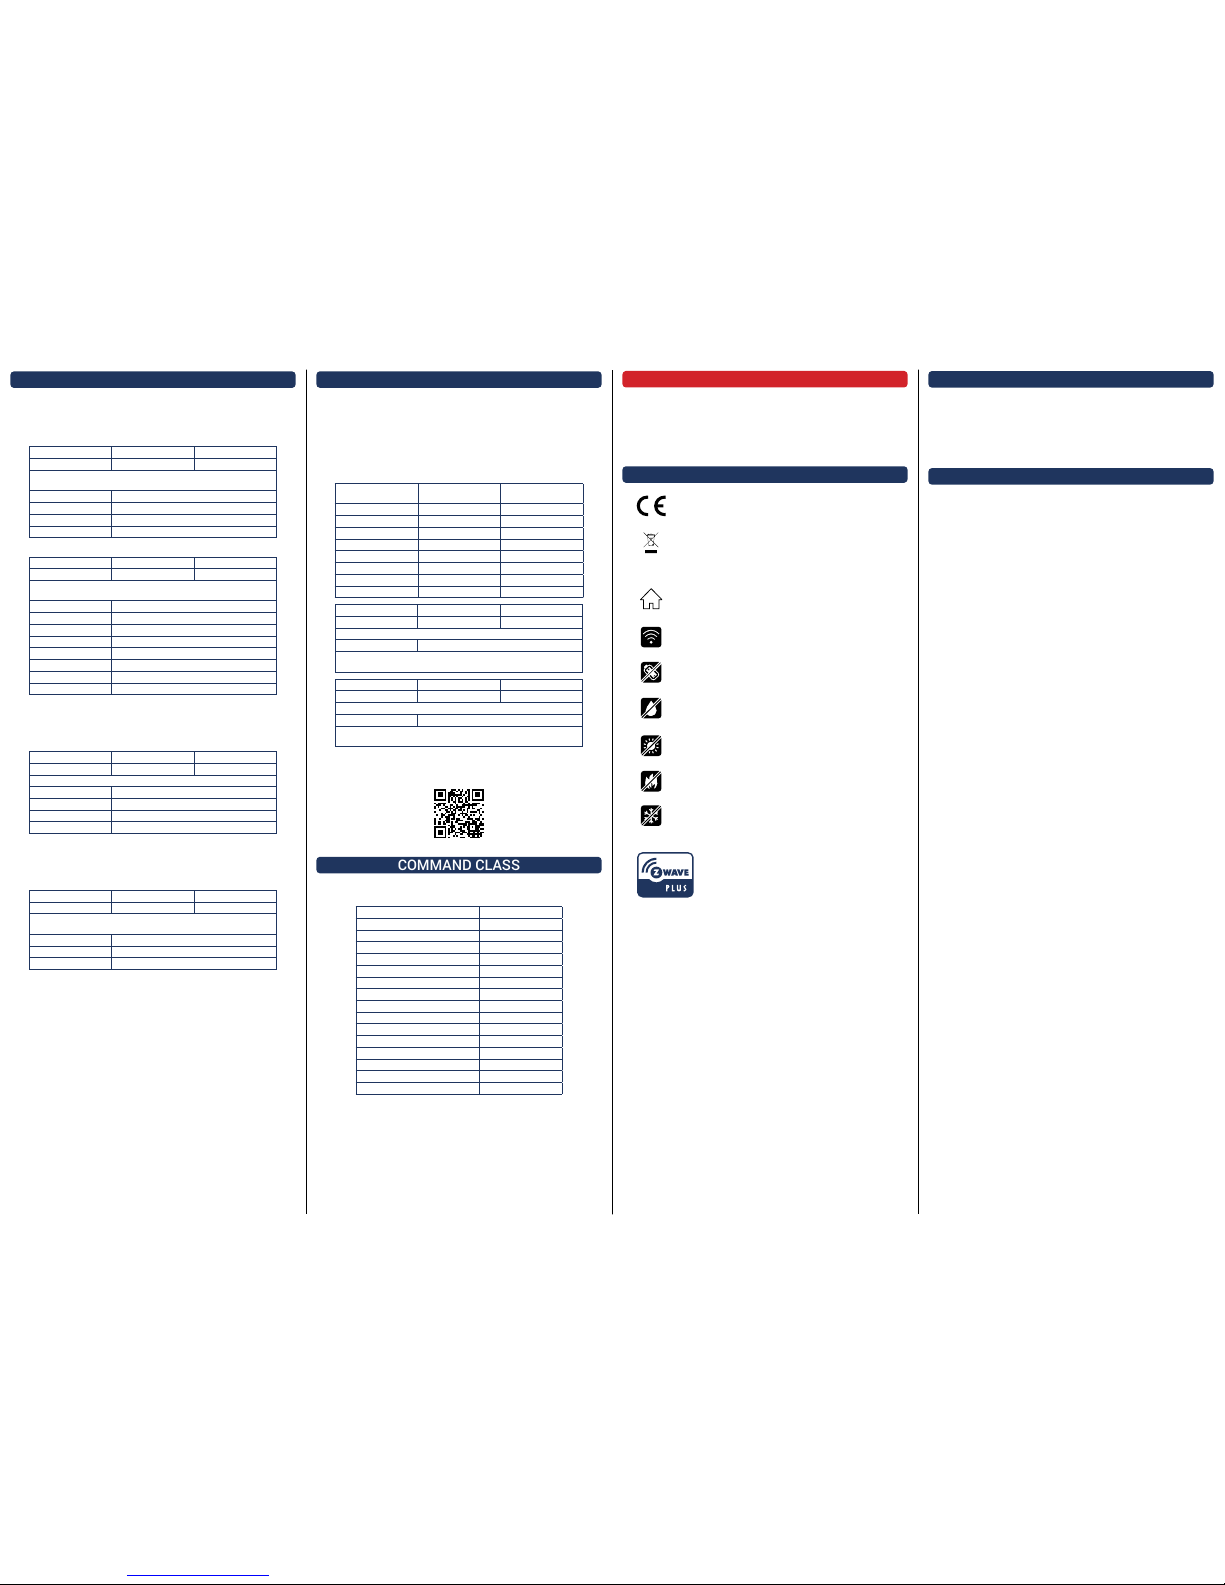
PICTOGRAM
This product is compliant with all relevant European
standards.
When sorting your waste, please observe the
disposal regulations in force. Please place your
waste in the facilities provided for that purpose and
with all due respect for the environment.
This product must be used indoor only.
This product uses a wireless communication
protocol.
This product does not contain any battery, and has a
low power consumption.
This product must not be in contact with water.
This product must not be exposed to a temperature
higher than 50°C.
This product must not be exposed to any kind of re
or heat source.
This product must not be exposed to a temperature
lower than -10°C.
This product is compliant with EnOcean®radio
protocol.
CONTACT
Manufacturer and Importer:
NodOn®by ID-RF:
ID-RF SAS
121 rue des Hêtres
45590 St CYR EN VAL (FRANCE)
AFTER SALES
www.nodon.fr section “support”
For user guides in other languages, please visit
www.nodon.fr/notices
ALARM
The NodOn®Smart Plug embeds Smart Alarm management
features, in order to react to different kinds of Notications and
Events (According to “Notication V1” command class)
Up to 8 Alarms can be congured, through Conguration
parameters #5 to #20.
For each Alarm, the set-up is done through 2 conguration
parameters, as below:
Alarm Number Alarm Type Cong.
Parameter
Alarm Specications
Cong. Parameter
1 5 6
2 7 8
3 9 10
411 12
513 14
615 16
717 18
819 20
Parameter # Default Value Size
5/7/9/11/13/15/17/19 02 [byte]
This parameter is to set the Alarm X Type
Value Description
Use the Home Automation Gateway interface or our Alarm set-up form to
dene the value corresponding to your need*.
Parameter # Default Value Size
6/8/10/12/14/16/18/20 04 [byte]
This parameter is to set the Alarm X Specications.
Value Description
Use the Home Automation Gateway interface or our Alarm set-up form to
dene the value corresponding to your need*.
*In order to congure properly each alarm, please use your Home
Automation Gateway interface or our online form at :
www.nodon.fr/support/asp3/alarm
COMMAND CLASS
The NodOn®Smart Plug supports the following Command Class :
COMMAND CLASS VERSION
All switch V1
Application status** V1
Association V2
Association Group Information V1
Basic*** V1
Binary Switch V1
Conguration V1
Device Reset Locally V1
Indicator V2
Manufacturer Specic V2
Notication V4
Power Level V1
Protection V2
Version V2
Z-Wave®Plus info V2
** Controlled only (not supported)
*** Controlled AND supported
This manual suits for next models
1
Other nodon Accessories manuals


