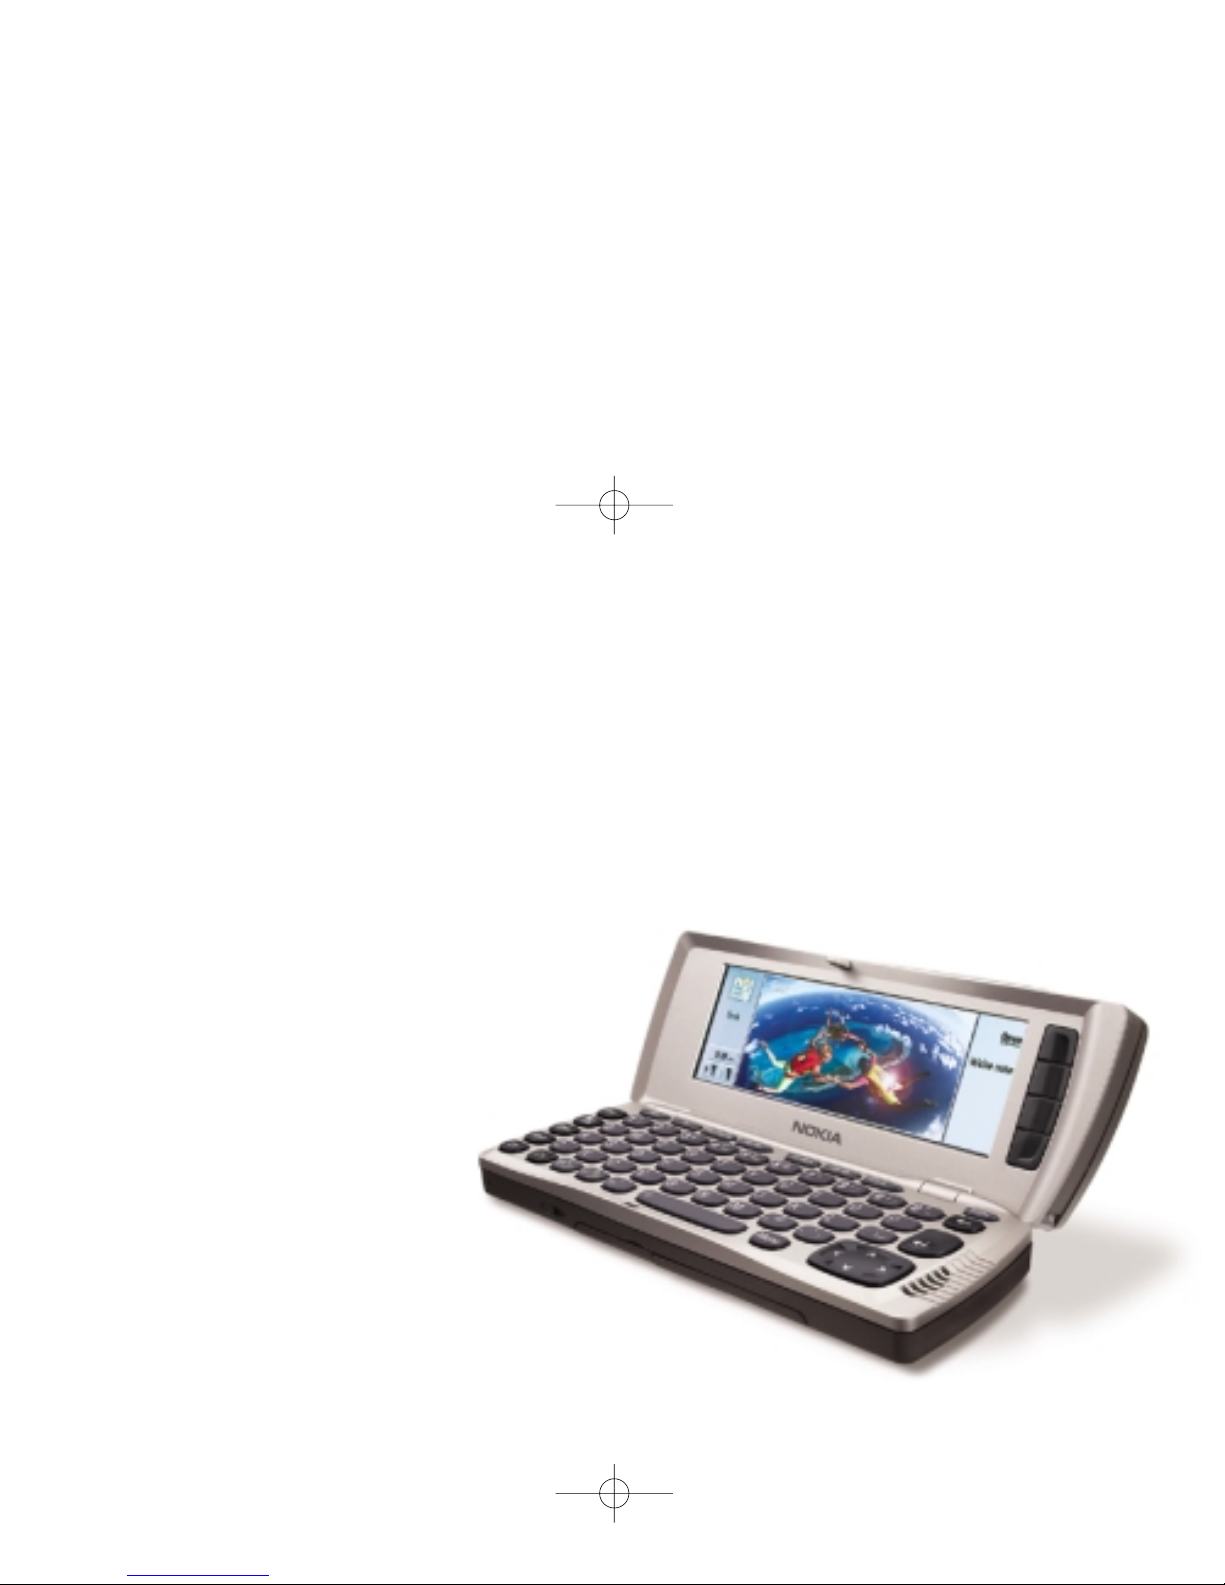
Nokia Communicator 9290 Quick start guide

Nokia 9290 Communicator
PC Suite Guide
www.Communicatorworld.net
NK010Nokia9290PCSuiteGuide2 2/11/02 10:53 AM Page 1

NK010Nokia9290PCSuiteGuide2 2/11/02 10:53 AM Page 2

1
Contents
PC Suite for the Nokia 9290 Communicator
To install PC Suite 5
To connect your Nokia 9290
Communicator to a PC 6
Online and offline modes 7
Connection status 8
Your Nokia 9290 Communicator
on your PC’s desktop 9
ain window information 10
PC Suite applications 11
Backups 12
File restoration 1
Up-to-date entries and messages
with synchronization 18
To view or modify task properties 22
To copy information from other devices
to Nokia 9290 Communicator 23
To modify general task settings 26
To run several tasks simultaneously 27
General settings 28
To remove PC Suite from your PC 32
Administrator Suite
ain view 3
To connect the Nokia 9290 Communicator 35
To create a new connection 36
To define default connections 37
Internet access point settings 38
E-mail settings 39
WAP settings 0
S S settings 1
Personal data items 2
File operations 5
NK010Nokia9290PCSuiteGuide2 2/11/02 10:53 AM Page 3
Welcome to the Nokia 9290
NK010Nokia9290PCSuiteGuide2 2/11/02 10:53 AM Page 4

Communicator PC Suite Guide
PC Suite for the Nokia 9290 Communicator
This guide explains how to install the PC connectivity software
on a compatible PC, how to connect your Nokia 9290
Communicator to the PC and how to use the connectivity programs.
You can connect your Nokia 9290 Communicator to a compatible PC with the PC Suite for Nokia 9290
Communicator program. PC Suite can be used with Windows 95/98/2000 and Windows NT. The recommended
hardware is a compatible Pentium PC with at least 64 B of RA .
When using PC Suite, you only need to connect your Nokia 9290 Communicator to the PC; everything else is
done on the PC.
The connection between the two devices is established automatically when you connect your Nokia 9290
Communicator to your PC with a cable or an infrared connection.
NK010Nokia9290PCSuiteGuide2 2/11/02 10:53 AM Page 5

4
With PC Suite you can:
•• Share information between your PC and Nokia 9290 Communicator quickly and easily.
•• Back up Nokia 9290 Communicator files between the Nokia 9290 Communicator and the PC.
•• Synchronize your calendar, contacts and tasks with icrosoft and Lotus applications on a compatible PC.
You can also synchronize your e-mails with icrosoft Outlook on a PC.
•• Back up and synchronize manually, at predefined times or on every connect.
•• Copy, move and convert files between the devices with Windows Explorer.
•• Copy phone book and calendar information from other Nokia phones to the Nokia 9290 Communicator.
For more information on compatibility issues, see the Nokia 9290 Communicator pages in www.nokia.com.
You can also use PC Suite when it is not connected to your Nokia 9290 Communicator (offline mode). When
you connect the two devices the next time, the changed information is updated from your PC to your Nokia
9290 Communicator and vice versa.
For more detailed information about the software and its features, see the PC Suite online help.
Example: When you add entries to your PC Agenda, you can create a synchronization task that updates the same entries
to your Nokia 9290 Communicator’s Calendar when you connect it to the PC.
NK010Nokia9290PCSuiteGuide2 2/11/02 10:53 AM Page 6

5
To install PC Suite
PC Suite for Nokia 9290 Communicator is in the CD-RO in the sales package. The CD-RO should launch
itself automatically after you have inserted it into the CD-RO drive of your PC. If not, proceed as follows:
1Click the Windows Start button and select Programs> Windows Explorer.
2On the CD-RO drive, locate a file called Nokia9290.EXE and double-click it. The CD-RO user interface opens.
3You can find PC Suite for Nokia 9290 Communicator in the “Software for PC” section. Select the program
and click Install. The installation wizard will guide you through the installation process.
Tip: You can find the online help in the Help menu of the PC Suite main window. The online help also includes a troubleshooting section.
NK010Nokia9290PCSuiteGuide2 2/11/02 10:53 AM Page 7
6
1If you use a cable, connect the large connector at one end of the connection cable into a serial port
(CO ) at the back of your PC, and the other smaller connector into your Nokia 9290 Communicator. If
you use infrared, check that the IrDA driver is already installed on the PC. Go to the Control Panel. If
there is an icon called Infrared, the driver has been installed.
2Double-click the PC Suite icon on the Windows taskbar and select the correct communication port. If
the icon looks like , the connection has already been established and you do not have to select the port.
3If you use an infrared connection, make sure that the infrared port of the Nokia 9290 Communicator
faces the infrared port of the PC. Open your Nokia 9290 Communicator and Press Chr + (the key with
the infrared symbol) to activate the infrared link on your Nokia 9290 Communicator.
The PC Suite software should now connect to your Nokia 9290 Communicator automatically.
5To start the PC Suite software on the PC, click the Start button, select Programs> PC Suite for Nokia 9290
Communicator, and click the PC Suite program icon.
6Every Nokia 9290 Communicator has its own ID that helps PC Suite to identify individual Nokia 9290
Communicators. If this is the first time you connect your Nokia 9290 Communicator to the PC, you will
be asked to name your Nokia 9290 Communicator to make the identification easier.
7Next you will be asked for tasks that you want to perform with your PC Suite. See “Backups” on page 12
and “Up-to-date entries and messages with synchronization” on page 18 for details.
NNoottee::f you cannot connect, check that both your Nokia 9290 Communicator and your PC are switched on and
that you have selected the correct communication port as advised in step 2 above. See also “Attaching the link
cable,” “Naming Communicators and disks” and “Problems with connection” online help titles for details.
To connect your Nokia 9290 Communicator to a PC
Tip: You can also use the cable and infrared connections with the Advanced Desktop Stand DCH-10. For more information, see Accessories Guide.
Tip: PC folders containing information about your Nokia 9290 Communicator will also have the name you give your Nokia 9290 Communicator at this point.
NK010Nokia9290PCSuiteGuide2 2/11/02 10:53 AM Page 8

7
You do not have to connect your Nokia 9290 Communicator to your PC to use PC Suite. When you open
PC Suite and your Nokia 9290 Communicator is not connected, you have the following options:
•• Work online – Connect your Nokia 9290 Communicator to the PC and let PC Suite take care of the
identification.
•• Work offline – Leave your Nokia 9290 Communicator disconnected and choose the name of your Nokia
9290 Communicator from a list of named devices.
The menus and other available options in offline mode differ from those of the online mode, but you can
still use most of the features of PC Suite. When you decide to work online again, all the changes you have
made to your PC’s or Nokia 9290 Communicator’s calendars, contacts or e-mail can be updated to the PC or
Nokia 9290 Communicator that requires the update.
For more information, see online help using the index keywords Online and Offline.
Online and offline modes
Tip: You can also use the optional desktop stand for easy PC connectivity. See the Accessories Guide for details.
NK010Nokia9290PCSuiteGuide2 2/11/02 10:53 AM Page 9

8
The icon on the right side of the status bar and on the Windows taskbar displays the connection status
as follows:
•• Disconnected
•• Transferring Data
•• Connected
For more information, see online help using the index keyword Connection icon.
Connection status
NK010Nokia9290PCSuiteGuide2 2/11/02 10:53 AM Page 10
Other manuals for Communicator 9290
10
Other Nokia Cell Phone manuals

Nokia
Nokia 105 2022 User manual

Nokia
Nokia Luna User manual

Nokia
Nokia N86 8MP User manual

Nokia
Nokia 2610 - Cell Phone 3 MB User manual

Nokia
Nokia 106 User manual

Nokia
Nokia RM-227 User manual

Nokia
Nokia Lumia 930 Quick start guide

Nokia
Nokia 3300 - Cell Phone - GSM User manual

Nokia
Nokia 8000 4G User manual

Nokia
Nokia E62 Manual

Nokia
Nokia 2690 User manual

Nokia
Nokia 3155i User manual

Nokia
Nokia 800 User manual

Nokia
Nokia X2 User manual

Nokia
Nokia Asha 309 User manual

Nokia
Nokia 8890 - Cell Phone - GSM User manual

Nokia
Nokia E75 User manual

Nokia
Nokia SLIDE 2220 User manual

Nokia
Nokia Mediamaster 110 S User manual

Nokia
Nokia 6020 - Cell Phone 3.5 MB User manual


