Creating Internet connections
7
Copyright © 2006 Nokia. All rights reserved.
your service provider or network operator.
Otherwise, the name server addresses are provided
automatically.
•Proxy serv. address — Enter the address of the proxy
server. Proxy servers are intermediate servers
between a browsing service and its users, which are
used by some service providers. These servers may
provide additional security and speed up access to
the service.
Creating an Internet access point
for WLAN
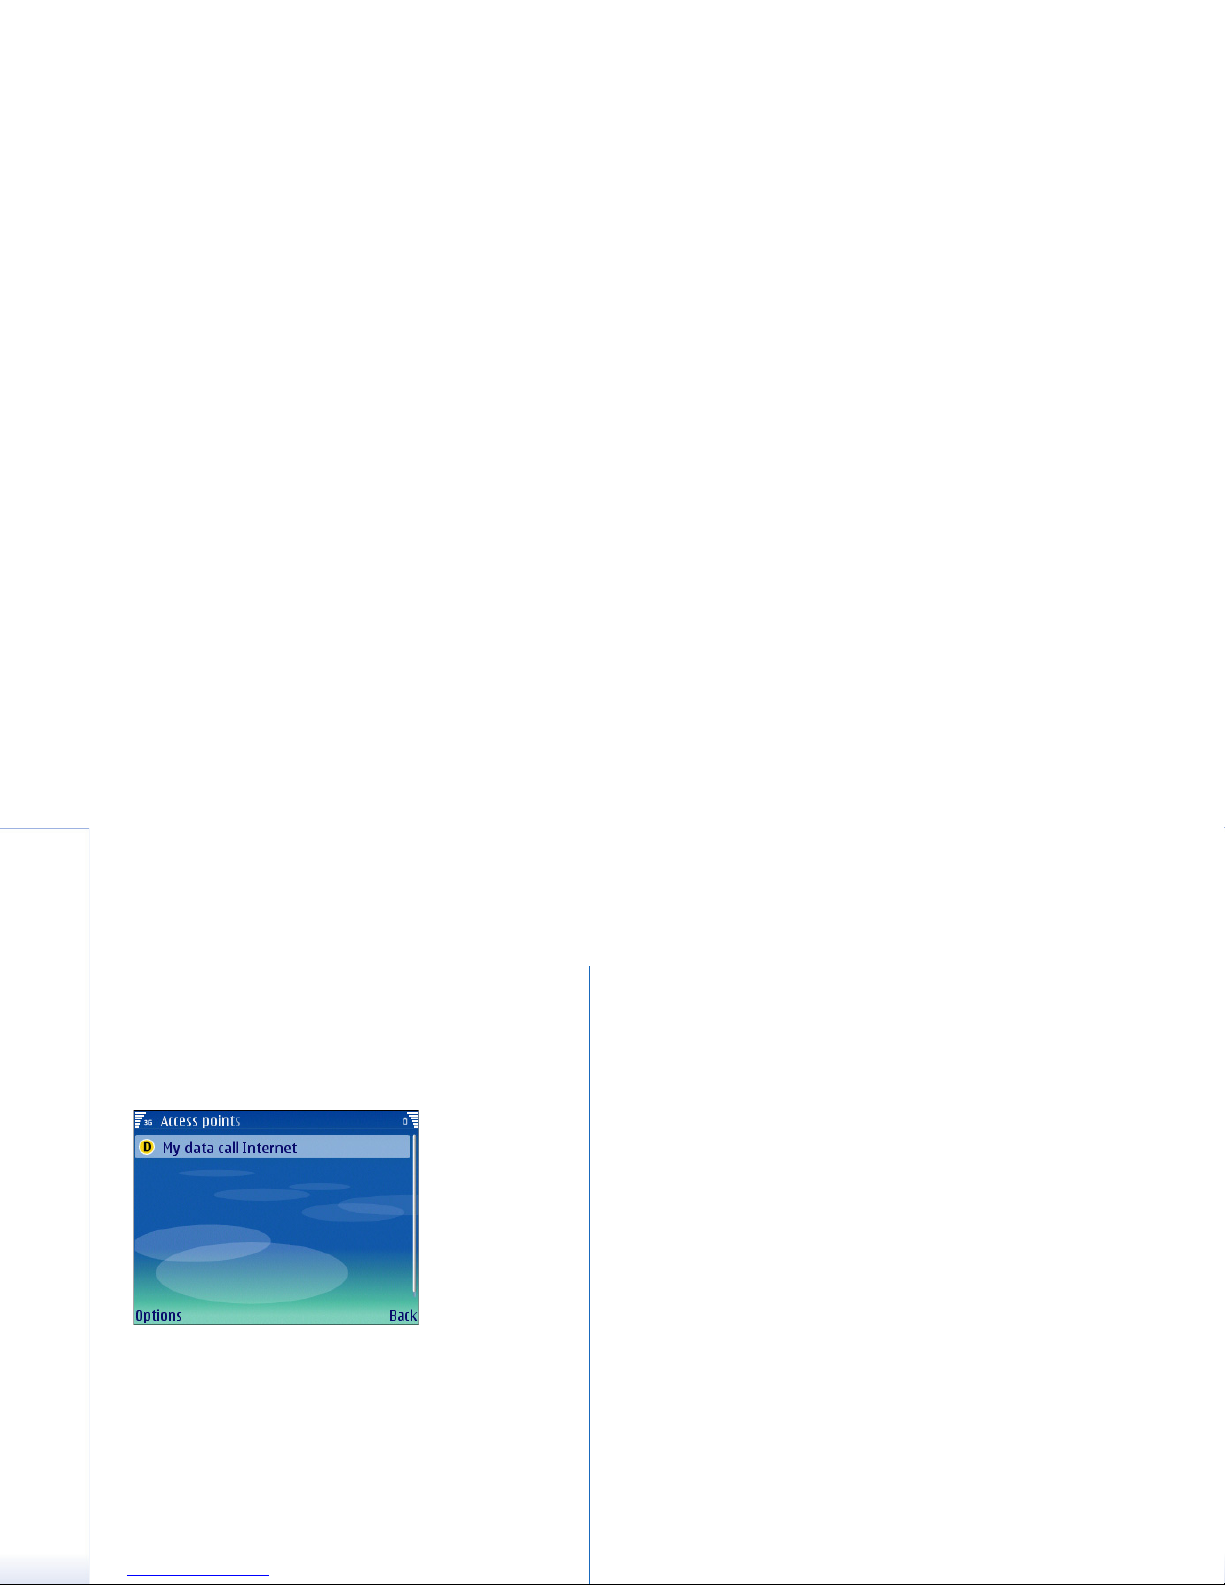
1Select Menu→ Tools→ Settings→ Connection→ Access
points.
2The list of existing access points is shown. Press
Options→New access point to create a new Internet
access point.
To use an existing access point as a basis for the new
one, select Use existing settings. To start with an empty
access point, select Use default settings.
3Define the following settings:
•Connection name — Type a descriptive name for the
Internet access point, such as My WLAN Internet.
•Data bearer — Select Wireless LAN.
•WLANnetw.name — To enter the service set identifier
(SSID), that is, the name that identifies the specific
wireless LAN, select Enter manually. To select the
network from the wireless LANs in range, select
Search for netw..
•Network status — Select Hidden if the network you
are connecting to is hidden, or Public if it is not
hidden.
•WLAN netw. mode — If you select Infrastructure,
devices can communicate with each other and with
wired LAN devices through a wireless LAN access
point. If you select Ad-hoc, devices can send and
receive data directly with each other, and no
wireless LAN access point is needed.
•WLAN security mode — You must select the same
security mode that is used in the wireless LAN
access point. If you select WEP (wired equivalent
privacy), 802.1x, or WPA/WPA2 (Wi-Fi protected
access), you must also configure the relevant
additional settings as described in step 4.
•Homepage — Enter the Web address of the page you
want to display as a home page when you use this
access point.
Note: The settings available for editing
may vary.
4If you selected WPA/WPA2 as the WLAN security mode,
define the following in WLAN security sett.:
•WPA mode — Select EAP if you want to use an EAP
module for authentication. If you select Pre-shared
key, type the password (also called a master key) in
the field. Note that the same key must be entered in
the wireless LAN access point.
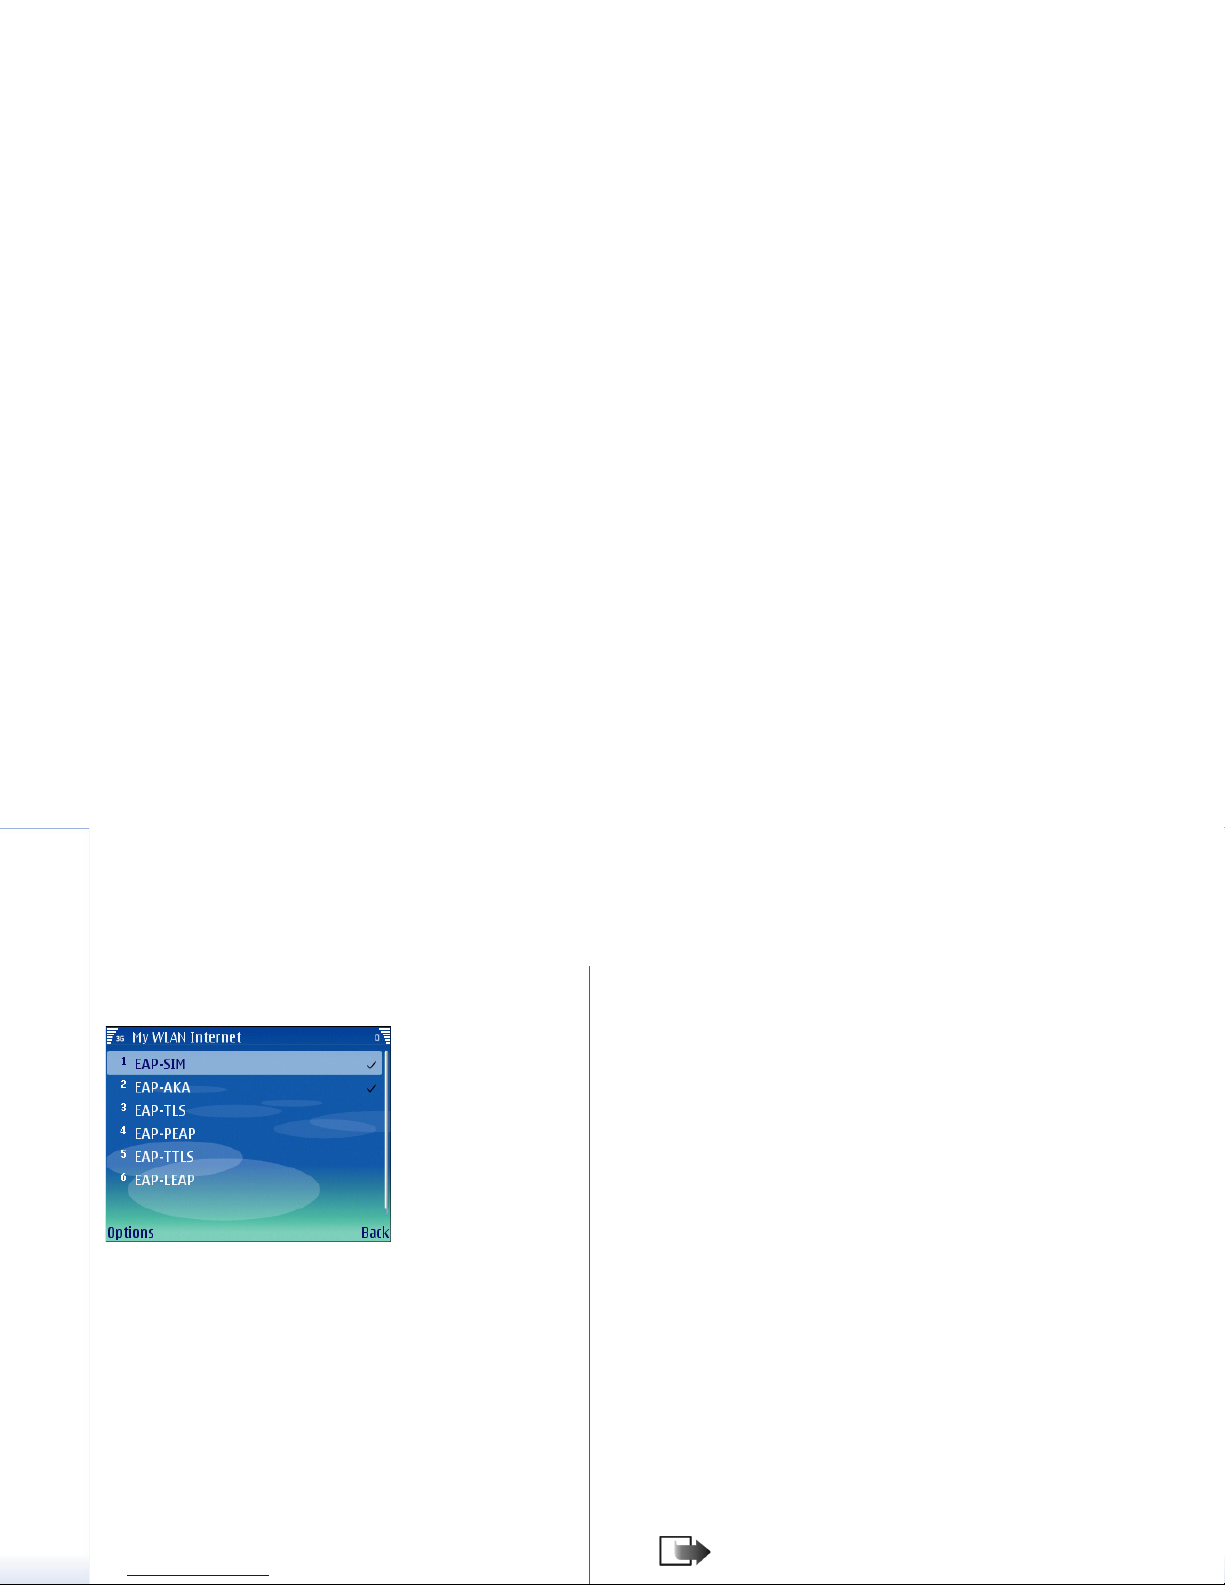
•EAP plug-in settings — If you selected EAP, you must
also define these settings. See page 9 for more
information.