7NookBox Installation Guide NB Camera PIR Detector Outdoor
Anti-Masking
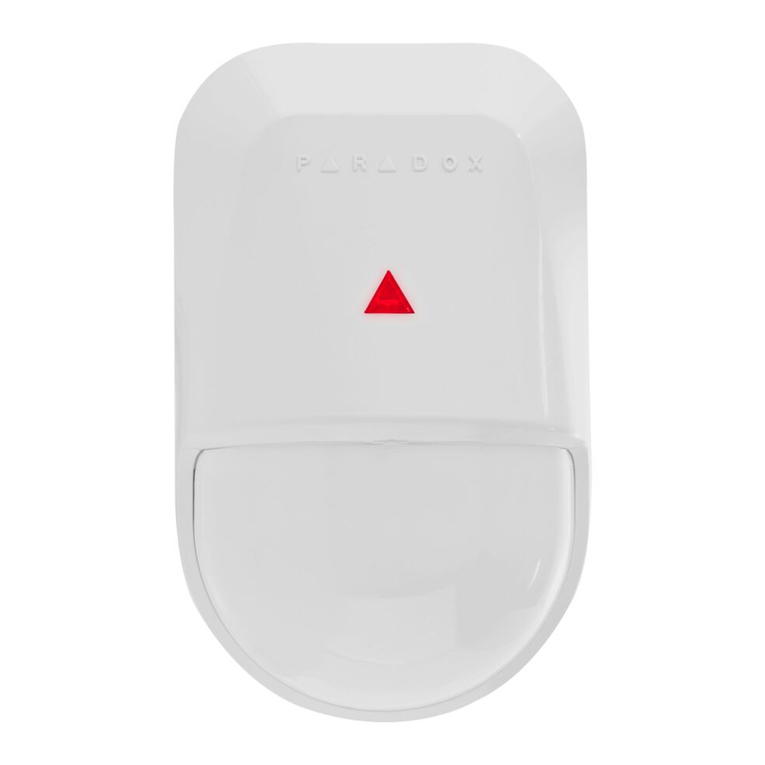
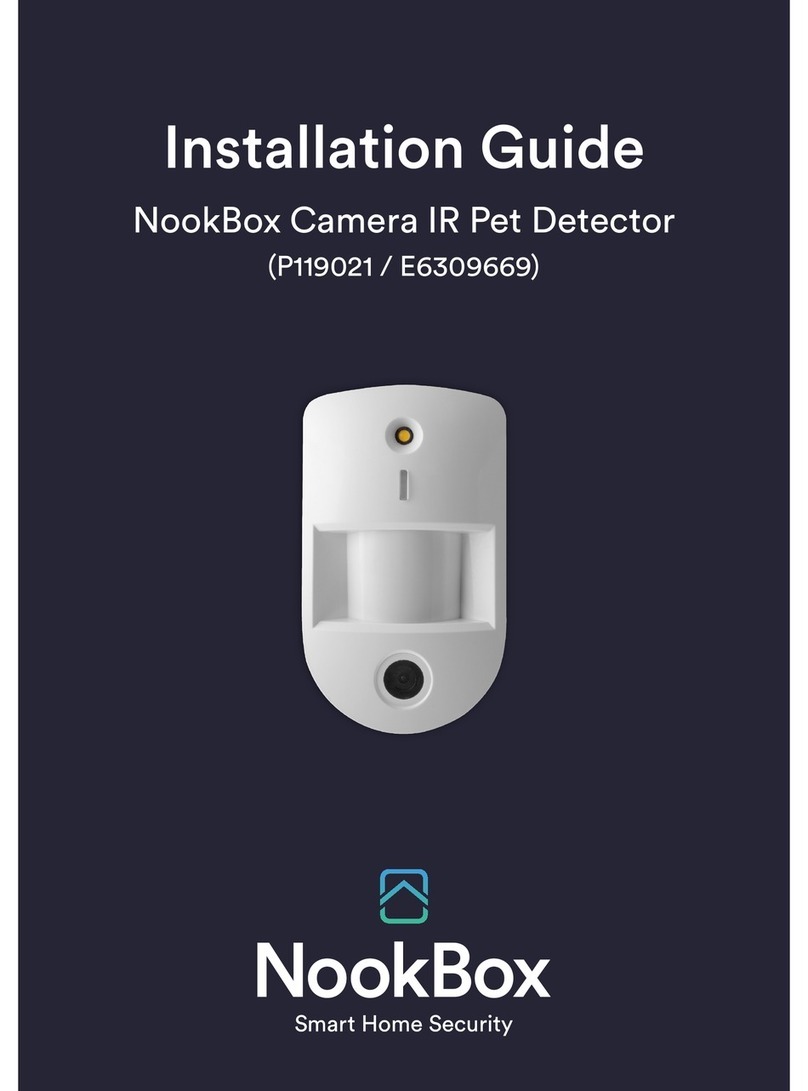
• The PIR Camera has a digital proximity detector that can detect any masking (blocking) attempt by an intruder.
• When a masking event is detected, and the masking condition lasts for 3 minutes, VST-892EX will send a masking alarm signal
to the Control Panel to notify user of the masking condition.
• After masking/blocking is removed for 3 minutes, the detector will send restore signal to the Control Panel.
Battery
• The PIR Camera uses four AAL91 lithium batteries as its power source.
• The PIR Camera features low battery voltage detection. When low battery is detected, a low battery signal will be sent to the
Control Panel along with regular signal transmissions for the Control Panel to display the status accordingly.
• To change the batteries:
Step 1: Remove the PIR Camera from mounting position.
Step 2: Loosen the back cover fixing screw and open the back cover.
Step 3: Remove the old batteries and press the test button twice to fully discharge.
Step 4: Insert four new AAL91 lithium batteries.
Step 5: Press the test button once. A battery normal signal will be sent to the Control Panel.
Step 6: Screw back the back cover.
Step 7: Mount back the PIR Camera to mounting location.
Getting Started – Learning the PIR Camera into the Control Panel
• Loosen the bottom xing screw, and open the back cover.
• Based on your needs, set Sensitivity Switch as shown in DIP Switch Position Table.
• Insert four AAL91 lithium batteries into the battery holder taking care to connect the polarity correctly.
• Put the Control Panel into learning mode, refer to Control Panel manual for details.
• Press and hold the Test button for 3 seconds to send a learn code, and then release the button when Red LED lights up.
(To learn into battery-operated panel, after pressing and holding the Test button for 3 seconds, please press the Test button again
for one second.) The LED will be on for 20 seconds, indicating the PIR Camera is in learning mode.
• If the Control Panel receives the signal from the PIR Camera, it will display the information accordingly. Within 20 seconds when the
LED of the PIR Camera is on, select the PIR Camera on the Control Panel Webpage and click “add” to include it into the Panel. Refer
to the Control Panel manual for details.
• When the PIR Camera receives acknowledgement from the Control Panel, the LED of the PIR Camera will ash 6 times and then turn
o to indicate successful learning.
• After the PIR Camera is learnt-in, put the Control Panel into Walk Test mode. Hold the PIR Camera in the desired location, and press
the Test button to conrm this location is within the signal range of the Control Panel.
• When you are satised that the PIR Camera works in the chosen location, you can proceed to installation.
<NOTE>
• After the Test button is held and pressed for 3 seconds, the LED of the PIR Camera will be on for 20 seconds. If the PIR Camera does
not receive acknowledgement from the Control Panel within this 20-second period, the LED will turn o. The Test button needs to be
pressed and held for 3 seconds again to resend a learning code.
• If the PIR Camera already exists in a Control Panel system, you will need to rst remove the PIR Camera from the Control Panel before
you can learn it into a dierent Control Panel.
• Walk Test should be conducted to conrm proper operation and coverage of the PIR.
• When learning the PIR Camera into a repeater/router, please press the Test button once (instead of pressing and holding it for 3 seconds)
to send a learn code.


