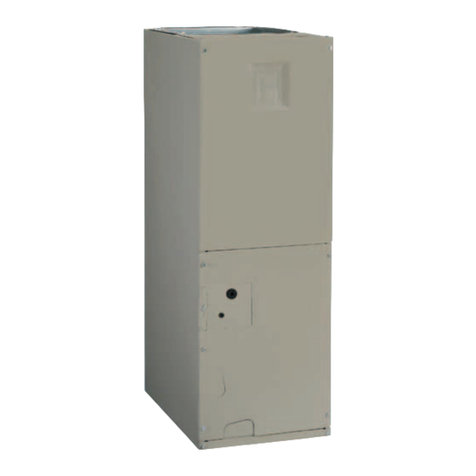
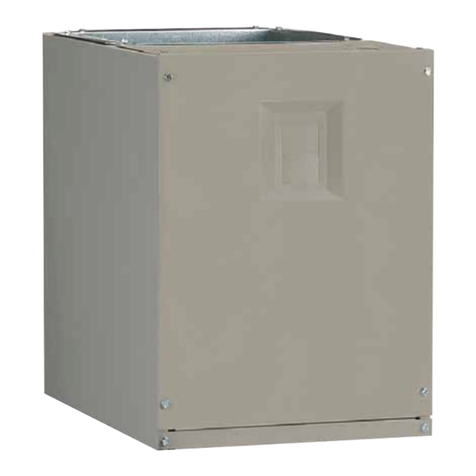
Nordyne P6SP Series Guide

Read this owner information thoroughly before attempting to operate or maintain this unit to be-
come familiar with the capabilities and use of your appliance. Keep this literature where you have
easy access to it in the future. If a problem occurs, check the instructions and follow recommen-
dations given. If these suggestions don’t eliminate your problem, call your NORDYNE Servicing
Contractor (Service PRO).
Any additions, changes, or conversions required in order for the appliance to satisfactorily meet
the application needs must be made by a qualified installer, service agency, or the gas supplier
using factory specified and approved parts.
IMPORTANT
Single Package Electric Heating / Electric Cooling Rooftop Unit
P6SP Series
Single Package Electric Heating/Electric Cooling Rooftop Unit
USER’S INFORMATION MANUAL
— Do not store or use gasoline or other flammable vapors and liquids in the vicinity of this or
any other appliance.
— Installation and service must be performed by a qualified installer or service agency.
FOR YOUR SAFETY
WARNING: If the information in this manual is not followed exactly, a fire or explosion may
result causing property damage, personal injury, or loss of life.
10T Shown

2
General Information
This Single Package Electric Heating/
Electric Cooling Rooftop Unit unit has
been designed and built to provide
many years of safe and dependable
comfort, providing it is properly
installed and maintained.With regular
maintenance, this unit will operate
satisfactorily year after year. Abuse,
improper use, and/or improper
maintenance can shorten the life of
the appliance and create hazards for
you.Please read this manual carefully
to familiarize yourself with operation,
maintenance, and safety procedures
for this unit.
A regular service and maintenance
schedule should be established to
ensure efficient and safe operation
of the unit. Contact your dealer for a
periodic unit inspection by a qualified
service technician.
WARNING!
To avoid possible equipment
damage, fire, or death, the
following instructions must
be observed regarding
unit location and operation
procedures.
Unit Location
The area around this single package
air conditioning unit and the vicinity
of any other appliances must be
kept clear and free of combustible
materials, gasoline, and other
flammable vapors and liquids. Do
not store or use flammable items such
as paint, varnish, or strippers in the
vicinity of the unit.
Do not use the area around the unit
as a storage area. This area must be
kept clear and clean. The unit must
also be kept clear of loose or exposed
insulation materials. Examine the
unit’s area when it is installed or
when insulation is added, since
some insulation materials may be
combustible.
Do not use this appliance if any part
has been under water. Immediately
call a qualified service technician to
inspect the unit and to replace any
part of the electrical control system
which has been under water.
Ductwork
The duct connections must be
physically sound and sealed to the
unit’s casing.
The return air and circulating air
ductwork must not be connected
to any other heat producing device
such as a fireplace insert, stove, etc.
Doing so may result in fire, explosion,
personal injury, carbon monoxide
poisoning, or property damage.
Operating Instructions
Cooling Operation
1.Set the thermostat system switch to
COOL and the thermostat fan switch
to AUTO. (See Figure 1)
2. Set the thermostat temperature
selector to the desired temperature
level.The outdoor fans, compressors,
and indoor blower will all cycle on and
off to maintain the indoor temperature
at the desired cooling level.
Heating Operation
1. Set the thermostat system switch to
HEAT and the thermostat fan switch
to AUTO. (See Figure 1)
2. Set the thermostat temperature
selector to the desired temperature
level.The indoor blower and optional
electric heat module will cycle
on and off to maintain the indoor
temperature at the desired heating
level.
Continuously — Set the thermostat
fan switch to ON (may be called
CONT on some thermostat models).
(See Figure 1) The indoor blower
will start immediately, and will run
continually until the fan switch is
reset to AUTO.The continuous indoor
blower operation can be obtained
with the thermostat system switch set
in any position, including OFF. The
continuous indoor blower operation is
typically used to circulate the indoor air
to equalize a temperature unbalance
due to a solar load, cooking, or
fireplace operation
System Shutdown— Set the
thermostat system switch to OFF and
the thermostat fan switch to AUTO.
(See Figure 1) The system will not
operate, regardless of the thermostat
temperature selector(s) setting.
To Operate the Indoor Blower
Continuously —Set the thermostat
fan switch to ON (may be called CONT
on some thermostat models). (See
Figure 1)
Theindoorblowerwillstartimmediately,
and will run continually until the fan
switch is reset to AUTO.
The continuous indoor blower
operation can be obtained with the
thermostat system switch set in any
position, including OFF.
The continuous indoor blower
operation is typically used to circulate
the indoorair to equalizea temperature
unbalance due to a solar load or
building equipment.
TEMPERATURE
SENSOR
FAN
SWITCH
SYSTEM
MODE
Figure 1. Typical Thermostat

3
System Maintenance
CAUTION:
Be certain all electrical power
to the unit is disconnected
beforeperformingthefollowing
recommended maintenance.
Proper maintenance is most important
to achieve the best performance
from the appliance and should be
performed by a qualified service
technician at least once a year.Follow
the maintenance schedule and the
instructions below for years of safe,
trouble free operation.
• Do not place combustible
materials on or against the
cabinet.
• Do not store gasoline or any
other flammable vapors and
liquids in the vicinity of the
unit.
• Annually inspect the physical
support of the unit to ensure that
it is physically sound without
sagging, cracks, gaps, etc.,
around the base so as to provide
a seal between the support and
the base.
• Annually inspect the return-
air connection to ensure that
it is physically sound and is
still sealed to the casing of the
unit.
• Annually inspect the unit and
ductwork for signs of physical
deterioration.
• Always replace the doors on
the unit after servicing. Do not
operate the unit without all doors
and covers in place.
1. Regular Cleaning:
CAUTION:
Do not strike any of the internal
electrical components while
cleaning.
• Remove any debris from the
outdoor coil, being careful not to
damage the aluminum fins.
• Check for and remove any
obstructions to condenser
airflow.
• Clean the blower compartment
regularly during the heating and
cooling seasons to remove any
dust that may have accumulated
in the compartment or on the
blower and motor. Buildup of
dust on the blower and motor
can create excessive loads on
the motor resulting in higher than
normal operating temperatures
and possible shortened service
life.
2. Air Filters:
WARNING!
Never operate the unit without
a filter in the return air system.
Dust and lint in the return air
can build up on the internal
components, resulting in a
loss of efficiency, equipment
damage, and possible fire
risk.
6, 7½ and 10 ton rooftop package units
are factory equipped with pleated 2”
disposable filters. The filters should
be checked periodically and replaced
(or cleaned) when necessary with
filters of the same dimensional size.
Replace using disposable filters with
a minimum airflow rating of 500 FPM
or permanent filters only.The filter rack
is field adjustable to accommodate
1” permanent filters. DO NOT use 1”
disposable filters in these units.
NOTE: Filters must be ULC approved
or equivalent for use in Canada.
Always replace the filter access
panels after changing or cleaning
the filters. Do not operate unit
without the filter access panels in
place.
3. Motor Lubrication:
WARNING!
Lubrication of the motors in
this unit is not required. Do
not lubricate any motor in this
product.
The motors for the circulating air blower
and outdoor fan are pre-lubricated at
the factory.No further oiling is required
for the life of this product.

¢708879m¤
708879A
708879A (Replaces 7088790)
Specifications and illustrations subject to change
without notice and without incurring obligations.
Printed in U.S.A. (02/09)
O’Fallon, MO
Before Calling A Service Technician:
If the unit fails to operate in cooling or heating, be certain of the following:
1. The thermostat is operating properly. Refer to “Cooling Operation” or “Heating Operation.”
2. The electrical power to the unit is turned on.
3. The filters are not dirty.
Table of contents
Other Nordyne Air Handler manuals
Popular Air Handler manuals by other brands
BLAUBERG Ventilatoren
BLAUBERG Ventilatoren Freshbox 100 WiFi user manual
American Standard
American Standard TMM5A0B24M21SAA Installer's guide
Lennox
Lennox Merit CBA25UHE installation instructions
Panasonic
Panasonic PAW-280PAH3M-1 installation instructions
Vaillant
Vaillant aroTHERM plus VWL 75/6 A S2 Series operating instructions

NuAire
NuAire BPS H-ES Series installation manual

United Technologies
United Technologies Carrier 39CQ manual
Trane
Trane 5 Series Service facts
RDZ
RDZ CHR 400 CoRe Installation & technical manual

Salda
Salda SMARTY XV Series MOUNTING AND INSTALLATION INSTRUCTION

Trane
Trane RT-SVX19A-E4 Installation operation & maintenance

Daikin
Daikin EKEQFCBAV3-US installation instructions
