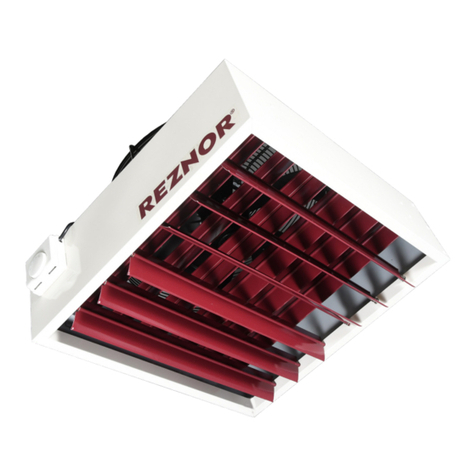
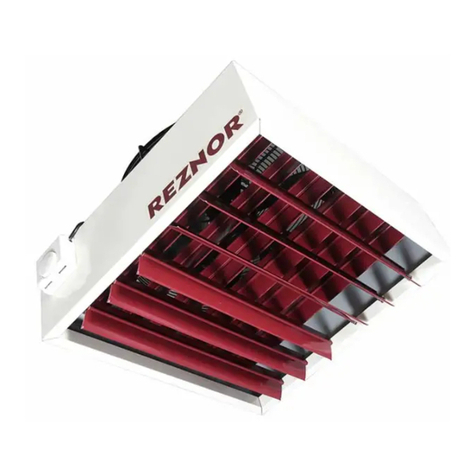
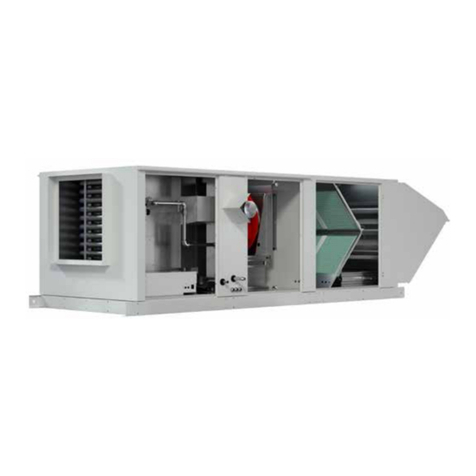
Nortek P6SP-090 Series User manual

P6SP-090 Shown
IMPORTANT! Please read all information in this manual thoroughly and become familiar with the capabilities and use
of your appliance before attempting to operate or maintain this unit. Pay attention to all safety warnings and any other
special notes highlighted in the manual. Safety markings are used frequently throughout this manual to designate
a degree or level of seriousness and should not be ignored. WARNING indicates a potentially hazardous situation
that if not avoided, could result in personal injury or death. CAUTION indicates a potentially hazardous situation that
if not avoided, may result in minor or moderate injury or property damage. Keep this literature where you have easy
access to it in the future. If a problem occurs, check the instructions and follow recommendations given. If these
suggestions don’t eliminate your problem, call your servicing contractor. Do not attempt to service this unit yourself!
USER’S MANUAL
Single Package Electric Heating / Electric Cooling Rooftop Unit
WARNING:
!

2
This single package electric heating / electric cooling
rooftop unit has been designed and built to provide
many years of safe and dependable comfort, providing
it is properly installed and maintained. With regular
maintenance, this unit will operate satisfactorily year after
year.Abuse, improper use, and/or improper maintenance
can shorten the life of the appliance and create unsafe
hazards. A regular service and maintenance schedule
should be established to ensure efficient and safe operation
of the unit. See System Maintenance on page 3.
WARNING:
• To achieve optimum performance and minimize
equipment failure, it is recommended that periodic
maintenance be performed on this unit. The ability
to properly perform maintenance on this equipment
requires certain mechanical skills and tools. Please
consult your dealer for maintenance information and
availability of maintenance contracts.
• Theareaaroundtheunitandthevicinityofanyother
appliances must be kept clear and free of combustible
materials, gasoline, and other flammable vapors and
liquids. Do not store or use flammable items such as
paint, varnish, or strippers in the vicinity of the unit.
• Donotusetheareaaroundtheunitasastoragearea.
This area must be kept clean and clear of loose or
exposed insulation materials. Examine the unit’s area
when it is installed or when insulation is added, since
some insulation materials may be combustible.
• Donotusethisapplianceifanyparthasbeenunder
water. Immediately call a qualified service technician
to inspect the unit and to replace any part of the
electrical control system that has been under water.
• Familiarize yourself with the controls that shut off
the electrical power to the unit. If the unit needs to
be shut down for an extended period of time, turn
off the electrical power. For your safety always turn
off the electrical power before performing service or
maintenance on the furnace.
• Donotblockorobstructairopeningsontheunitorair
openings supplying the area where it is installed.
• Theduct connections mustbe physicallysound and
sealed to the unit’s casing. The return air and circulating
air ductwork must not be connected to any other heat
producing device such as a fireplace insert, stove, etc.
Doing so may result in fire, explosion, personal injury,
carbon monoxide poisoning, or property damage.
OPERATING INSTRUCTIONS
Thermostat styles vary. Some models may not include
the AUTO mode and others will have the AUTO in place
of the HEAT and COOL. Others may include all three.
Please refer to the thermostat’s User Manual for detailed
programming instructions..
The thermostat should be mounted about 5 feet above the
floor on an inside wall and not on an outside wall or other
location where its operation may be adversely affected by
radiant heat from fireplaces, sunlight, or lighting fixtures,
and convective heat from warm air registers or electrical
appliances.
Cooling Operation
1. Set the thermostat system mode to COOL and the
thermostatfanmodetoAUTO.SeeFigure1.
2. Set the thermostat temperature selector to the desired
temperature level.The outdoor fans, compressors, and
indoor blower will all cycle on and off to maintain the
indoor temperature at the desired cooling level.
Heating Operation
1. Set the thermostat system mode to Heat and the
thermostatfanmodetoAUTO.SeeFigure1.
2. Set the thermostat temperature selector to the desired
temperature level. The indoor blower and optional
electric heat module will cycle on and off to maintain
the indoor temperature at the desired heating level.
Set the thermostat fan mode to ON (or CONT on some
thermostatmodels).SeeFigure1.
The indoor blower will start immediately, and will run
continually until the fan switch is reset to AUTO.
The continuous indoor blower operation can be obtained
with the thermostat system switch set in any position,
includingOFF.NOTE: Continuous indoor blower operation
is typically used to circulate the indoor air to equalize a
temperature imbalance due to a solar load, occupancy
loads, or mechanical equipment operation.
Fan
Mode
Temperature
Selector
System
Mode

3
SetthethermostatsystemmodetoOFFandthethermostat
fanmodetoAUTO.SeeFigure1.NOTE: The system will
not operate, regardless of the thermostat temperature
selector’s setting.
CAUTION:
Proper maintenance is most important to achieve the best
performance from the appliance and should be performed
by a qualified service technician at least once a year.
Follow the maintenance schedule and the instructions
below for years of safe, trouble free operation.
• Donotplacecombustiblematerialsonoragainstthe
cabinet.
• Donotstoregasolineoranyotherammablevapors
and liquids in the vicinity of the unit.
• Annually inspect the physical support of the unit to
ensure that it is physically sound without sagging,
cracks, gaps, etc., around the base so as to provide a
seal between the support and the base.
• Annually inspect the return-air connection to ensure
that it is physically sound and is still sealed to the
casing of the unit. Also inspect the unit, ductwork, and
vent system for signs of physical deterioration.
• Alwaysreplacethedoorsontheunitafterservicing.
Do not operate the unit without all doors and covers
in place. Avoid operating the unit when windows and
doors are open.
CAUTION:
• Remove any leaves and grass clippings from the
outdoor coil.
.
• Checkforandremoveanyobstructionssuchastwigs,
sticks, etc.
•Clean the blower compartment regularly during the
heating and cooling seasons to remove any dust
that may have accumulated inthe compartment or on
the blower and motor. Buildup of dust on the blower
and motor can create excessive loads on the motor
resulting in higher than normal operating temperatures
and possible shortened service life.
WARNING:
P6SP Series units are factory equipped with pleated
2 inch disposable filters. The filters should be checked
periodically and replaced (or cleaned) when necessary
withltersofthesamedimensionalsize.Replaceusing
disposable filters with a minimum airflow rating of
500FPMorpermanentltersonly.
IMPORTANT NOTES:
•
•
•
•
The motors for the circulating air blower and outdoor fan
arepre-lubricatedandsealedbythemanufacturer.No
further oiling is required for the life of this product.
TROUbLESHOOTING
Before you call a Technician, check the following:
• Checkthethermostatsetting.Makesurethesystem
mode and temperature settings are correct.
• Checktheelectricalpanelfortrippedcircuitbreakers.
• Checktheltersfordustaccumulation.
• Check the unit and make sure it is clean and not
covered with grass or leaves.
• Ifthe itemsabovedon’tresolveyourproblems,then
call your nearest service technician.

(Replaces708879A)
A warranty certificate with full details is included with the equipment. Carefully review these responsibilities with your
dealer or service company.The manufacturer will not be responsible for any costs found necessary to correct problems
due to improper setup, improper installation, adjustments, improper operating procedure on the part of the user, etc.
Some specific examples of service calls which are not included in the limited warranty are:
• Correctingwiringproblemsintheelectricalcircuitsupplyingtheequipment.
• Resettingcircuitbreakersorotherswitches.
• Adjustingorcalibratingofthermostat.
Specifications & illustrations subject to change without notice or incurring obligations (05/15).
O’Fallon,MO,©NortekGlobalHVACLLC2015.AllRightsReserved.
This manual suits for next models
1
Other Nortek Fan manuals
Popular Fan manuals by other brands

Vornado
Vornado PIVOTC owner's guide

Carrier
Carrier CRECOMZR067A00 installation instructions

Boston Harbor
Boston Harbor 7288129 Installation and operation instruction

RP LIGHTING
RP LIGHTING 1072-PC installation guide

Prestige
Prestige AirFixture PDD-08R-Wi installation instructions

Kambrook
Kambrook Arctic KFA837 Instruction booklet