Northern Industrial Tools 141450 User manual

2 5 0 0 - L B . AT V W I N C H
OWNER’S MANUAL
WARNING: Read carefully and understand all
INSTRUCTIONS before operating. Failure to follow the
safety rules and other basic safety precautions may result
in serious personal injury.
Item #141450

Page 2 of 9
Thank you very much for choosing a NORTHERN TOOL + EQUIPMENT CO., INC. Product! For
future reference, please complete the owner’s record below:
Model: _______________ Purchase Date: _______________
Save the receipt, warranty and these instructions. It is important that you read the entire manual
to become familiar with this product before you begin using it.
This machine is designed for certain applications only. Northern Tool + Equipment cannot be
responsible for issues arising from modification. We strongly recommend this machine is not
modified and/or used for any application other than that for which it was designed. If you have
any questions relative to a particular application, DO NOT use the machine until you have first
contacted Northern Tool + Equipment to determine if it can or should be performed on the
product.
For technical questions please call 1-800-222-5381.
INTENDED USE
This winch is applicable to a wide variety of mounting options.
TECHNICAL SPECIFICATIONS & PACKING LIST
Item
Description
Pulling capacity
2500 lbs. (single line)
Gear ratio
153:1
Motor
12V DC with 0.9 HP output/ Permanent magnet
Drum size:
1.61" x 2.9"
Cable
50' of 3/16"
Roller
4-way fairlead
GENERAL SAFETY RULES
WARNING: Read and understand all instructions. Failure to follow all instructions listed
below may result in electric shock, fire and/or serious injury.
WARNING: The warnings, cautions, and instructions discussed in this instruction
manual cannot cover all possible conditions or situations that could occur. It must be
understood by the operator that common sense and caution are factors which cannot be built into
this product, but must be supplied by the operator.
WARNING: DO NOT ATTEMPT TO INSTALL WIRING WHEN THE BATTERY IS
CONNECTED! Automotive and power sports batteries contain flammable and explosive gases.
Wear eye protection during installation and remove all metal jewelry. Do not lean over battery while
making connections.
SAVE THESE INSTRUCTIONS

Page 3 of 9
WINCH USE & SAFETY
WARNING: MOVING PARTS ENTANGLEMENT HAZARD. Failure to observe these
instructions could lead to severe injury or death.
·Always keep hands clear of wire rope, hook loop, hook and fairlead opening during installation,
operation, and when spooling in or out.
·Always use extreme caution when handling hook and wire rope during spooling operations.
·Always wear heavy leather gloves when handling a wire rope, and never let wire rope slip
through your hands.
·Always stand clear of wire rope and load during operation, and keep bystanders away as well.
Do not try to guide the cable
·Always be certain the anchor you select will withstand the load, and the strap or chain will not
slip.
·Never use as an overhead hoist, or to suspend a load.
·Never use to lift or move persons.
·Never exceed the winch or wire rope rated capacity.
·Never apply load to hook tip or latch. Apply load to only the center of the hook.
·Never use a hook whose throat opening has increase, or whose tip is bent or twisted.
·Never touch wire rope or hook while in tension or under load.
·Never hook wire rope back onto itself.
ASSEMBLY OF WINCH
WARNING: Before installing this winch, disconnect the vehicle ground and positive
leads from the battery.
WARNING: CHEMICAL AND FIRE HAZARD. Failure to observe these instructions
could lead to severe injury or death.
·Always remove jewelry and wear eye protection.
·Never lean over battery while making connections.
·Always verify area is clear of fuel lines, fuel tank, brake lines, electrical wires, etc… when
drilling.
·Never route electrical cables:
1. Across any sharp edges.
2. Through or near moving parts.
3. Near parts that become hot.
·Always insulate and protect all exposed wiring and electrical terminals.
·Always install terminal boots as directed.
·Always choose a mounting location that is sufficiently strong to withstand the maximum pulling
capacity of the winch.
NOTE: The wire cable has been installed on your winch under minimal load at the factory. The
wire rope must be re-spooled onto the drum under load so that the outer layers will not draw down
into the inner layers, damaging the wire rope.

Page 4 of 9
Step (1)
Install mounting kit or prepare a flat, secure mounting location for the winch. Carefully follow the
instructions included with the mounting kit.
Note: If you choose not to use a mounting kit, you will need to drill holes in the structural support of
your vehicle. Be certain that your structural support will stand up to the rated pulling forces of this
winch.
Step (2)
Position the winch over the holes in the mounting kit or structural support.
Step (3)
Secure winch to mounting kit or structural support using bolts, washers and nuts supplied.
Note: In order to gain access to the hardware directly underneath the cable drum it may be
necessary to unspool the cable from the winch drum.
WINCH WIRING INSTALLATION
CAUTION: When attaching wires to the motor or solenoid terminals, hold the inner nut with
a wrench while tightening the outer nut with a second wrench. Do not allow the terminals to rotate in
their housings. Rotation may cause internal wire damage or part misalignment.
Step (1)
Contactor Location: The contactor is mainly a safety component for your winch system. It
separates your winch from its power source when not in use. It is recommended that the contactor
be mounted close to the battery in a clean, dry location. Typical locations are in or near the rear
storage box and on some models under the seat. Make sure the location you chose allows sufficient
clearance from all metal components such as frame tubes. Drill mounting holes once location is
found but do not install as it is easier to wire the contactor prior to mounting.
Step (2)
Switch Mounting: Switch is typically mounted on the left handlebar. Use a piece of black electrical
tape to prevent rotation on the bar. Do not install over any wires or hoses. Once mounted, route the
wiring harness back to where the contactor will be mounted, attaching the harness to hard points on
the vehicle with cable ties. Splice this wire to a key controlled electrical wire, or connect to terminal
1 of contactor, or battery positive pole (We recommend splice the wire 7 to No.1 on Contactor or
battery positive terminal). A test light can be used to locate an appropriate wire. The wire should
only have power when the key is on. Attach the two bullet point wires to their corresponding wires
on the contactor in Figure 1.
NOTE: When routing the wires, the appropriate terminals should be located near the battery, switch
mounting point and winch. Your installation requirements will vary depending upon your vehicle and
winch. Note that if the wires are not long enough to reach the battery, switch mounting point and
winch you may need to increase the length and/or wire gauge of the wiring harness.
WARNING: Ensure that the wiring harness does not interfere or come in contact with
any hot or moving engine, suspension, steering, braking or exhaust parts.
Step (3)
Attach battery wires to contactor locations 1 and 2 as shown in Figure 1. Do not connect to battery
at this time.

Page 5 of 9
Step (4)
Attach winch wires to contactor locations 3 and 4 as shown in Figure 1. The opposite ends should
be routed to the winch and can be connected at this time red to positive (red nut) and black to
negative (silver nut).
Step (5)
Contactor can now be secured to your chosen mounting location. When all wires have been
properly routed and secured with cable ties and electrical tape, take a moment to ensure that your
system is properly installed and free from restrictions. You may now attach the wires to the battery
positive and negative.
WARNING: Be sure that switch-mounting position does not impede the operation of the
vehicle. Before driving the vehicle, test the vehicle control system range or motion to ensure that
switch wiring does not interfere with vehicle operation.
WARNING: Before testing winch operation, be sure to reel off approximately two feet of
wire rope.
NOTE: If you choose to locate the winch or switch at a greater distance than the wires permit, it
may be necessary to purchase a heavier gauge wire to get the best performance from your winch.
If the total length of additional wire to be added exceeds 10 feet, use a heavier wire gauge.
NOTE: If your vehicle is equipped with side pole terminals, it may be necessary to obtain auxiliary
side terminal bolts from your local parts store to make these connections.
HANDWHEEL OPERATION

Page 6 of 9
Step (1)
Move the handwheel operation knob to the free position as shown in Figure 2a.
CAUTION: If there is a load on the drum, the handwheel knob may not move easily. DO
NOT FORCE THE HANDWHEEL KNOB! Release tension on the drum by letting out some of the
cable.
Step (2)
Pull out the cable and secure to an anchor point or load.
Step (3)
Check to ensure that there are at least 5 turns of cable left on the drum.
Step (4)
Re-engage the drum by returning the clutch to the ENGAGED position as shown in Figure 2b.
CAUTION: Handwheel knob must be fully in the engaged position as shown in figure 2b
before winching. NEVER attempt to free or engage the handwheel knob while the drum is turning.
Figure 2a Handwheel disengaged Figure 2b Handwheel Engaged
(Free Position)
WINCH OPERATION
WARNING: Clutch must be fully engaged before starting the winching operation.
Do not disengage clutch under load. Do not leave clutch engaged when which is not in use.
WARNING: A minimum of five wraps of cable around the drum barrel is necessary to
hold the load. The cable clamp is not designed to hold a load.
CAUTION: Always inspect which installation, wire rope and hook condition before
operating winch. Frayed, kinked or damaged wire rope must be replaced immediately. Loose or
damaged winch installation must be corrected immediately. Immediately replace a hook that is
damaged, bent or twisted.

Page 7 of 9
ROCKER SWITCH OPERATION:
Activate the winch by depressing the switch in either direction. The rocker switch automatically
returns to the OFF position when released.
NOTE: In the OFF position, an electrical shunt provides dynamic braking action, which will eliminate
coasting. In the OFF position, the shunt reduces the action of a load backdriving the winch.
However, a load can cause the winch to creep.
WARNING: The winch is not designed to act as a load holding device or to replace a tie
down. DO NOT use the winch to hold loads in place. Use tie down straps or chains for securing
loads.
WARNING: Disconnect the winch from the battery when unattended to prevent
unauthorized use!
MAINTENANCE
WARNING: Make sure this tool is disconnected from its power source before attempting
any maintenance, cleaning, or inspection.
·Cleaning. Use only soap and a damp cloth to clean your winch. Many household cleaners are
harmful to plastics and other insulation. Never let liquid get inside a winch.
·Periodically check mounting bolts and electrical connections for tightness. Remove dirt or
corrosion that has accumulated on the electrical connections.
·Lubrication: The gearbox and drum bearings are permanently lubricated. No internal
lubrication by the owner should be required for the life of the winch. Re-lubrication is necessary
after repair or disassembly only.
·Always check the condition of wire before using.
·Wire cable replacement: Never substitute a heavier or lighter wire rope as a replacement.
Never us a rope made of any material other than wire.
·Always replace a damaged wire rope with a manufacturer’s identical replacement part!
Pass the attaching end of the wire rope through the fairlead (if equipped) and attach it to the
drum. When attaching the wire rope into the drum, insert it into the correct end of the hole
provided. Tighten the setscrew securely.

Page 8 of 9
DIAGRAM
PARTS LIST
No.
Description
1
Motor
2
Reduction box
3
Planetary gear
4
Inner gear
5
Drum support plate(box cover)
6
Pan head screw
7
Drum support bushing
8
Spline shaft
9
Spring
10
Drum Assembly
11
Screw
12
Bushing
13
Supporting plate
14
Rocker block
15
Baffle Circle
16
Supported end and handwheel
17
Mounting plate
18
Pin
19
Cross bar

Page 9 of 9
20
3/16" x 50' Wire rope and Hook
13/64" x 50' Wire rope and Hook
7/32" x 50' Wire rope and Hook
21
Manual handle
22
Roller fairlead
23
Contactor
24
Rocker switch
25
Angular supporter
26
Bolt
27
Washer
28
Bolt
29
Bolt (long)
30
Washer
31
Screw cap
32
Joint lever
33
Fastener
TROUBLESHOOTING GUIDE
For replacement parts and technical questions, please call 1-800-222-5381.
WARRANTY
One-Year Limited Warranty
Northern Tool + Equipment Co.,
2800 Southcross Drive West
P.O. Box 1499
Burnsville, MN 55337-0499
Made in China
Table of contents
Other Northern Industrial Tools Winch manuals
Popular Winch manuals by other brands

IKAR
IKAR IKLW 300 Log book and instructions for use
MSW
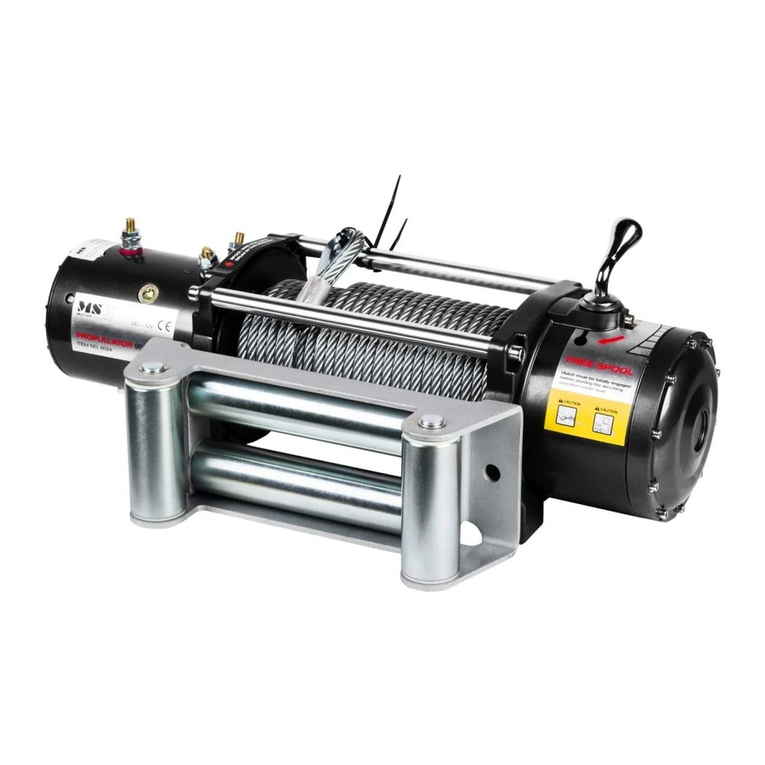
MSW Propullator 13500-PRO user manual
HADEF
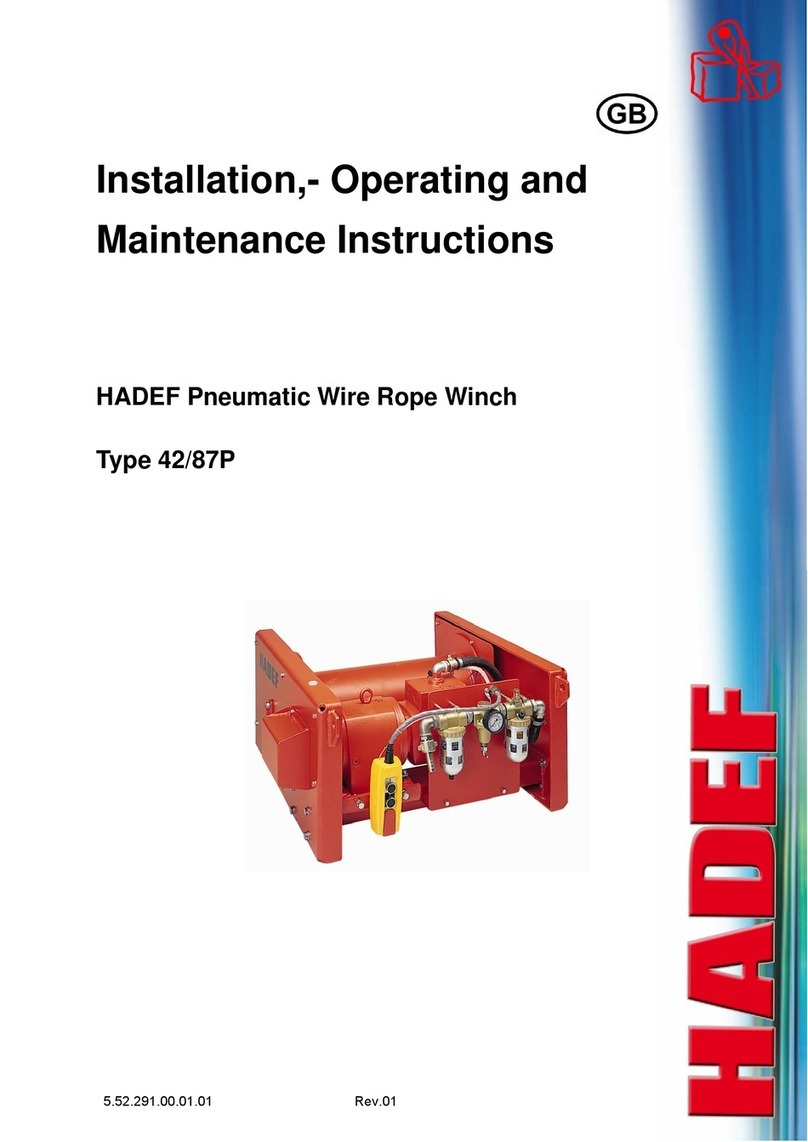
HADEF 42/87P Installation, operating, & maintenance instructions
Central Forge
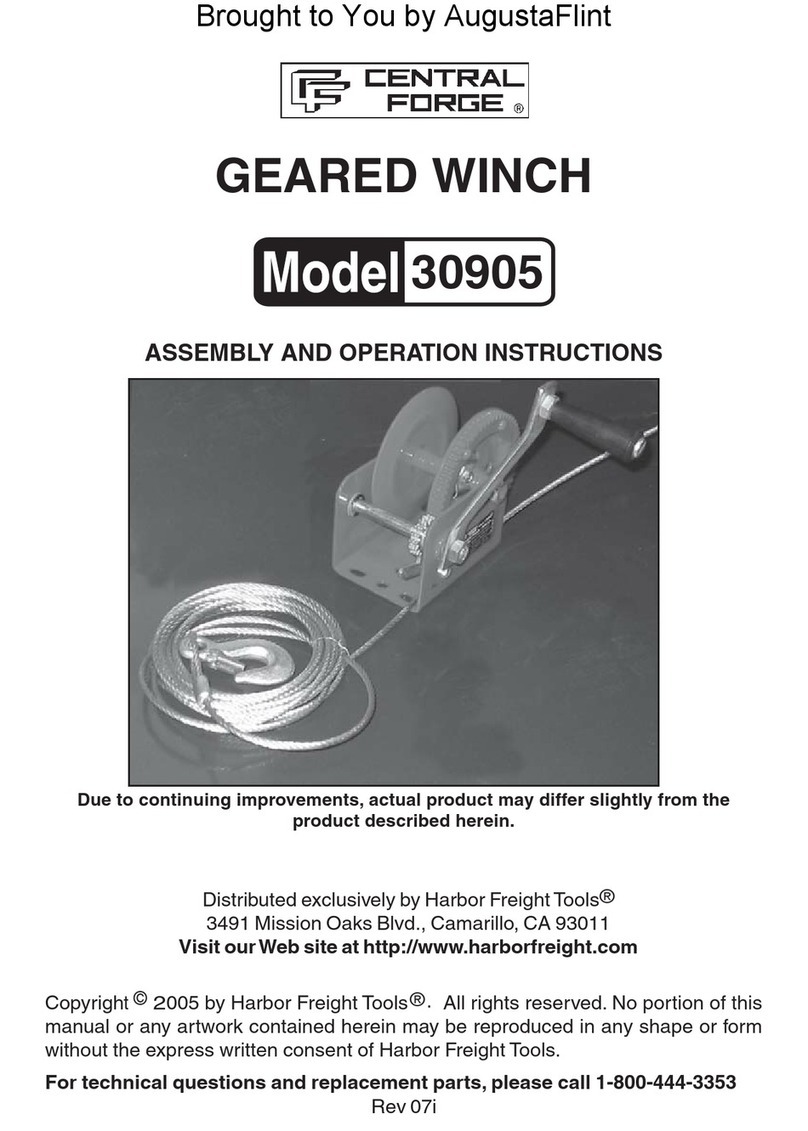
Central Forge 30905 Assembly and operation instructions

Ingersoll-Rand
Ingersoll-Rand FORCE 5i Man Rider FA2i-MRA Product information

Ingersoll-Rand
Ingersoll-Rand Force 5i Series Product Maintenance Information


