Norwood Kwik-Till HSD2500 User manual
11202 38th St S, Horace, ND 58047
P/N 55-5-00131
Operator’s Manual
Models: HSD2500, HSD3000, HSD3500, HSD4000, & HSD4500
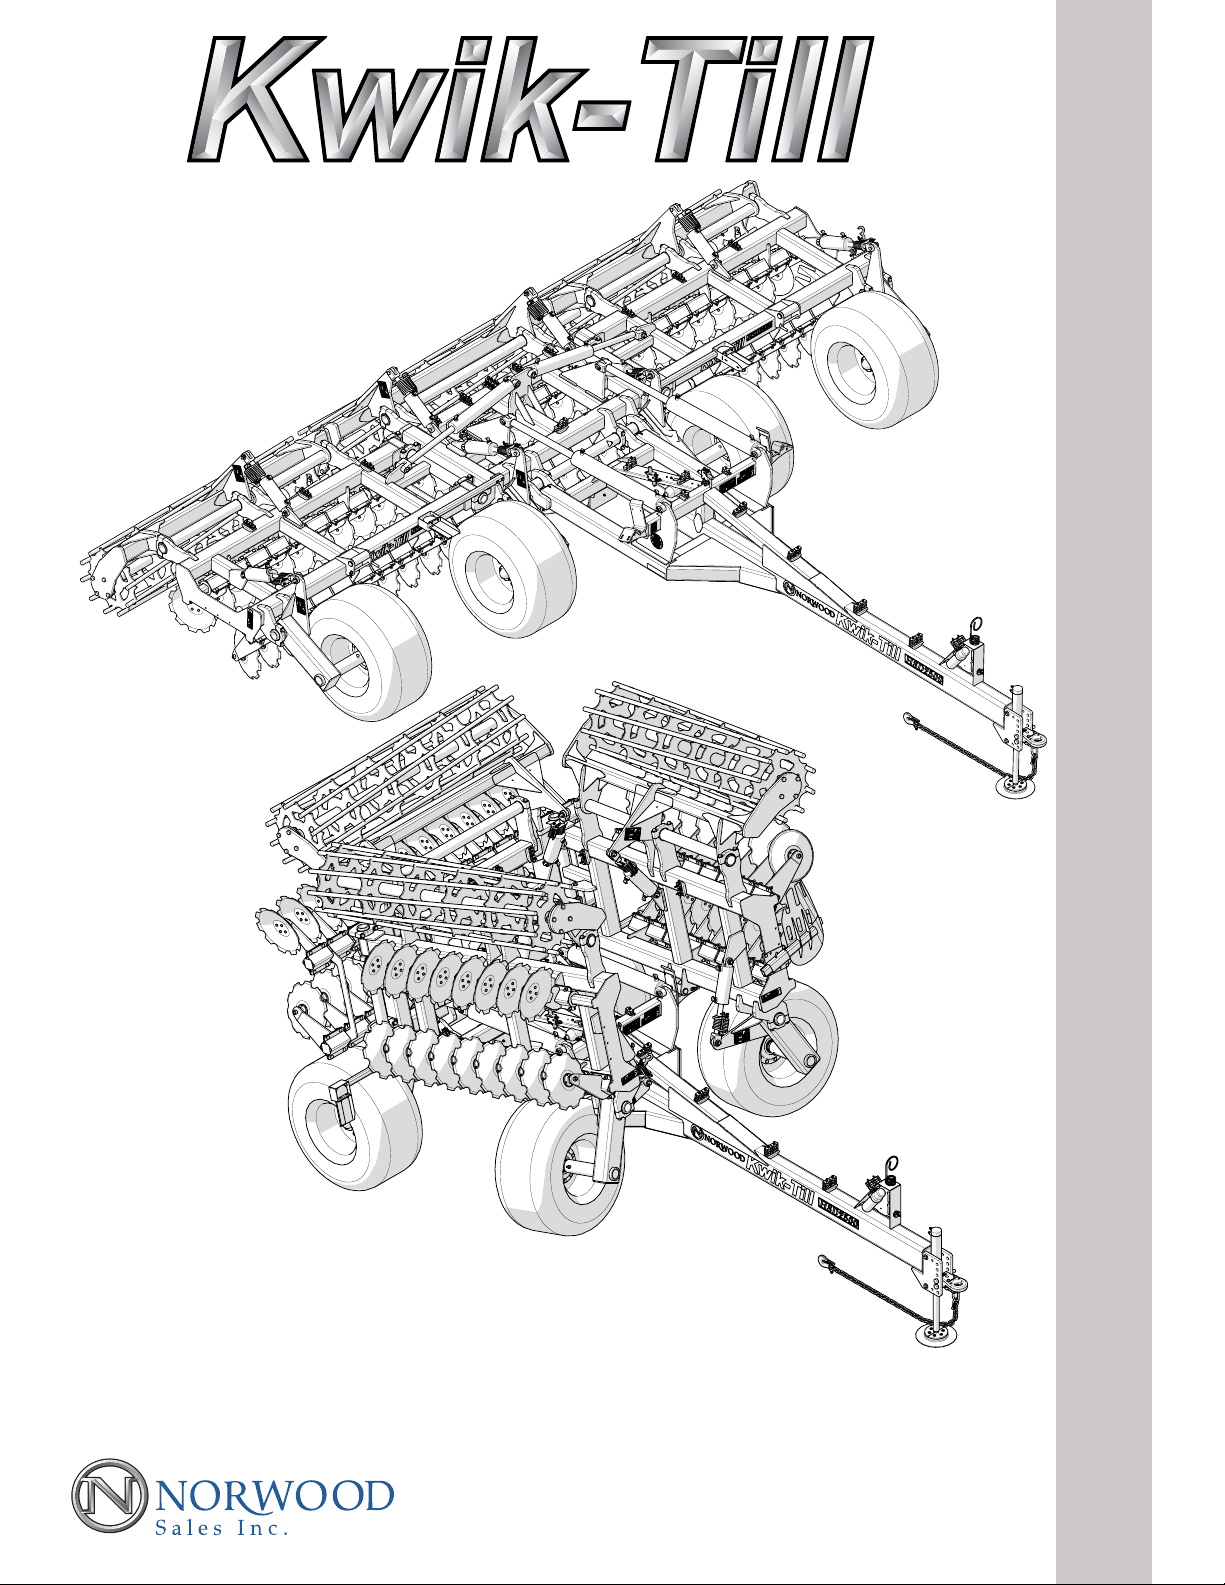
(Kwik-Till 3-Section Drawn High Speed Disk
Model HSD2500 Shown in Transport Position)
Kwik-Till 3-Section Drawn
High Speed Disk
(Kwik-Till 3-Section Drawn High Speed Disk
Model HSD2500 Shown in Field Raised Position)


i
Disclaimer
This document is based on information available at the time of its publication. While eorts have been made to be accurate,
the information contained herein does not purport to cover all details or variations, nor to provide for every possible contin-
gency in connection with installation, operation, or maintenance. Features may be described herein which are not present
in all systems. Norwood Sales Inc. assumes no obligation of notice to holders of this document with respect to changes
subsequently made.
Norwood Sales Inc. makes no representation or warranty, expressed, implied, or statutory with respect to, and assumes no
responsibility for the accuracy, completeness, suciency, or usefulness of the information contained herein. No warranties
of merchantability or tness for purpose shall apply.
Trademark Information
Read and Understand
WARNING
Read and follow all instructions and safety precautions in this
manual and all other manuals for products associated with this
planter as well as in all on-product warning decals. Failure
to do so could result in death or serious injury, or property
damage. Contact your Norwood dealer if any of your manuals
are missing or illegible or you have questions.
Preface
This manual is intended for use with the following Kwik-Till 3-Section Drawn High Speed Disk models:
HSD2500, HSD3000, HSD3500, HSD4000, & HSD4500
Revision History
Issue Date Reasons for Change
55-5-00131 February 20th 2020 Initial Release
Any trademarks not directly mentioned are acknowledged.

ii
Contents
1.0 - GENERAL INFORMATION ....................................................................................................1-1
Note to the Owner.................................................................................................................................................. 1-1
A Message to Our Customers................................................................................................................................ 1-1
Kwik-Till Operator’s Manual Location..................................................................................................................... 1-2
Kwik-Till Model / Serial Number Location ............................................................................................................. 1-2
Determining Left and Right Side of the Machine ................................................................................................... 1-3
Determining Orientation Using Directional Arrows................................................................................................. 1-3
2.0 - SAFETY INFORMATION .......................................................................................................2-1
Safety Rules And Signal Word Denitions ............................................................................................................. 2-1
Personal Safety...................................................................................................................................................... 2-1
Machine Safety ...................................................................................................................................................... 2-1
Safety Rules........................................................................................................................................................... 2-2
General Safety ......................................................................................................................................... 2-2
General Safety Cont’d. .......................................................................................................................... 2-3
Hydraulic Safety ...................................................................................................................................... 2-3
Operating Safety ...................................................................................................................................... 2-4
Prepare for Emergencies ......................................................................................................................... 2-4
Personal Protective Equipment (PPE) ..................................................................................................... 2-4
Lock-Out Tag-Out Safety ......................................................................................................................... 2-5
Non-Permissible Use ............................................................................................................................... 2-5
General Maintenance Safety ................................................................................................................... 2-5
Wheel and Tire Safety ............................................................................................................................. 2-6
Remove Paint Before Welding or Heating
................................................................................................ 2-6
Avoid Heating Near Pressurized Fluid Lines
................................................................................................. 2-6
Avoid Overhead Power Lines .................................................................................................................. 2-7
Use a Signal Person ................................................................................................................................ 2-7
Electrical Storm Safety ............................................................................................................................ 2-7
Working at Heights (If Applicable) ............................................................................................................ 2-7
Noise Level Safety ................................................................................................................................... 2-8
Chemical Safety and the Environment .................................................................................................... 2-8
Handle Chemical Products Safely ........................................................................................................... 2-8
Decommissioning: Proper Recycling and Disposal of Fluids and Components ...................................... 2-9
Use Safety Lights and Devices ................................................................................................................ 2-9
Observe Maximum Transport Speed ....................................................................................................... 2-9
Attaching and Detaching Kwik-Till To / From Tractor Safety .................................................................. 2-10
Use a Safety Chain ................................................................................................................................ 2-10
Tow Loads Safely .................................................................................................................................. 2-11
Keep Riders O Machine ....................................................................................................................... 2-11
Preparing For Transport Safety ............................................................................................................. 2-15
Safety Decals....................................................................................................................................................... 2-17
Safety Decal Locations Cont’d............................................................................................................................. 2-18
Safety Decal Locations Cont’d............................................................................................................................. 2-19
Safety Decal Locations Cont’d............................................................................................................................. 2-20
Important, Notice & Informational Decal Locations ......................................................................................... 2-28
Safety Features.................................................................................................................................................... 2-32

iii
Safety Features Cont’d... ..................................................................................................................................... 2-33
Safety Features Cont’d... ..................................................................................................................................... 2-34
3.0 TRANSPORT OPERATIONS ...................................................................................................3-1
Preparing The Tractor ............................................................................................................................................ 3-2
Use Tractor Operator’s Manual.............................................................................................................................. 3-2
Determine Tractor Requirements........................................................................................................................... 3-2
Hydraulic Requirements......................................................................................................................................... 3-2
Drawbar Requirements .......................................................................................................................................... 3-3
Secure Three-Point Hitch....................................................................................................................................... 3-3
Position Drawbar.................................................................................................................................................... 3-3
Prepare Hydraulic System ..................................................................................................................................... 3-4
Preparing Kwik-Till ................................................................................................................................................. 3-5
Drawbar Requirements .......................................................................................................................................... 3-5
Check Tire Pressure .............................................................................................................................................. 3-7
Check Wheel Hardware ......................................................................................................................................... 3-7
Attaching and Detaching Kwik-Till To/From Tractor ............................................................................................... 3-8
Use Your Tractor and Tillage Equipment Operator’s Manuals ............................................................................... 3-8
Attaching Kwik-Till To Tractor................................................................................................................................. 3-9
Using The Seven-Terminal Outlet ....................................................................................................................... 3-15
Kwik-Till Lighting .................................................................................................................................................. 3-16
Detaching Kwik-Till From Tractor......................................................................................................................... 3-17
4.0 - WORKING OPERATIONS .....................................................................................................4-1
Operating Safety............................................................................................................................................. 4-1
Machine Components (Page 1 of 3) ...................................................................................................................... 4-2
Machine Components (Page 2 of 3) ...................................................................................................................... 4-3
Machine Components Contd. ................................................................................................................................ 4-3
Machine Components (Page 3 of 3) ...................................................................................................................... 4-4
PRE-OPERATION CHECKLIST ............................................................................................................................ 4-5
Hydraulic Hitch Jack Ball Valve.............................................................................................................................. 4-6
Manual Depth Control ............................................................................................................................................ 4-7
Understanding Manual Depth Control.................................................................................................................... 4-7
Understanding Depth Control Components ........................................................................................................... 4-8
Manual Depth Control Procedure .......................................................................................................................... 4-9
Transport Locks ................................................................................................................................................... 4-10
Kwik-Till Unfolding................................................................................................................................................ 4-11
Kwik-Till Folding ................................................................................................................................................... 4-15
Before Entering Field Guidelines ......................................................................................................................... 4-18
Tighten Hardware................................................................................................................................................. 4-18
Leveling the Hitch ................................................................................................................................................ 4-18
Adjusting The Hitch Link ...................................................................................................................................... 4-20
In-Field Operation ................................................................................................................................................ 4-21
Headland Turns & Skipped Passes ..................................................................................................................... 4-22
Adjusting Soil Deector........................................................................................................................................ 4-23
Adjusting Rear Roller Deector............................................................................................................................ 4-24
5.0 MAINTENANCE .......................................................................................................................5-1
General Maintenance Safety ................................................................................................................... 5-1
Hydraulic Safety ...................................................................................................................................... 5-1
Replace Hydraulic Hoses....................................................................................................................................... 5-2
Practice Safe Maintenance .................................................................................................................................... 5-2
Work in Clean Area ................................................................................................................................................ 5-2
Use Safe Service Procedures................................................................................................................................ 5-2
Service Machine Safely ......................................................................................................................................... 5-3
Support Machine Properly ..................................................................................................................................... 5-3
Avoid Sharp Disks.................................................................................................................................................. 5-3
FLUIDS AND LUBRICANTS .................................................................................................................................. 5-4
Hydraulic Oil:.......................................................................................................................................................... 5-4

iv
Grease: .................................................................................................................................................................. 5-4
Greasing ................................................................................................................................................................ 5-4
SERVICING INTERVALS....................................................................................................................................... 5-4
Lubrication Symbols............................................................................................................................................... 5-4
MAINTENANCE CHART........................................................................................................................................ 5-5
Re-Torque Wheel Flange Nuts............................................................................................................................... 5-6
Check Tightness Of All Bolts, & Cap Screws ......................................................................................................... 5-7
Check For Hydraulic Leaks.................................................................................................................................... 5-8
Check For Damaged Hydraulic Hoses, Adapters, Crossovers, Junctions, & Hydraulic Cylinders......................... 5-9
Check Tire Pressures........................................................................................................................................... 5-10
DAILY................................................................................................................................................................... 5-11
Checking / Adjusting Scraper Alignment .............................................................................................................. 5-11
Scraper Blade Replacement & Alignment............................................................................................................ 5-12
Re-Torque Wheel Flange Nuts............................................................................................................................. 5-15
Check Tightness Of All Bolts, & Cap Screws ....................................................................................................... 5-16
Check Pivot Bushings For Wear .......................................................................................................................... 5-17
Check For Gap At Pivot Bushing Caps ................................................................................................................ 5-19
Grease Hitch Link Articulating Ball (If Equipped) ................................................................................................. 5-20
Check Disk Hub Nuts (Re-Torque If Needed) ...................................................................................................... 5-21
Check Disk Shank Cord Alignment ...................................................................................................................... 5-22
Adjusting Disk Shank Cords ................................................................................................................................ 5-22
Lubricate Wheel Hubs.......................................................................................................................................... 5-24
Check Disks For Damage And / Or Excessive Wear ........................................................................................... 5-25
Check Wheel Bearings ........................................................................................................................................ 5-26
Check Disk Hubs For Excessive Wear ................................................................................................................ 5-27
Check Accumulator .............................................................................................................................................. 5-29
Check Rear Roller Hubs For Wear ...................................................................................................................... 5-30
Clean And Wash The Machine............................................................................................................................. 5-31
Replace Pivot Bushings ....................................................................................................................................... 5-32
Repack Wheel Bearings ...................................................................................................................................... 5-33
Replace Rear Roller Hubs ................................................................................................................................... 5-35
SERVICE PROCEDURE: .................................................................................................................................... 5-35
STORAGE............................................................................................................................................................ 5-41
6.0 - TROUBLESHOOTING ...........................................................................................................6-1
Troubleshooting Field Problems ............................................................................................................................ 6-1
7.0 - SPECIFICATIONS..................................................................................................................7-1
Kwik-Till Specications:.......................................................................................................................................... 7-1
Tractor power requirements are shown in the following......................................................................................... 7-1
charts for each specic model of machine and working ........................................................................................ 7-1
Tractor Engine Power Requirements ..................................................................................................................... 7-1
Downward Force on Tractor Drawbar .................................................................................................................... 7-1
Machine Weight ..................................................................................................................................................... 7-1
Transport Width and Height ................................................................................................................................... 7-1
Ground Engaging................................................................................................................................................... 7-2
Disk Blades ............................................................................................................................................................ 7-2
Rear Attachments .................................................................................................................................................. 7-3
Tire Specications.................................................................................................................................................. 7-3
Torque – Hydraulic Tubes and Fittings................................................................................................................... 7-4
Torque – Fasteners ................................................................................................................................................ 7-5
8 - FORMS AND DECLARATIONS ................................................................................................8-1

1-1
1 - GENERAL INFORMATION
Fig. # 1-1 Kwik-Till 3-Section Drawn High Speed Disk
must be borne solely by the user. Compliance with and strict
adherence to the conditions of operation, service and repair
as specied by the manufacturer also constitute essential
elements for the intended use.
DO NOT use this machine for any purpose or in any manner
other than as described in the manual, decals, or other product
safety information provided with the machine. These materials
dene the machine's intended use.
Use only approved accessories and attachments designed
for your machine.
Consult your dealer on changes, additions or modications
that may be required for your machine.
DO NOT make any unauthorized modifications to your
machine. Any arbitrary modications carried out on this
machine will relieve the manufacturer of all liability for any
resulting damage or injury.
A Message to Our Customers
We appreciate the condence placed in us by the purchase
of this machine. To ensure that the machine performs at the
highest level, countless hours were spent designing and
testing, before this machine was produced. To achieve the
maximum performance, it is imperative that this machine is
operated in accordance with the procedures outlined in this
manual.
1.0 - GENERAL INFORMATION
Note to the Owner
This manual contains important information about the safe
operation, adjustment, and maintenance of your Kwik-Till
3-Section Drawn High Speed Disk. This manual should be
considered a permanent part of your machine and should
remain with the machine if you sell it.
Refer to the table of contents at the beginning or the Index
at the end of this manual for locating specic items about
your machine.
DO NOT operate or permit anyone to operate or service this
machine until you or the other persons have read this manual.
Use only trained operators who have demonstrated the ability
to operate and service this machine correctly and safely.
All persons who will be operating this machine shall possess
applicable local age work permits.
This Kwik-Till, with standard equipment and authorized
options, is intended to be used in customary agricultural or
similar operations for the purpose of tilling ground soil for
seed bed preparation and residue incorporation (“INTENDED
USE”). Use in any other way is considered as contrary to
the intended use. The manufacturer accepts no liability for
damage or injury resulting from this misuse, and these risks

1-2
1 - GENERAL INFORMATION
Kwik-Till Operator’s Manual Location
This Operator’s manual is to be stored in the “Operator’s
Manual Canister” on the right side of the machine on the
hose holder bracket for reference during eld operation. (See
Fig. # 1-2) Make sure this manual is complete and in good
condition. Contact your dealer to obtain additional manuals
and approved service parts. Your dealer has technicians
with special training that know the best methods of repair and
maintenance for your Kwik-Till.
Owner’s
Manual
Canister
Fig. # 1-2 Locating The Operator’s Manual Canister
Kwik-Till Model / Serial Number Location
Always give your authorized Kwik-Till dealer the Model
Number, and Serial Number of your Kwik-Till product when
ordering parts, requesting service, or any other information
to provide the most ecient service.
The Serial Number location is identied below. (See Fig. #
1-3)
Fig. # 1-3 Locating The Serial Number Plate
Serial Number
Plate
The Model Number location is indicated below. (See Fig.
# 1-4)
Fig. # 1-4 Locating Model Number Decal
Model Number
Decal
Make a copy of the number below and keep in a safe place.
If the machine is stolen, report the numbers to your local law
enforcement agency.
Write the Model Number, Serial Number, & Date Of Pur-
chase on the lines provided.
Model Number: _________________________________
Serial Number: _________________________________
Date Of Purchase: _______________________________

1-3
1 - GENERAL INFORMATION
Determining Left and Right Side of the Machine
Operator Orientation - The directions Front (1), Back (2), Left (3), and Right (4) as mentioned throughout the manual, are
determined when standing at the discharge spout and looking toward the intake hopper.
Determining Orientation Using Directional Arrows
The symbols shown below, may be illustrated on certain pages in this manual, and where indicated, determine the front of
the machine.
4
2
3
1
Fig. # 1-5

1-4
1 - GENERAL INFORMATION
This Page Is Intentionally Left Blank

2 - SAFETY INFORMATION
2-1
2.0 - SAFETY INFORMATION
Safety Rules And Signal Word Denitions
Personal Safety
This is the safety alert symbol. It is used to alert you to potential personal injury hazards. Read and understand
all the safety messages in this manual and associated equipment manuals before you operate or service the
machine. Obey all safety messages that follow this symbol to avoid possible death or serious injury.
Throughout this manual and on machine decals, you will nd the signal words DANGER, WARNING, and CAUTION followed
by special instructions. These precautions are intended for the personal safety of you and those working with you.
DANGER
DANGER; Indicates a hazardous situation which, if not avoided, will result in death or serious
injury. The color associated with DANGER on the machine decals is RED.
WARNING
WARNING; Indicates a hazardous situation which, if not avoided, could result in death or serious
injury. The color associated with WARNING on the machine decals is ORANGE.
CAUTION
CAUTION; Used with the safety alert symbol, indicates a hazardous situation which, if not avoided,
could result in minor or moderate injury. CAUTION may also be used to alert against unsafe practices associated with events
which could lead to personal injury. The color associated with CAUTION on the machine decals is YELLOW.
FAILURE TO FOLLOW DANGER, WARNING, AND CAUTION MESSAGES COULD RESULT IN
DEATH OR SERIOUS INJURY.
Machine Safety
NOTICE
Notice indicates a situation which, if not avoided, could result in machine or property damage. The
color associated with Notice on the machine decals is BLUE.
IMPORTANT
Important indicates a situation which, if not avoided, could result in machine or property
damage. The color associated with Important on the machine decals is WHITE.
Throughout this manual you will nd the signal word Notice followed by special instructions to prevent machine or property
damage. The word Notice is used to address practices not related to personal safety.
Information
NOTE
Note indicates additional information which claries steps, procedures, or other information in this manual.
Throughout this manual you will nd the word Note followed by additional information about a step, procedure, or other
information in the manual. The word Note is not intended to address personal safety or property damage.
2 - SAFETY INFORMATION
2-2
Safety Rules
Read Entire Section Before Use.
Understand that your safety and the safety of other persons
is measured by how you service and operate this machine.
Know the positions and operations of all controls before you
try to operate. MAKE SURE YOU CHECK ALL CONTROLS
IN A SAFE AREA BEFORE STARTING YOUR WORK.
READ THIS MANUAL COMPLETELY AND MAKE SURE
YOU UNDERSTAND THE CONTROLS. All equipment has
a limit. Make sure you understand the stability and load
characteristics of this machine before you start to operate.
NOTE: Safety messages in this section point out specic
safety hazards which can be encountered during the normal
operation and maintenance of your machine. These safety
messages also give possible ways of dealing with these
conditions.
The safety information given in this manual does not replace
safety codes, insurance needs, federal, state and local laws.
Make sure your machine has the equipment required by the
local laws and regulations.
Owners must give operating instruc tions to operators or
employees before allowing them to operate the machine, and
at least annually thereafter per OSHA (Occupational Safety
and Health Administration) regulation 1928.57.
The most important safety device on this equipment is a SAFE
operator. It is the operator’s responsibility to read and under-
stand ALL Safety and Operating instructions in the manual
and to follow them. All acci dents can be avoided.
A person who has not read and understood all operating and
safety instructions is not qualied to operate the machine.
An untrained operator exposes himself and bystanders to
possible serious injury or death.
Additional safety messages are used in the text of the manual
to indicate specic safety hazards. See your dealer for more
information if you have any questions.
Use caution when operating the machine on slopes. Raised
equipment, partially full or full conveyor belt and other loads
will change the center of gravity of the machine. The machine
can tip or roll over when near ditches and embankments or
uneven surfaces.
Travel speed must be such that complete control and machine
stability is maintained at all times. Reduce speed when
turning, crossing slopes and when on rough, slick or muddy
surfaces.
Never permit anyone to ride on any part of the machine.
Some illustrations in this manual will show shields or cover
panels removed for purposes of clarity. DO NOT operate this
machine with any of the shields or cover panels removed.
Never operate the machine under the inuence of alcohol,
drugs or while otherwise impaired.
Pay attention to overhead power lines and hanging obstacles.
High voltage lines may require signicant clearance for safety.
Contact local authorities or utilities to obtain safe clearance
distances from high voltage power lines.
General Safety
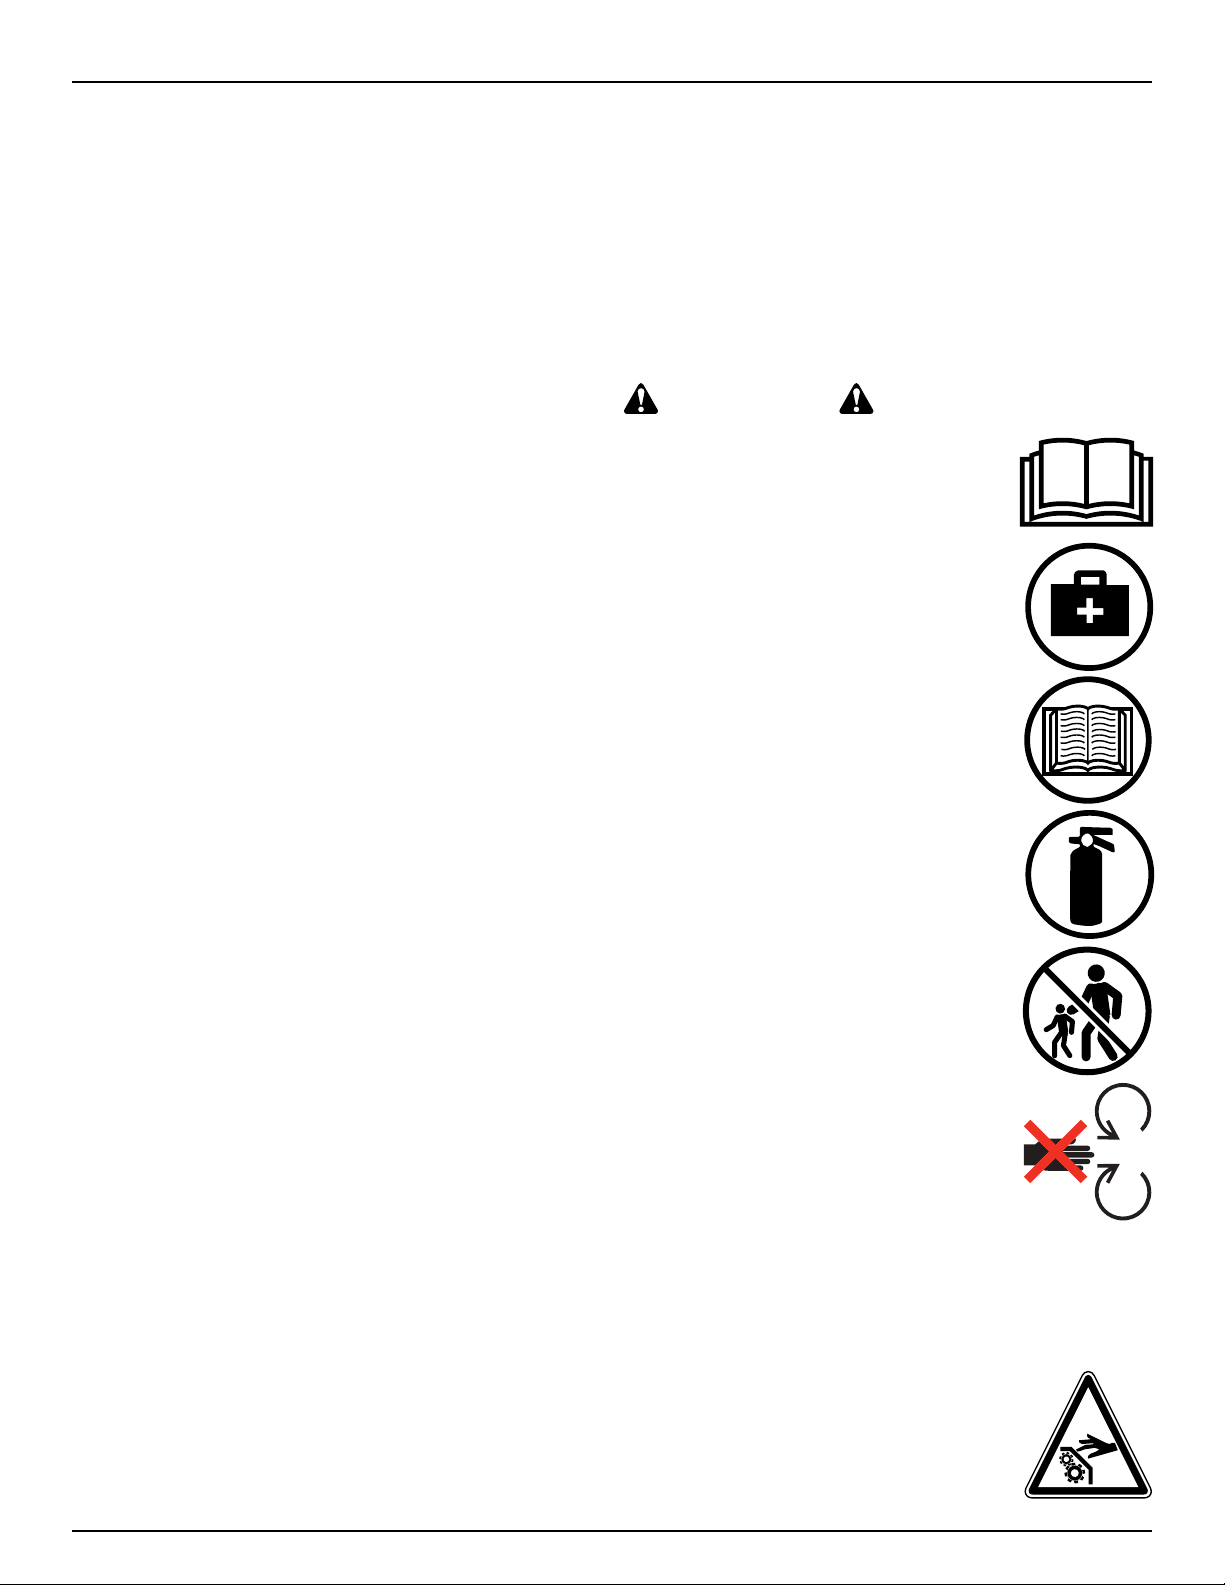
Read and understand the Operator’s Man-
ual and all safety decals before operating,
maintaining, adjusting or unplugging.
Have a rst-aid kit available for use should
the need arise and know how to use it.
Only trained persons shall operate the ma-
chine. An untrained operator is not qualied
to operate the machine.
Provide a re extinguisher for use in case of
an accident. Store in a highly visible place.
Do not allow children, spectators or by-
standers within hazard area of machine.
Keep clear of moving parts. Loose clothing,
jewelry, watches, long hair and other loose or
hanging items should be avoided as they can
become entangled in moving parts.
Wear personal protective equipment when appropriate.
DO NOT attempt to remove material from any part of the
machine while it is being operated or components are in
motion.
Make sure all guards and shields are in
good condition and properly installed before
operating the machine. Never operate the
machine with shields removed. Always close
access doors or panels before operating the
machine.
2 - SAFETY INFORMATION
2-3
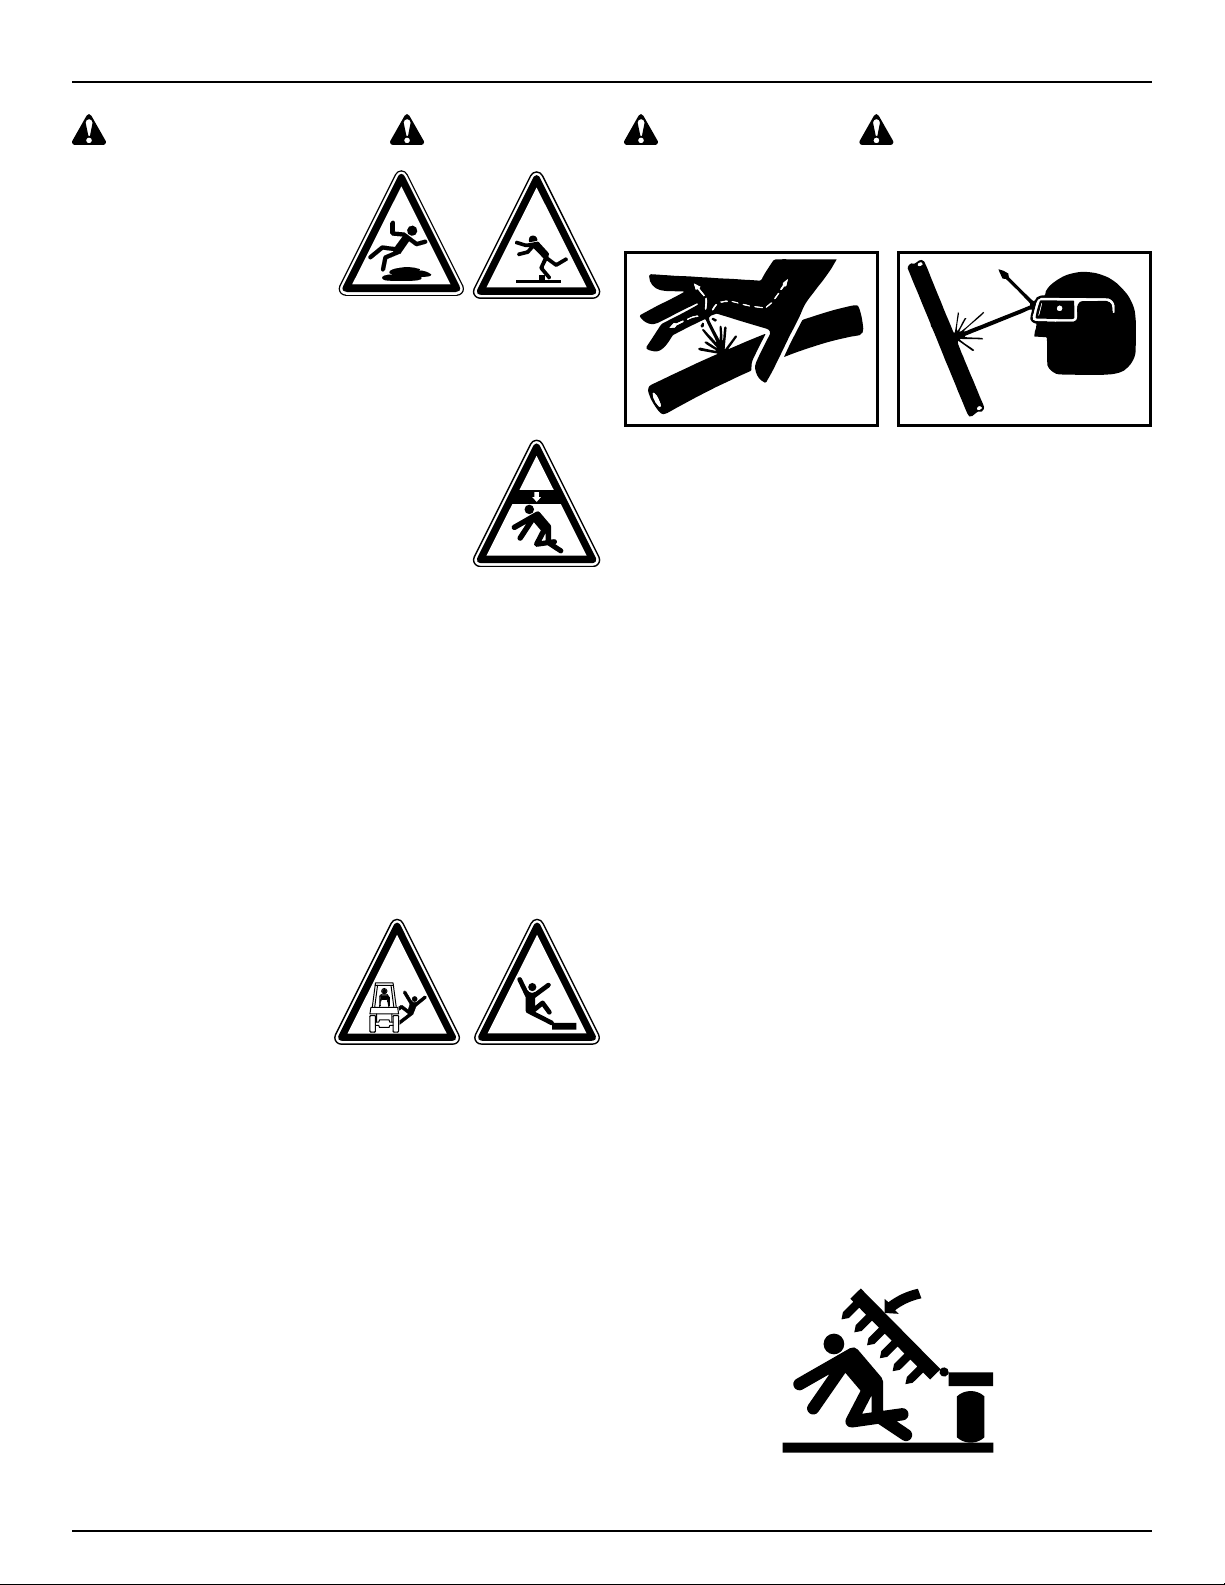
General Safety Cont’d.
Dirty or slippery steps,
ladders, walkways and
platforms can cause falls.
Make sure these surfaces
remain clean and clear of
debris.
A person or pet within the operating area of a machine can be
struck or crushed by the machine or its equipment.
DO NOT allow anyone to enter the work area.
Raised equipment and/or loads can fall
unexpectedly and crush persons underneath.
Never allow anyone to enter the area
underneath raised equipment at any time.
Always use a safety support when working on,
under, or around machine. Transport/Service
locks can be used for this purpose. Shut o tractor engine
and remove key when working on machine. If air has been
allowed to enter hydraulic hoses or cylinders, bleed hydraulic
system before use. If there is a failure in hydraulic system,
unsupported raised equipment could suddenly lower, causing
serious personal injury or death. If support is not available,
completely lower wings and frame, relieve hydraulic pressure
and disconnect hoses from tractor.
Review this manual and any other associated manuals before
each season of use.
Use extreme care when cleaning, or servicing the machine.
Keep riders o. Riders on
the implement or tractor
are subject to injury such
as being struck by foreign
objects and being thrown o
of the machine.
Hydraulic Safety
Hydraulic oil leaking under pressure can penetrate the skin,
causing death or serious injury, or infection.
DO NOT use your hand to check for leaks. Use a piece of
cardboard or plywood.
Stop engine, remove key and relieve the pressure before
connecting or disconnecting uid lines.
Make sure all components are in good condition and tighten
all connections before starting the engine or pressurizing the
system.
Do not attempt any makeshift repairs to the hydraulic ttings
or hoses by using tape, clamps or cements. The hydraulic
system operates under extremely high-pressure. Such repairs
will fail suddenly and create a hazardous and unsafe condition.
Replace any worn, cut, abraded, attened or crimped hoses.
If hydraulic uid penetrates the skin, seek medical attention
immediately. Any uid injected into the skin must be surgically
removed within a few hours or gangrene may result. Doctors
unfamiliar with this type of injury should reference a
knowledgeable medical source.
Continuous long term contact with hydraulic uid may cause
skin cancer. Avoid long term contact and wash the skin
promptly with soap and water.
Avoid serious injury or death while working under a raised
implement. Hydraulic hoses between the lift cylinders and
hydraulic lockup valves should be inspected frequently for
leakage, kinking, cuts, cracks, abrasion, blisters, corrosion,
exposed wire braid, or any other signs of wear or damage.
Worn or damaged hose assemblies can malfunction during
use and should be replaced immediately.
See your Kwik-Till dealer for replacement hoses.

2 - SAFETY INFORMATION
2-4
Operating Safety
1. Read and understand the Operator’s Manual and all safety
decals before using.
2. Park on a level surface, engage park brake, place trans-
mission in PARK, shut o engine, remove key, and wait
for all moving parts to stop before leaving tractor cab.
3. Clear the area of bystanders, especially children, before
starting.
4. Be familiar with the machine hazard area. If anyone enters
hazard area, shut down machine immediately. Clear the area
before restarting.
5. Keep hands, feet, hair and clothing away from all moving and/
or rotating parts.
6. Keep riders o. Riders on the implement are subject to
injury such as being struck by foreign objects and being
thrown o of the machine.
7. Stay away from overhead obstructions and power lines during
operation and transporting. Electrocution can occur without
direct contact.
8. Be sure that area around machine is clear before raising or
lowering machine frame or wings.
9. Do not operate with wings partially folded.
10. Do not operate close to the edge of a ditch, creek, gully, or
steep embankment.
11. Avoid holes, ditches, and obstructions which can cause trac-
tor, machine, or towed equipment to roll over, especially on
hillsides.
12. Avoid sharp turns on hillsides.
13. Slow down when turning or traveling over rough ground and
when turning on inclines.
14. Always shut o tractor and shift to park or set brakes when
leaving tractor. Remove key when leaving tractor unattended.
15. Always have tractor stopped on level ground when raising or
lowering wings.
16. Operate machine from tractor seat only.
17. If chemicals are used, follow manufacturer’s recommendations
for their handling and storage.
18. Tow machine behind a properly equipped tractor only.
Prepare for Emergencies
911
Be prepared if a re starts.
Keep a rst aid kit and re extinguisher handy.
Keep emergency numbers for doctors, ambulance service,
hospital, and re department near your telephone.
Personal Protective Equipment (PPE)
Wear personal protective equipment. This list Includes but
is not limited to:
• A hard hat
• Protective shoes with slip resistant shoes
• Safety glasses or goggles
• Heavy gloves
• Hearing protection
• Respirator or lter mask
• Protective clothing
• A face shield (when grinding)
2 - SAFETY INFORMATION
2-5
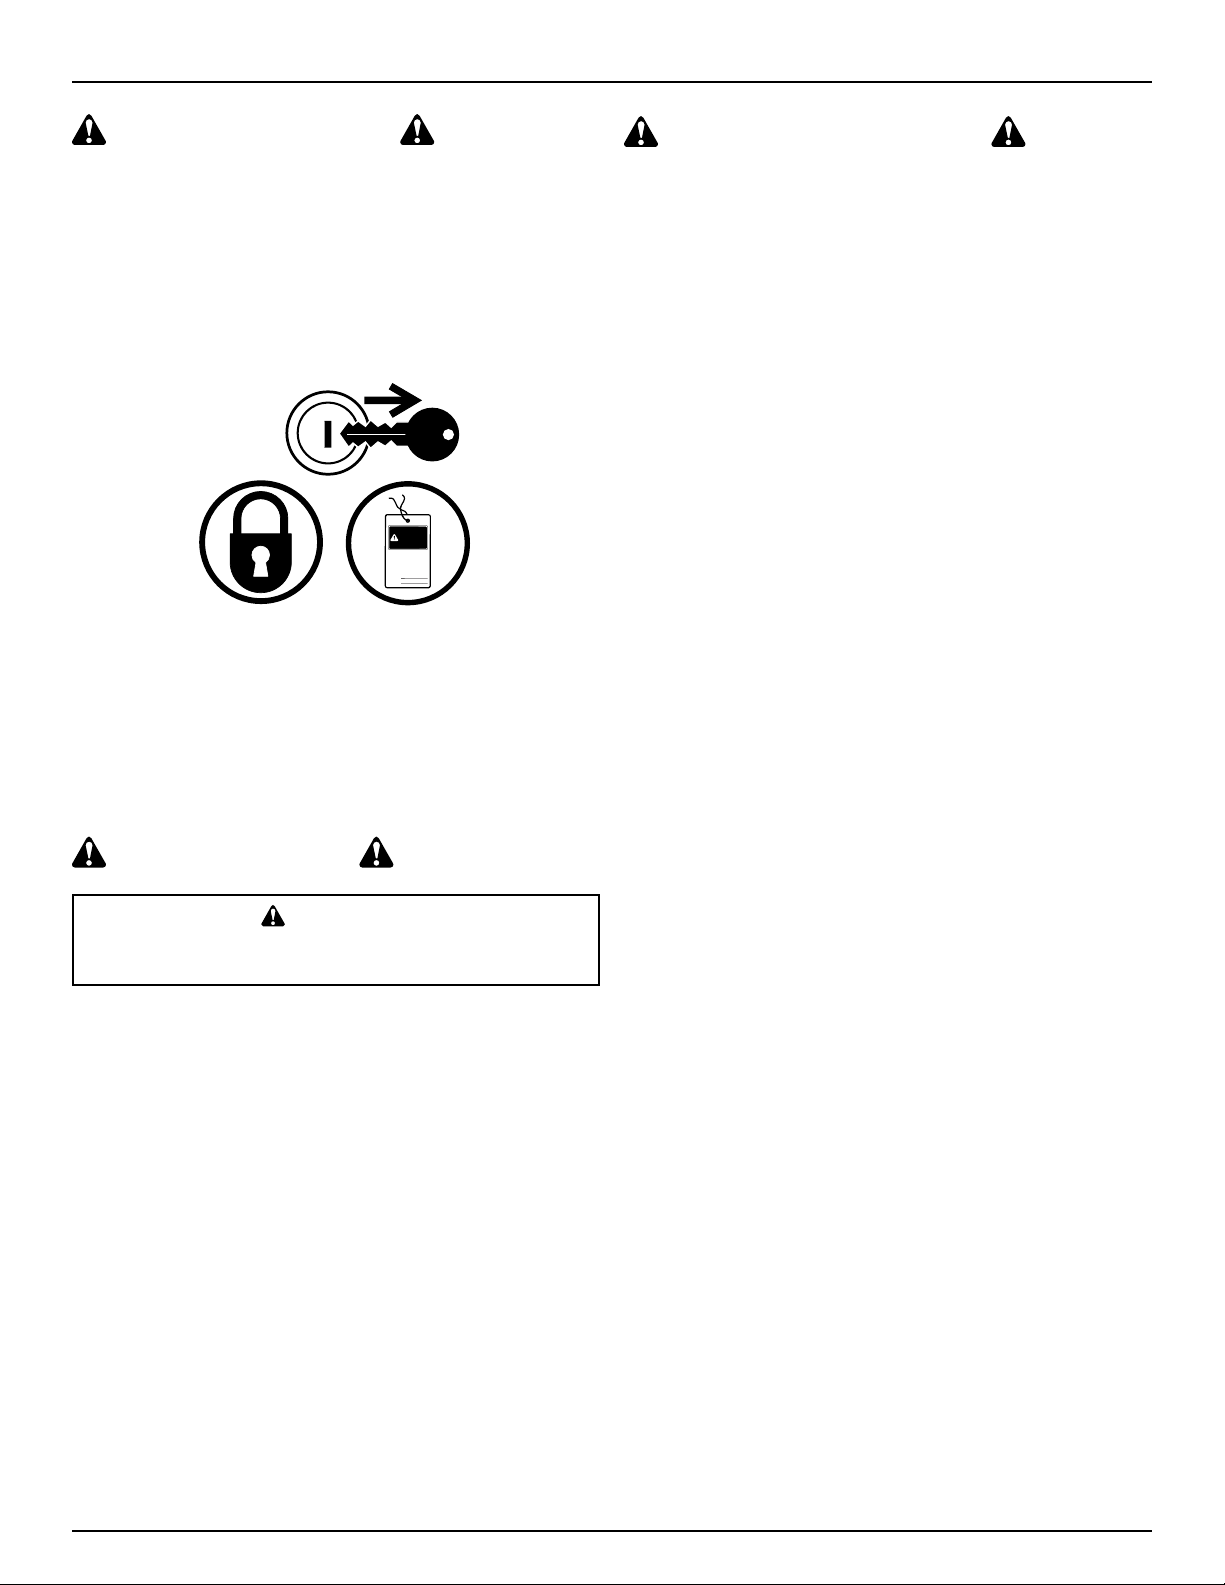
Lock-Out Tag-Out Safety
Before you start servicing the machine:
If machine is connected to a tractor, Park on a level surface,
engage park brake, place transmission in PARK, shut o
engine, remove key, and wait for all moving parts to stop
before leaving tractor cab.
If machine is detached from tractor, block wheels and use
safety stands to prevent movement.
Attach a “Do Not Operate” warning tag to the machine in an
area that will be visible.
do not
operate
signed by
date
WARNING
1. Establish a formal Lock-Out Tag-Out program for your
operation.
2. Train all operators and service personnel before allowing
them to work around the area.
3. Provide tags on the machine and a sign-up sheet to record
tag out details.
Non-Permissible Use
CAUTION
Working on an uncleaned and non-maintained machine
poses unnecessary danger and is therefore forbidden.
Pay attention to the following applications for which the
machine is not suitable:
Machine usage in non-customary tillable agricultural elds,
such as forests, dirt, gravel, or other roads.
Machine usage to move large rocks from elds.
General Maintenance Safety
1. Review the Operator’s Manual and all safety items before
working with, maintaining or operating the Kwik-Till.
2. If machine is connected to a tractor, Park on a level sur-
face, engage park brake, place transmission in PARK,
shut o engine, remove key, and wait for all moving parts
to stop before leaving tractor cab.
If machine is detached from tractor, block wheels and use
safety stands to prevent movement.
3. Do not attempt to clean, lubricate, clear obstructions or make
adjustments to the machine while it is in motion or while the
engine is running.
4. Follow good shop practices:
- Keep service area clean and dry.
- Be sure electrical outlets and tools are properly
grounded.
- Use adequate light for the job at hand.
5. Before applying pressure to a hydraulic system, make sure
all components are tight and that hoses and couplings are
in good condition.
6. Relieve pressure from hydraulic circuit before servicing or
disconnecting from tractor.
7. Clear the area of bystanders, especially children, when
carrying out any maintenance and repairs or making any
adjustments.
8. Place stands or blocks under the frame before working
beneath the machine.
9. Before resuming work, install and secure all guards when
maintenance work is completed.
10. Keep safety decals clean. Replace any decal that is dam-
aged or not clearly visible.
11. Always make sure working area is clear of tools, parts, other
persons and pets before you start operating the machine.
12. Chock wheels.
13. On towed implements, disconnect wiring harnesses from
tractor before servicing electrical system components or
welding on machine.

2 - SAFETY INFORMATION
2-6
Wheel and Tire Safety
Make sure tires are correctly inated. Do not exceed recommended
load or pressure. Follow instructions in the manual for proper tire
ination.
Always have a qualied tire technician service the tires and rims.
If a tire has lost all pressure, take the tire and rim to a tire shop
or your dealer for service. Explosive separation of the tire can
cause death or serious injury.
• DO NOT attempt to mount a tire unless you have the proper
equipment and experience to do the job. Failure to follow
proper procedures when mounting a tire on a wheel or rim
can produce an explosive separation, which may result in
serious injury or death.
• Have a qualied tire dealer or repair service perform required
tire maintenance.
• When replacing worn tires, make sure they meet the original
tire specications. Never undersize the replacement tire.
• DO NOT weld on the tire rim with the tire
mounted on the rim. The heat can cause an
increase in air pressure, resulting in a tire
explosion which could result in serious in-
jury or death. Also welding can structurally
weaken or deform the wheel.
• Inate tires to the manufacturer’s recom-
mended pressure.
• Tires should not be operated at speeds higher than their
rated speed.
• Keep wheel lug nuts tightened to manufac-
turer’s recommendations.
• Never reinate a tire that has been run at or seriously un-
der-inated without removing the tire from the wheel. Have
the tire and wheel closely inspected for damage before
remounting.
Remove Paint Before Welding or Heating
Avoid potentially toxic fumes and dust.
Hazardous fumes can be generated when paint is heated by
welding, soldering, or using a torch.
Remove paint before heating:
• Remove paint a minimum of 100 mm (4 in.) from area to
be aected by heating. If paint cannot be removed, wear
an approved respirator before heating or welding.
• If you sand or grind paint, avoid breathing the dust. Wear
an approved respirator.
• If you use solvent or paint stripper, remove stripper with
soap and water before welding. Remove solvent or paint
stripper containers and other ammable material from
area. Allow fumes to disperse at least 15 minutes before
welding or heating.
• Do Not use a chlorinated solvent in areas where welding
will take place.
• Do all work in an area that is well ventilated to carry toxic
fumes and dust away.
• Dispose of paint and solvent properly.
Avoid Heating Near Pressurized Fluid Lines
Flammable spray can be generated by heating near pres-
surized uid lines, resulting in severe burns to yourself and
bystanders. Do not heat by welding, soldering, or using a
torch near pressurized uid lines or other ammable materi-
als. Pressurized lines can accidentally burst when heat goes
beyond the immediate ame area.

2 - SAFETY INFORMATION
2-7
Avoid Overhead Power Lines
CAUTION
Keep away from overhead power lines.
Serious injury or death can result. Proceed
cautiously under overhead power lines and
around utility poles. Know the transport
height of your machine. Electrocution can
occur without direct contact with overhead
electrical lines.
Use a Signal Person
Use a signal person to direct movement of the tractor/im-
plement combination whenever the tractor operator’s view
is obstructed.
Designate one individual as the signal person. Always have
signal person stand in clear view. Be sure that signal per-
son stays a safe distance away from the machine when it is
moving.
Before starting the tractor, discuss hand signals and what
each signal means to avoid misunderstandings and confu-
sion, which could result in a serious injury or fatal accident
for someone.
Keep all bystanders away whenever the machine is moved.
Electrical Storm Safety
Do not operate machine during an electrical storm.
If you are on the ground during an electrical storm, stay away
from machinery and equipment. Seek shelter in a permanent,
protected structure.
If an electrical storm should strike during operation, remain in the
cab. Do not leave the cab. Do not make contact with the ground
or objects outside the machine.
Working at Heights (If Applicable)
Do not stand on surfaces which are not designed as steps or
platforms.
Do not use the machine as a lift, ladder or platform for working
at heights.
2 - SAFETY INFORMATION
2-8
Noise Level Safety
There are many variables that aect the sound level range,
including machine conguration, condition and maintenance
level of the machine, ground surface, operating environmental,
duty cycles, ambient noise, and attachments.
Exposure to loud noise can cause impairment or loss of
hearing.
Always wear hearing protection. Wear a suitable hearing
protective device such as earmus or earplugs to protect
against objectionable or uncomfortable loud noises.
Chemical Safety and the Environment
Soil, air, and water are vital factors of agriculture and life in
general. When legislation does not yet rule the treatment of some
of the substances which are required by advanced technology,
sound judgment should govern the use and disposal of products
of a chemical and petrochemical nature.
NOTICE: The following are recommendations which may be of
assistance:
• Become acquainted with and ensure that you understand
the relative legislation applicable to your country.
• Where no legislation exists, obtain information from suppliers
of oils, lters, batteries, fuels, antifreeze, cleaning agents,
etc., with regard to their eect on man and nature and how
to safely store, use and dispose of these substances.
• Agricultural consultants will, in many cases, be able to help
you as well.
Helpful Hints
• Avoid lling tanks using cans which may cause considerable
spillage.
• In general, avoid skin contact with all fuels, oils, acids, sol-
vents, etc. Most of them contain substances which may be
harmful to your health.
• Modern oils contain additives. Do not burn contaminated
fuels and or waste oils in ordinary heating systems.
• Avoid spillage when draining o used gearbox and hydraulic
oils, etc. Do not mix drained uids with lubricants. Store
drained uids safely until they can be disposed of properly
to comply with local legislation and available resources.
• Repair any leaks or defects in the hydraulic system imme-
diately.
• Do not increase the pressure in a pressurized circuit as this
may lead to a component failure.
• Protect hoses during welding as penetrating weld splatter
may burn a hole or weaken them, allowing the loss of hy-
draulic uid.
Handle Chemical Products Safely
M
S
D
S
Direct exposure to hazardous chemicals can cause serious
injury. Potentially hazardous chemicals used with Kwik-Till
equipment include such items as lubricants, uids, paints,
and adhesives.
A Material Safety Data Sheet (MSDS) provides specic details
on chemical products: physical and health hazards, safety
procedures, and emergency response techniques.
Check the MSDS before you start any job using a hazardous
chemical. That way you will know exactly what the risks are
and how to do the job safely. Then follow procedures and
recommended equipment.
(See your Kwik-Till dealer for MSDS’s on chemical products
used with Kwik-Till equipment.)

2 - SAFETY INFORMATION
2-9
Decommissioning: Proper Recycling and
Disposal of Fluids and Components
Safety and environmental stewardship measures must be
taken into account when decommissioning a machine and/or
component. These measures include the following:
• Use appropriate tools and personal protective equipment
such as clothing, gloves, face shields or glasses, during
the removal or handling of objects and materials.
• Follow instructions for specialized components.
• Release stored energy by lowering suspended machine
elements, relaxing springs, disconnecting the battery or
other electrical power, and releasing pressure in hydraulic
components, accumulators, and other similar systems.
• Minimize exposure to components which may have res-
idue from agricultural chemicals, such as fertilizers and
pesticides. Handle and dispose of these components
appropriately.
• Carefully drain engines, fuel tanks, radiators, hydraulic
cylinders, reservoirs, and lines before recycling compo-
nents. Use leak-proof containers when draining uids. Do
not use food or beverage containers.
• Do not pour waste uids onto the ground, down a drain,
or into any water source.
• Observe all national, state, and local laws, regulations, or
ordinances governing the handling or disposal of waste
uids (example: oil, fuel, coolant, brake uid); lters;
batteries; and, other substances or parts. Burning of
ammable uids or components in other than specially
designed incinerators may be prohibited by law and could
result in exposure to harmful fumes or ashes.
• Service and dispose of air conditioning systems appro-
priately. Government regulations may require a certied
service center to recover and recycle air conditioning re-
frigerants which could damage the atmosphere if allowed
to escape.
• Evaluate recycling options for tires, metal, plastic, glass,
rubber, and electronic components which may be recy-
clable, in part or completely.
• Contact your local environmental or recycling center, or
your Kwik-Till dealer for information on the proper way to
recycle or dispose of waste.
Use Safety Lights and Devices
Prevent collisions between other road users, slow moving
tractors with attachments or towed equipment, and self-pro-
pelled machines on public roads. Frequently check for trac
from the rear, especially in turns, and use turn signal lights.
Use headlights, ashing warning lights, and turn signals day
and night. Follow local regulations for equipment lighting
and marking. Keep lighting and marking visible, clean, and
in good working order. Replace or repair lighting and mark-
ing that has been damaged or lost. An implement safety
lighting kit is available from your Kwik-Till dealer.
Observe Maximum Transport Speed
The maximum transport speed for this implement is 20
mph (32 km/h).
Some tractors are capable of operating at speeds that exceed
the maximum transport speed of this implement. Regardless
of the maximum speed capability of the tractor being used to
tow this implement, do not exceed the implement’s maximum
transport speed.
Exceeding the implement’s maximum transport speed can
result in:
• Loss of control of the tractor/implement combination.
• Reduced or no ability to stop during braking.
• Implement tire failure.
• Damage to the implement structure or its components.

2 - SAFETY INFORMATION
2-10
Use additional caution and reduce speed when towing un-
der adverse surface conditions, when turning, and when on
inclines.
Do Not attempt transport if the fully loaded implement weighs
more than 1.5 t (3,300 lb) and more than 1.5 times the weight
of the tractor.
CAUTION
Never tow this implement with a motor vehicle. Tow
only with a properly ballasted tractor.
Attaching and Detaching Kwik-Till To / From
Tractor Safety
Never let another person stand between the tractor and the
implement during hitching. Too fast of an approach or the
operator’s foot slipping from the clutch can lead to injury or
death to the person standing nearby.
DANGER
UPENDING HAZARD
TONGUE CAN WHIP UPWARDS WHEN UNHITCHING
The tractor MUST be equipped with a clevis hitch to
prevent the Kwik-Till from tipping upward while unfolding
from transport position, and folding into transport position.
To avoid bodily injury, lower the machine before removing
the hitch pin.
If negative tongue weight exists, the hitch tongue may
suddenly raise, and the rear section would come crash-
ing down. Only disconnect when the jack is lowered,
there is positive tongue weight, the unit is on level
ground, and in the proper transport or eld position.
Never disconnect the Kwik-Till from the tractor if the rear sec-
tions of the machine are partially raised. Keep others away.
DANGER
CRUSH HAZARD
Stand clear when raising or lowering the Kwik-Till.
Keep feet, legs, and body clear when raising and lowering
the Kwik-Till. Keep others away.
DANGER
CRUSH HAZARD
Avoid being crushed in between the tractor and the
implement.
When working in the danger area between the Kwik-Till
and the tractor always ensure that the Tractor engine is
turned o and the Key removed. Keep others away.
Use a Safety Chain
This manual suits for next models
4
Table of contents
Other Norwood Farm Equipment manuals


Popular Farm Equipment manuals by other brands

Schaffert
Schaffert Rebounder Mounting instructions

Stocks AG
Stocks AG Fan Jet Pro Plus 65 Original Operating Manual and parts list

Cumberland
Cumberland Integra Feed-Link Installation and operation manual

BROWN
BROWN BDHP-1250 Owner's/operator's manual

Molon
Molon BCS operating instructions

Vaderstad
Vaderstad Rapid Series instructions


