Page 2
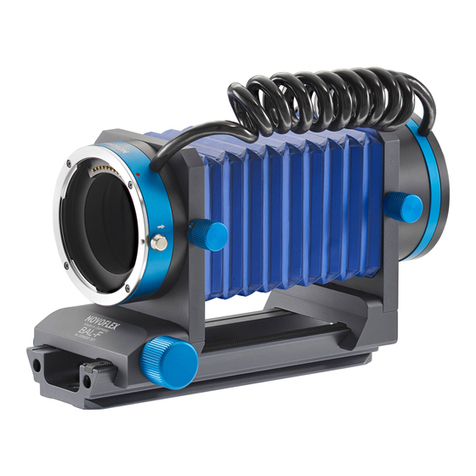
Required equipment
1. In order to be able to work with the slide dupli-
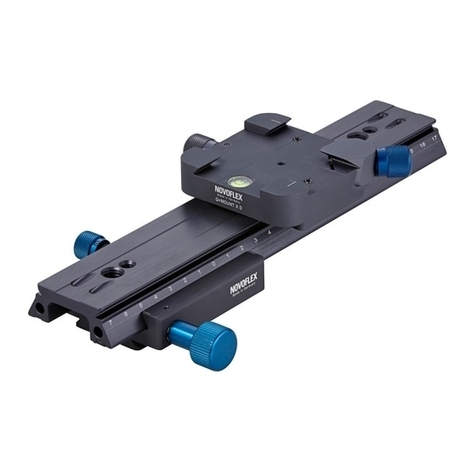
cator you need a focusing rack or bellows unit
made by NOVOFLEX with bore holes for the
guide rods. These are all bellows and focusing
racks with hollow bars and bores since 1953.
2. You can use any camera equipment on the focusing rack that allows a setting of at least 1: 1.
For digital cameras in combination with a macro lens, this is mostly possible. The slide dupli-
cator CASTEL-COP-DIGI has very long guide rods, so that it can used also with a 100mm /
105mm macro lens. For macro lenses with longer focal lengths up to 200mm, please use the
longer focusing rack CASTEL XQ II.
Scope of delivery
1 Guide rods
2 Clamp bar
3 Slide mount with insert
4 Holding clip
5 Stop bar
Assembling
1. Remove the two screws at the end of the
guide rods (1).
2. Set the slide mount (3) with the engraving
showing to the camera onto the guide rods.
3. And tighten it thoroughly with the two
screws.
4. Insert the guide rods into the bore holes of
the bellow respectively the focusing rack.
2
3
45
Page 3
5. Set the desired magnification with the bellows unit or lens and move the slide mount (3) in the
direction of the lens until you see the slide well focused.
6. Now fix this position with the clamp bar (2). Please make sure that the clamp bar always sits
always near the focusing rack or bellows unit.
Adjustment of magnification and focus
With the focusing rack and camera equipment with macro lenses, the magnification is adjusted
via the lens and the focus via distance changes using the focusing rack.
We also recommend using an additional focusing rack in combination with the bellows unit,
because the rail on which the standards runs, only allows a magnification change! Exception:
automatic bellows units with rod guide!
Tip: The view-finder shows up to 10 % less than what can be seen after the picture has been
taken (display, slide) – please consider this in your adjustment of scale and focus.
Insert the slide
For insertion of the slide the frame respectively the film has to be
put behind the holding clip (4).
In order to achieve an ideal flat-
ness of the slide frame, the hold-
ing clip can be pivoted by 90°
and more. In this case pull the clip for-
ward so that it can be turned above
the locking bolt.
The stop bar (5) can be moved
horizontally as desired and fixed
with the lower clamping screw. It is
used to position individual slides of
a series always in the same place.
Professional tips
Please make sure that light only falls from behind through the diffuser window on the slide. Rec-
ommended light sources are: daylight - flash - light sources with daylight, light boxes, repro lights,
etc.
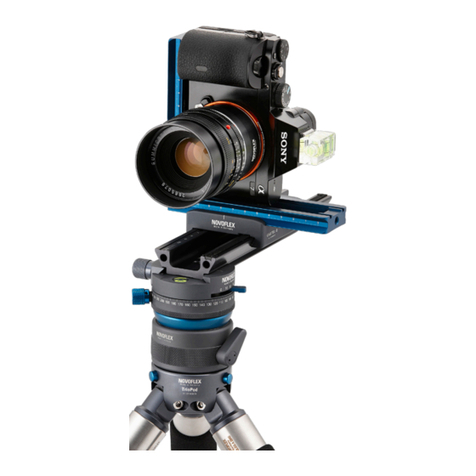
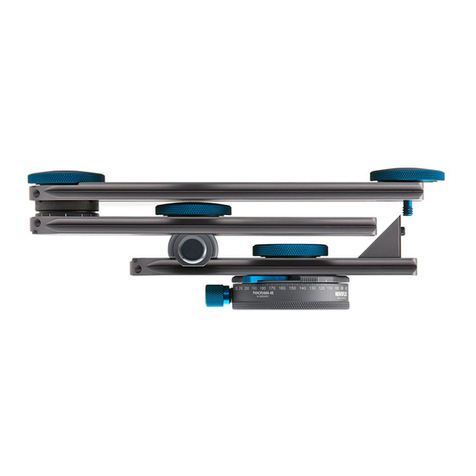
With the focusing rack CASTEL-Q and our clamping plates of the Q=system a transverse shift
of the camera can be realized. Cameras with a laterally offset tripod thread can be brought exact-
ly into position. This facilitates your work enormously as you do not have to move the complete
slide in case that you want to change the display detail.
